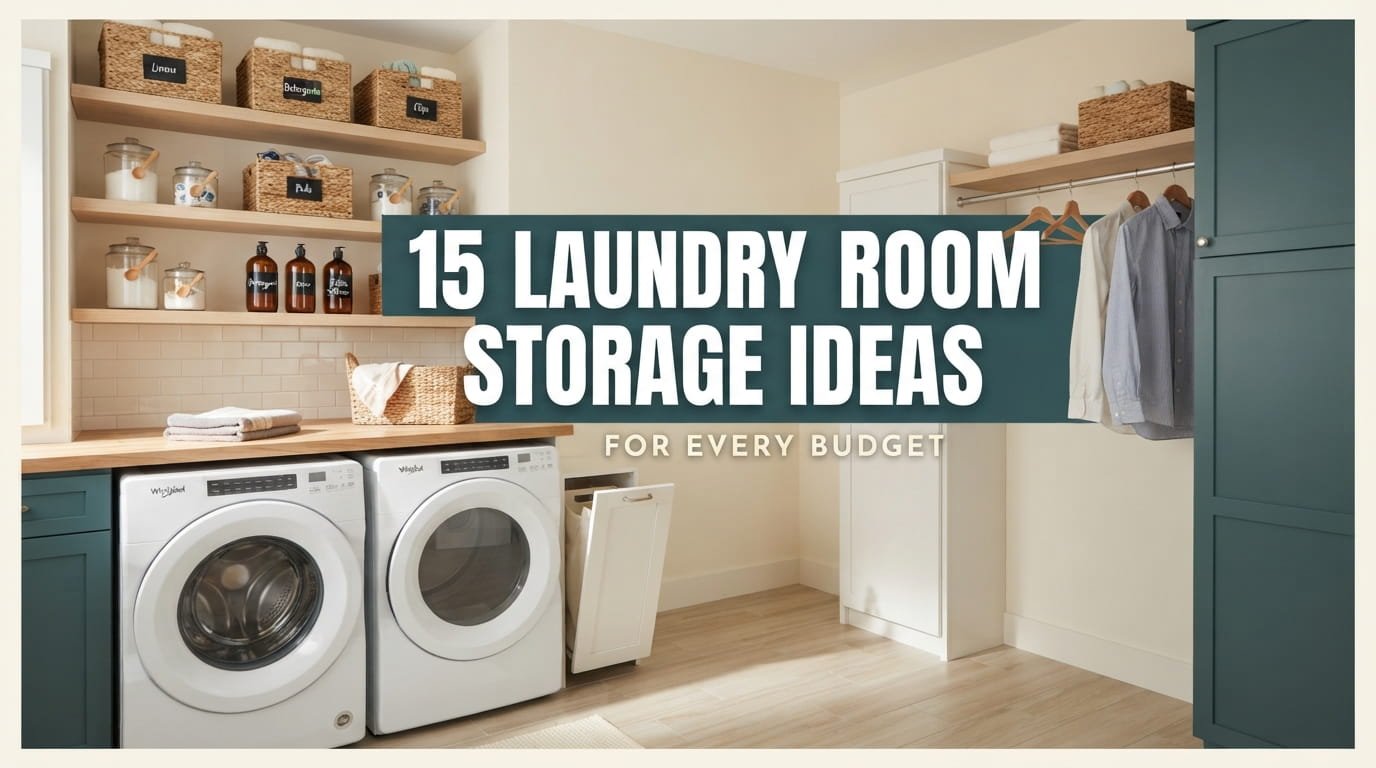
Most laundry storage fails before it is ever installed. The shelf gets bought first, the measuring happens second, and the bottles end up on the floor anyway.
There is a better order. Look at what actually piles up in your laundry room, find the dead space around it, and spend only as much as that problem deserves. A tension rod costs next to nothing and can fix more than a custom cabinet that does not fit.
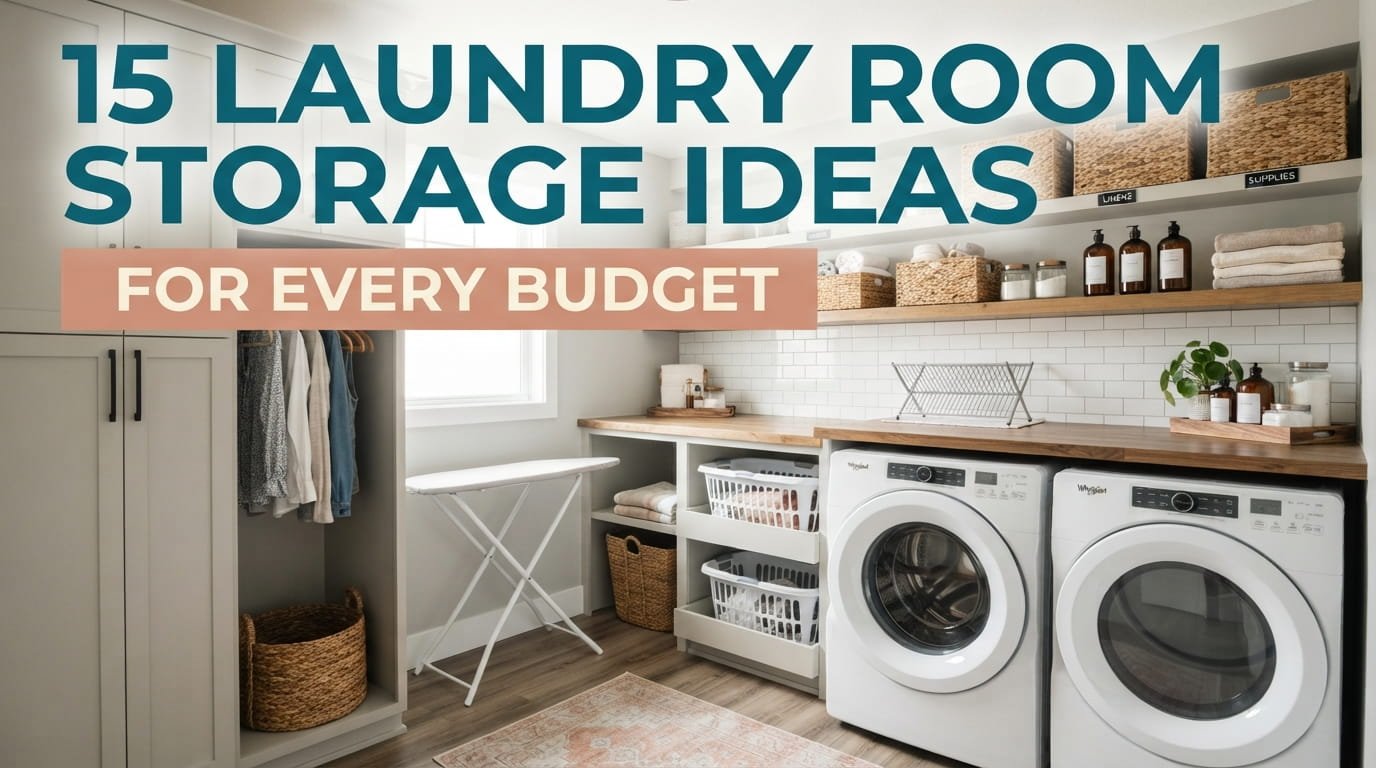
These laundry room storage ideas are sorted by budget, so you can start at your own level. The first five are low spend and need little more than a rod, a hook, or a magnet. The middle five are shelves and baskets you buy once and keep. The last five are built in pieces for when you are ready to commit.
Pick the tier that matches your month, not your wish list. Save the rest for later.
Low spend ideas
1. Hang Spray Bottles From a Tension Rod Under a Shelf
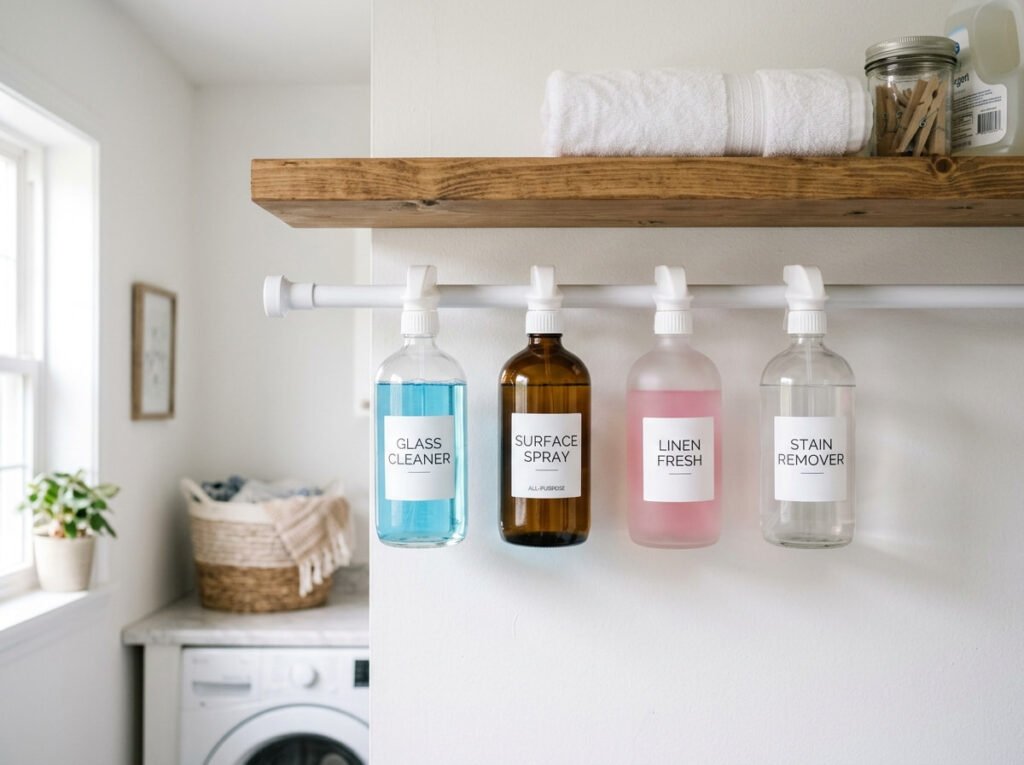
Spray bottles hog shelf space and tip over the minute you bump them.
Slide a tension rod under a shelf or inside a cabinet, then hang the bottles by their trigger heads. The shelf surface clears off, and every label faces you. Choose a rod rated for more weight than you expect, since full bottles add up fast.
- Hang the sprays you use every week at the front
- Keep bleach sprays apart from ammonia based ones
- Leave a gap between bottles so the triggers do not tangle
Check that the rod sits level before you load it.
2. Turn an Over the Door Shoe Organizer Into a Supply Wall
A clear shoe organizer has more pockets than most laundry rooms have shelves.
Hang one on the back of the laundry door or a nearby closet door, and every small thing gets its own slot. Clear pockets let you see what is inside without opening anything. Before you fill every row, close the door once to make sure it still clears the frame.
What goes in each pocket
3. Spin a Lazy Susan Inside a Deep Cabinet
Deep cabinets swallow things. Push a jug to the back and it stays there until you buy a second one.
A lazy Susan fixes the reach problem without changing the cabinet. Set a turntable on the shelf, group bottles on it by job, and give it a spin to bring the back row forward. Measure the shelf depth first, since a turntable that hits the cabinet door will not turn.
Best for lower cabinets where you are already bending down anyway.
Bottles stand in rows. The back row is forgotten, and you reach past three things to find one.
One spin brings every bottle to the front, and nothing has to come out first.
4. Stick Magnetic Strips to the Side of the Washer
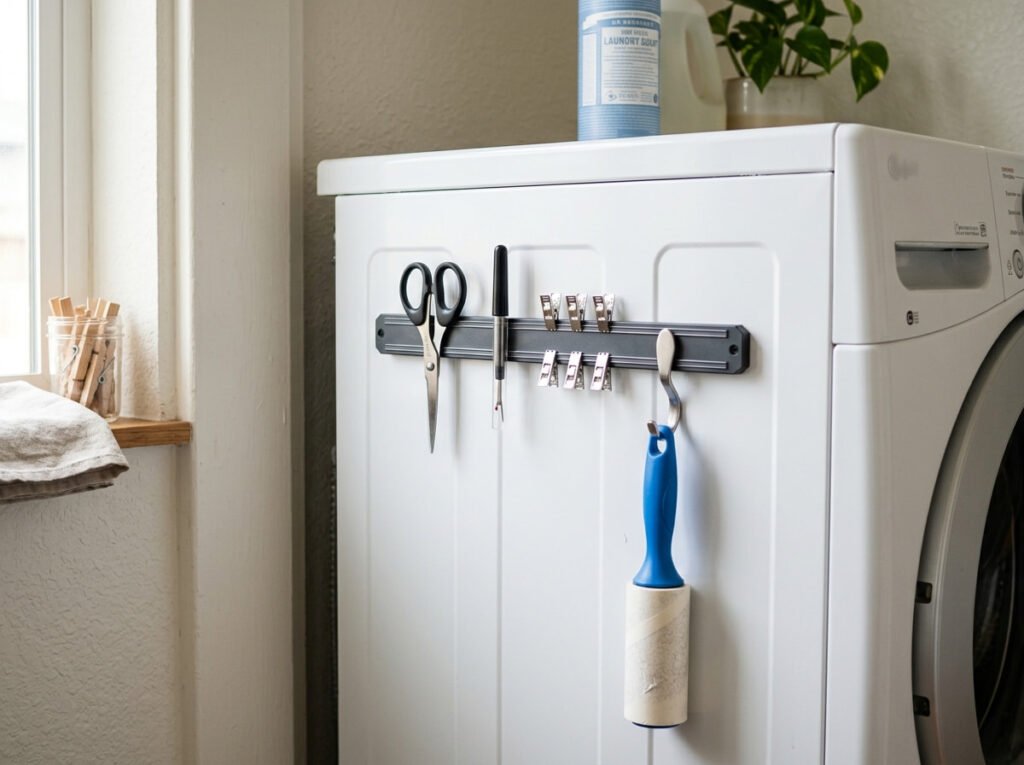
Metal sticks to metal, so use the side of the machine.
Most washers and dryers have steel side panels, and a magnetic strip or a few magnetic hooks turn that blank surface into storage. Test the panel with a fridge magnet first, since not every machine is steel.
- A strip holds scissors, a seam ripper, and other metal tools
- Magnetic hooks hold a lint roller or a small laundry bag
- A magnetic pouch keeps loose clips in one place
Keep everything on the side panel, nowhere near the controls.
💡 Quick Tip
Pick the side that faces the wall gap or hallway, so the strip is within reach but out of sight from the room.
5. Lean a Ladder Against the Wall for Towels and Drying
Blanket ladders show up in living rooms all the time, and they work harder in a laundry room.
A wooden ladder leaned against a free wall gives you several rungs for hand towels, tea towels, and damp delicates. It takes up almost no floor space and doubles as decor when it is empty. Choose one with a wide enough base to stay steady, and lean it at a slight angle against a clear stretch of wall.
Wring items out first, because dripping rungs mean wet floors.
Hang light items like hand towels and tea towels.
Space pieces out so air can move between them.
Piling on heavy wet items that can pull it over.
Letting kids climb it like a real ladder.
Mid spend ideas
6. Mount One Sturdy Shelf With Proper Brackets
A shelf is only as strong as what it is screwed into.
Pick one solid shelf over a row of flimsy ones. A board with two metal brackets holds a full jug of detergent without sagging, as long as the brackets are anchored into a stud or a wall anchor rated for the load. Ask your landlord before drilling, and patch the holes when you move out.
Set the shelf high enough to clear the washer lid when it is open.
Open the washer lid and mark a height that clears it with room to spare.
Find a stud with a stud finder, or pick anchors rated for the weight you plan to load.
Check the shelf with a level, then add the heaviest items last and watch for any sag.
7. Give Each Woven Basket One Job
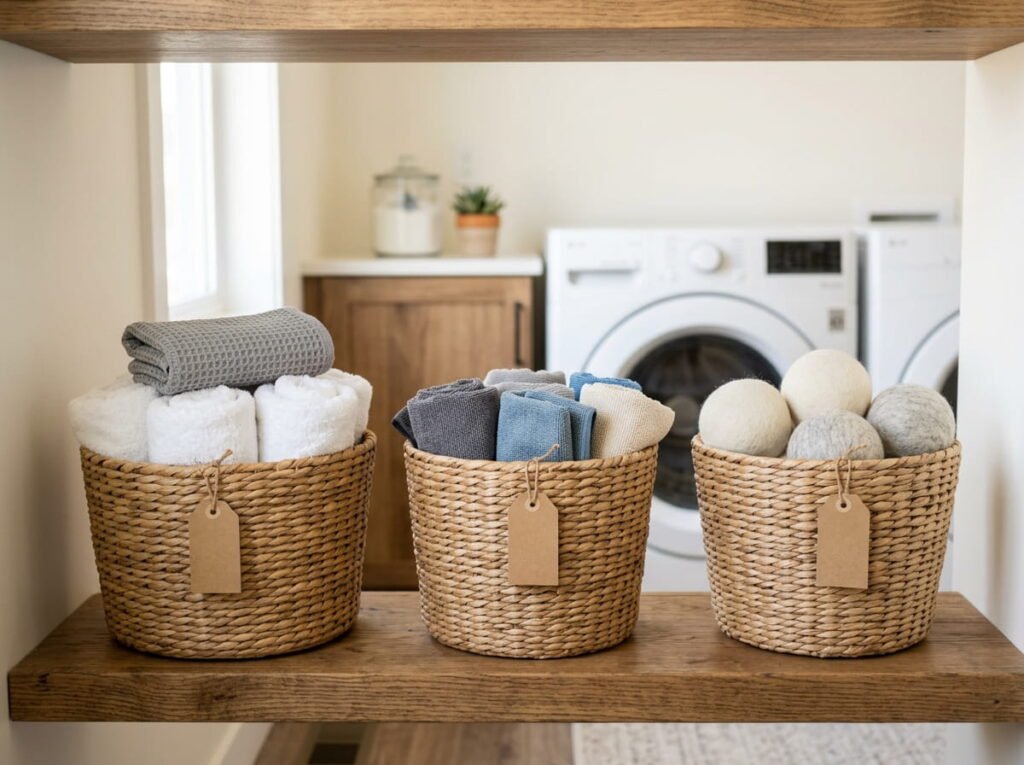
Three baskets with three jobs beat one big basket with no rules.
Mixed baskets turn into junk baskets within a week. Give each one a single purpose and a label, and everyone in the house will know where things go. Baskets with a lid hide the clutter, and open ones are quicker to grab from. Choose a size that fits your shelf with a finger’s width to spare, so they slide in and out easily.
8. Choose Between a Freestanding Over Washer Unit and a Wall Shelf
Two units can fill the same space and behave very differently.
A freestanding over washer unit stands on the floor on both sides of the machine, so there is no drilling. A wall shelf needs screws but frees up the floor and can sit anywhere along the wall. Rentals and shared spaces tend to suit the freestanding kind, while a home you plan to stay in suits the wall mount. Measure your washer’s width and the wall space above it before you shop.
| Freestanding unit | Wall mounted shelf |
|---|---|
| No drilling needed. | Needs screws and anchors. |
| Legs take floor space on both sides. | Keeps the floor clear. |
| Moves with you to the next place. | Stays in the wall when you leave. |
9. Use the High Wall Above the Door for Seasonal Storage
Look up. The strip of wall above the door frame is wasted in almost every laundry room.
A shallow shelf there holds things you reach for twice a year: extra blankets, holiday table linens, a spare drying rack in a flat bag. Keep it to light items, since nobody wants to wrestle a heavy box from over their head. Use a step stool and give the shelf a sturdy mounting, and never put anything breakable or heavy up there.
High shelves are for light things you use rarely. Daily items stay at hand height.
10. Hang a Slim Wall Cabinet for Cleaning Supplies
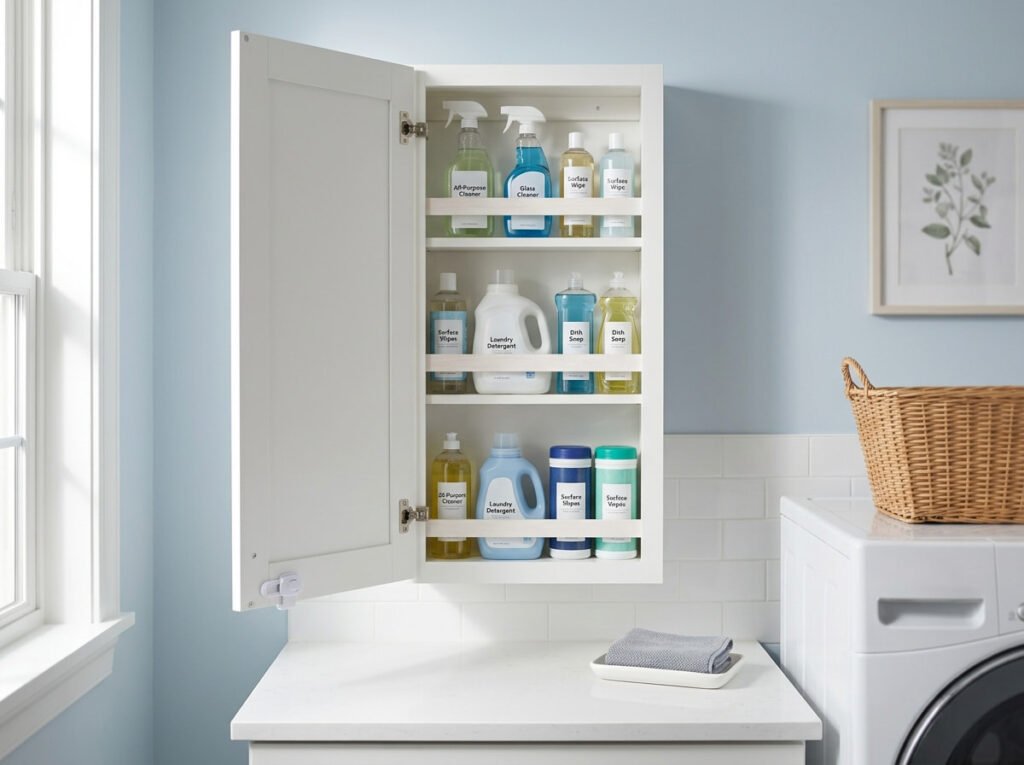
Detergent and bleach do not belong at toddler height.
A slim wall cabinet puts cleaning products up and out of reach, behind a closed door. Choose one with adjustable shelves so tall bottles fit, and mount it with the right anchors for its full weight. If anyone small lives with you, add a child safety latch. Keep products in their original bottles with the labels facing out.
Before you fill it
Higher spend ideas
11. Frame the Machines With Floor to Ceiling Cabinets
Cabinets on both sides of the machines make them look built in.
Tall cabinets on either side, with a shelf or short cabinet above, wrap the washer and dryer like a frame. You gain closed storage for everything, and the whole wall reads as one piece. It is the biggest fix on this list, so measure twice. Leave a few inches around each machine for airflow and vents, and plan the cabinet depth to match the machine depth.
Best for homes you plan to stay in, or a landlord who is happy to approve it.
Two machines stand alone on a bare wall, with bottles on top and a basket in the way.
Cabinets frame the machines, doors hide the supplies, and the top is clear for folding.
12. Add a Pull Out Cabinet Beside the Washer for Detergent
That thin gap beside the washer can hold a surprising amount.
A narrow pull out cabinet slides on wheels or rails and stores bottles in a tall, shallow stack. Pull it out, grab the detergent, push it back. A slim cabinet like this suits the space between a machine and a wall, where a regular cabinet would not fit. Check the gap width before you order, then check that the pull out can fully extend without hitting the machine.
⚠️ Watch Out
Leave the dryer vent and the water hoses reachable. A cabinet that blocks access makes repairs harder and can trap heat behind the machines.
13. Build a Countertop Over the Machines With a Hidden Hamper
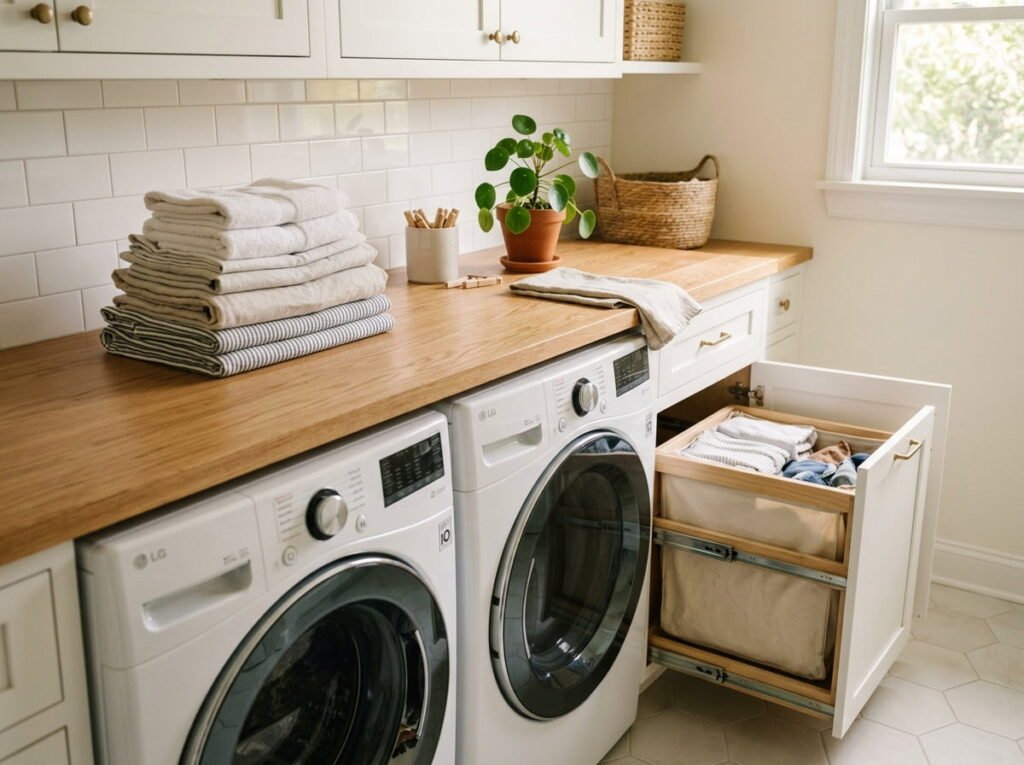
A counter at the right height turns two machines into a folding station.
With front load machines, a countertop spans the tops and gives you a long, flat surface. Add a pull out hamper beneath a nearby cabinet, and dirty clothes disappear behind a door. Plan for a removable or hinged section if you need to reach the back of the machines. Hire a pro for any plumbing or electrical changes, and leave clearance for the dryer vent.
Worth the spend if you fold a lot and have wall space.
14. Install a Wall Cabinet With a Fold Away Ironing Board
An ironing board that lives in a closet usually gets ironed on rarely, because getting it out is a chore.
A wall cabinet with a built in ironing board changes that. Open the door, pull the board down, and it is ready. Fold it back, close the door, and it is gone. The cabinet needs solid wall mounting, so check for studs before you order. Heat matters too, so let the iron cool before it goes anywhere near the cabinet shelf.
- ▸Check that the board length fits the wall width you have.
- ▸Mount at a height where you can pull the board down without stretching.
- ▸Store the iron on a shelf only after it has fully cooled.
- ▸Keep an outlet nearby so the iron does not need an extension cord.
15. Add a Built In Bench With Cubby Storage
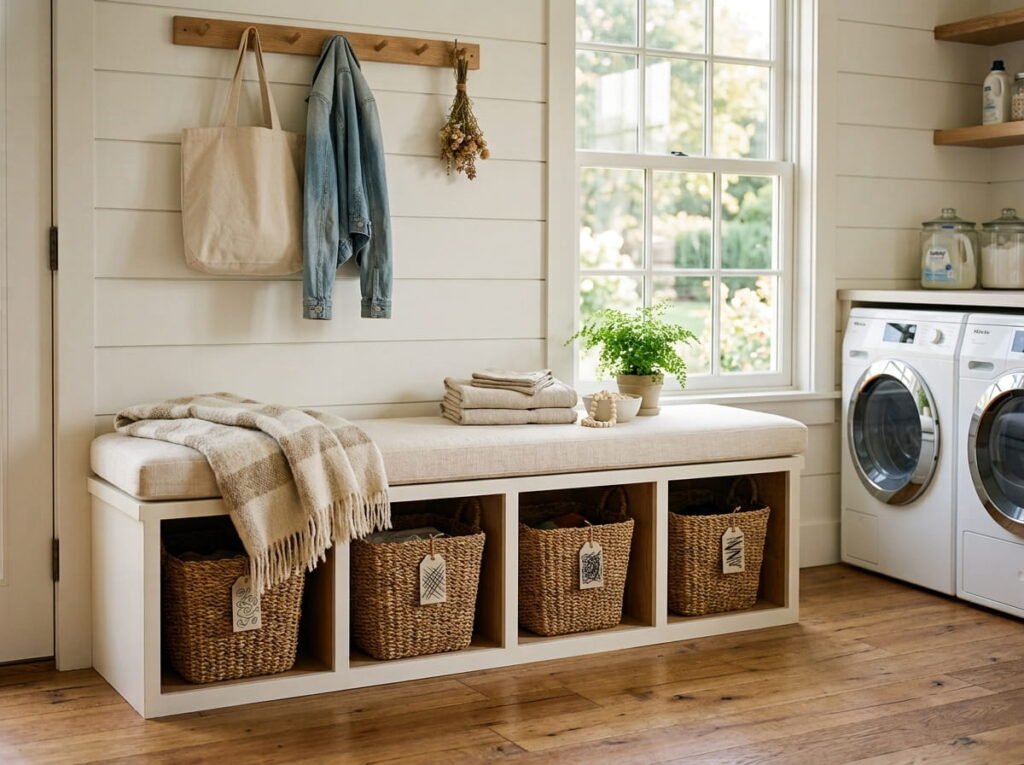
Some laundry rooms double as the spot where everyone drops their shoes.
A built in bench with cubbies gives that traffic somewhere to land, and the bench doubles as a seat for sorting socks. Use the cubbies for baskets, so each person has their own pickup spot on folding day. Pick a depth that fits your room without squeezing the walkway, and leave enough clearance for the machine doors to swing open.
Give each person one labeled basket or cubby.
Leave room for the machine doors to open fully.
Making the bench so deep it narrows the walkway.
Storing wet items in closed cubbies where they can turn musty.
Conclusion
Good laundry storage is not about spending the most. It is about matching the fix to the problem. A tension rod can clear a crowded shelf, a basket with one job can end a junk pile, and a cabinet can wait until you are ready for it.
Start with the tier that fits your month. Try one or two laundry room storage ideas, see how the room feels after a week, and add more when it makes sense. Small changes stack up faster than you would think.
A laundry room that works does not have to be big or expensive. It just has to put things where your hands already go.Save this list to your Pinterest board so it is ready the next time your laundry room needs a little more room.