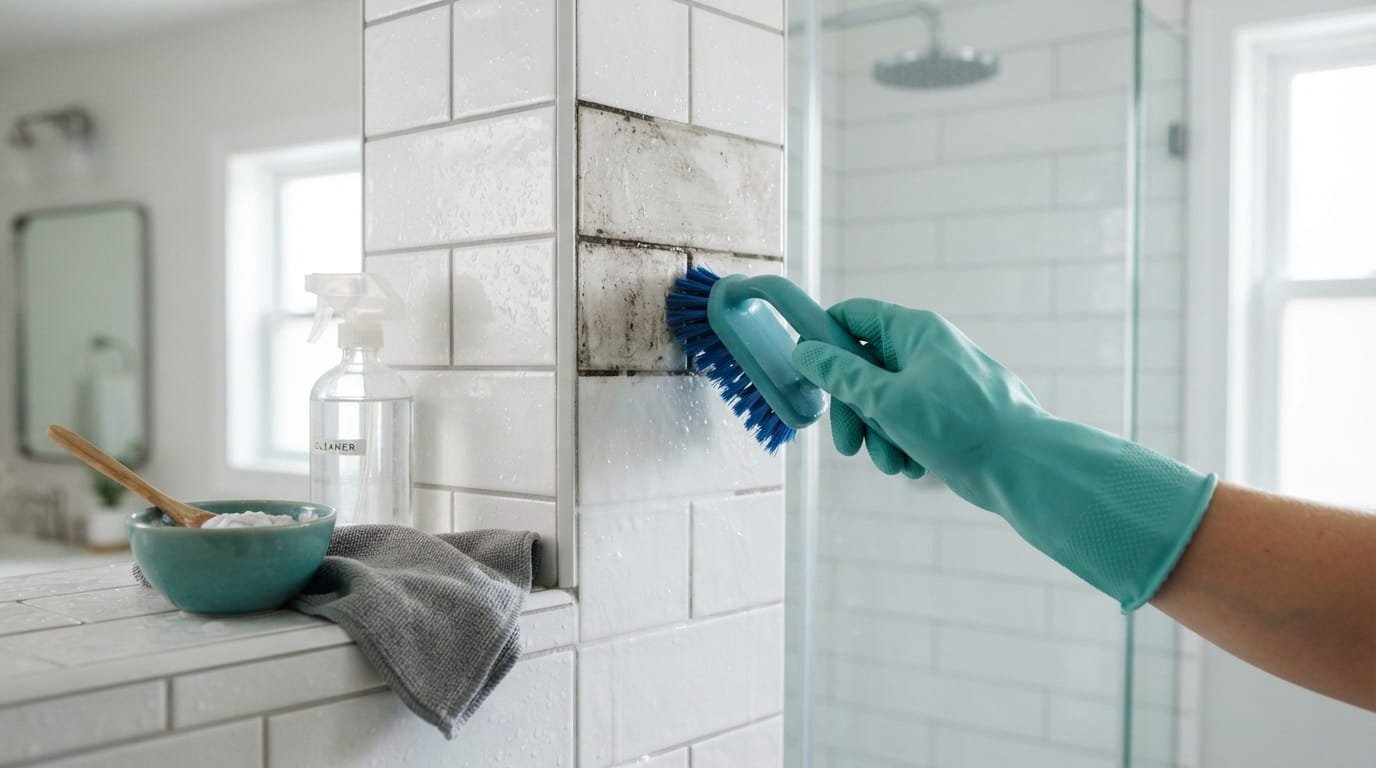

There is a certain relief in walking into a bathroom that smells clean and looks calm. In a small apartment, you want that feeling every day, not just after a big scrub on Sunday.
The trouble is that a tiny bathroom gets messy fast. The sink doubles as a shelf, the tub edge holds six bottles, and there is nowhere to stash a mop or a bucket. Most cleaning advice assumes you have a closet full of supplies and an hour to spare. You probably have neither.
These small bathroom cleaning ideas are built for apartments. They use things you already own, take a few minutes at a time, and never ask you to drill into a wall or risk your deposit. Some are daily habits that take less time than brushing your teeth. Others are quick weekly resets that keep soap scum, mildew, and clutter from piling up.
Pick the ones that match your space, try two or three this week, and notice how much lighter the room feels.
1. Wipe the Sink and Faucet While You Brush Your Teeth
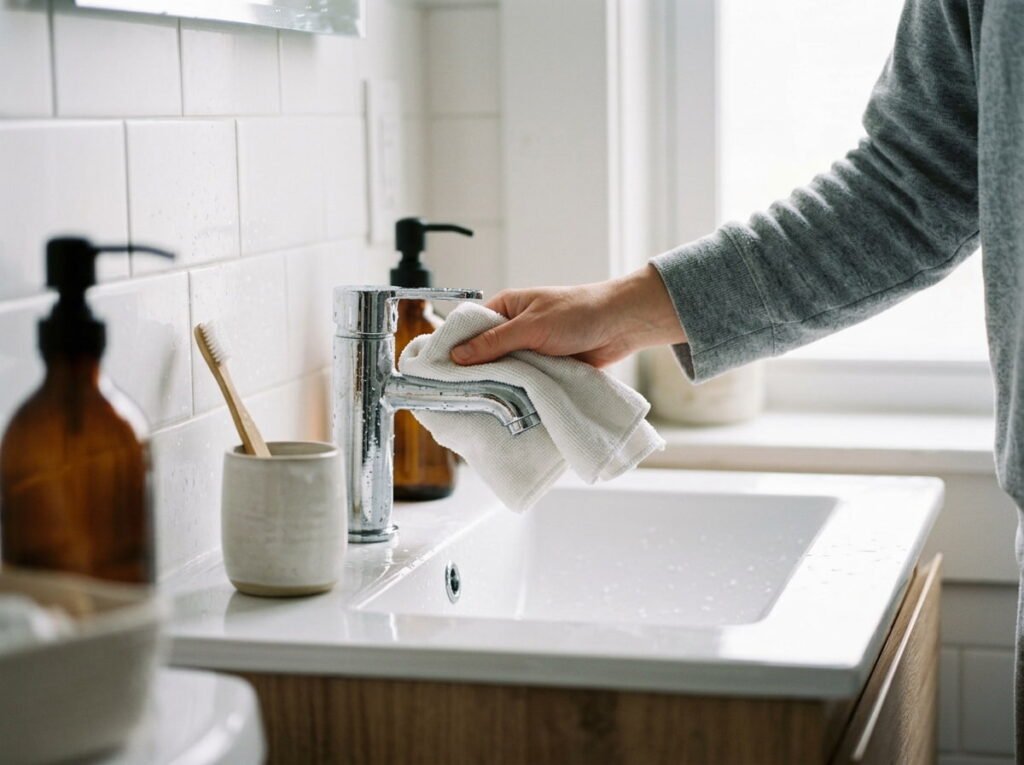
Two minutes of brushing is two minutes of free cleaning time.
Keep a small microfiber cloth on a hook near the sink. While you brush, wipe the faucet handle, the basin, and the splash zone around the drain with your free hand. Toothpaste flecks and water spots come off easily when they are still wet. Once they dry, you are scrubbing.
Rinse the cloth when you finish and drape it over the faucet to dry. Do this daily and the big weekly sink clean mostly disappears.
2. Keep a Squeegee on the Shower Wall and Use It Before You Step Out
Dried water drops are what leave cloudy streaks on shower walls and glass.
A small squeegee stops that before it starts. Hang it from a suction hook inside the shower so it is the first thing you see when you finish. It takes about twenty seconds, and it keeps soap scum from getting a grip on the tile.
If your shower has a curtain instead of glass, run it along the tile walls and the tub edge anyway. That is where water pools and mildew likes to start.
Start at the top corner and pull the blade straight down in one smooth stroke.
Overlap each pass a little so no thin stripes of water are left behind.
Wipe the blade on a towel, then hang it back up so it dries between uses.
3. Swap the Thick Bath Mat for a Thin One You Can Wash Weekly
A thick bath mat and a thin one look about the same when they are new. The difference shows up by Friday.
Thick mats hold water like a sponge, and a small bathroom has little airflow to dry them out. A thin, flat mat dries faster and fits in the washing machine without taking over the load. Look for cotton or microfiber you can wash weekly with your towels. Buy two if you can, so one is always clean while the other dries.
Check for a non slip backing too. A tiny floor leaves no room to catch yourself.
A thick mat that stays soggy for a day and starts to smell musty by the end of the week.
A thin mat that dries faster, goes into the wash every week, and swaps with a spare.
4. Clear the Counter Down to Three Things So Wiping Takes Ten Seconds
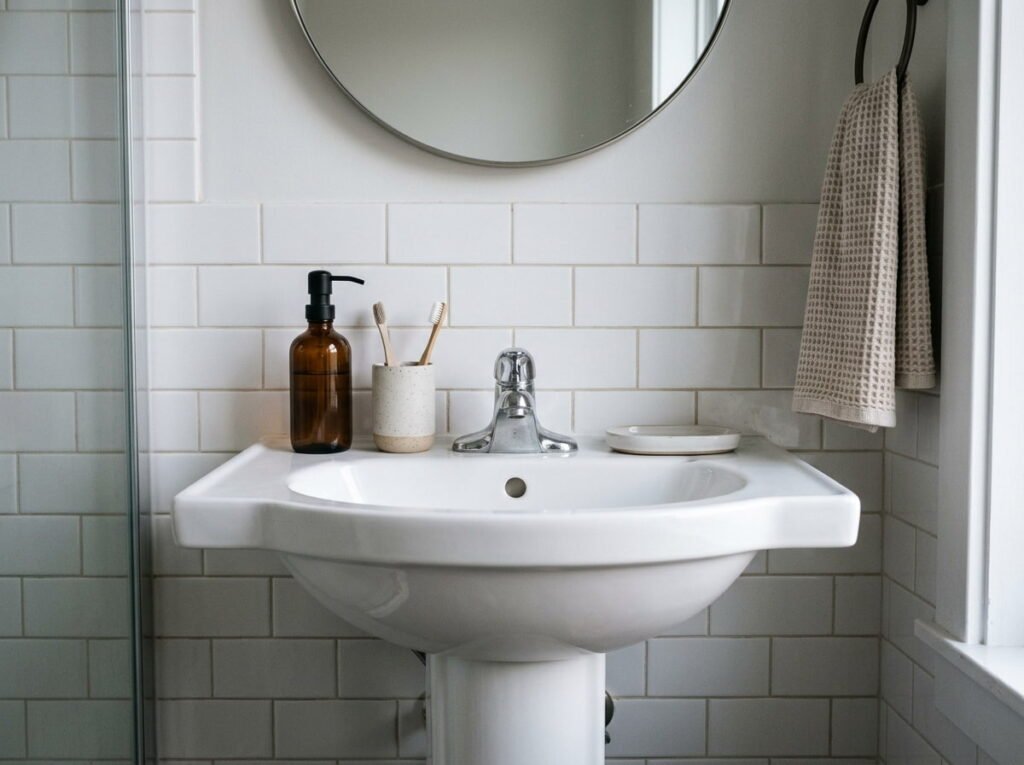
Here is a rule that does more work than any cleaning product: keep three things on the counter and nothing else.
Maybe it is a soap dispenser, a toothbrush cup, and one small tray. Everything else goes into a drawer, a cabinet, or a basket under the sink. When the surface is nearly empty, you wipe it in one sweep instead of lifting a dozen bottles.
Share the bathroom with a roommate? Give each person one small basket so their things stay together and can leave the counter in a single grab.
What earns counter space
5. Move Bottles Off the Tub Edge With a Tension Rod and Hooks
Look at the edge of your tub. Bottles stacked along it trap water underneath, and that damp ring is where pink film and grime collect.
Lift them off with tools that never touch your walls. A tension rod across the shower corner holds a hanging caddy. Adhesive or suction hooks hold razors and loofahs. An over the door hook takes a towel or a bag of spare supplies. Check the weight limit before you load anything up.
Suction hooks grip smooth tile best and often slip on textured tile. With the ledge clear, you can wipe it dry in one pass.
6. Hide the Toilet Brush in a Closed Caddy So You Actually Use It
Nobody wants to reach for a brush that sits out in the open, so it stays put and the bowl gets ignored.
A closed caddy fixes that. The lid keeps it out of sight, and a brush you don’t mind seeing is a brush you’ll grab. Slim ones tuck beside the toilet without eating floor space.
Pair it with a simple habit:
- Swish after any visit that leaves a mark
- Let the brush drip over the bowl for a few seconds before it goes back
- Rinse the holder when you do your weekly floor
The whole job takes about thirty seconds, and the bowl never builds up much to scrub.
💡 Quick Tip
Drop a spoonful of baking soda in the bottom of the caddy. It helps keep the damp smell from settling in.
7. Let a Vinegar Spray Sit on Soap Scum Instead of Scrubbing Harder
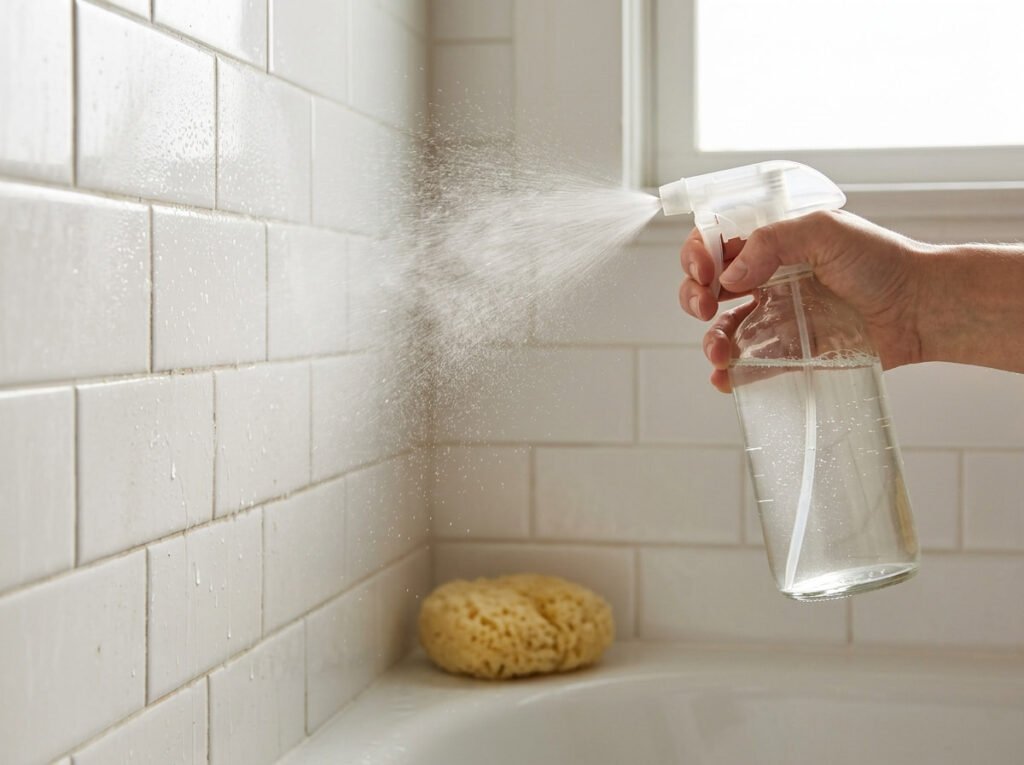
Most people think soap scum needs muscle. It mostly needs time.
Fill a spray bottle with equal parts white vinegar and warm water, mist the tile and tub, and walk away for ten minutes. The acid softens the film so a soft sponge lifts it with light pressure. You skip the sore shoulder and the scratched surfaces.
Skip this on natural stone like marble or travertine, since vinegar can dull it. Never mix it with bleach. If your landlord’s grout is old or crumbly, spot test first.
Spray, then wait ten minutes before wiping.
Use a soft sponge or cloth.
Mixing vinegar with bleach or other cleaners.
Using it on marble or other natural stone.
8. Split Cleaning Into a 5 Minute Daily, Weekly, and Monthly Rhythm
One long Saturday scrub is hard to start and easy to skip. Small jobs spread across the calendar are much easier to keep up.
Daily jobs are tiny and keep mess from forming. Weekly jobs reset the surfaces. Monthly jobs handle the spots that only need attention now and then, like the showerhead or the cabinet under the sink.
Tape the table below inside a cabinet door if you like seeing it on paper. Most weeks, the daily column does the heavy lifting.
| Daily | Weekly | Monthly |
|---|---|---|
| Wipe the sink | Scrub the toilet and tub | Descale the showerhead |
| Squeegee the shower | Wash the bath mat | Tidy the under sink cabinet |
| Hang towels to dry | Mop or wipe the floor | Wash the shower liner |
9. Toss the Shower Curtain Liner in the Washing Machine
The liner is the dirtiest thing in the room, and it is the easiest to forget.
Check the care label first. Most fabric and many plastic liners can go in on a gentle cycle with a couple of old towels, which act as scrubbers against the film and spots. Add a splash of vinegar or a scoop of baking soda to the load.
Pull it out before the spin cycle finishes and hang it right away so it dries flat and smooth. If dark mildew spots stay after washing, a fresh liner costs little and is worth it.
Wash the liner with old towels, then hang it right away so it dries flat.
10. Run the Fan 20 Minutes After Showers to Stop Mildew Early
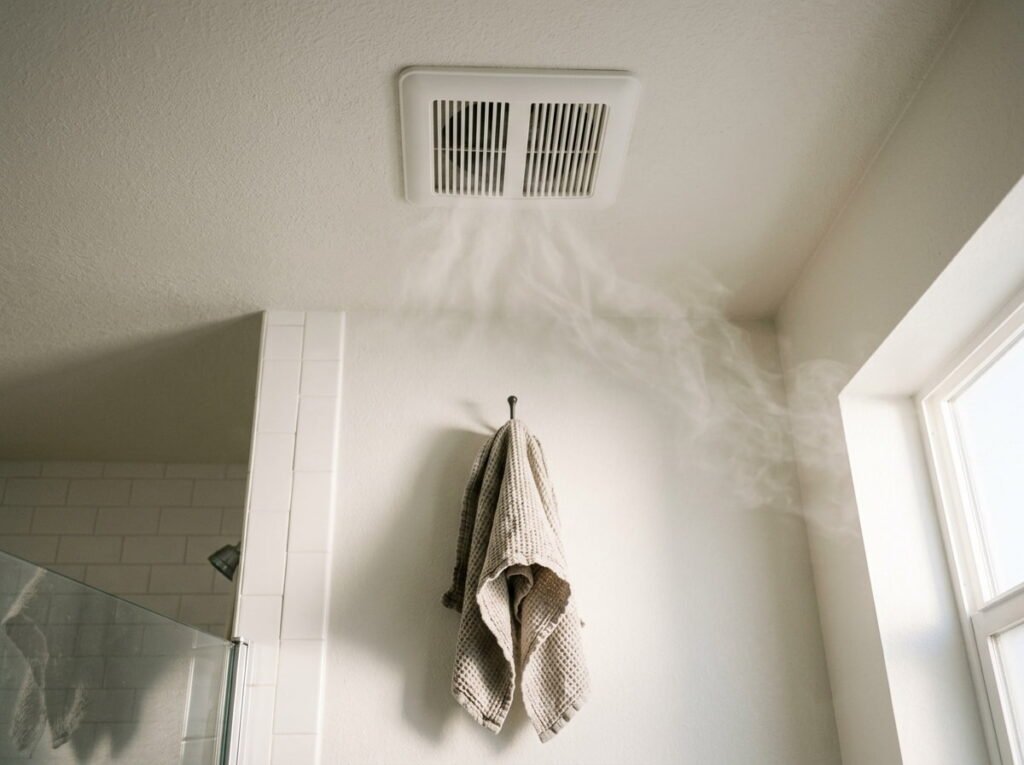
Steam has to go somewhere, and in a small bathroom it goes straight to the walls, the ceiling, and the grout.
Turn the fan on before you shower and leave it running for about twenty minutes afterward. No fan? Prop the door open and crack a window if you have one. A towel hung on a hook instead of bunched on the rack also dries faster once the air moves.
Mildew likes damp corners that never dry out. Keep the air moving and it has far less to work with.
📌 Good To Know
A bathroom fan on a timer switch, if your unit allows one, means you never have to remember to turn it off.
11. Scrub Grout Lines With an Old Toothbrush and Baking Soda Paste
Grout holds dirt in a way smooth tile never does.
Mix baking soda with a little water until it feels like thick toothpaste. Press it along the grout lines, wait a few minutes, then scrub in short strokes with an old toothbrush. Rinse with warm water and wipe dry. Work in small sections so the paste never dries out before you reach it.
Keep the toothbrush under the sink with your cleaning supplies so it never ends up back in the cup by mistake.
12. Descale the Showerhead With a Vinegar Bag and a Rubber Band
If the spray has gone patchy or sideways, mineral buildup in the little nozzles is a common cause.
You do not need to unscrew anything, which makes this a renter friendly fix. Pour white vinegar into a plastic bag, slip it over the showerhead so the nozzles are covered, and secure it with a rubber band. Leave it for a few hours, then remove it and run hot water through.
Check your fixture first. Vinegar can damage some finishes if left on too long, so skip the soak on brass or oil rubbed bronze, or keep it short.
Fill a sturdy plastic bag about halfway with white vinegar.
Lift the bag so the showerhead sits inside, then fasten it with a rubber band.
Wait a few hours, then take the bag off and wipe the nozzles with your fingers or a soft brush.
Run hot water for a minute to flush out the loosened buildup.
13. Color Code Your Microfiber Cloths So Nothing Gets Cross Used
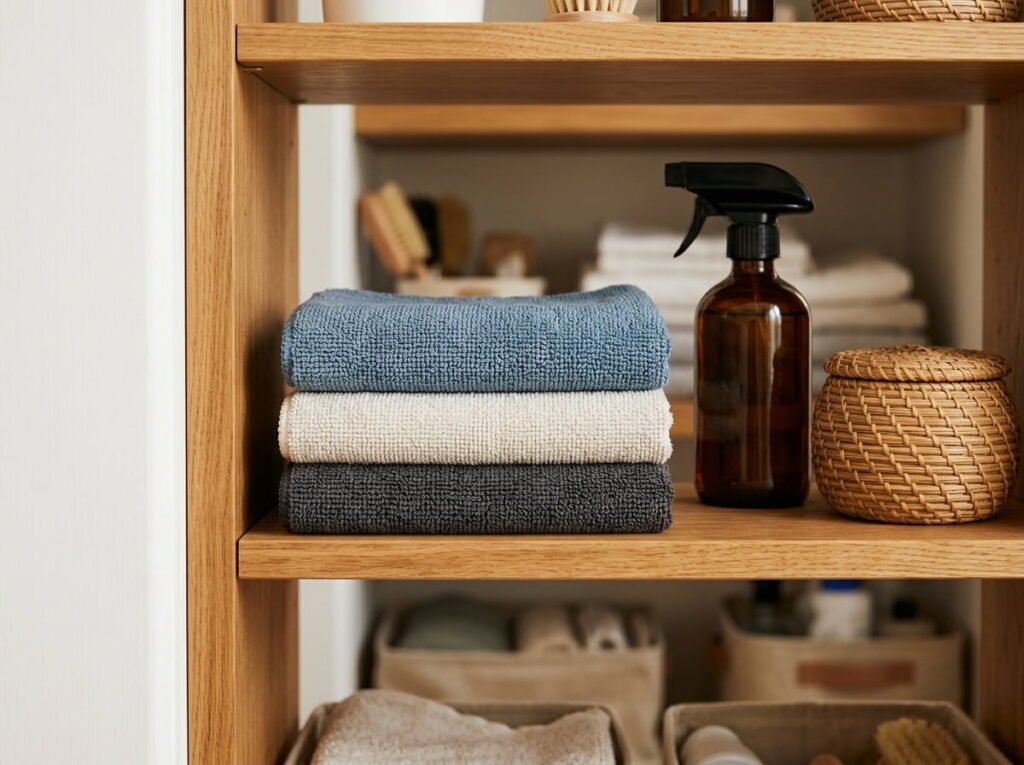
The usual mistake is grabbing whatever cloth is nearest, and that includes the one that just wiped the toilet seat.
Assign a color to each job. Blue for the mirror and glass, white for the sink and counter, grey for the toilet and floor. Fold them in a small stack in the same order every time, so you reach for the right one without thinking.
Wash them together, but skip fabric softener. It coats the fibers and makes them less absorbent over time.
Keep one color per zone, every time.
Wash cloths after each deep clean.
Using the toilet cloth on the sink or mirror.
Adding fabric softener to the wash.
14. Catch Hair at the Drain Before It Becomes a Clog
Slow drains rarely start slow. They start with a thin layer of hair that nobody notices.
A small mesh or silicone drain catcher sits in the shower or sink and traps hair before it goes down. Lift it out after your shower and drop the hair in the trash. That takes ten seconds and costs very little.
If hair has already built up, a plastic drain zip strip pulls it out. Slide it down, pull gently, and toss what comes up. Most of it is gross but satisfying.
⚠️ Watch Out
Harsh drain cleaners can be rough on older pipes. In a rental, tell your landlord about a drain that keeps clogging instead of pouring something strong down it.
15. Finish Mirrors and Chrome With a Dry Cloth for Streak Free Shine
Look at a mirror in side light and you can see every swipe a damp cloth left behind.
The fix is the second pass. Spray a little cleaner onto the cloth, not the glass, and wipe the mirror in an S pattern. Then go over it again with a clean, dry microfiber cloth to pick up the moisture before it dries into streaks. Do the same on the faucet and towel bar.
Chrome shows water spots quickly, so a quick dry buff after each deep clean keeps it looking new.
Wiped once with a damp cloth, leaving faint swirls and spots that show in the light.
Wiped, then buffed with a dry cloth, so glass and chrome look clear and bright.
16. Clear the Under Sink Cabinet and Add One Stackable Bin
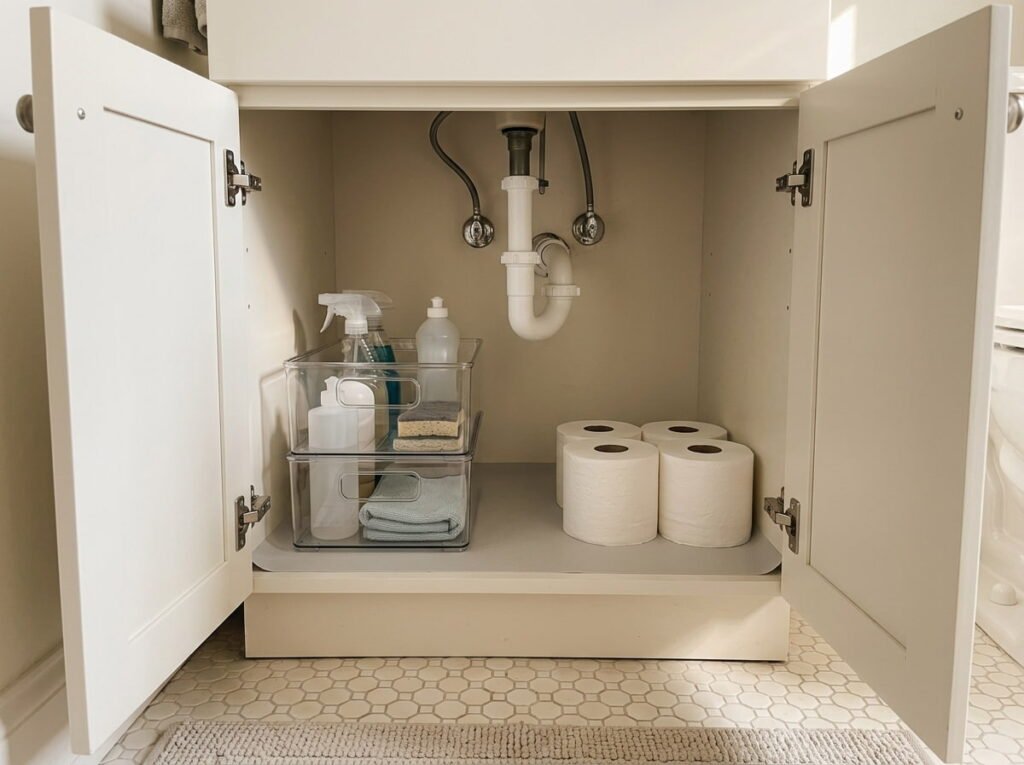
Open the cabinet under your sink and take everything out. Yes, all of it.
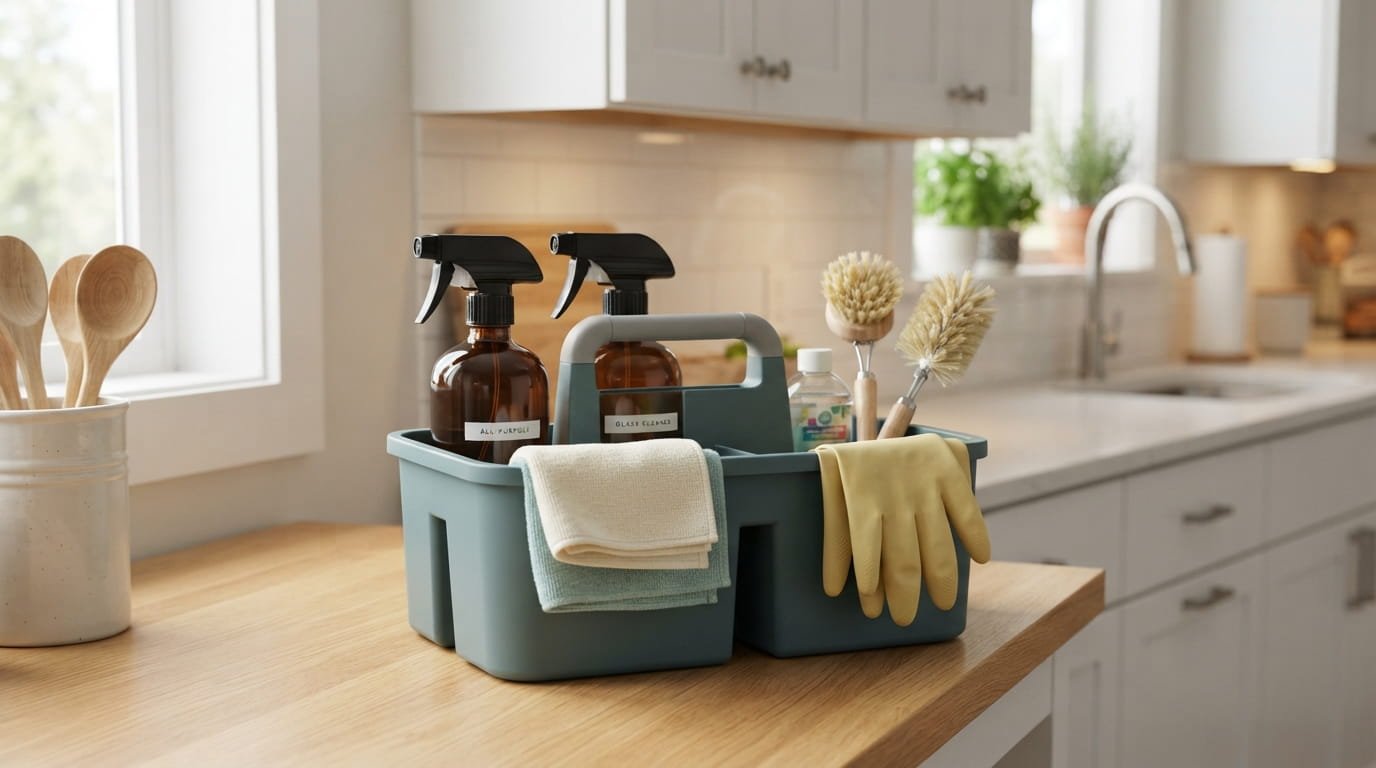
Wipe the inside with a damp cloth, check for leaks or damp spots, and toss anything empty or expired. Then put back only what you use, sorted into one stackable bin so it lifts out in a single grab. Cleaning supplies go together, and spare toilet paper and extra soap go in the space beside them.
- Cleaners and sponges in the bin
- Spare rolls standing upright next to it
- Anything leaky on a small tray
A cabinet you can see into is one you will keep tidy.
Under sink reset checklist
17. Test Cleaners on a Hidden Spot to Protect Your Rental Deposit
Deposit trouble often starts with a cleaner nobody tested first.
Tile, grout, caulk, and fixtures vary a lot from one building to the next, and you rarely know what yours are made of. Before you use a new product on a visible area, try it on a small hidden spot. The back corner of the tub, the inside of the cabinet door, or the base of the toilet all work well.
Wait a few minutes, rinse, and dry. If the finish looks the same, go ahead. If it dulls or clouds, you just saved yourself a bigger problem.
Test small and hidden first. A thirty second check is cheaper than fixing a damaged finish.
18. Set a 10 Minute Weekly Reset Timer and Run the Whole Routine
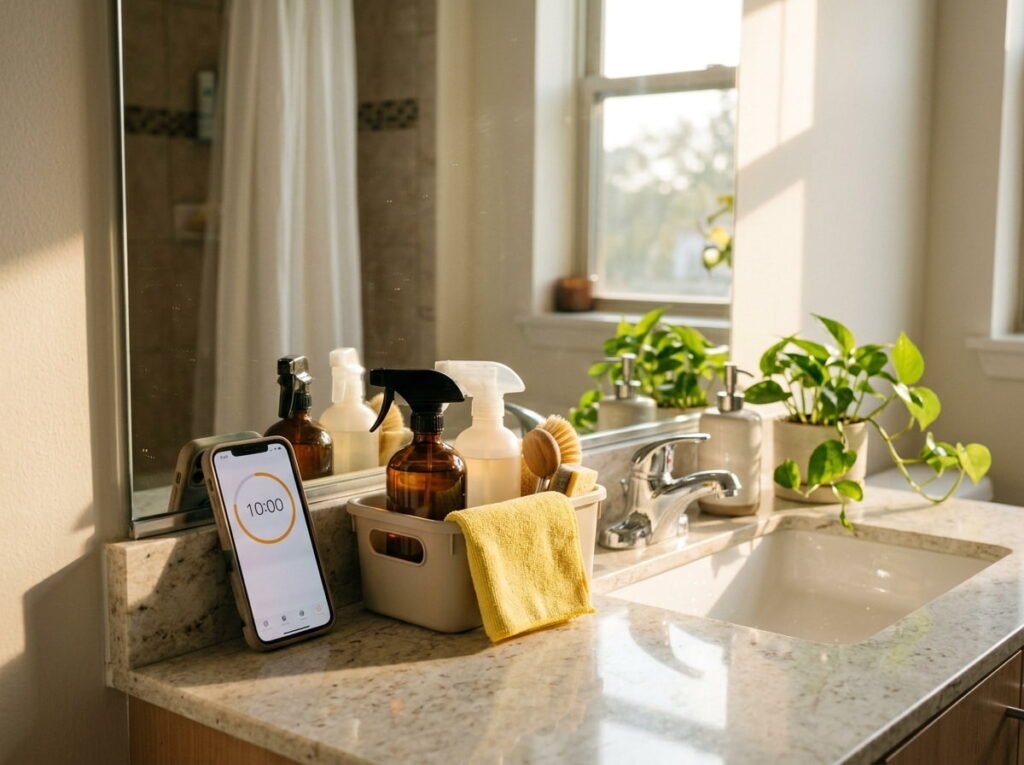
Ten minutes is short enough that you will not talk yourself out of it.
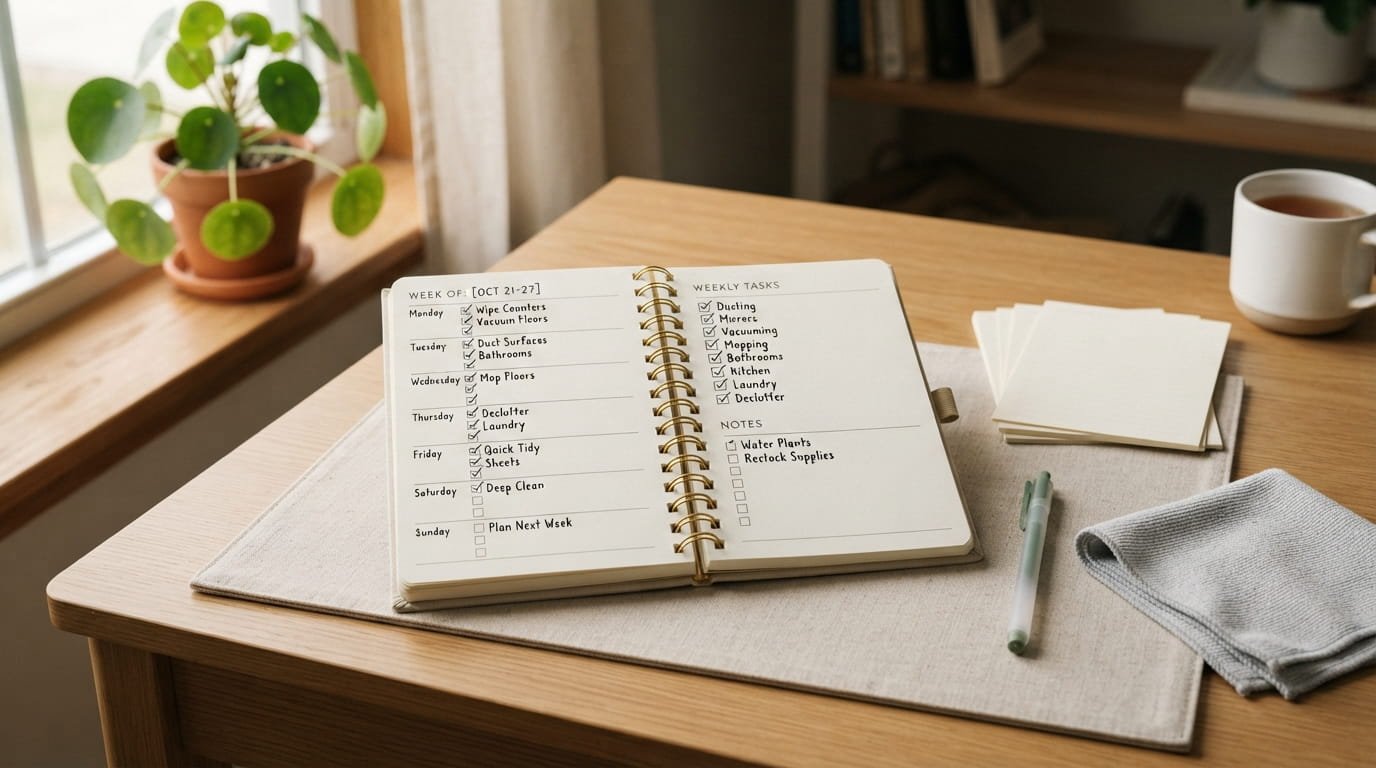
Pick one day, set a timer on your phone, and work through the routine in the same order each week. Order matters because the products that need time to sit go on first, and the dry buffing comes last. After a few weeks you will not need the list.
Some people play a favorite playlist and treat it like a short workout. If you share the space, trade weeks with your roommate so no one carries it alone.
| When | What to do |
|---|---|
| Minutes 1 to 2 | Clear the counter and spray the tub and sink |
| Minutes 3 to 5 | Clean the toilet while the spray sits |
| Minutes 6 to 8 | Wipe the tub, sink, and faucet, then rinse |
| Minutes 9 to 10 | Buff the mirror and chrome, then wipe the floor |
Conclusion
A small bathroom does not need a big cleaning day. It needs a few habits that fit into the minutes you already spend in there.
Wipe the sink while you brush, squeegee the shower before you step out, and keep the counter close to empty. Those small moves add up to a room that stays fresh without taking over your weekend.
Start with two or three of these small bathroom cleaning ideas and add more as they start to feel natural. Your space may be tiny, but it can still feel calm, bright, and cared for.
Save this list to your cleaning board so it is ready the next time your bathroom needs a quick refresh.