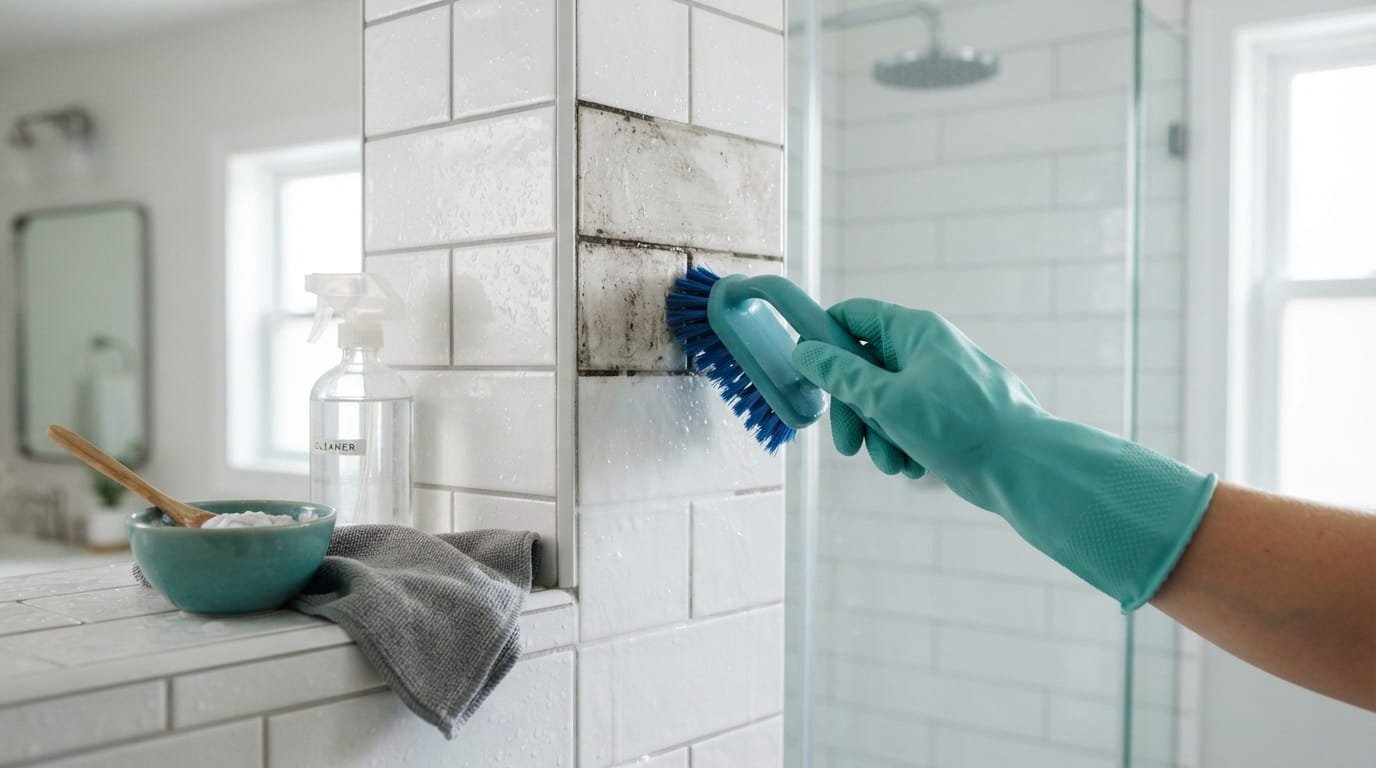
Grout is the first thing to give away how long a bathroom has gone without a deep clean. Lines that started out white turn grey, then yellow, then a shade of brown nobody can name. The tile around them still looks fine, which only makes the grout look worse.
The good news is that stained grout is rarely ruined grout. Most of that color is soap film, minerals, and mildew sitting in a rough, porous surface. With the right paste and a little patience, those lines can go from dull and shadowy to clean and bright in a single afternoon.
If you have been wondering how to clean bathroom grout without scratching your tile or breathing harsh fumes, the steps below follow the order of a real cleaning session. You will test your grout, pick a cleaner that matches the stain, scrub the smart way, then dry, touch up, and seal so the results last.
Grab a brush and pick one small patch to start. The first clean stripe is always the most satisfying.
1. Do a Water Drop Test to Find Out Whether Your Grout Is Sealed
Before you pick a cleaner, find out what you are working with.
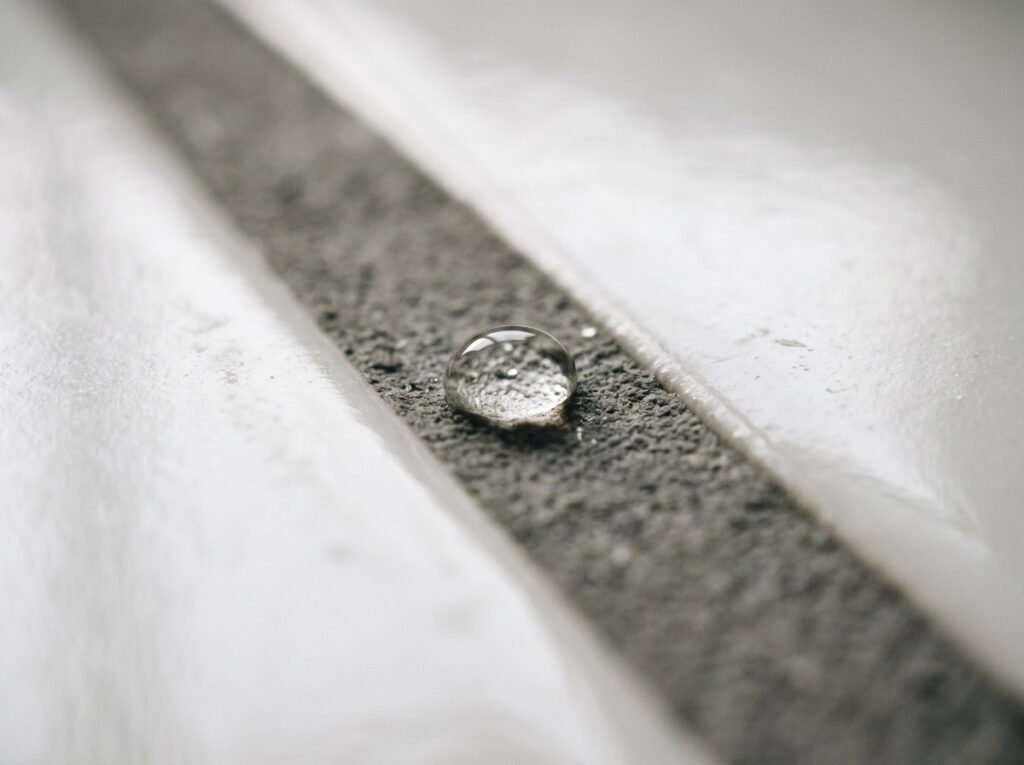
Sealed grout and unsealed grout need different handling, and a few drops of water will tell you which one you have. Run the test on a clean, dry patch in an out of the way spot, like behind the toilet or low in a shower corner.
Unsealed lines stain faster, so go easier with scrubbing and plan to seal once you finish.
Pick a dry, hidden stretch of grout and drop a few drops of water on it.
Wait a few minutes and watch what the water does.
Beads of water mean the sealer is working. Grout that darkens fast needs sealing after you clean. Slow darkening means the sealer is wearing thin.
2. Gather Five Simple Supplies Before You Touch a Single Line
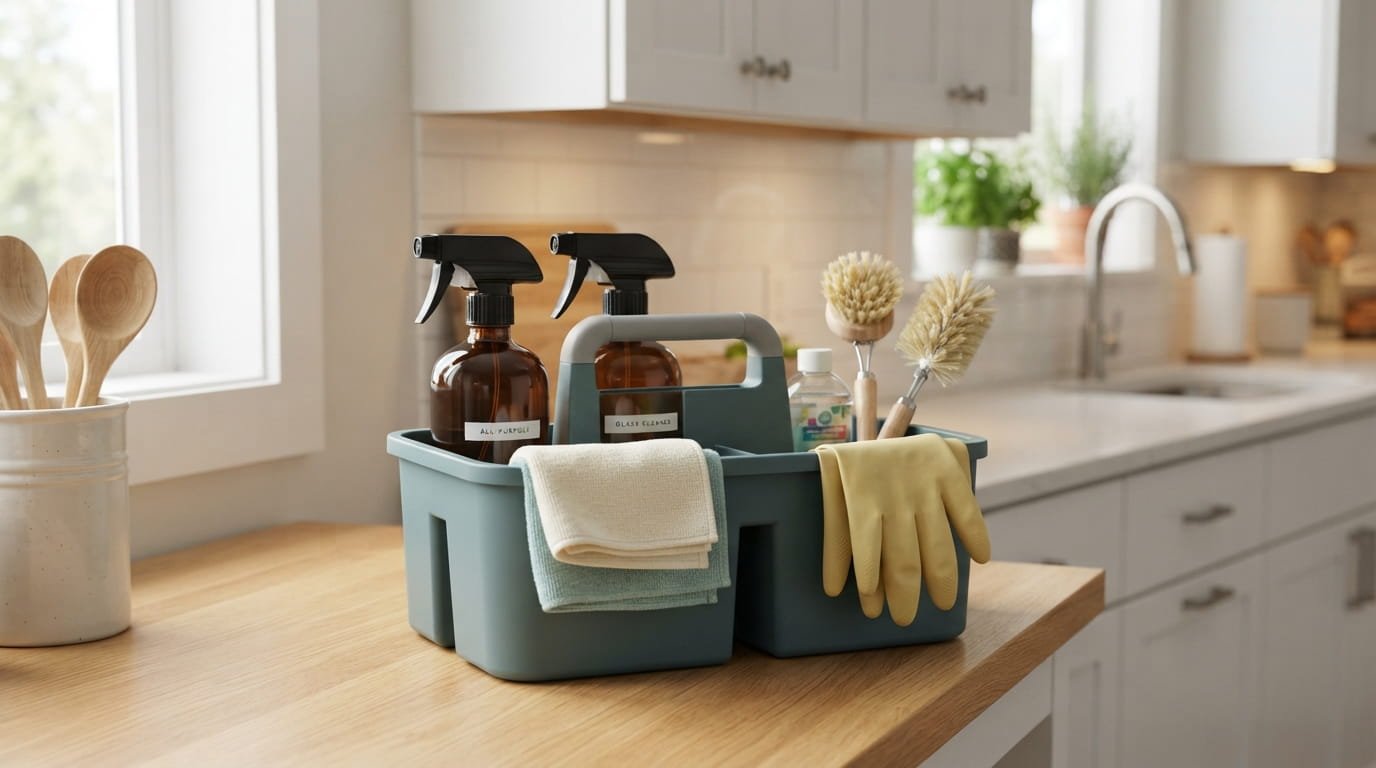
Nothing stalls a cleaning session like leaving to hunt for baking soda halfway through.
Set everything on a towel beside the tub before you begin. The list is short, and you probably own most of it already. Add a pair of rubber gloves, since peroxide dries out skin, and turn on the fan or open a window.
Having it all within reach is half of what makes the job feel quick.
3. Vacuum the Grout Lines First So Loose Grit Does Not Scratch Tile
Dry first, wet second.
Hair, dust, and bits of grit turn into muddy paste the moment water touches them, and they scratch the tile as you scrub. Run a vacuum with a narrow crevice attachment along every line, or sweep them out with a dry brush. It takes a couple of minutes and makes everything after it cleaner.
Do the floor and the lower wall corners especially. That is where dust settles and mixes with moisture.
💡 Quick Tip
Start in the corner farthest from the door and work toward it. That way you never walk across lines you just cleaned.
4. Loosen Surface Dirt With Hot Water and a Stiff Brush
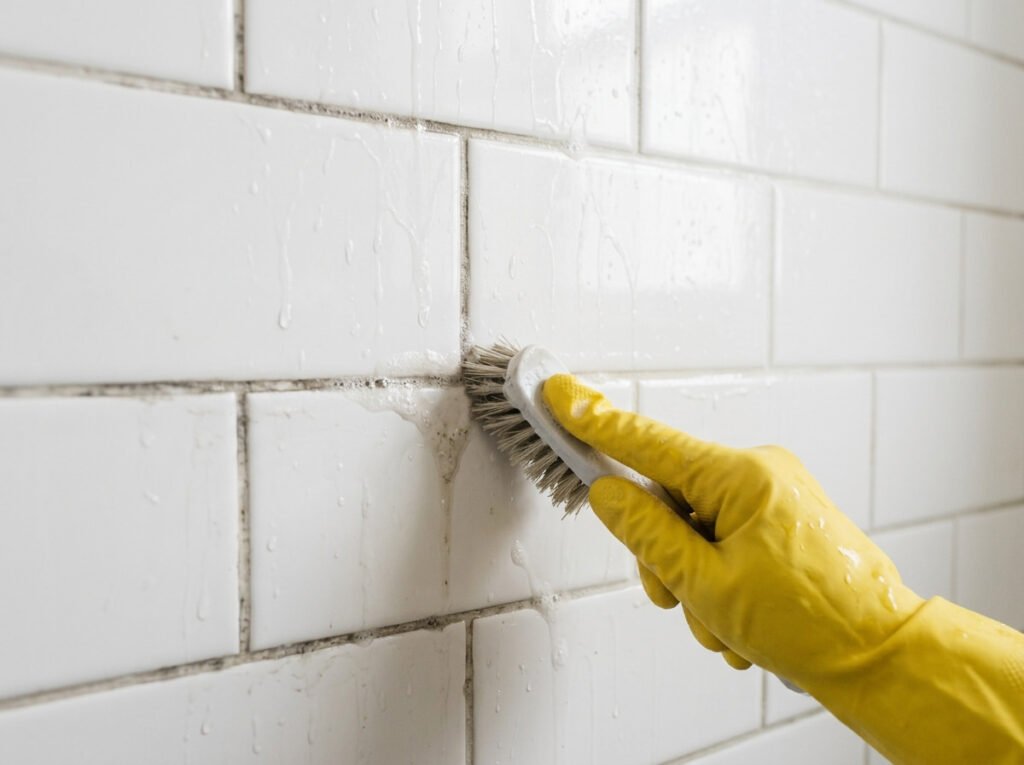
A surprising amount of grout color is surface grime, not a deep stain.
Spray a small section with hot water, then scrub it with a stiff nylon brush using firm, even pressure. This lifts the top layer of soap film so your paste can reach the real stain underneath. Skip wire brushes, which scratch tile and wear the grout down over time.
Some lines will already look a shade lighter, and you have not used a single cleaner yet.
5. Mix a Baking Soda Paste for Everyday Grout Stains
Three parts baking soda to one part water gives you a paste about as thick as toothpaste.
Spoon it into a small bowl and stir until no dry clumps remain. Press it along the grout with your finger or the back of a spoon, covering only the lines. Mix small batches, because the paste dries out and stops working if it sits too long.
Baking soda is mild, so it handles most everyday stains without damaging tile.
Paste check before you scrub
6. Spray Vinegar on the Paste to Lift Buildup, but Not on Natural Stone
Vinegar gets credit for cleaning everything, and grout is one place where it needs a little care.
Mist white vinegar over the baking soda paste and it fizzes, which helps loosen soap film and mineral buildup. Let the fizzing stop, wait about five minutes, then scrub. It works well on porcelain and ceramic tile.
Keep it away from marble, travertine, and other natural stone, since the acid can dull the surface. Frequent use can also wear down grout over time, so save it for the lines that need it.
Use it on ceramic and porcelain tile.
Rinse well with clean water afterward.
Using it on marble or other natural stone.
Making it a weekly habit on every line.
7. Match the Paste to the Stain: Baking Soda or Hydrogen Peroxide
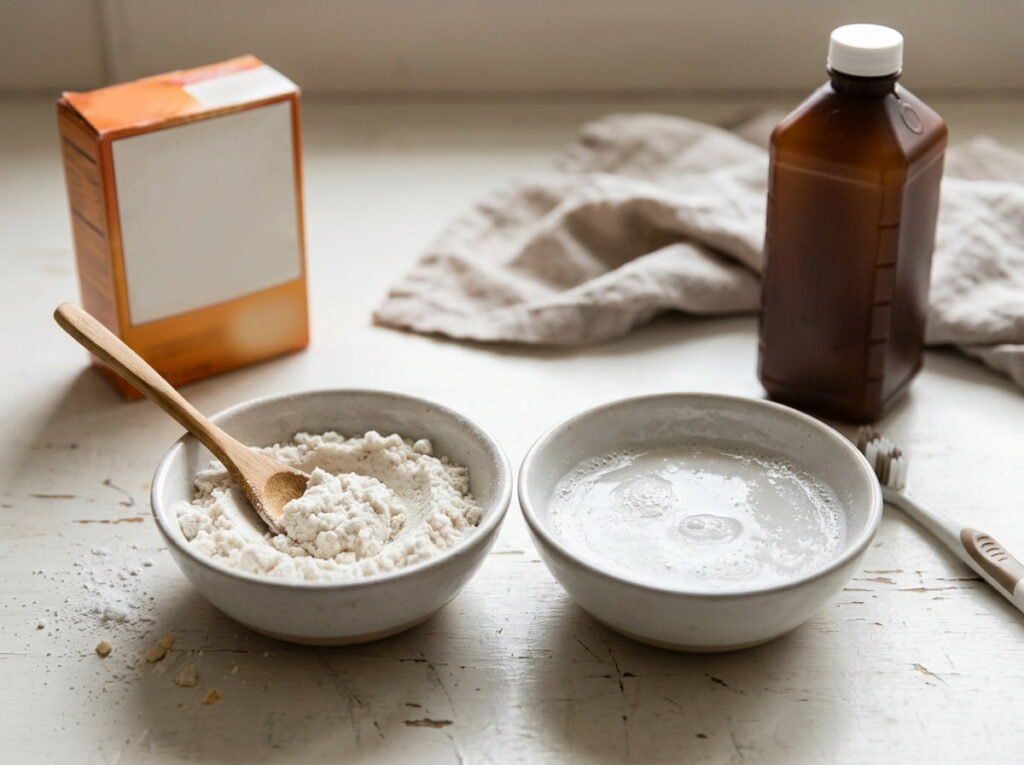
Baking soda and hydrogen peroxide do different jobs, so the stain should decide which one you reach for.
Baking soda is the gentle scrubber. It lifts grime and soap film, and it is easy on tile. Peroxide is the brightener. It works on gray shadows, yellowing, and the faint stains that scrubbing alone leaves behind.
Mix peroxide into the baking soda for a thicker paste that stays on the line. Use the regular drugstore bottle, and test it on a hidden spot first if your grout is colored, since peroxide can lighten dye.
| Baking soda paste | Peroxide paste |
|---|---|
| Best for everyday grime and soap film | Best for gray, yellow, or faded lines |
| Mild, safe on most tile | Stronger, may lighten colored grout |
| Rinse with plain water | Wear gloves and test a hidden spot |
8. Soak Stubborn Gray Lines With Oxygen Bleach for a Whiter Finish
Grey lines that stay grey after scrubbing usually need a soak, not more elbow grease.
Oxygen bleach is a powder you mix with warm water, and it is gentler than chlorine bleach. Follow the label for the ratio, then brush the solution along the grout or apply it with a spray bottle. Let it sit for the time on the package, scrub lightly, and rinse thoroughly.
Open a window or turn on the fan while you work. Test colored grout in a hidden spot first, since it can lift color.
Dull grey lines that look dirty even right after a scrub, with darker patches in the corners.
Bright, even lines that stand out clean against the tile, with the shadowed corners lifted.
9. Never Mix Bleach and Vinegar, and Other Cleaner Combos to Avoid
One rule keeps this job safe: use one product at a time.
Cleaners that are harmless alone can create toxic fumes when they meet. Rinse the grout well and let it dry between different products, and never mix them in the same bottle or bucket. Keep these pairs apart:
- Bleach and vinegar
- Bleach and ammonia
- Bleach and any other cleaner
- Peroxide and vinegar in the same container
A small bathroom traps fumes quickly, so keep the door open and the fan running. If you feel dizzy or your eyes sting, leave the room and get fresh air.
⚠️ Watch Out
Rinse the grout with plain water between products and let the area air out. Switching cleaners without rinsing is how fumes happen.
10. Pick the Right Brush: Toothbrush, Grout Brush, or Detail Brush
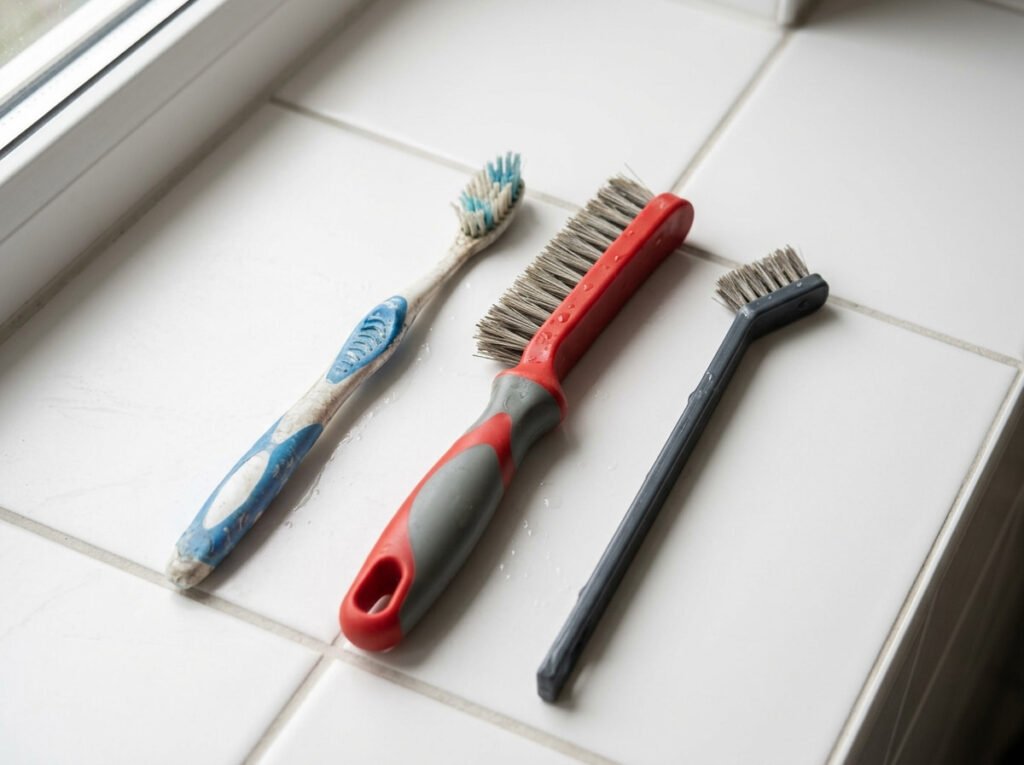
Using one brush for every line is like using one knife for everything in the kitchen. It works, but badly.
An old toothbrush is fine for small stains, tight spots, and lines around the faucet. A grout brush has a narrow head and stiff bristles that fit the line exactly, which saves your wrists on a big floor. A small angled detail brush gets into corners where the tub meets the wall.
Keep a few on hand and rinse them after each session so the bristles stay straight.
11. Scrub in Short Strokes Along the Line, Not Across It
Scrubbing across the grout pushes dirt out onto the tile face, then back into the next line. Work along the line instead, with your brush following its direction.
Use short, firm strokes over a stretch about the length of your hand. Then wipe that stretch with a damp cloth before you move on. Wiping as you go shows you exactly where the stain is gone and where it still needs another pass.
Press firmly but steadily. Heavy pressure wears down the grout, and it rarely works faster.
Set the brush on the line and scrub back and forth in short strokes, following the groove.
Wipe the section with a damp microfiber cloth to lift the loosened dirt.
Check the line in good light. Repeat on any shadow that remains.
Move to the next stretch and rinse your cloth often.
12. Handle Shower Corners and Caulk Lines Separately From the Grout
Look closely at the seam where the tub meets the wall. It is often caulk, not grout, and it is much softer.
Caulk is flexible so it can handle movement, which also means hard scrubbing tears it. Clean it gently with a soft brush and the baking soda paste, and skip the stiff brush. If black spots stay put after a careful clean, the mold has likely gone below the surface.
At that point the caulk needs replacing. In a rental, mention it to your landlord instead of trying to fix it yourself.
Use a soft brush and light pressure on caulk.
Let corners dry fully after cleaning.
Scraping caulk with a stiff brush or blade.
Ignoring black spots that keep coming back.
13. Use a Steam Cleaner on Floor Grout, but Only if It Is Sealed
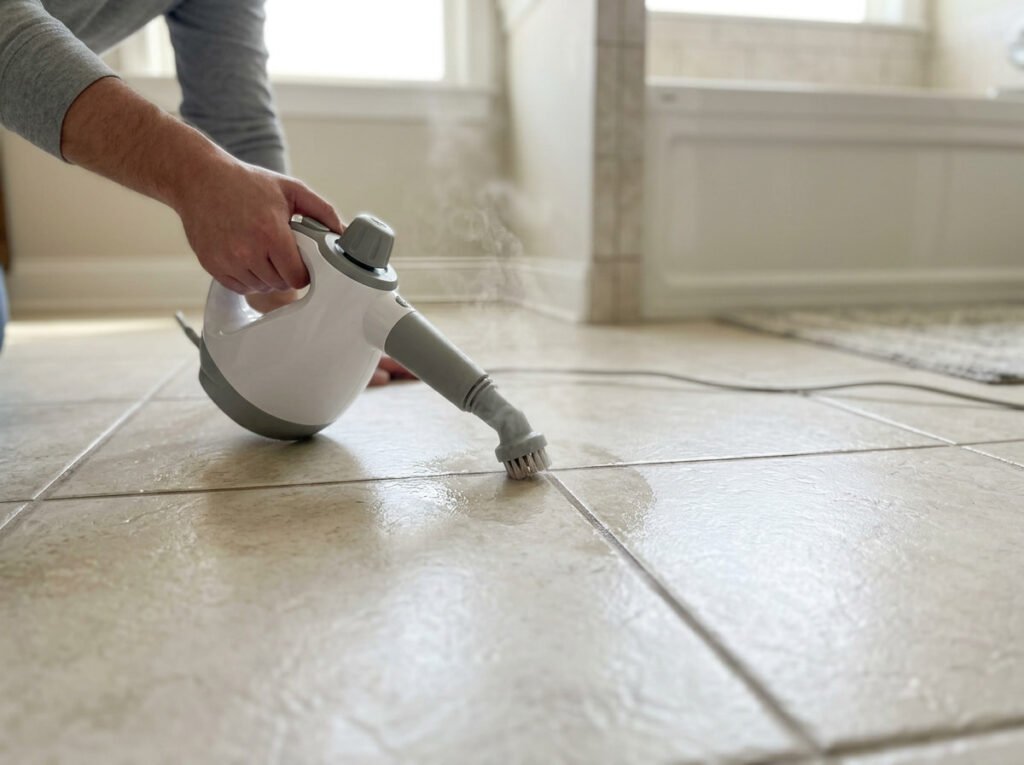
Floors collect more grime than walls, and kneeling over them with a brush gets old fast.
A handheld steam cleaner with a small nozzle loosens dirt with heat and a little water, so you wipe more and scrub less. Move slowly along each line, then wipe up the loosened dirt right away with a clean cloth.
Heat and moisture can be hard on unsealed or cracked grout, so go back to your water drop test from item 1 before you start. Sealed floors handle steam best.
📌 Good To Know
Check the steamer’s manual for tile and grout use, and test one small patch first. Not every floor or finish handles steam.
14. Rinse and Wipe Every Trace of Cleaner Before It Dries Back In
A grout line that looks perfect while wet can turn chalky white once it dries. That is leftover paste or cleaner, and it traps new dirt fast.
Rinse each section with clean water from a spray bottle, then wipe it right away with a fresh, damp microfiber cloth. Wring the cloth out often. Finish with a dry cloth over the tile face so no film is left to build up.
Skipping the rinse is the most common reason a good clean fades within a week.
Clean grout stays clean longer when no cleaner is left behind. Rinse until the cloth comes away clear.
15. Let the Grout Dry Completely Before You Judge the Results
Wet grout always looks darker than it really is, so the first look can fool you.
Open the window, run the fan, and leave the bathroom alone for several hours. Overnight is better, especially in a humid space. Come back in daylight and look at the lines from a few angles. This is also the right moment to decide whether any patches need a second round.
Sealing or painting over damp grout traps moisture and causes new stains, so patience here saves time later.
Is it dry enough?
16. Touch Up Faded Lines With a Grout Pen for a Fresh Finish
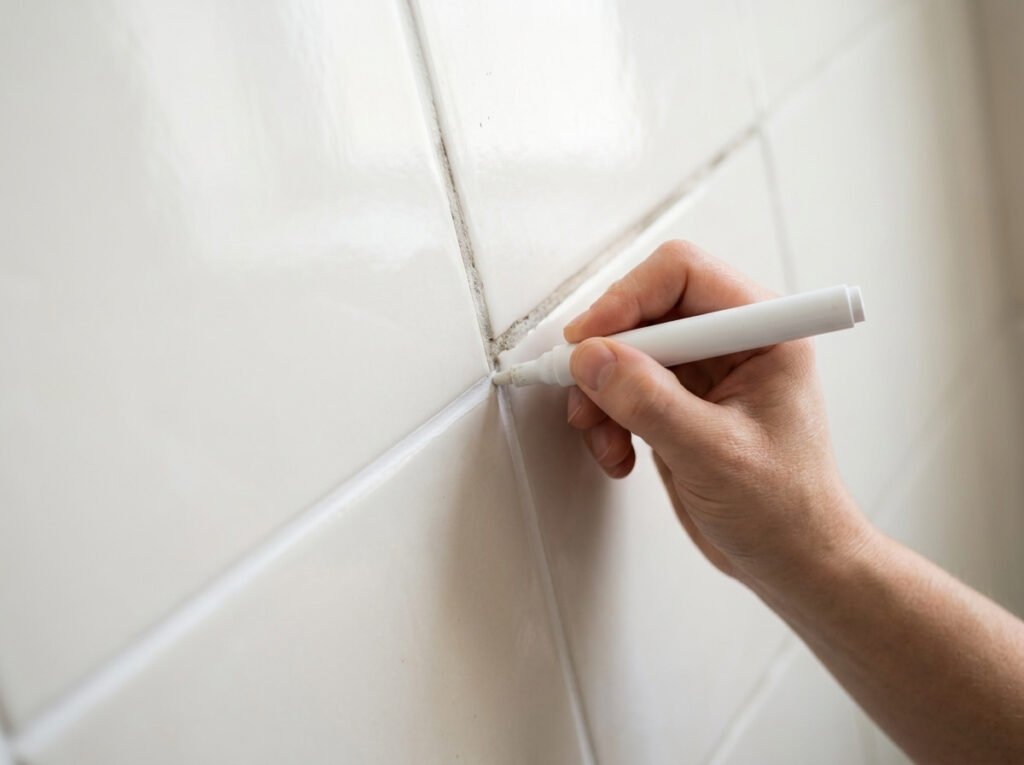
Some stains never fully lift, and some lines have simply worn thin or turned patchy. A grout pen is the fix for those.
It works like a paint marker with a wide, flat tip. Shake it, then run it along the clean, fully dry line and wipe any overflow off the tile face right away with a damp cloth. White and light grey are the easiest shades to match.
Test a short stretch first and let it dry, since color can look different once set. Most pens need a day to cure before they get wet.
Clean but patchy lines, with a few worn spots and uneven shading that scrubbing cannot fix.
Crisp, even lines with a fresh, uniform color that frames every tile.
17. Seal the Grout to Keep It Looking New Longer
Cleaning gets the grout bright. Sealing keeps it that way.
Grout is porous, so water and soap soak in and carry stains with them. A sealer fills those tiny pores so spills sit on top and wipe away. Use it only after the grout is completely dry. If your water drop test showed unsealed grout, this is the step that matters most.
Read the label for dry times, since they vary by product. Keep the bathroom closed to water until the sealer has cured.
Confirm the grout is clean and fully dry before you open the sealer.
Apply a thin, even coat along the grout with the applicator or a small brush.
Wipe any sealer off the tile face quickly, before it dries into a haze.
Let it cure for the time on the label before the next shower.
18. Build a Quick Squeegee and Monthly Touch Up Habit
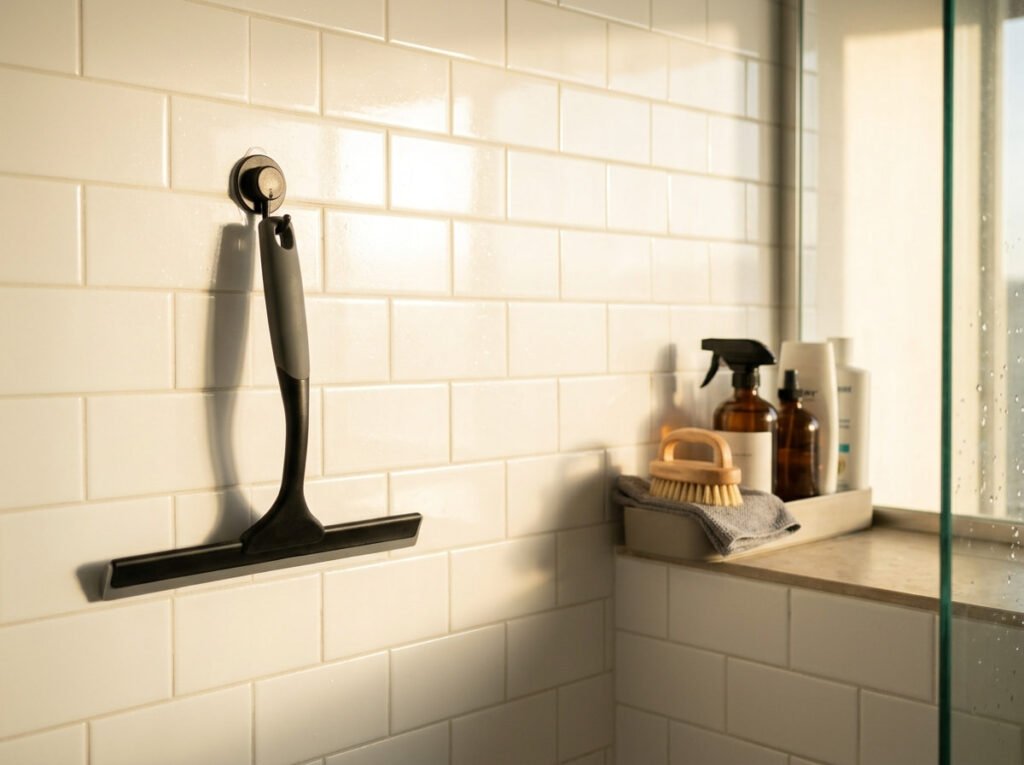
A clean grout line lasts as long as the habits around it.
Water that stays on tile is what grows mildew, so the best upkeep is the simplest. Squeegee the shower walls after use, keep the fan running, and wipe the lines with a dry cloth when you spot a damp patch.
Once a month, do a quick paste touch up on the corners and the floor near the tub. Thirty minutes a month beats a full scrub every spring. A small routine keeps the first clean stripe looking like the last.
Conclusion
Knowing how to clean bathroom grout turns a tired bathroom into one that looks freshly redone. The tile stays the same, but clean, bright lines make the whole room feel lighter.
You do not need every step in this list. Start with the water drop test, pick the paste that matches your stain, and scrub along the line instead of across it. Rinse well, give the grout time to dry, and seal it if it needs it.
The real win comes after the big clean. A quick squeegee and a monthly touch up keep those lines bright, so you never face a full scrub again.
Save this list to your cleaning board so it is ready the next time your grout needs a fresh start.