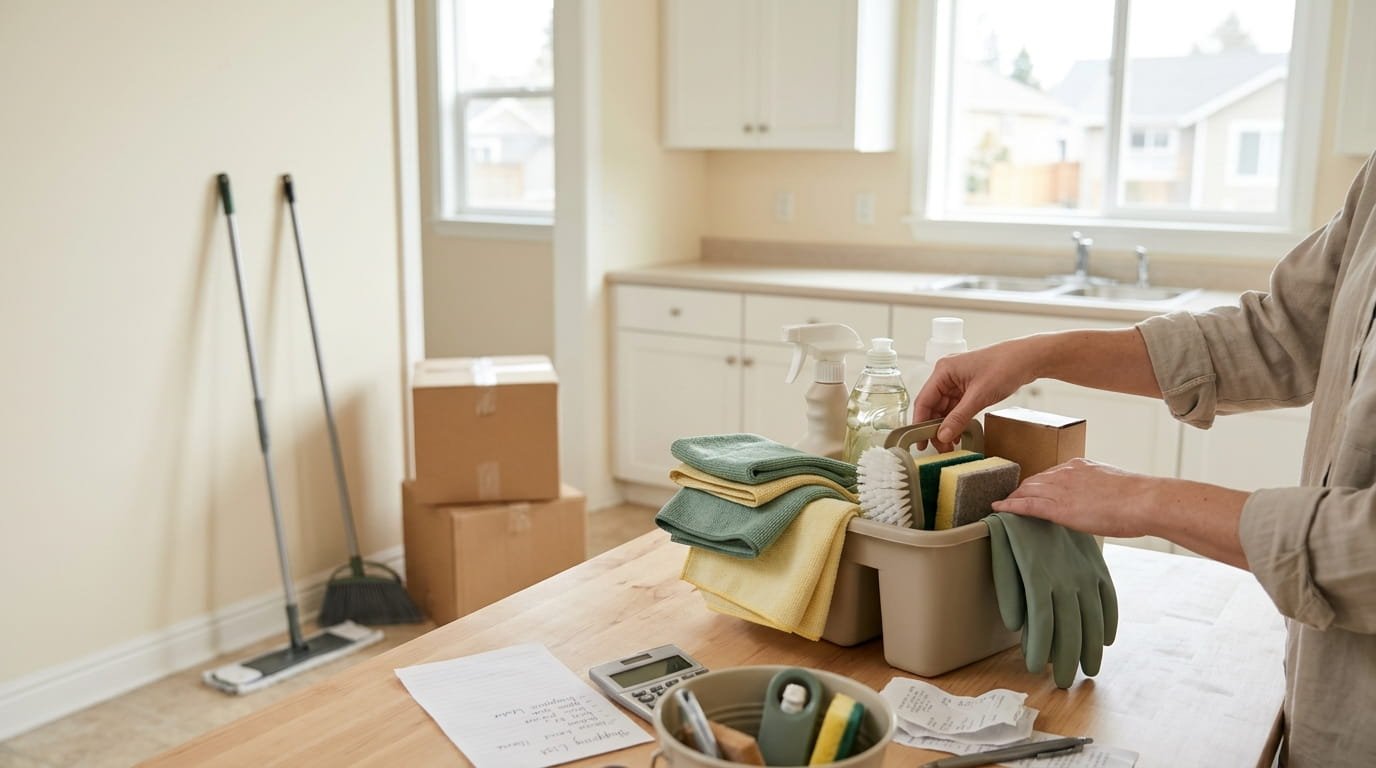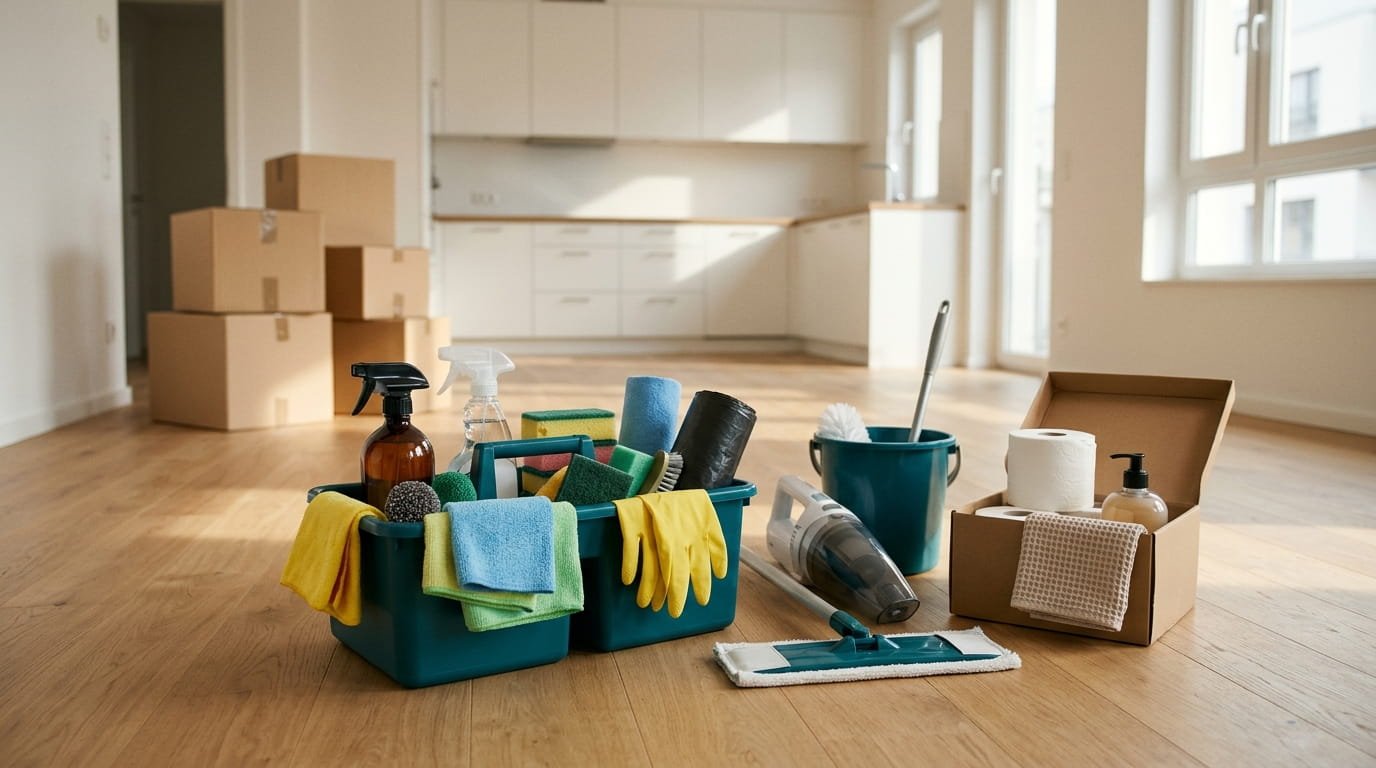
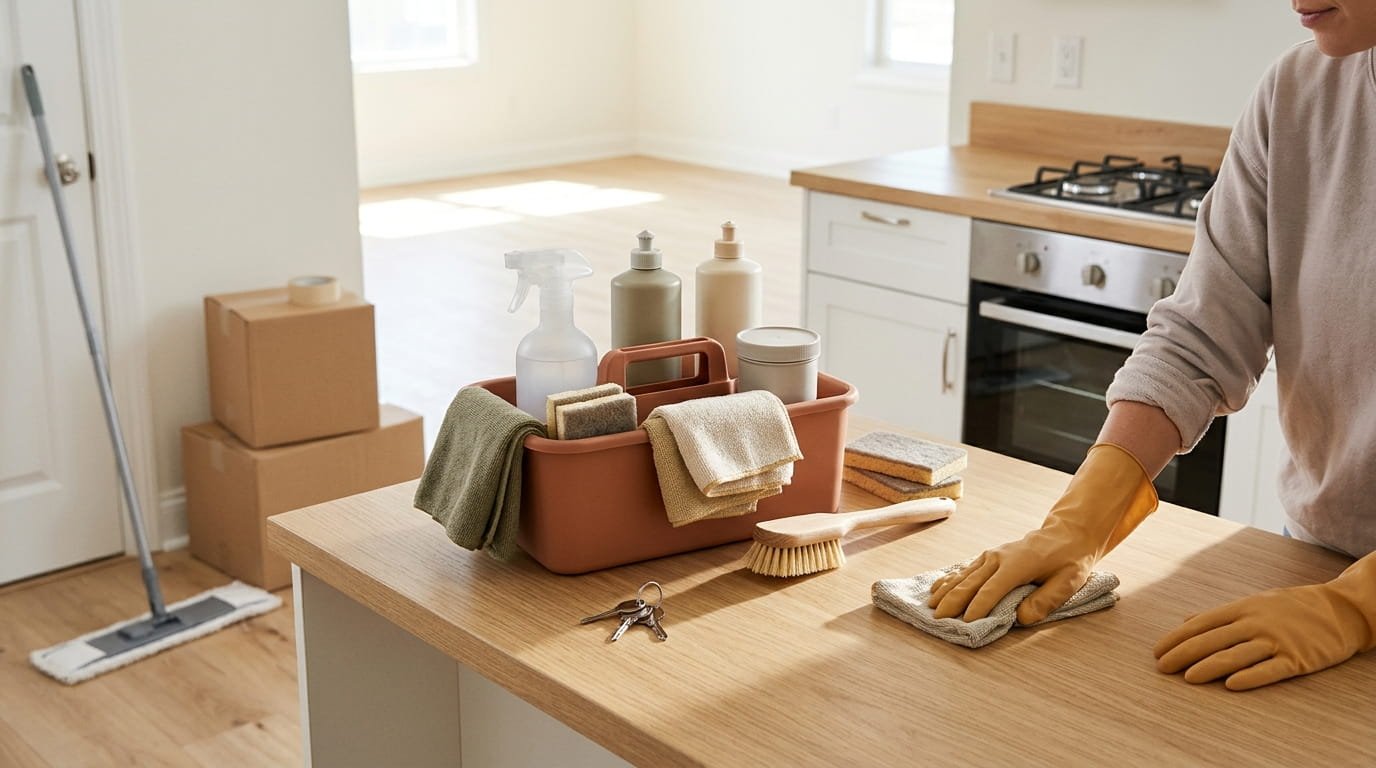
You do not need thirty products to clean a home for move out. You need about ten, matched to what the final inspection is likely to check.
Most people shop in a hurry the night before. They grab whatever is on the shelf, end up with three bottles that do the same job, and still run out of something for the oven or the bathroom. Then they are scrubbing at midnight with the wrong thing.
A short, planned list of move out cleaning products fixes that. You buy each product for one job, read the label before you pay, and skip the extras that look useful but will not be opened.
The 15 items below work as a shopping list, in the order you would use them. Each one says what it is for, what to look for on the label, and what to watch out for. You will not find brand names or prices here, just plain advice so you can shop once and be done.
1. Read Your Lease and Inspection List Before You Shop

The first purchase is not a product. It is a few minutes with your lease.
Check what the agreement says about cleaning, wall marks, carpets, and appliances. Some landlords provide an inspection checklist, and others describe the expected condition in general terms. Knowing what counts shows you where to spend your effort and what you can skip.
Take photos of the home as it is now, so you know what you are working with.
Check your lease first. Buy for what the inspection will check, not for everything.
2. Start With a Reliable All Purpose Cleaner
One good all purpose cleaner covers more jobs than any other bottle on the list.
It handles counters, cabinet fronts, door frames, and light switch plates, and it works on many sealed surfaces. Look for a label that names the surfaces it suits and warns about stone or unfinished wood. Choose a scent you can stand in a closed room.
Buy one large bottle, and keep it for wiping, not for scrubbing heavy grime.
💡 Quick Tip
Test any cleaner on a hidden corner first. It takes a minute and protects painted walls and cabinet finishes.
3. Buy a Toilet Bowl Cleaner and a Bathroom Cleaner Made for Wet Rooms
Bathrooms need two products, not one.
A toilet bowl cleaner works under the rim and on stains in the bowl. A separate bathroom cleaner handles the tub, tile, sink, and fixtures. Check that the bathroom cleaner suits your surfaces, and look for a formula that rinses away without leaving a film.
Pick one of each, and use them one at a time, never together.
4. Add a Soap Scum Remover and a Descaler for Mineral Buildup
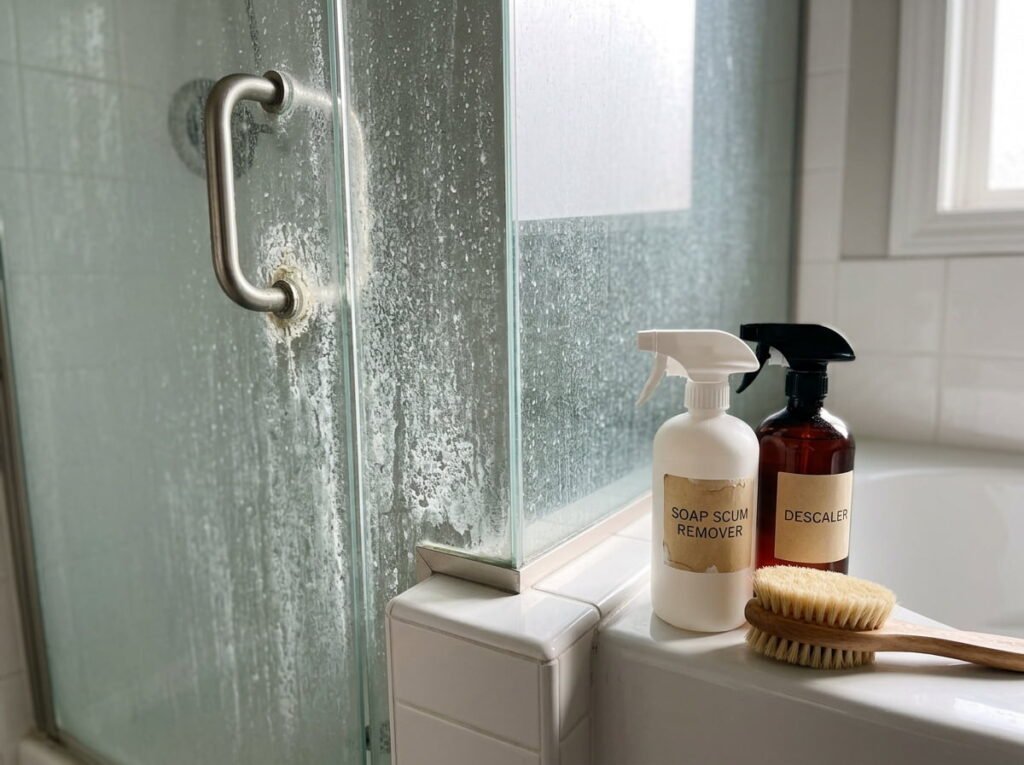
Tubs and shower glass collect two different kinds of film, and each needs its own product.
A soap scum remover tackles the waxy layer from soap and body oils. A descaler targets hard water marks and limescale around taps and on glass. Check the label for the surfaces each one is safe on, since descalers can dull some finishes and natural stone.
If you only see light film, an all purpose bathroom cleaner and some soaking time may be enough.
| Soap scum remover | Descaler |
|---|---|
| For waxy, slick film on tubs and glass | For chalky white crust around taps and showerheads |
| Usually needs soak time, then a soft scrub | Check the label for surfaces it can damage |
5. Choose an Oven Cleaner With Care and Follow the Warnings
Oven cleaner is one of the strongest products on the list, so choose it carefully.
Read the label for safety instructions, ventilation needs, and the surfaces to avoid. Some formulas should never touch aluminum or certain finishes. Some need to sit for hours, so plan the oven first and clean other rooms while it works.
If the oven is only lightly soiled, a paste of baking soda and water may do the job without harsh chemicals.
Open windows and wear gloves and eye protection.
Follow the label for wait time and rinsing.
Mixing oven cleaner with any other product.
Using it on surfaces the label warns against.
6. Pick a Degreaser for the Stovetop and Range Hood
Grease builds slowly, and it is the first thing a new tenant notices.
A kitchen degreaser cuts through cooked on oil on the stovetop, the range hood, the backsplash, and cabinet doors near the cooker. Look for one that lists the surfaces it suits, and check whether it needs rinsing. Greasy filters usually need soaking in hot water and degreaser, then a rinse.
Work in sections, and wipe with a clean cloth so you lift the grease instead of spreading it.
Remove burner grates, knobs, and filters, and soak them in hot water with degreaser.
Spray the stovetop, hood, and backsplash, and wait for the time on the label.
Wipe with a clean cloth, rinse the parts, and dry everything before putting it back.
7. Get Glass Cleaner and Microfiber Cloths for Streak Free Windows

Windows and mirrors show every smear, and the cloth matters as much as the spray.
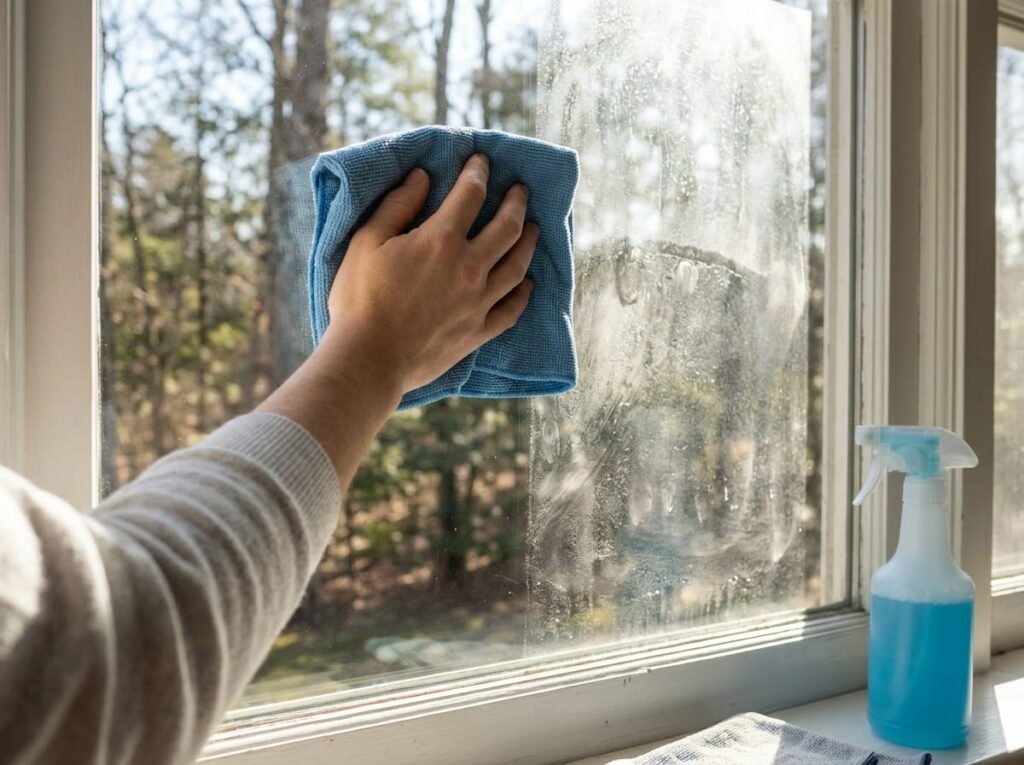
A simple glass cleaner and a few flat, lint free microfiber cloths do most of the work. Spray onto the cloth, not the glass, so it does not run into frames and sills. Wipe in an S pattern and buff with a dry cloth.
Buy cloths in a pack, so you can keep one for glass and use others for everything else.
Smudged windows and a streaky mirror that look dirty in the afternoon light.
Clear glass and a bright mirror with no streaks or lint.
8. Choose a Floor Cleaner That Matches Your Floor Type
The wrong floor cleaner can leave a film, and the wrong amount of water can damage wood.
Tile and vinyl handle most floor cleaners. Laminate and wood need products made for them and very little water. Check the floor type first, then read the label for what it suits and how to dilute it.
A flat mop with washable pads works for most hard floors, and a vacuum handles carpets and corners.
Before you buy a floor cleaner
9. Keep a Carpet Spot Remover for Stains Before the Final Inspection
Carpet stains draw the eye, and they are often noticed first.
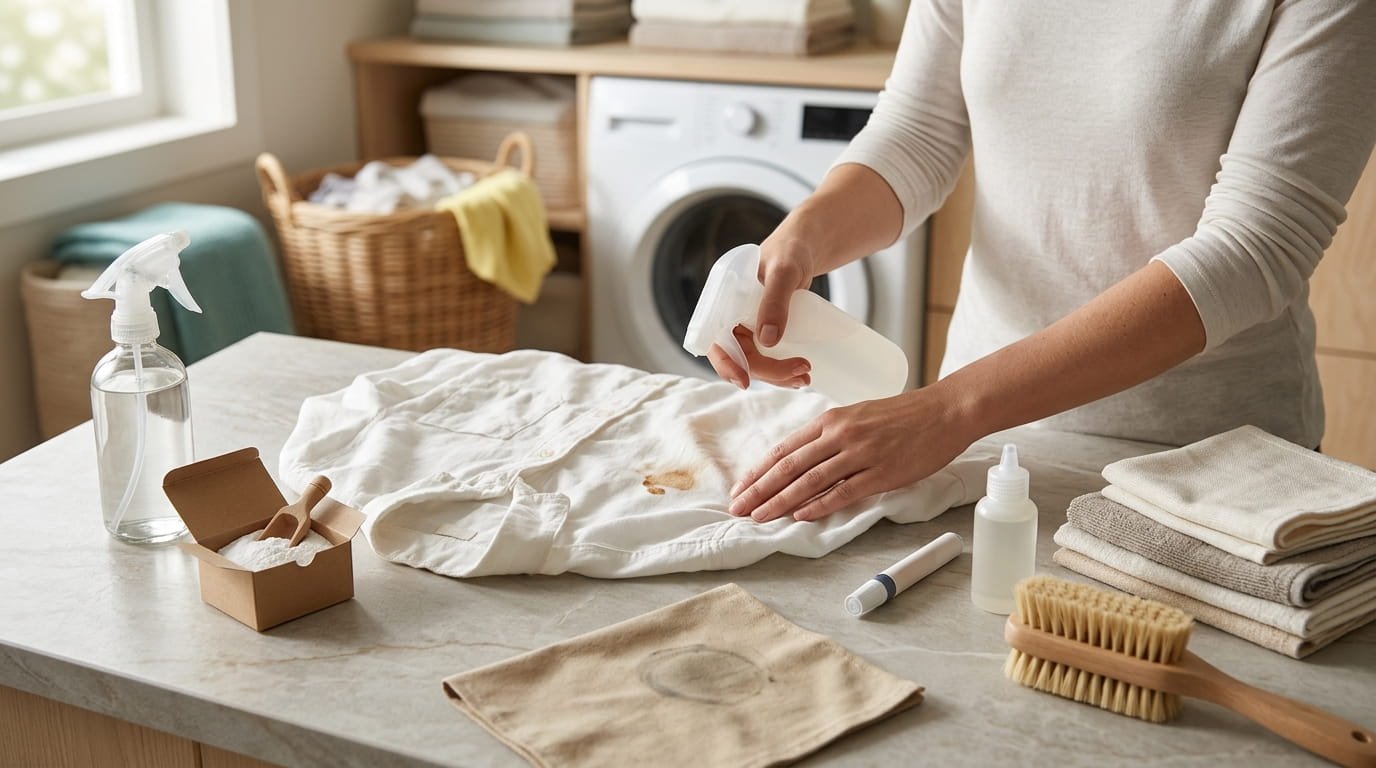
A spot remover made for carpets lifts common marks like drinks, mud, and food. Blot the stain, never rub it, apply the product as directed, and blot again. Test on a hidden corner first, since some products can change the color.
For old or large stains, check your lease, since professional cleaning is sometimes expected.
10. Stock Eraser Sponges for Scuffs, but Test First
An eraser sponge removes scuffs on walls, doors, and skirting boards with only water.
It works like very fine sandpaper, so it can dull glossy paint and delicate surfaces. Test it on a hidden spot, use light pressure, and stop if the finish changes. Keep a few on hand, since they wear down quickly.
They are a smart buy for the scuffs that spray cleaners will not shift.
⚠️ Watch Out
Eraser sponges can dull glossy paint and coated surfaces. Test in a hidden spot and use light pressure.
11. Clean Appliances With Fridge, Microwave, and Dishwasher Products
Appliances are often checked closely, since they are easy to leave until last.
For the fridge, a mild cleaner and a few cloths clear shelves and seals, and a box of baking soda helps with odors. For the microwave, a bowl of water and a little steam loosens grime. For the dishwasher, a dishwasher cleaner or a simple filter clean removes buildup.
Always unplug appliances before cleaning, and read the manual for any care notes.
12. Use Drain Tools Instead of Strong Drain Chemicals
Harsh drain products can be rough on pipes, and they are not always needed.
A plastic drain strip pulls out hair and sludge by hand, and a small plunger clears simple blockages. A drain catcher stops the problem from returning. If a drain stays slow after you clean it, report it to your landlord instead of using something strong.
Wear gloves when you handle what comes out, and bag it for the trash.
| Drain tools | Strong drain chemicals |
|---|---|
| Remove hair and sludge by hand | Can be rough on older pipes |
| Cheap, reusable, and easy to store | Needs careful handling and ventilation |
| Good for light, early clogs | Better left to the landlord for stubborn ones |
13. Keep Baking Soda and Vinegar for Light Jobs, and Never Mix Them With Bleach
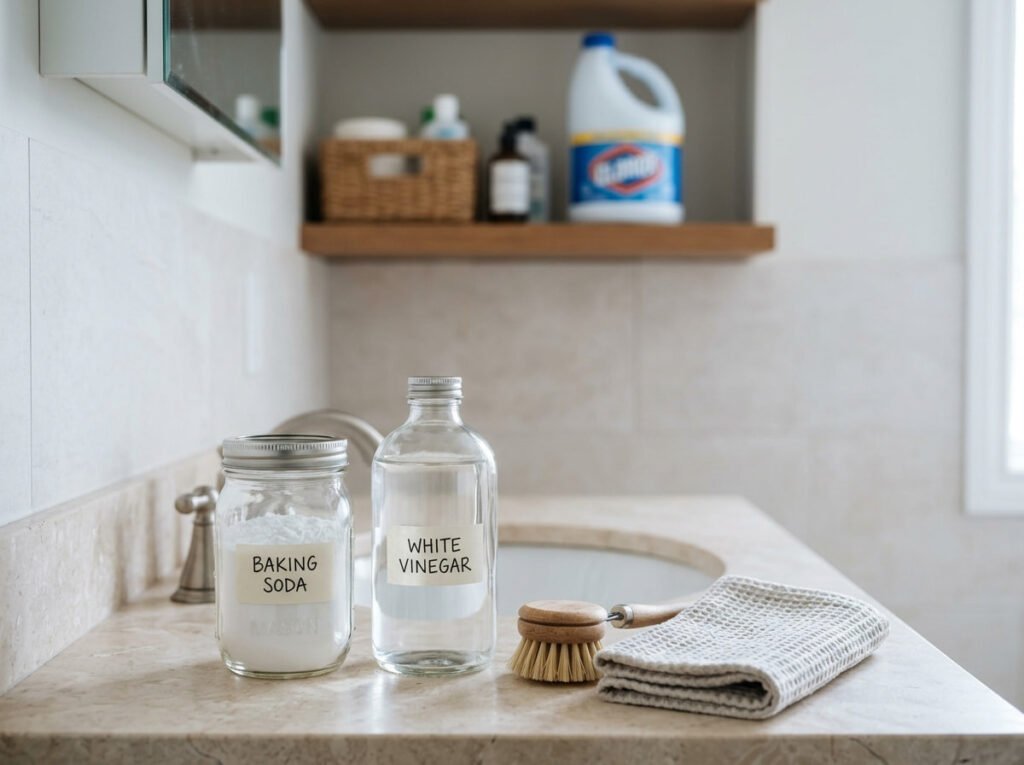
Two pantry staples can handle several light jobs for very little money.
Baking soda scrubs gently and freshens fridges, drains, and carpets. White vinegar cuts light film on glass and tile. Both are mild, though vinegar can dull natural stone, so check the surface first.
Never combine vinegar with bleach, or bleach with ammonia. Use one product at a time, and rinse between.
Use baking soda for gentle scrubbing and odors.
Use vinegar on sealed glass and tile.
Mixing vinegar with bleach or ammonia.
Using vinegar on marble or other natural stone.
14. Pack Gloves, Masks, Trash Bags, and Tape
The support items are cheap, and you will use all of them.
Buy gloves that fit and cover your wrists, a mask for dusty rooms and strong cleaners, and sturdy trash bags in a larger size. Add a roll of tape for sealing bags and boxes, and a few extra cloths. Keep these at the top of your kit so you can reach them without digging.
Good protection makes the whole job safer and more comfortable.
The support items
15. Build Your Cart and Check the Return Policy Before You Pay

The last step turns the list into a cart.
Write the products you need and delete the ones you can skip. Check sizes, so you are not buying a giant bottle for a small job. Look at the return policy, in case a product is not right. Buy a few days before moving out, so you have time to swap anything that does not fit.
Keep the receipts until the final inspection is over.
Conclusion
The right move out cleaning products are the ones matched to your lease, your surfaces, and your final inspection. You do not need a full cleaning aisle, only a short list you have checked before you pay.
Start with a good all purpose cleaner, add the bathroom, oven, and floor products that suit your home, and keep the support items within reach. Read each label, test before you commit, and never mix products.
Shop a few days before the move, and keep your receipts until the keys are handed back. A short, planned list takes the stress out of the last clean, and it leaves you free to enjoy the move.
Save this shopping list to your moving board so it is ready the next time you pack up and clean out.