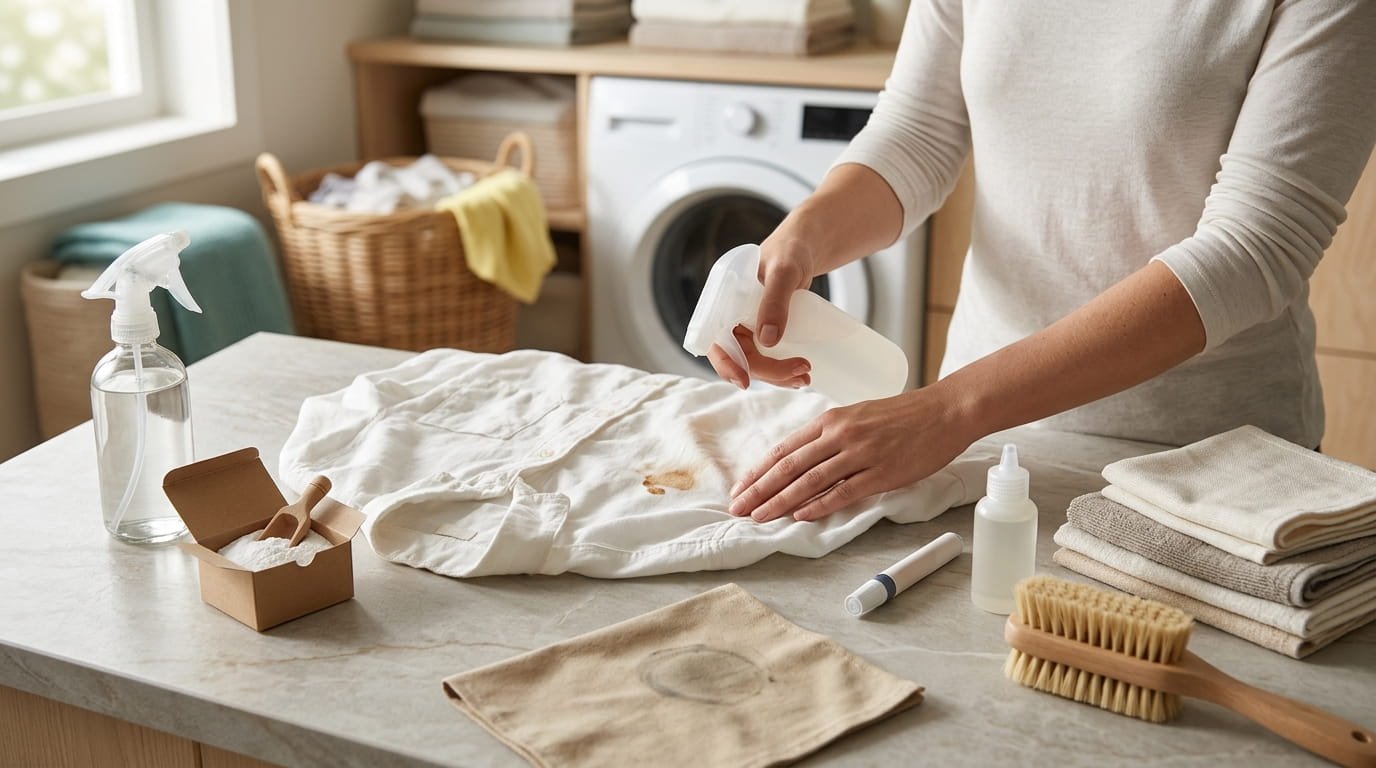
Here is the straight truth about stain removers. No single bottle beats every stain. A product that lifts red wine can do nothing to a grease spot, and one that brightens a white shirt can ruin a silk blouse.
That is why shopping by the biggest promise on the label often ends in a cupboard full of half-used sprays. The better move is to match the product to the stain and the fabric.
This guide to the best stain remover for your situation covers fifteen things worth knowing, from product types to where to buy and what to read on the label first. There are no brand names, prices, or test results, because none can be checked here. Some links on this site may be affiliate links, which means we may earn a small commission at no extra cost to you.
Read the care label, test a hidden spot, and never mix products.
1. Identify the Stain First, Because the Right Remover Depends on What Made It

Before you shop, look at the mark and ask what caused it.
Food, sweat, and blood are mostly protein. Oil, butter, and makeup are grease. Coffee, tea, and wine are tannin or dye stains. Mud and grass mix soil and plant color. Each group responds to a different kind of product, so a quick guess saves a lot of wasted spray.
If you do not know the cause, treat it gently, rinse with cool water if the label allows, and avoid heat until you do. Heat can set some stains.
2. Enzyme Stain Removers Suit Food, Sweat, and Other Protein Stains
Enzymes are built to break down organic mess.
These products work on the proteins and starches in food, sweat, and similar marks. They tend to work gradually, so give them the full contact time on the label and expect to repeat on older stains.
Check the fabric first. Some enzyme products are not meant for silk or wool, which are protein fibers themselves.
Where to shop: add your preferred store or link here.
| Usually a good fit | Check the label first |
|---|---|
| Food and sweat on cotton | Silk and wool |
| Everyday kids’ clothes | Delicate or dry clean items |
| Fresh and slightly older marks | Very old, set in stains |
3. Oxygen-Based Removers Brighten Whites and Handle Many Colorfast Fabrics
Oxygen-based products are a middle path between plain soap and harsh bleach.
They lift general discoloration, dull whites, and many dye-based stains, and they are often used as a soak. Many are labeled as safer for colors than chlorine bleach, but “safer” is not “safe for everything,” so check the care label and test first.
Follow the dilution on the packet. More is not better.
Where to shop: add your preferred store or link here.
4. Solvent and Pretreat Sprays Target Grease and Oil Spots
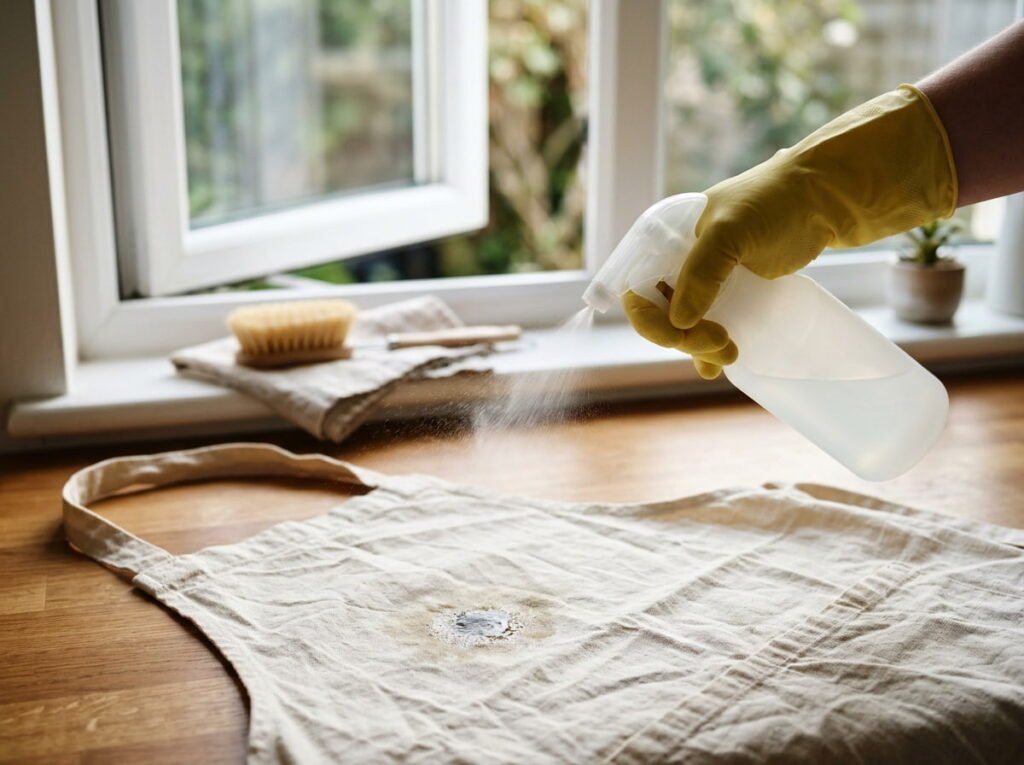
Grease laughs at plain water.
Pretreat sprays and gels are made to loosen oil before the wash. Apply to the spot, give it the time on the label, then launder as directed. Dish soap is a common household alternative for fresh grease on washable fabric, so check the care label first.
These products can be strong. Ventilate, wear gloves, and keep them away from flames and from children and pets.
Where to shop: add your preferred store or link here.
Before using a pretreat spray
5. Stain Sticks and Pens Handle Quick Fixes Away From Home
Some stains happen at lunch, not in the laundry room.
Stain sticks, wipes, and pens are small and easy to carry. They are meant for a quick first treatment on a fresh mark, not a full cure. Dab, do not rub, since rubbing can push the stain deeper or damage the fabric.
Wash the item soon after, following the care label.
Where to shop: add your preferred store or link here.
A fresh spot on a shirt at lunch, rubbed with a napkin until it spreads and sets.
Blotted gently, a stain pen applied on the spot, and the shirt washed properly when you get home.
6. Laundry Boosters and Soaks Help With Whole Loads and Old Marks
Some stains need time more than force.
A soak lets the product work while you do something else. Boosters and soak powders go in a tub or the washer, and they suit dingy whites, sweat build-up, and marks that have been through the wash once already. Follow the dose and soak time on the packet, since a longer soak is not always a better one.
Rinse well afterward, and check the stain before you dry the item. Heat can set whatever is left.
Where to shop: add your preferred store or link here.
Read the care label and the soak directions on the packet.
Measure the product into a tub of water, wearing gloves.
Soak for the time stated, then rinse well.
Wash as normal, and check the stain before drying.
7. Carpet and Upholstery Removers Need Their Own Product and Technique

A laundry product on a sofa can leave a bigger problem than the stain.
Carpet and upholstery cleaners are made to be used without soaking the fabric through, and many need blotting rather than scrubbing. Check the cleaning code or care tag on furniture if it has one, since some fabrics must stay dry.
Work from the outside of the stain toward the middle so it does not spread. Open a window, and keep children and pets off the area until it is dry.
Where to shop: add your preferred store or link here.
Blot spills at once with a clean cloth.
Work from the edge toward the center.
Check the care tag before choosing a product.
Rubbing hard, which pushes the stain in.
Soaking the cushion through.
Using a laundry product on a “dry clean only” tag.
8. Natural Options Like Baking Soda Paste Work Best on Light, Fresh Stains
Pantry fixes are worth trying first on small, recent marks.
A paste of baking soda and a little water can lift light marks and freshen a surface. Dish soap handles fresh grease on washable fabric. Both are gentle, cheap, and easy to find.
They have limits. Old, set-in, or heavy stains often need a purpose-made product, and natural does not mean harmless, so keep it out of eyes and test a hidden spot.
💡 Quick Tip
Try the gentlest option first, and move up only if the stain stays. Starting strong can damage a fabric you could have saved with a mild fix.
9. Never Mix Stain Removers With Bleach, Vinegar, or Ammonia
This is the one rule worth repeating.
When a stain will not budge, it is tempting to add another product on top. Some combinations release harmful fumes, especially anything containing bleach mixed with acids or ammonia. Use one product at a time, rinse the area well with water, and only then try something different.
If you smell something sharp or your eyes sting, leave the room, get fresh air, and open windows.
One product at a time. Rinse thoroughly between products, and never combine bleach with anything else.
10. Read the Fabric Label Before You Treat Silk, Wool, or Dyed Items

The fabric decides what is safe, not the stain.
Silk and wool are protein fibers and can be damaged by some enzyme products and by bleach. Bright or dark dyes can fade or bleed. Items marked “dry clean only” are best left to a professional.
When the label is missing or unclear, test on a hidden seam and wait for it to dry before treating the visible stain.
⚠️ Watch Out
Do not use a stain remover on silk, wool, leather, or “dry clean only” items without checking the label. When in doubt, ask a professional cleaner before you treat it yourself.
11. Test on a Hidden Spot and Respect the Contact Time
Two small habits prevent most stain-removal disasters.
First, test. Dab a little product on an inside seam or hem, wait for it to dry, and check for fading, bleeding, or texture changes. It takes a few minutes and saves a ruined sleeve.
Second, wait. Most products need a set time on the stain before they work. Wipe too soon and you remove the product, not the stain. Leave it too long and some products can harm the fabric.
Set a phone timer so you do not forget it is sitting there.
12. Where to Buy: Supermarkets, Hardware Stores, Online, and Specialty Shops
Each place to shop trades something for something else.
Supermarkets are easy and close, with a limited range. Hardware and home stores often carry stronger or more specialized products. Online shops give the widest choice and let you read the label details before buying, but you wait for delivery. Specialty laundry or cleaning suppliers can offer advice on tricky fabrics.
Whichever you choose, check the ingredients and directions on the packaging, and buy a small size first if you are trying something new.
| Where | The trade-off |
|---|---|
| Supermarket | Easy and close, smaller range |
| Hardware or home store | Stronger and specialist options |
| Online | Widest choice, but you wait |
| Specialty supplier | Good advice, narrower stock |
13. What to Check on the Label Before You Put One in the Cart

The label tells you more than the front of the bottle does.
Look for what stains and fabrics it names, the directions and contact time, any warnings, and whether it is meant for laundry, carpet, or hard surfaces. Check that it is the right type for the job, and look for safety notes about gloves, ventilation, and storage.
If a claim sounds too good, such as removing every stain from every fabric, treat it with suspicion.
14. Build a Small Stain Kit So You Can Act Fast
Speed matters more than strength with most stains.
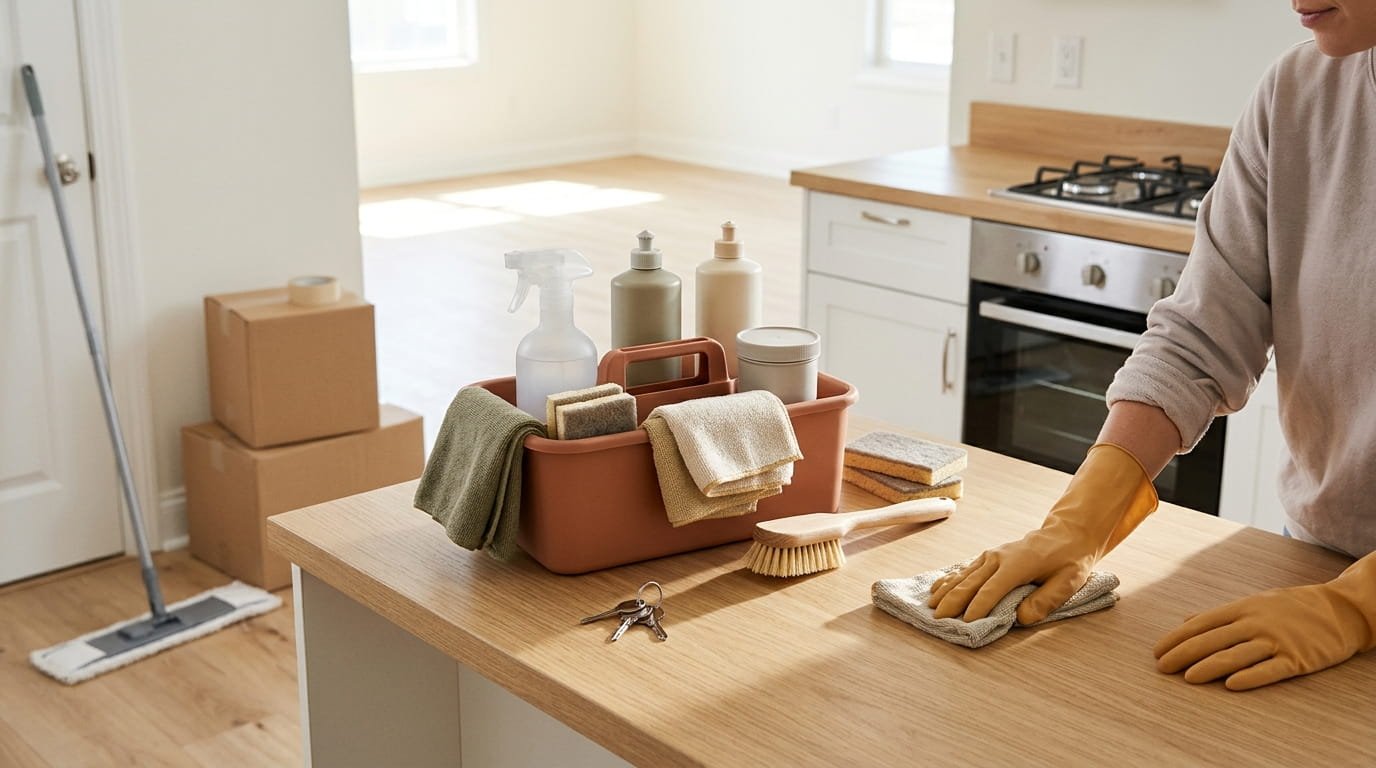
A small kit kept in one place means you can treat a spill within minutes. Keep it out of reach of children and pets, and store each product in its original, labeled container.
A starter stain kit
15. Know When a Stain Is Set and Calling a Professional Cleaner Is Smarter

Some stains are past a home fix.
If a stain has survived the wash and a drying cycle, or sits on silk, leather, a rug, or a valued item, stop adding products. Layering treatments can make it worse. A professional cleaner can often tell what the stain is and what the fabric can take.
Bring the item in as it is, and tell them what you already tried.
A stubborn stain treated again and again with different products, and the fabric looking worse each time.
Stopping early, telling a professional what was tried, and letting them decide what is safe.
Conclusion
The best stain remover is the one that matches your stain and your fabric. Enzyme products suit food and sweat, oxygen-based soaks brighten whites, and pretreat sprays go after grease. No single bottle does all of it, and that is fine.
Act fast, read the label, test a hidden spot, and use one product at a time. When a stain survives all that, stop adding products and ask a professional.
A small, well chosen kit does more than a cupboard full of half-used sprays.
Save this list on Pinterest so you know what to reach for the next time a spill happens.