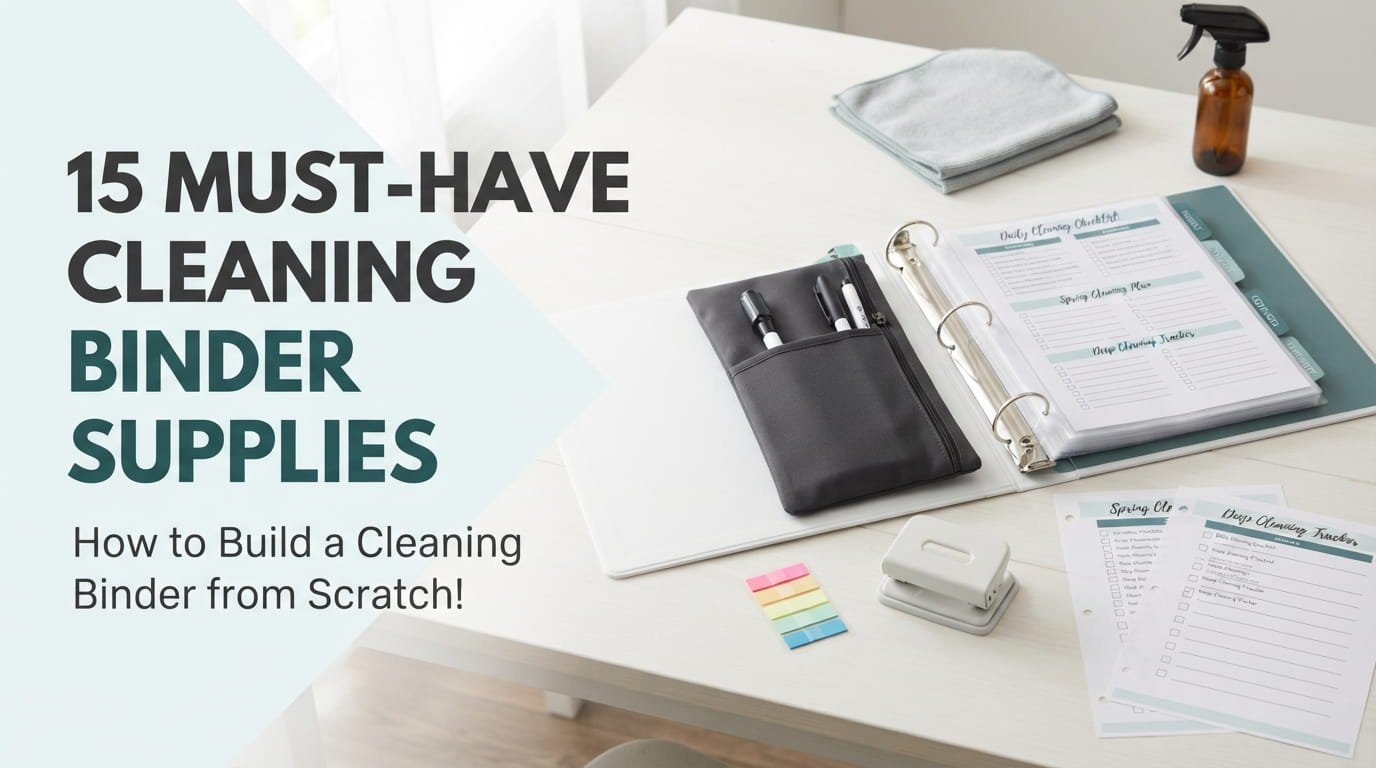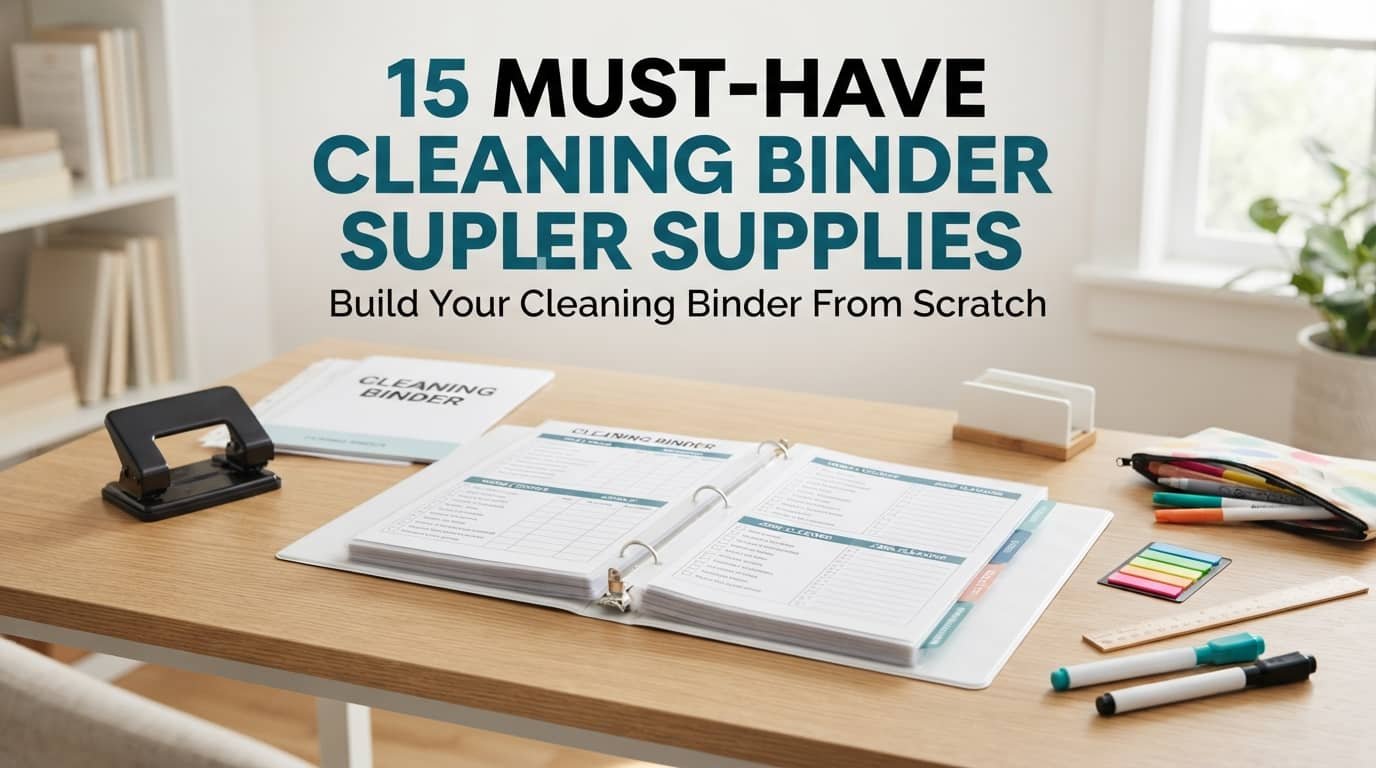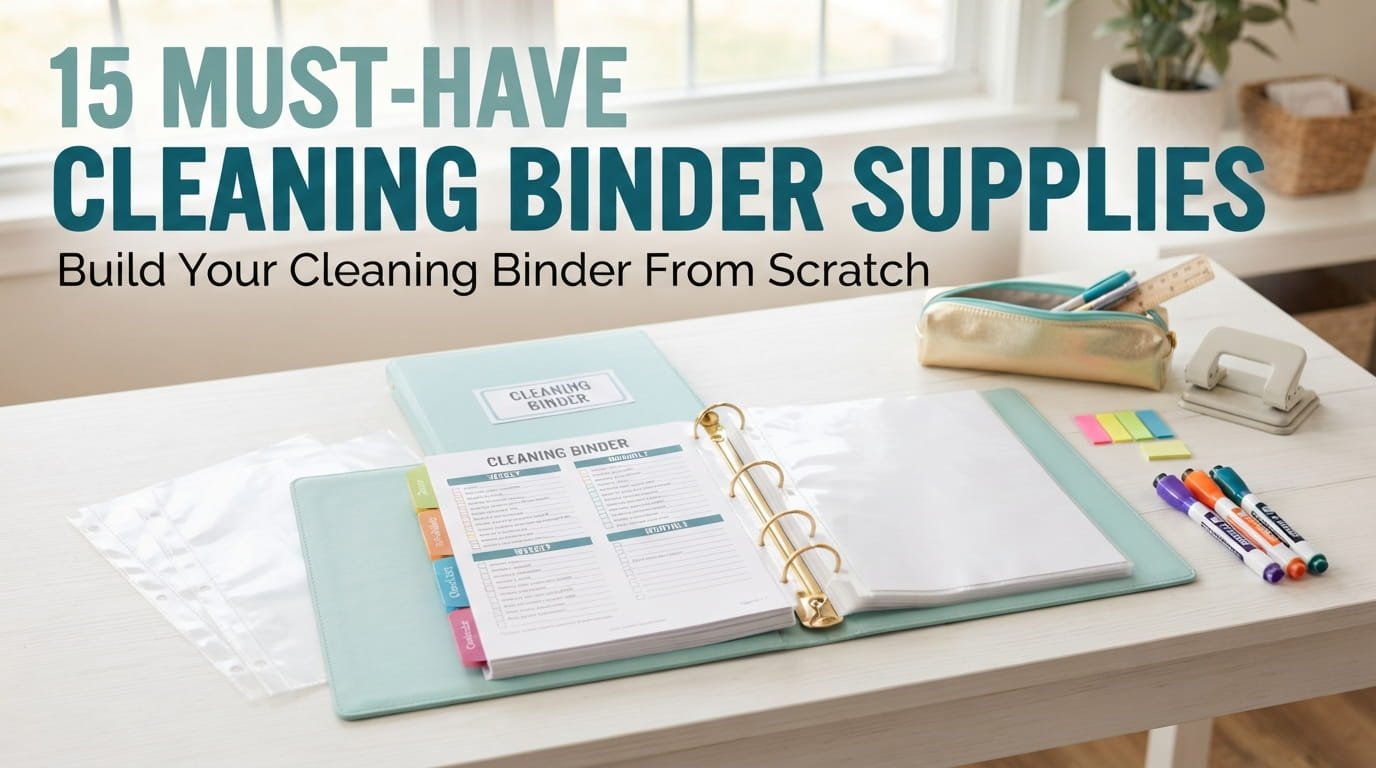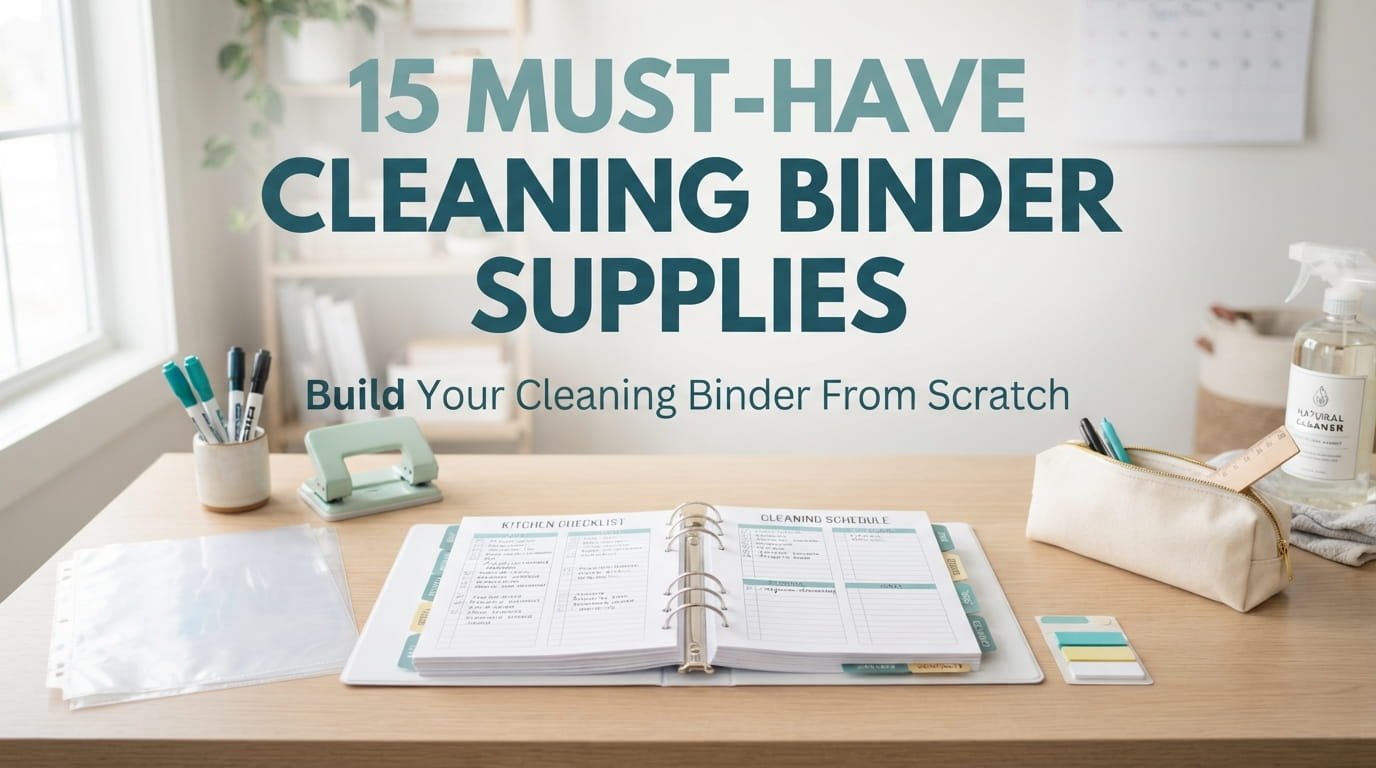
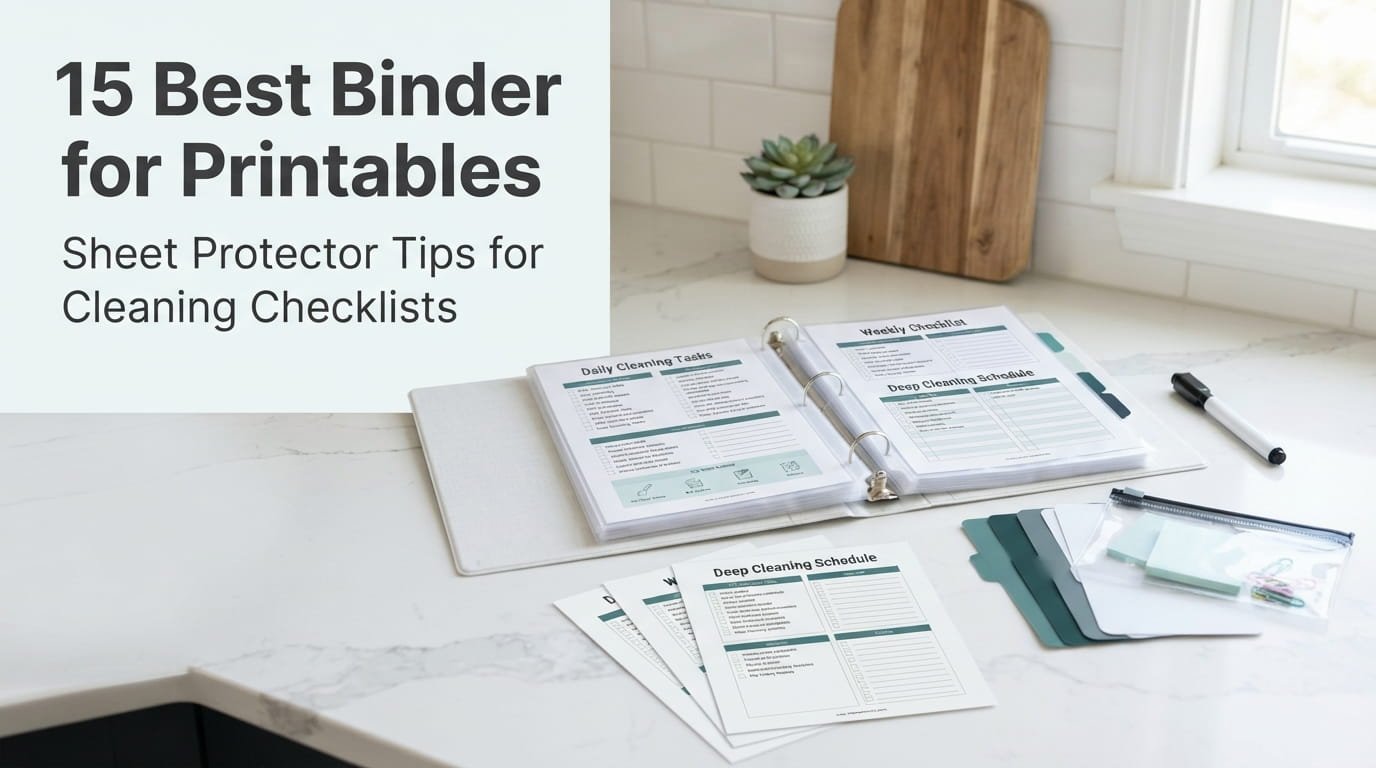
A stack of loose cleaning printables ends up bent, stained, and lost under the mail within a week. That’s the real reason most checklists never get used twice. The fix is boring but it works: put them in a binder, slip them into sheet protectors, and give them a home. Finding the best binder for printables comes down to a handful of small details that most product pages never mention.
This list covers fifteen things worth checking before you buy, from ring size to the kind of plastic sleeve that takes dry erase marker without ghosting. Some are about the binder itself. Others are about the extras that make it work in a real kitchen, like tabs, pouches, and a spot to store it.
You don’t need to buy everything at once. Start with a sturdy binder and a pack of good sleeves, then add the rest as your printable pile grows.
1. Why a Three Ring Binder Beats a Folder for Printables You Reuse
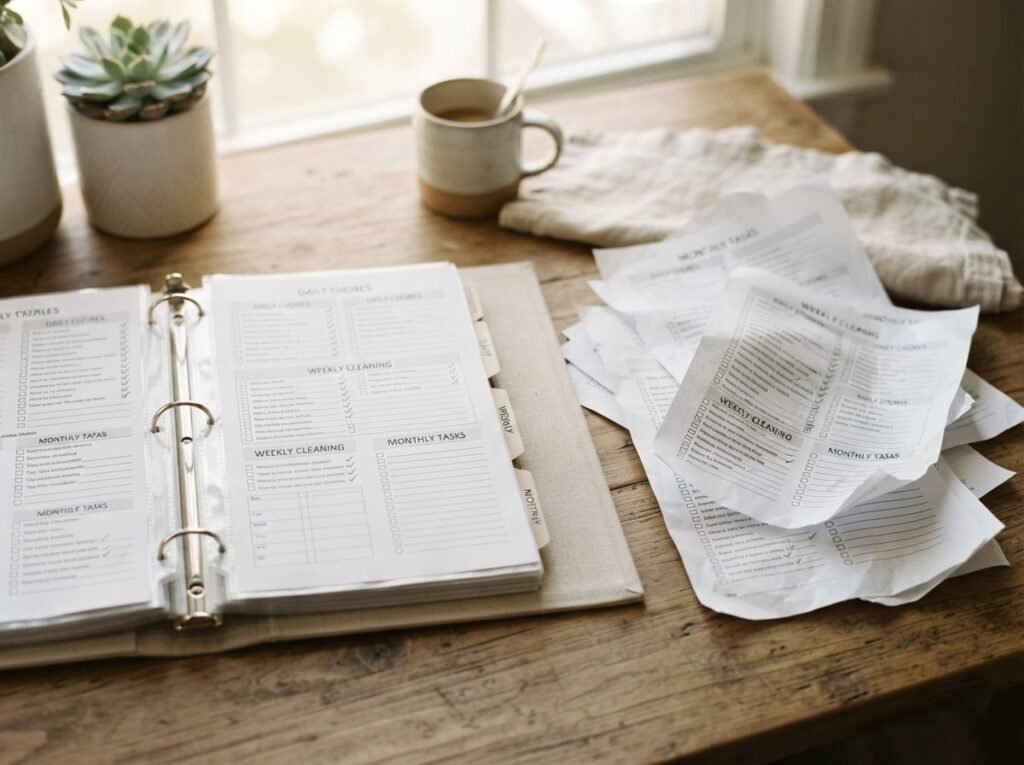
A folder lets pages slide, crease, and slip out the bottom. A three ring binder holds every page in place and lets you flip to the exact checklist you need in seconds.
- Pages stay flat instead of curling
- Sheets can be added, removed, or reordered
- The spine makes it easy to find on a shelf
If you use a printable more than once, a binder pays off quickly.
2. Choosing the Right Ring Size So the Binder Closes Without Bulging
Rings that are too small make the binder pop open once you add sleeves. Rings that are too big leave pages sliding around and wasting space.
Count how many printables you have now, then leave room for about a third more. Sheet protectors add bulk quickly, so size up from what paper alone would need.
💡 Quick Tip
Fill the binder with your sleeves and printables in the store or at home before deciding it fits. It should close flat with room to spare.
3. D Ring Versus O Ring Binders and Why It Changes How Pages Lie Flat
On an O ring binder, the pages curve with the ring, so they can sit a little crooked against the edge. A D ring has a flat side that lines up with the spine, which holds sleeves neatly and lets more pages fit.
Most people who keep a lot of printables prefer D rings for that reason. O rings are fine for a slim binder with just a few sheets.
Pages curve with the ring and can shift toward the edge.
Flat edge keeps sleeves square and holds more pages.
4. Picking a Binder Cover Style That Survives a Kitchen Shelf
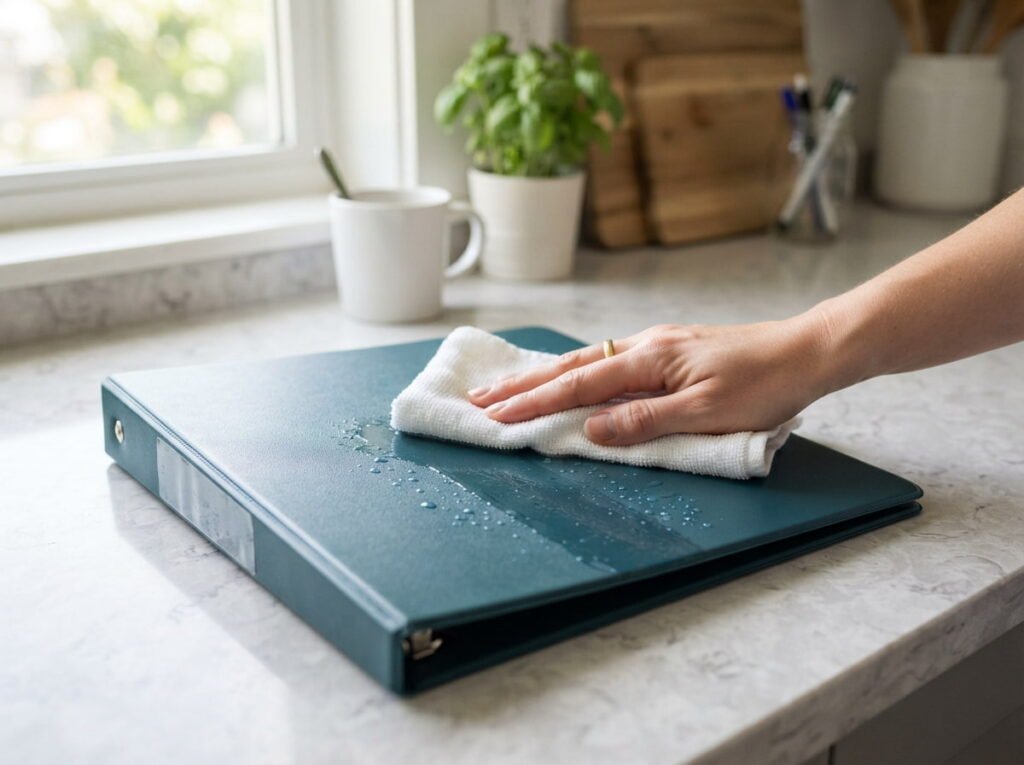
A binder stored near the kitchen or laundry room will meet splashes, steam, and sticky fingers. A plain cardboard cover soaks it all up.
Look for a wipeable poly or vinyl cover, and a clear front pocket if you like to swap the cover sheet. A wipe with a damp cloth should be all the cleaning it needs.
Cover features to look for
5. Heavy Duty Sheet Protectors That Don’t Tear at the Holes
Thin sleeves are the first thing to fail. The punched edge rips after a few page turns, and then the sleeve hangs off the rings.
Look for a heavier weight sleeve, often labeled heavyweight or premium, with a reinforced edge. They cost a bit more per pack, but you won’t be replacing them every month.
6. Clear Versus Non Glare Sheet Protectors for Dry Erase Use
Clear sleeves look sharp and show colors best. Non glare sleeves have a slightly frosted surface that cuts reflections under kitchen lights, which helps when you’re reading a checklist from across the room.
- Choose clear if the printable is colorful or has small text
- Choose non glare if the binder sits under bright lights
- Test a marker on one sleeve before buying a whole pack
Either type works for dry erase. Some non glare finishes can hold faint marks longer, so the test matters.
Buy one small pack of each type first.
Write on each with your dry erase marker and leave it for a day.
Keep whichever wipes off cleanest, then buy the bigger pack.
7. Top Loading Versus Side Loading Protectors for Quick Page Swaps
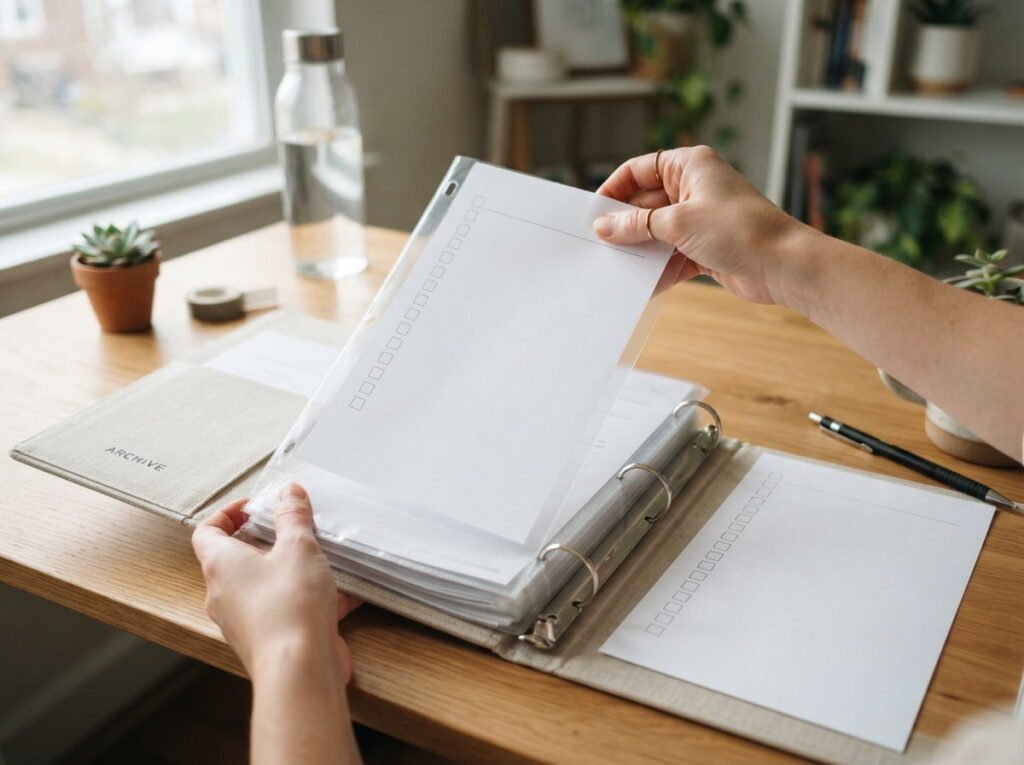
Top loading sleeves open along the top edge, so pages slide in and out while the sleeve stays on the rings. Side loading sleeves open along the side and hold a page more securely, but they can be fiddly.
If you swap seasonal or weekly checklists often, top loading saves time. If pages rarely change, side loading keeps everything tucked in.
You swap pages every week or season.
You want to keep the sleeves on the rings.
Your pages rarely change.
You worry pages will slip out when the binder tips.
8. Zipper Pouches and Pocket Dividers for Loose Supplies
A binder can hold more than paper. A zipper pouch on the rings keeps markers, a small eraser cloth, and spare stickers right where you need them.
Pocket dividers do a similar job for loose receipts, product manuals, or a printed shopping list. Just check that the pouch has a hole punched edge that matches your rings.
| Zipper Pouch | Pocket Divider |
|---|---|
| Holds markers, cloths, small items | Holds loose paper and receipts |
| Closes so nothing falls out | Doubles as a section break |
9. Tab Dividers That Make a Room by Room Binder Easy to Flip
A binder without tabs turns into a page hunt. Tab dividers let you jump straight to Kitchen, Bathroom, or Seasonal in one flip.
Look for dividers with a plastic tab that wipes clean and a label window you can rewrite. Five to eight tabs cover most homes.
A labeled tab is what turns a stack of printables into a system you’ll actually open.
10. Dry Erase Markers That Wipe Clean Off Plastic Sleeves
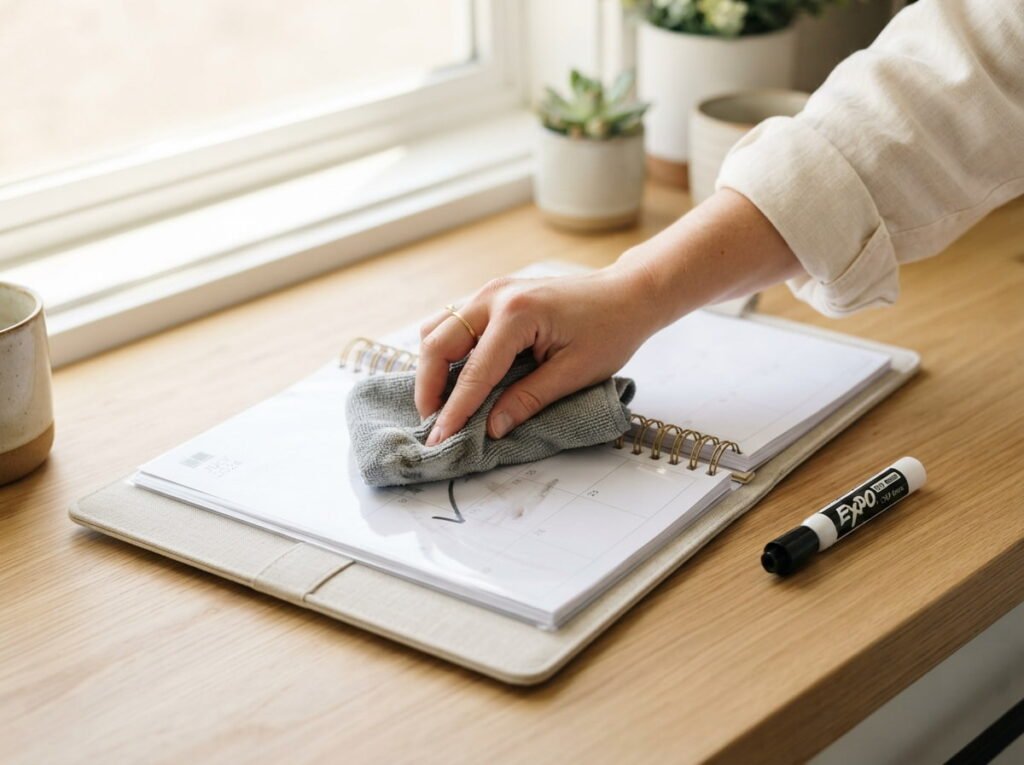
Not every marker sold as dry erase behaves the same on a sleeve. Some leave a faint shadow after wiping, especially if the ink sat for days.
Fine tip markers give neater checkboxes on small print. Wipe soon after each use with a dry microfiber cloth, and keep permanent markers far from the binder.
- ▸Choose a fine tip for small checkboxes.
- ▸Wipe with a dry microfiber cloth after each use.
- ▸Keep the marker and cloth in the binder pouch.
11. A Small Binder for the Cleaning Caddy Versus a Full Size One
A full size binder holds everything but stays on a shelf. A half size or mini binder fits in a caddy or a cabinet door and travels room to room with you.
Many people end up with both: a big home binder and a small caddy binder holding just the daily and weekly checklists.
12. Binder Clips and Clipboards as a Lower Cost Alternative
A binder isn’t the only option. A clipboard holds one checklist in a sleeve and hangs from a hook, which suits a single routine like a bathroom reset.
Binder clips on a corkboard work for a few pages. You give up the tidy sections, but the cost is very low.
💡 Quick Tip
Start with a clipboard and one sleeve. If you keep using it, upgrade to a full binder later.
13. Hole Punches and Page Reinforcers for Printables You Print at Home
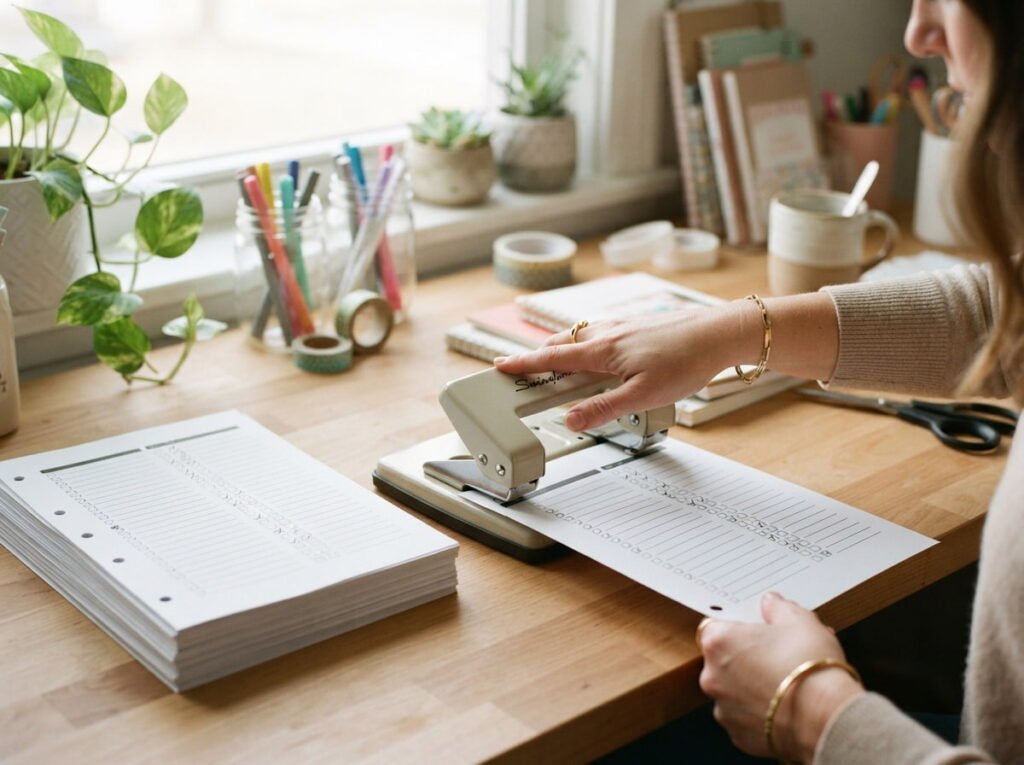
Printing at home means unpunched pages. A three hole punch lines everything up so pages sit straight in the sleeves.
Reinforcer stickers help on heavy cardstock pages you flip often. Choose a punch that handles the thickness you print on, and that has a guide so the holes match every time.
Crooked holes and pages that hang off the rings at different angles.
Evenly punched pages that line up neatly in every sleeve.
14. Storage Options That Keep the Binder Off the Counter
A binder that lives on the counter gets buried. Give it a spot so it stays easy to find without taking up work space.
Places that work
15. A Simple Starter Bundle for Anyone Building a Cleaning Binder Today
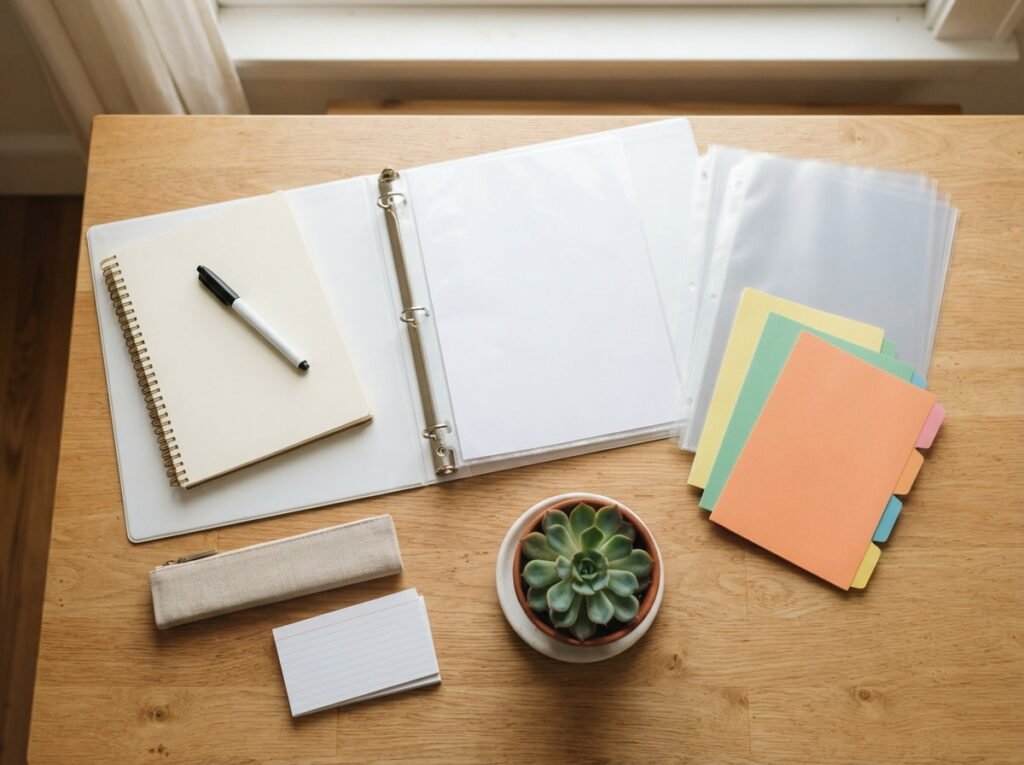
If you want to start without overthinking it, this is a short list that covers everything from the earlier sections.
Conclusion
The best binder for printables isn’t the fanciest one. It’s the one that closes flat, wipes clean, and sits where you’ll actually reach for it. A D ring binder, heavyweight sleeves, and a few labeled tabs cover most of what a cleaning checklist system needs.
Start small, test a marker on one sleeve, and add the extras as your printable pile grows. A little setup now means your checklists stay crisp instead of ending up creased at the bottom of a drawer.
Save this list so it’s ready the next time you’re shopping for your cleaning binder.