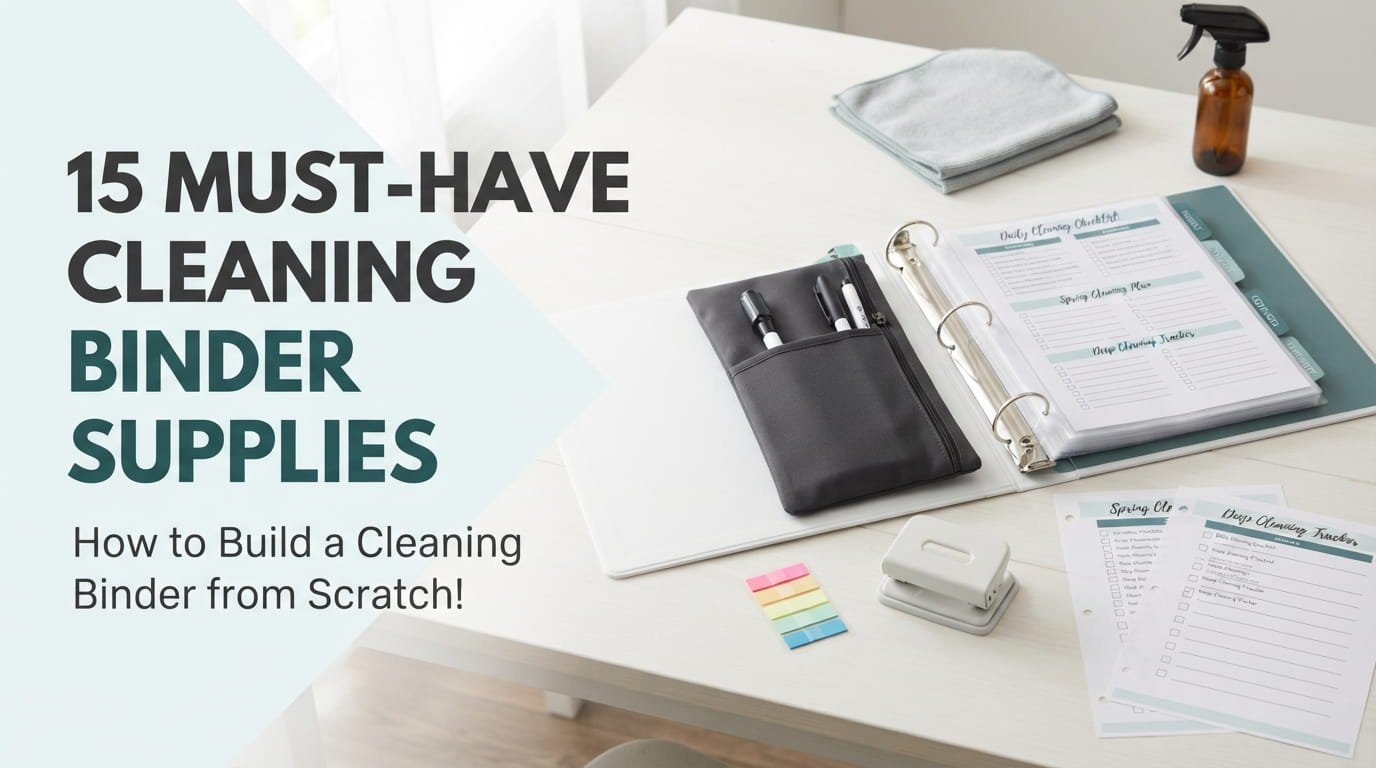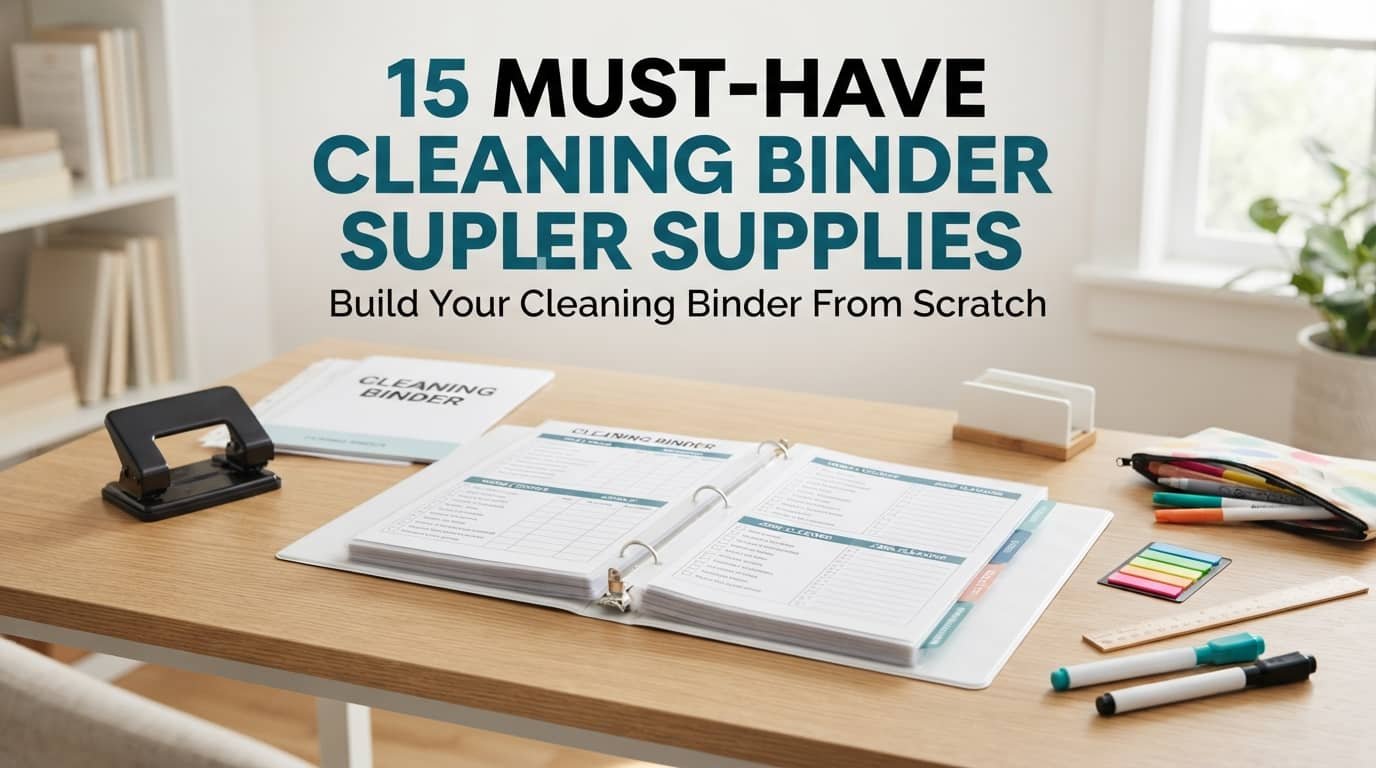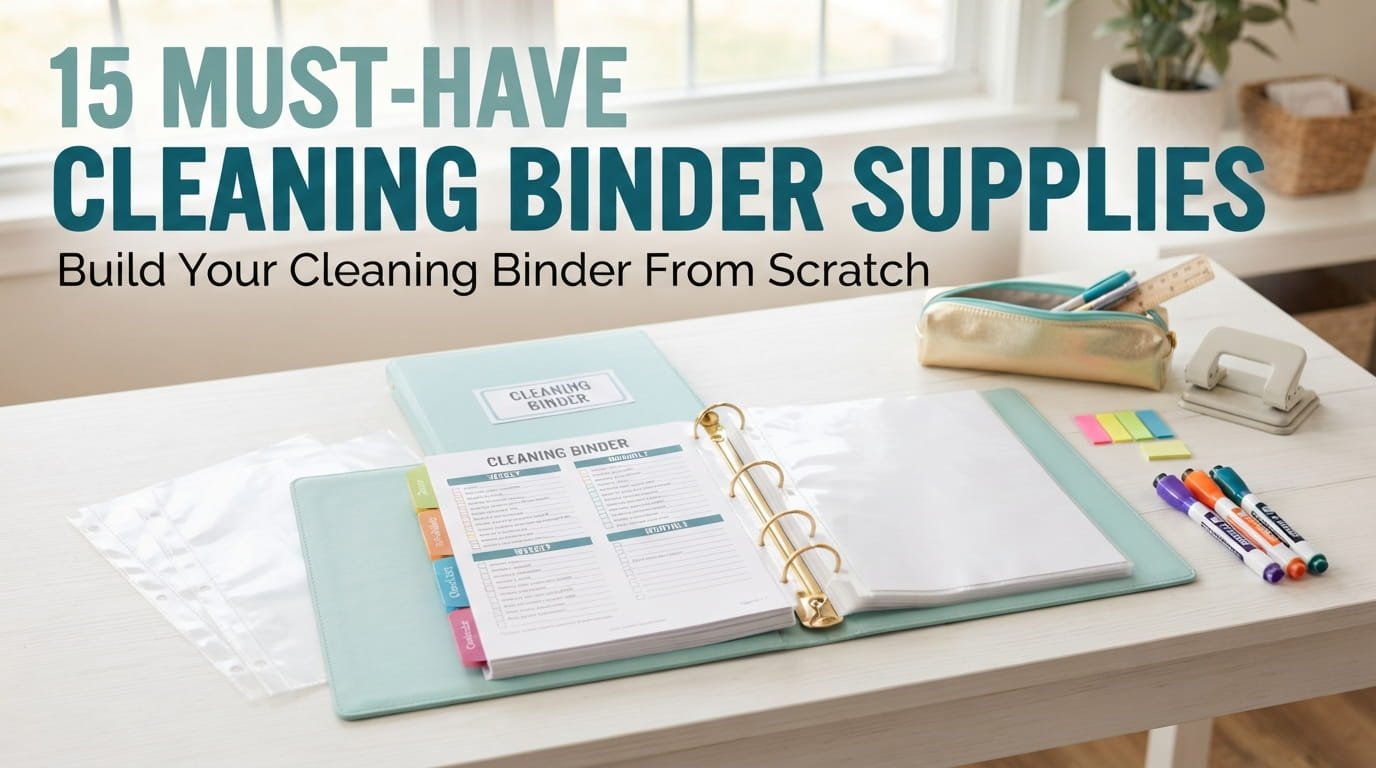
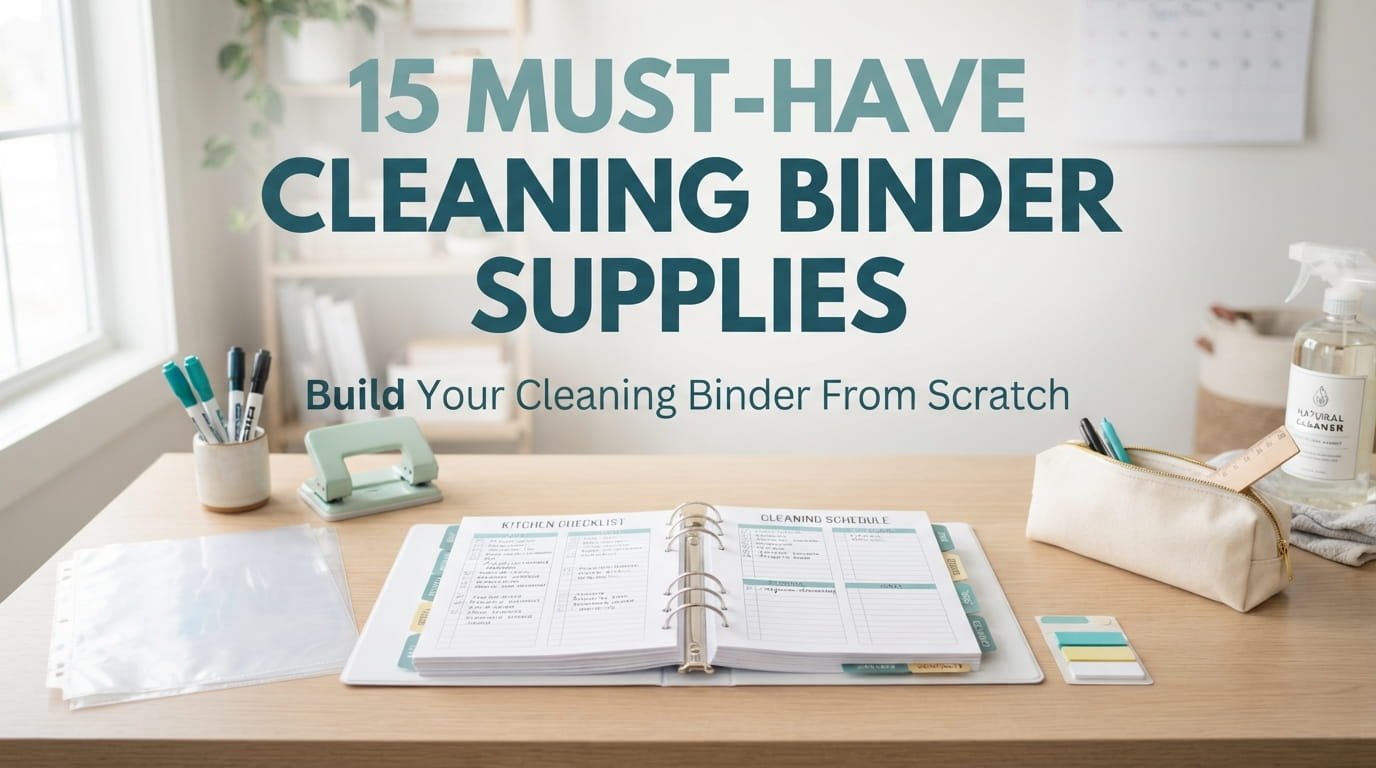
A cleaning binder only works if it actually holds up to being opened, flipped through, and marked on every single week. Most people start with a stack of printed pages and a random binder from a closet, then wonder why the whole thing falls apart within a month. The right cleaning binder supplies make the difference between something you use for years and something that ends up back in a drawer by February.
This isn’t about buying everything at once. It’s about knowing which few supplies actually matter, and which ones you can skip until you know your own system better. A binder that opens flat, protects your pages, and lets you wipe off last week’s checklist will get used a lot more than one held together with paper clips and good intentions.
This list walks through fifteen supplies worth considering, from the binder itself down to the small extras that keep everything organized once it’s built. Grab what fits your setup, and leave the rest for later.
1. Start With a Binder That Actually Opens Flat
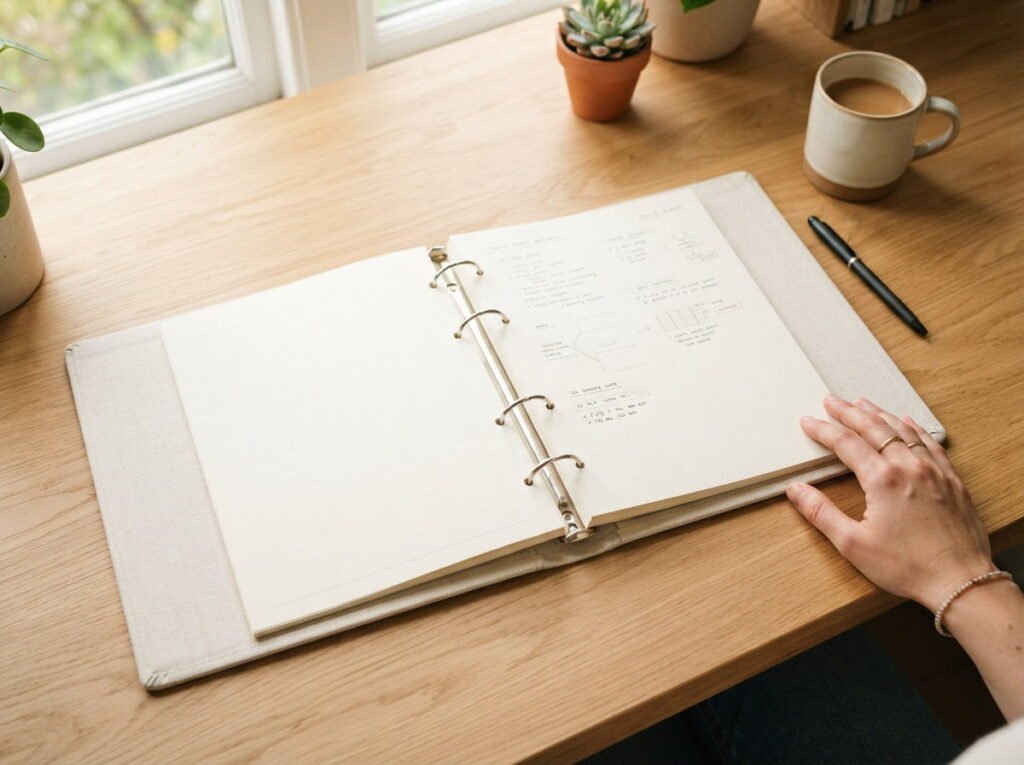
A binder that snaps shut the moment you let go of it turns every cleaning session into a fight with the pages instead of a quick glance at your list. Look for a binder with a D-ring mechanism, since D-rings tend to lay flatter than the standard round ring style.
💡 Quick Tip
Test a binder in the store before buying. Open it to a middle page and see if it stays flat without you holding it down.
A binder that fights you every time you open it is one you’ll stop reaching for within a few weeks.
2. Pick Sheet Protectors You Can Wipe Clean
Regular paper pages get smudged and torn fast once a dry erase marker or a damp cloth gets anywhere near them. Sheet protectors solve this, but not every protector handles a marker the same way.
Heavyweight protectors cost a little more, but they’re worth it for any page you plan to write on and erase repeatedly.
3. Get Tab Dividers Before You Print a Single Page
Printing every page first and sorting them out later almost always ends with a stack of loose pages and no real order. Dividers set up your sections ahead of time, so every page has somewhere to go the moment it comes off the printer.
Plan your sections first
Write your section names before you buy the dividers. It’s much easier to shop for the right number once you know what you’re organizing.
4. Choose Dry Erase Pages for Anything You’ll Update Weekly
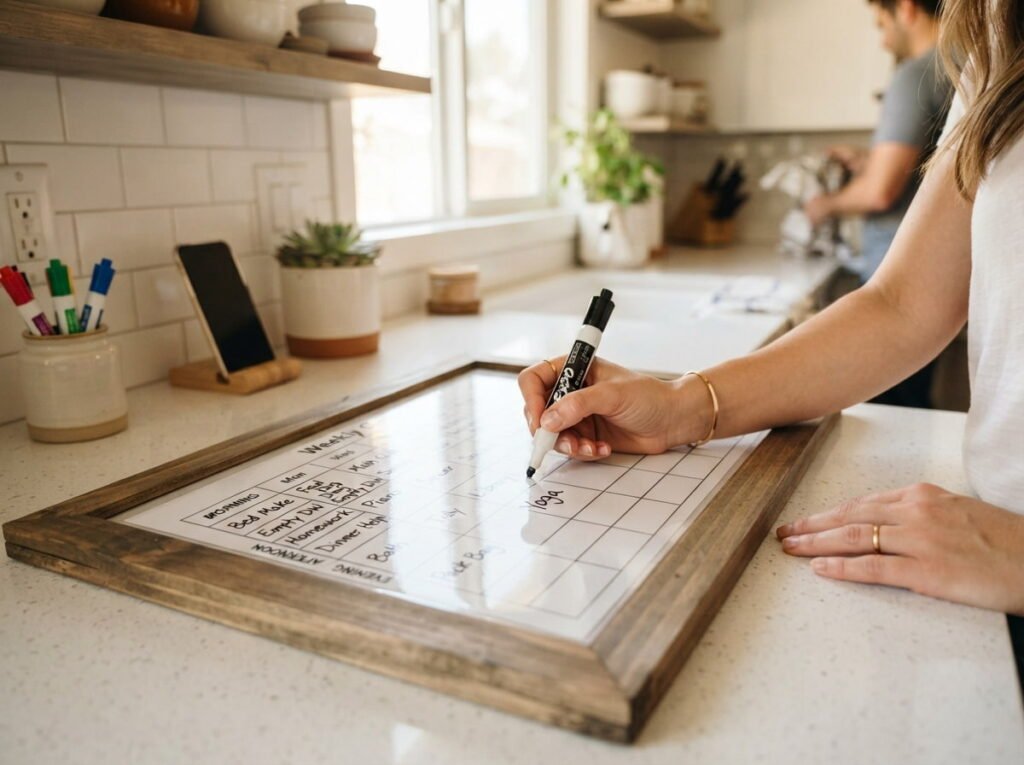
A weekly chore chart printed fresh every single week wastes paper and ink for something that barely changes. A dry erase page behind a sheet protector solves this in one step.
New paper and ink used every single week for the same chart.
One printed page, wiped clean and reused every week.
Keep the original file saved somewhere too, just in case the page ever needs a true reprint down the line.
5. Compare Printable Bundles With Building Your Own Pages
Buying a full printable bundle saves time, but it also means adjusting to someone else’s layout instead of building one around how you actually clean. Both options work, depending on how much you want to customize.
| Printable Bundle | Build Your Own |
|---|---|
| Ready to print right away | Takes longer, but fits your exact routine |
| Layout is fixed unless it’s editable | Full control over every section |
A hybrid approach works well too. Start with a bundle for the basics, then build your own pages for anything specific to your home.
6. Add a Zipper Pouch for Loose Papers and Receipts
A binder that’s just checklists eventually collects warranty slips, paint swatches, or a receipt for the vacuum you just bought, and none of that has anywhere to go without a pouch. A zippered pouch that clips onto the rings keeps those loose papers from sliding out the back.
Keep receipts and warranty slips in one dedicated pouch.
Clear out the pouch every few months so it doesn’t overflow.
Tucking loose papers behind random tabs where they get lost.
Letting the pouch become a catch-all for anything unrelated.
Clear vinyl pouches make it easy to spot what’s inside without unzipping the whole thing first.
7. Use a Three-Hole Punch That Matches Your Binder Size
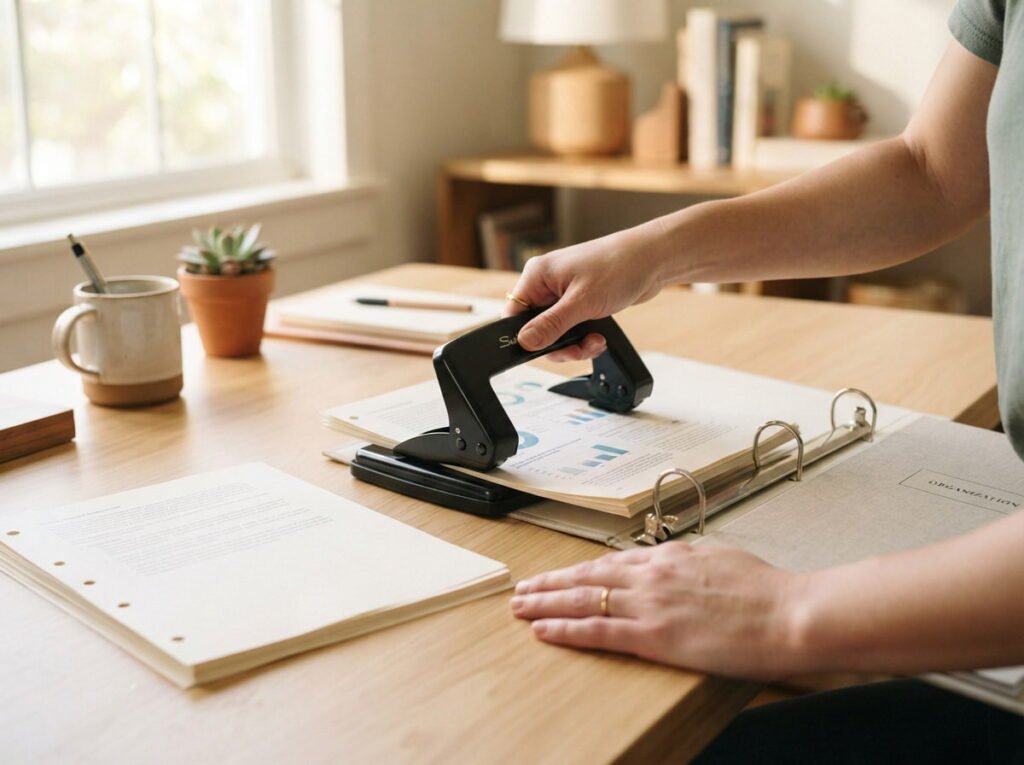
A standard three-hole punch works for most binders, but a mismatch between the punch and the binder rings means pages that tear out the moment you flip past them. It’s worth checking before you punch a whole stack of freshly printed pages.
💡 Quick Tip
Punch one test page first and check it against your binder before running the whole stack through.
A heavy-duty punch handles a thick stack in one pass, which saves real time if you’re printing a lot of pages at once.
8. Grab a Laminator or Laminating Sheets for High-Use Pages
Some pages in a cleaning binder get touched almost every day, and regular paper wears out fast under that kind of handling. Lamination adds real durability to the pages that see the most action.
If a full laminator feels like overkill, self-adhesive laminating sheets work fine for just a handful of pages.
9. Set Up a Simple Color-Coding System With Sticky Tabs
A binder full of identical white tabs makes it hard to find a specific section fast, especially when you’re standing in the middle of a room trying to remember what goes where. Color-coded tabs fix that with almost no extra effort.
Pick a color for each major section, like daily, weekly, and seasonal.
Stick the matching color tab on every page in that section.
Keep a small color key on the first page as a reminder.
This system pays off most when you’re flipping through the binder quickly, since your eyes catch color faster than reading a label.
10. Consider a Binder With a Clear Front Pocket for Customizing the Cover
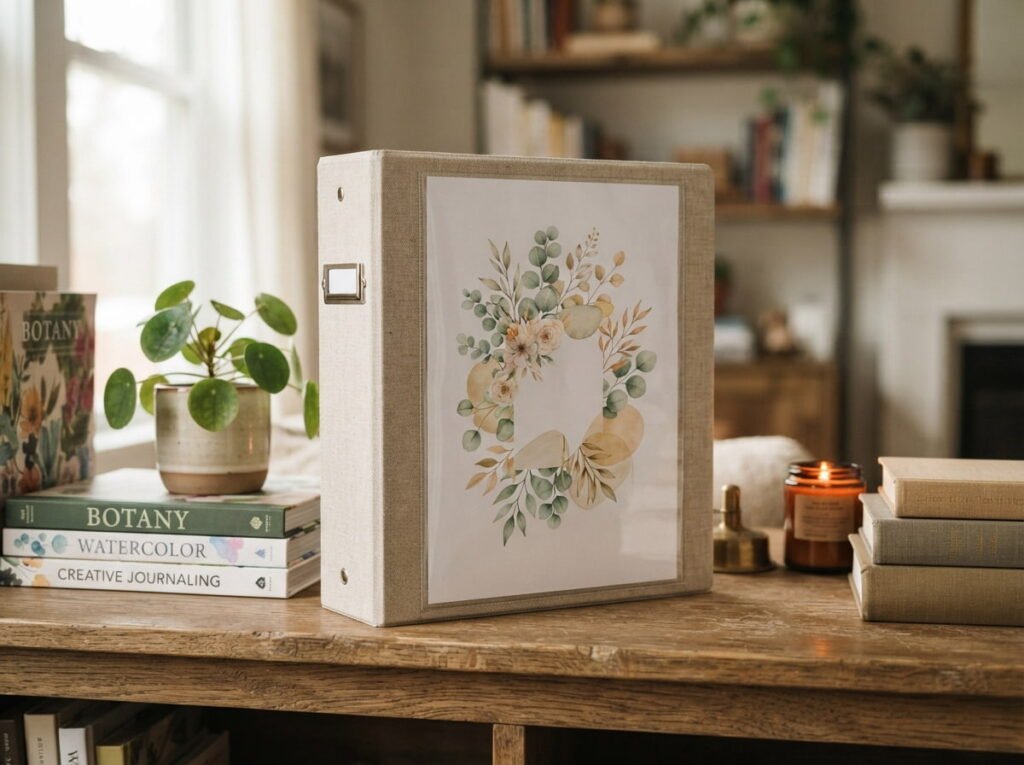
A generic binder off the shelf doesn’t look like it belongs to your home, and a clear front pocket is the easiest fix for that. Slide in a printed cover page and it instantly feels like something you actually made.
Slide the spine label in too, if your binder has one. It makes the binder easy to spot on a shelf full of other things.
11. Use a Dry Erase Marker That Won’t Ghost on Plastic Sleeves
Not every dry erase marker wipes off plastic sheet protectors cleanly, and some leave a faint shadow behind after just a few uses. That ghosting builds up fast on a page you’re writing on every week.
Faint marks linger after wiping, page looks smudged within weeks.
Page wipes back to fully clear every single time.
Fine-tip markers made specifically for laminate or plastic surfaces tend to perform noticeably better than a generic whiteboard marker.
12. Keep a Small Ruler and Pencil Pouch Inside the Binder
A checklist you’re filling out by hand needs something to write with close by, and a small pencil pouch clipped to the rings means you’re never hunting through a junk drawer mid-task.
What belongs in it
A slim pouch keeps the binder from bulking up too much while still holding everything you’d actually reach for.
13. Don’t Overbuy Supplies Before You Know Your Own System
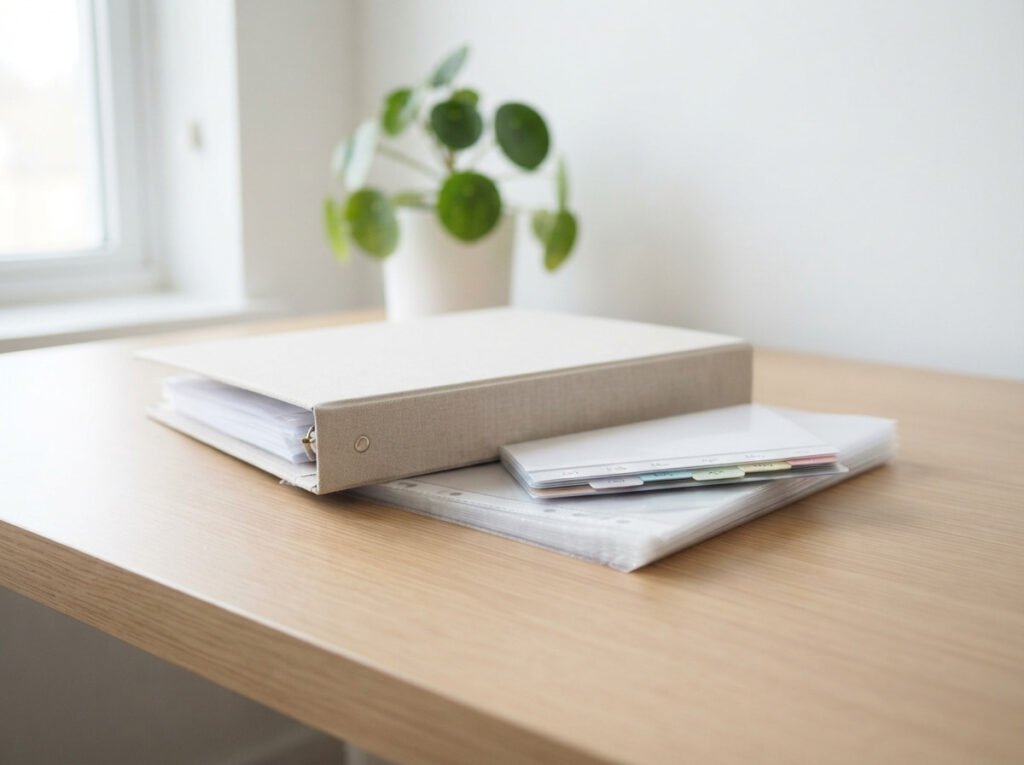
Grabbing every dividers pack, protector style, and organizational gadget on the shelf before you’ve built a single page usually means a stack of unused supplies sitting in a closet. Your actual system tends to look different once you’re a few weeks into using it.
Buy the essentials first: binder, protectors, and dividers.
Add extras once you know exactly what you’re missing.
Buying every accessory before printing a single page.
Assuming more supplies automatically means a better system.
A minimal starting point that actually gets used beats a fully stocked binder that never leaves the shelf.
14. Pick a Binder Size That Matches Where You’ll Actually Keep It
A large binder feels organized on paper, but if it doesn’t fit on your kitchen counter or the shelf where you actually want it, it quietly ends up somewhere out of sight instead. Size should match the spot it’s going to live in, not just how much it can hold.
| Full-Size Binder | Compact Binder |
|---|---|
| Holds more pages, harder to tuck away | Fits smaller spaces, less total capacity |
| Better for a dedicated shelf or drawer | Better for a countertop or small home |
Think about where the binder will actually sit day to day, then buy the size that fits that spot, not the biggest one available.
15. Build the Binder in One Sitting So It Actually Gets Used
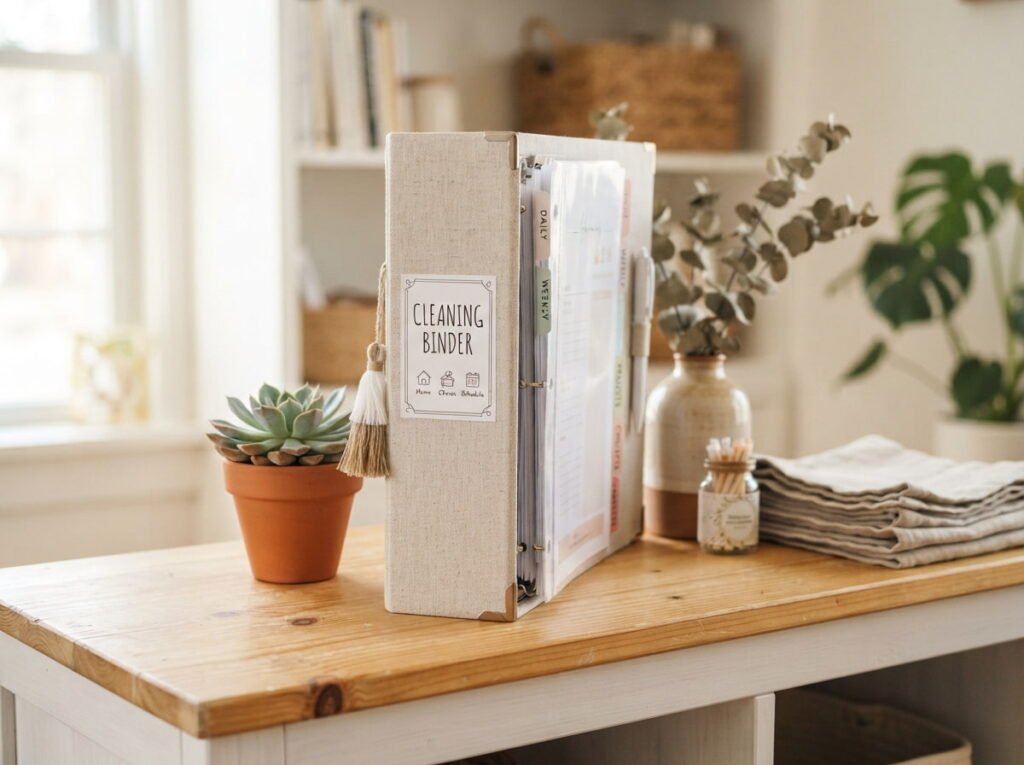
A cleaning binder that sits half-finished for weeks rarely gets picked back up, since the momentum to organize everything fades fast once life gets busy again. Setting aside a single afternoon to gather supplies and build the whole thing at once makes it far more likely to stick.
Gather every supply first, then build the binder in one sitting. A finished binder gets used. A half-finished one gets forgotten.
Put it somewhere visible the moment it’s done. A binder you can see is a binder you’ll actually open.
Conclusion
The right cleaning binder supplies aren’t about buying everything at once. A binder that opens flat, protects your pages, and lets you wipe off last week’s checklist will get used far more than one held together with good intentions and paper clips.
Start with the basics: a binder that actually lies flat, sheet protectors, and dividers to keep your sections in order. Add the extras once you know what your own system actually needs.
Save this list so you have it ready the next time you’re building or restocking your cleaning binder from scratch.