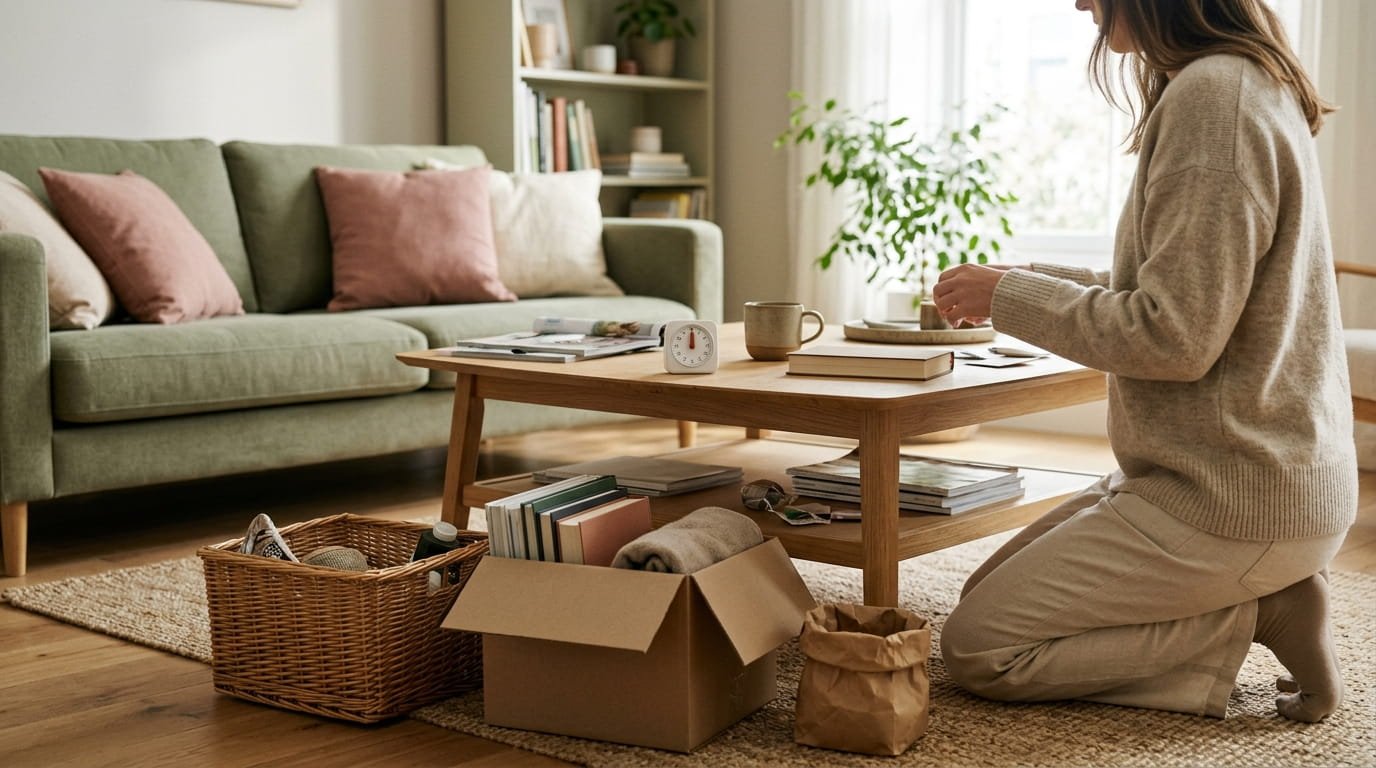
The honest problem with decluttering is not the mess. It is the time. Most advice assumes a free weekend, a quiet house, and a lot of energy, and most weeks have none of those.
So the project never starts. The pile on the chair grows, the counter fills up, and the idea of tackling the whole house feels like too much.
A smaller plan works better. When you declutter one room at a time, in short sessions with a clear stopping point, you get a finished space instead of a half sorted house. Each win also makes the next one easier, and a cleared room is faster to clean.
This list covers fifteen steps, from choosing your first room to a short weekly reset. The time suggestions are flexible targets, not promises. Skip anything that does not fit your home.
If something belongs to another person, ask before you move it.
1. Pick the Room That Annoys You Most, Not the Biggest One
Start where the frustration is, not where the most stuff is.
The room that bugs you daily, maybe the entryway where shoes pile up or the bedroom with the chair of clothes, gives you the most reward for the least effort. A small, irritating space is a better first target than a garage or attic.
Ask yourself which room you walk through and sigh at. That is your starting point.
A quick win builds the energy you need for the harder rooms later.
2. Give the Room a Time Budget Before You Start
A job with no end feels endless.
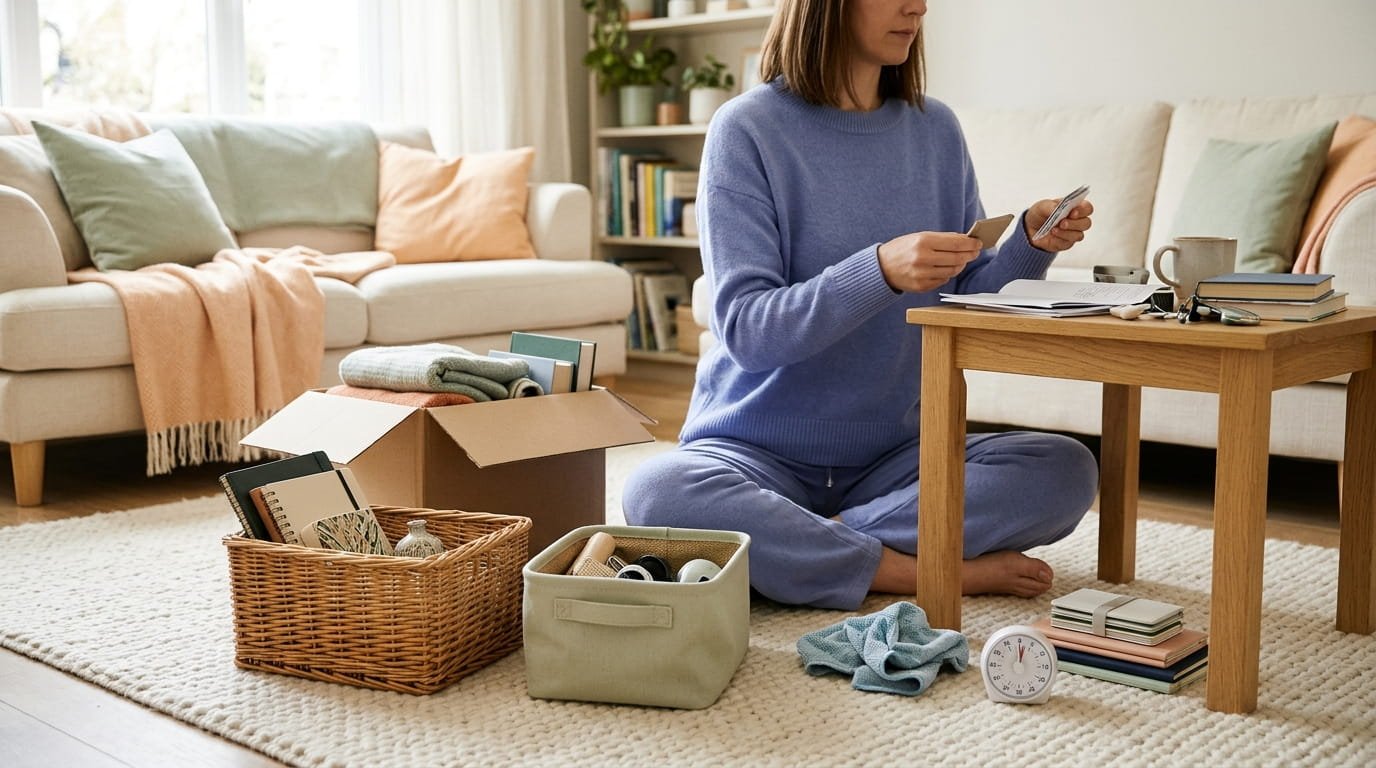
Decide how long you will spend, then work inside it. For a small room it might be a single short session. For a larger one, split it across several days. Set a timer, and stop when it rings, even if you are mid-flow.
Choose a realistic window. A plan you can actually fit into your week beats an ambitious one you skip.
Put the sessions on your calendar like any other appointment.
Set your time budget
3. Prep a Small Declutter Kit So You Never Stop to Search for a Bag
Half the lost time is spent hunting for supplies.
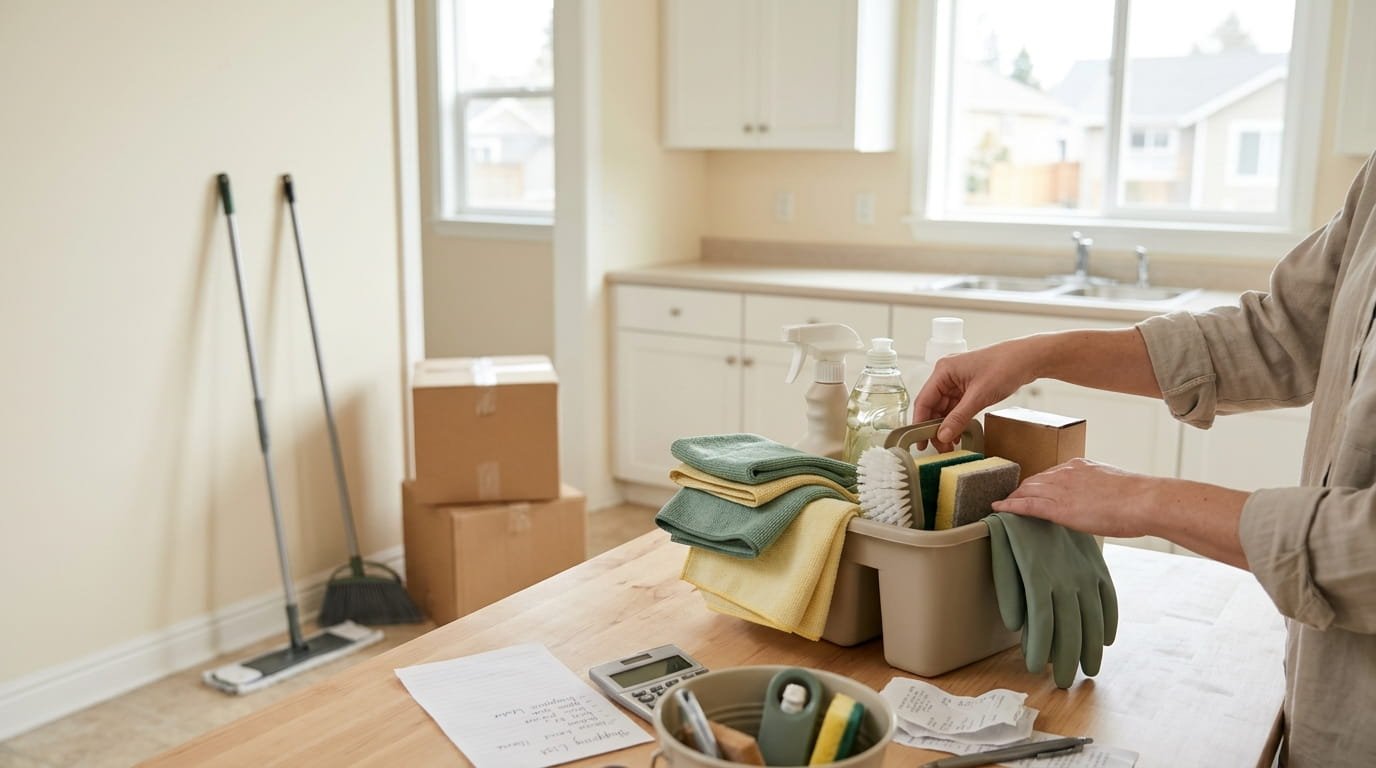
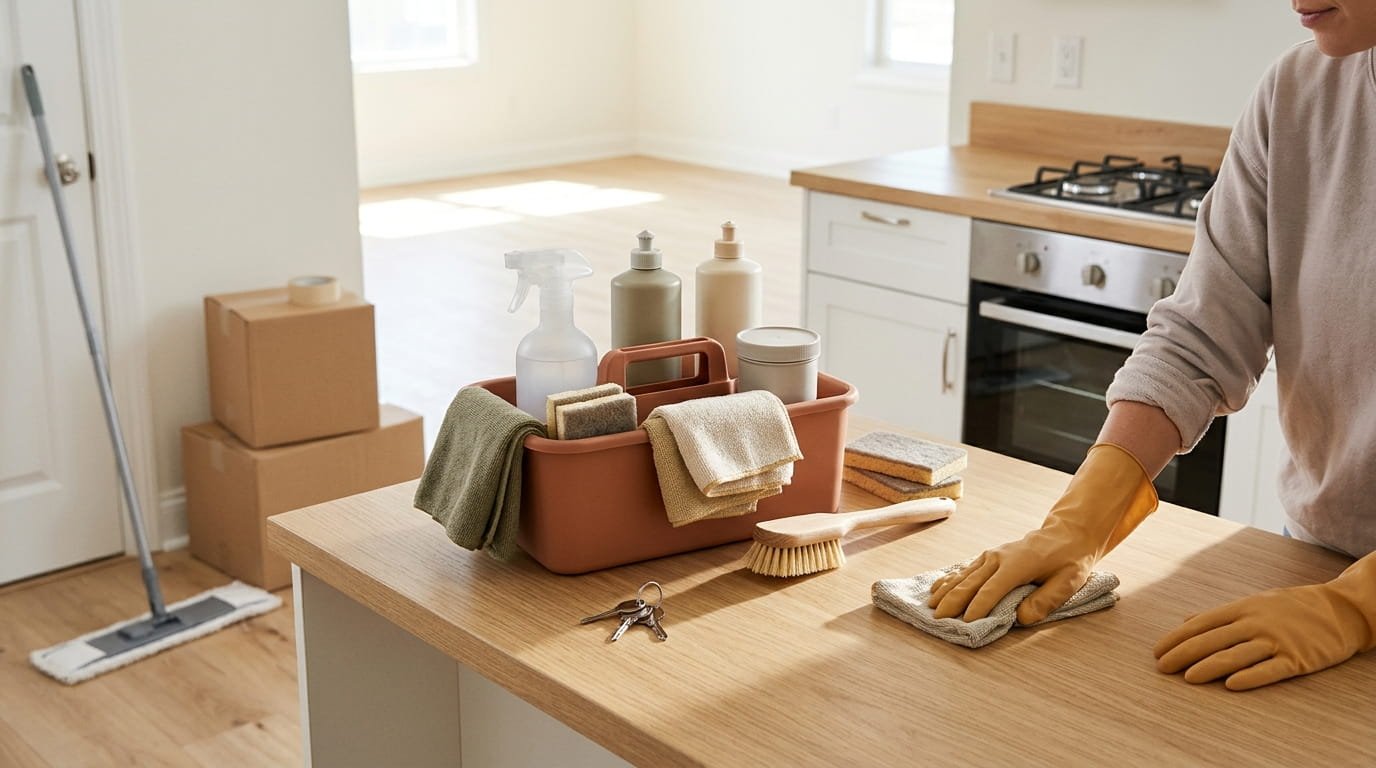
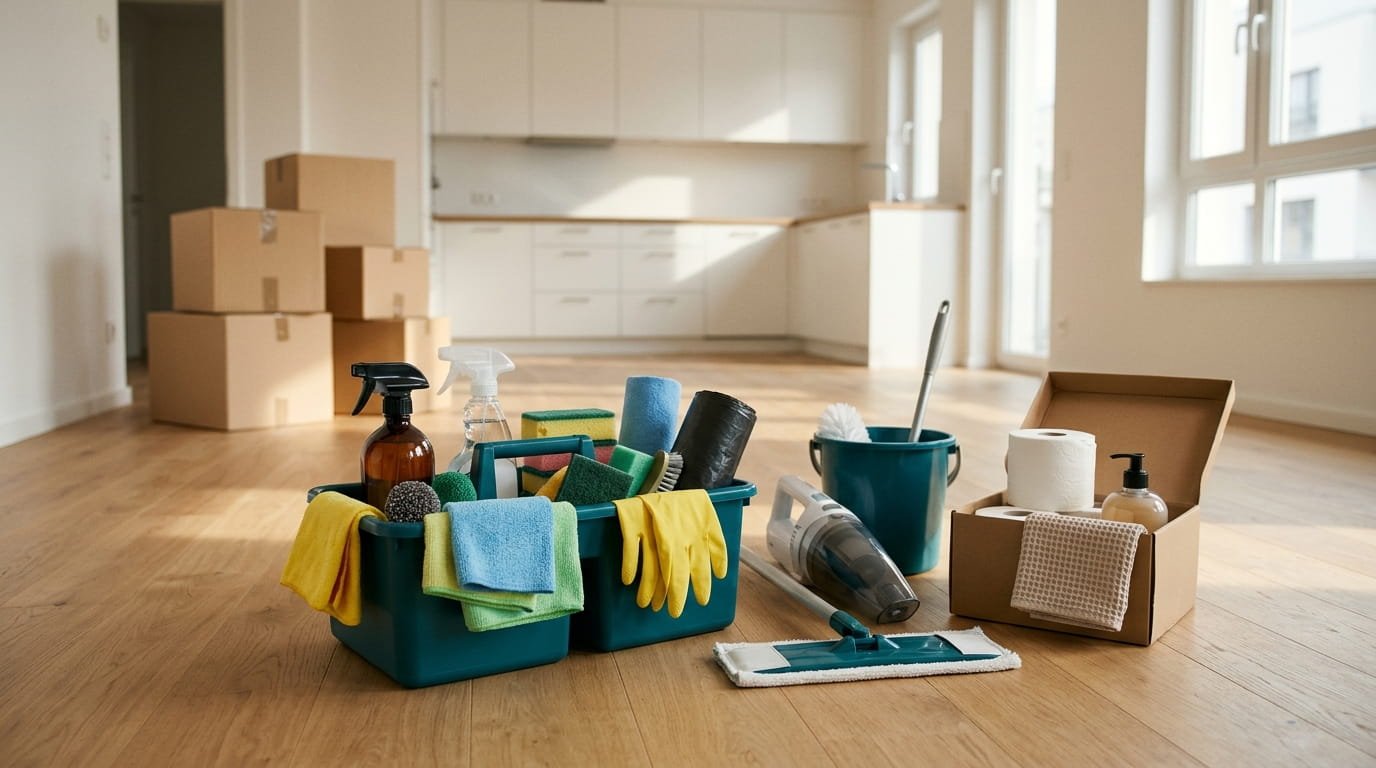
Gather them first and keep them in one basket or box: a trash bag, a donation bag, a basket for things that belong elsewhere, a damp cloth, and a marker or sticky notes. Having them within reach means you keep moving.
Put the kit by the door of the room you are working on. When the session ends, the kit goes back to its spot, ready for the next one.
4. Start at the Door and Work Around the Room in One Direction

Jumping between corners is how a room ends up half done.
Stand at the door and work clockwise, one section at a time: a shelf, a drawer, a surface, and then the next. You will not skip anything, and you will always know where you left off.
Finish each section before you move on. Even if the timer runs out, you can stop with part of the room fully done instead of all of it messy.
Stand at the door and pick the first zone to your left or right.
Sort that zone fully: keep, let go, or move to another room.
Wipe the surface, put back only what stays, and move to the next zone.
Keep going in the same direction until you are back at the door.
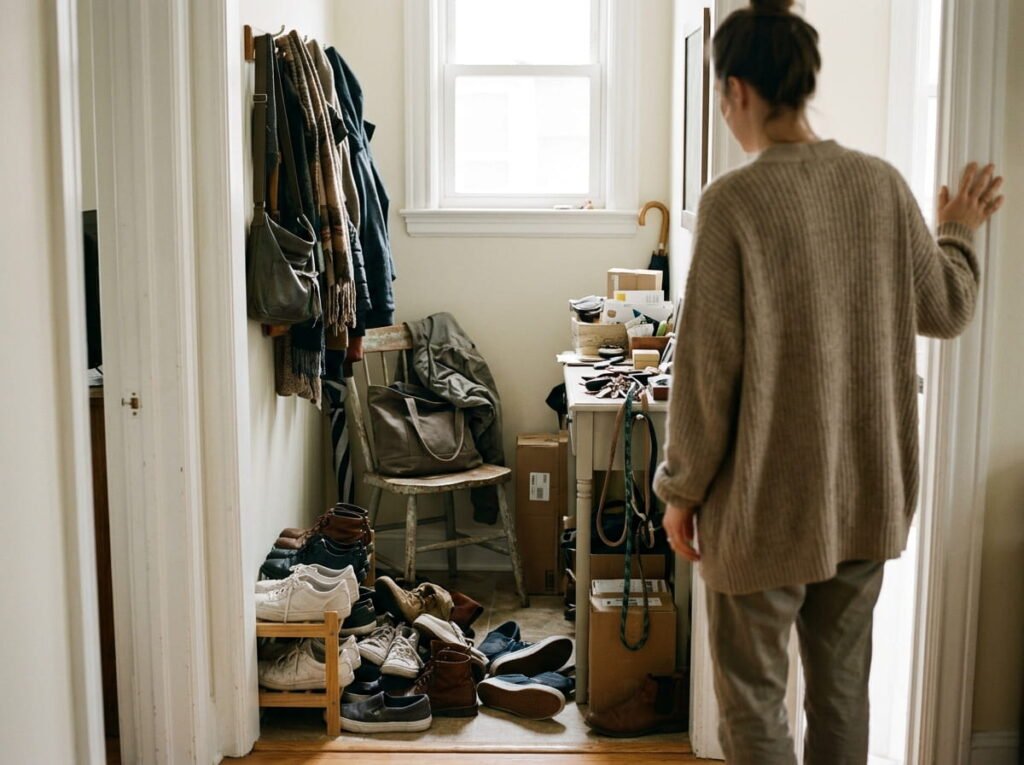
5. Entryway: Clear the Landing Zone Where Everything Gets Dropped
The entryway is where the day’s stuff lands.
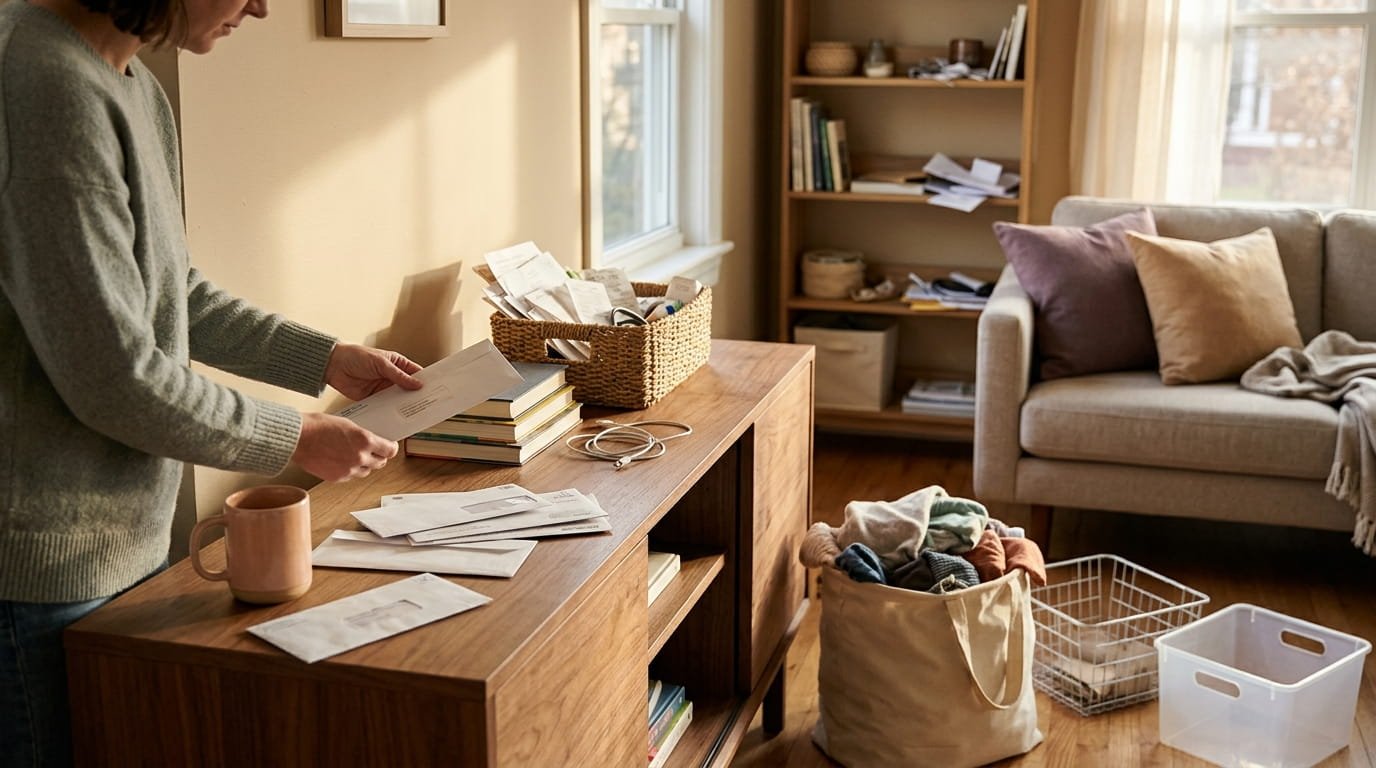
Shoes, bags, mail, keys, and coats pile up within a few steps of the door. Clear it by giving each category a spot: hooks for coats and bags, a rack for shoes, and a tray for keys and mail. Keep only the shoes and jackets in season, and move the rest elsewhere.
Sort the mail right there, and recycle junk before it comes inside.
A clear floor also means a quick sweep and mop, since nothing needs lifting.
Shoes in a heap, bags on the floor, mail on every surface, and a floor that is hard to clean.
Hooks for coats, a rack for shoes, a tray for keys and mail, and a clear floor you can sweep in seconds.
6. Kitchen: Take One Counter or Cabinet Zone Instead of the Whole Room
The kitchen is the room where “all of it” is the wrong plan.
It has too many drawers, shelves, and gadgets for a short session. Pick one zone: the counter by the stove, the cabinet with the mismatched containers, or the drawer of utensils. Finish it, wipe it, and stop.
Pull out duplicates, broken tools, and gadgets you have not touched in a long time. Match every container to a lid, and let go of the ones that have no partner.
A clear counter wipes down in one pass, so the daily clean gets shorter.
💡 Quick Tip
Start with the zone you use most, like the cooking area. Clearing it gives you a daily payoff, and the rest of the kitchen can wait for another day.
7. Bathroom: Toss Expired Products and Clear the Shower Ledge
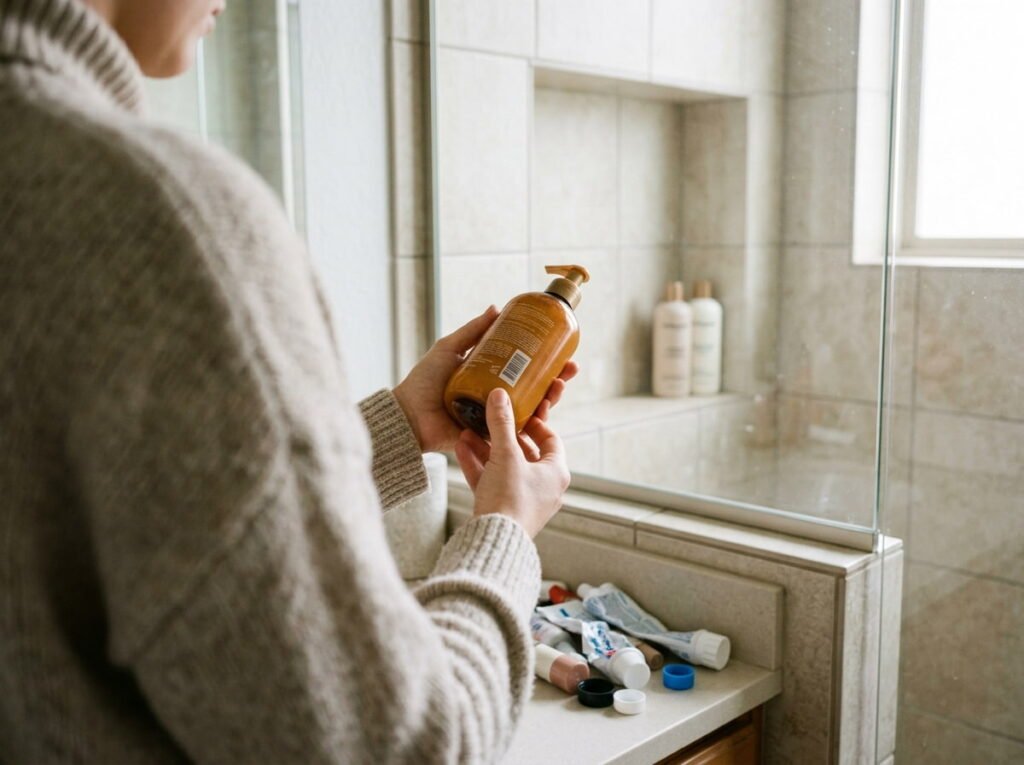
Bathrooms hold more half-used products than any other room.
Check the dates on lotions, sunscreen, makeup, and anything else with an expiry. Let go of what is old, dried out, or unused. Clear the shower ledge down to the bottles you actually use, and move the rest out of the way.
Medicines, cleaners, aerosols, and nail polish can need special handling, so follow your local guidance for disposal. Never pour products together or down the drain to get rid of them.
An empty ledge is far easier to wipe, and it cuts down on soap scum.
Check dates on everything with an expiry.
Keep only the bottles you use in the shower.
Follow local guidance for medicines and chemicals.
Pouring old cleaners together to save space.
Tossing medicines in the regular trash without checking.
Keeping products you dislike “just in case.”
8. Living Room: Do a Quick Stray Sweep, Then Edit One Surface
Living rooms collect things from every other room.
Start with a stray sweep. Walk through with a basket and collect cups, toys, remotes, blankets, and anything that lives elsewhere. Then edit one surface, such as the coffee table or the TV stand, down to what you actually use.
Leave the shelves for another session. A tidy surface and a clear floor change how the room feels in a few minutes.
Vacuuming gets easier when nothing needs moving first.
| Stray sweep | Surface edit |
|---|---|
| Collect items that belong in other rooms | Clear one table or shelf completely |
| Takes a few minutes with a basket | Put back only what you use or love |
| Empty the basket room by room | Wipe the surface before refilling |
9. Bedroom: Clear the Nightstand, the Floor, and the Chair Pile
The bedroom is the last room you see at night and the first in the morning.
Three spots do most of the damage: the nightstand, the floor, and the chair that holds worn-but-not-dirty clothes. Clear the nightstand to a lamp, a book, and a glass. Pick up the floor. Give the chair clothes a home: back in the closet, in the wash, or off to donate.
Look under the bed for things you can move or let go of.
For a deeper closet clear out, give that its own session.
Clear the three spots you see from the bed. A tidy view makes the whole room feel calmer.
10. Kids’ Rooms: Rotate Toys Instead of Purging Them All
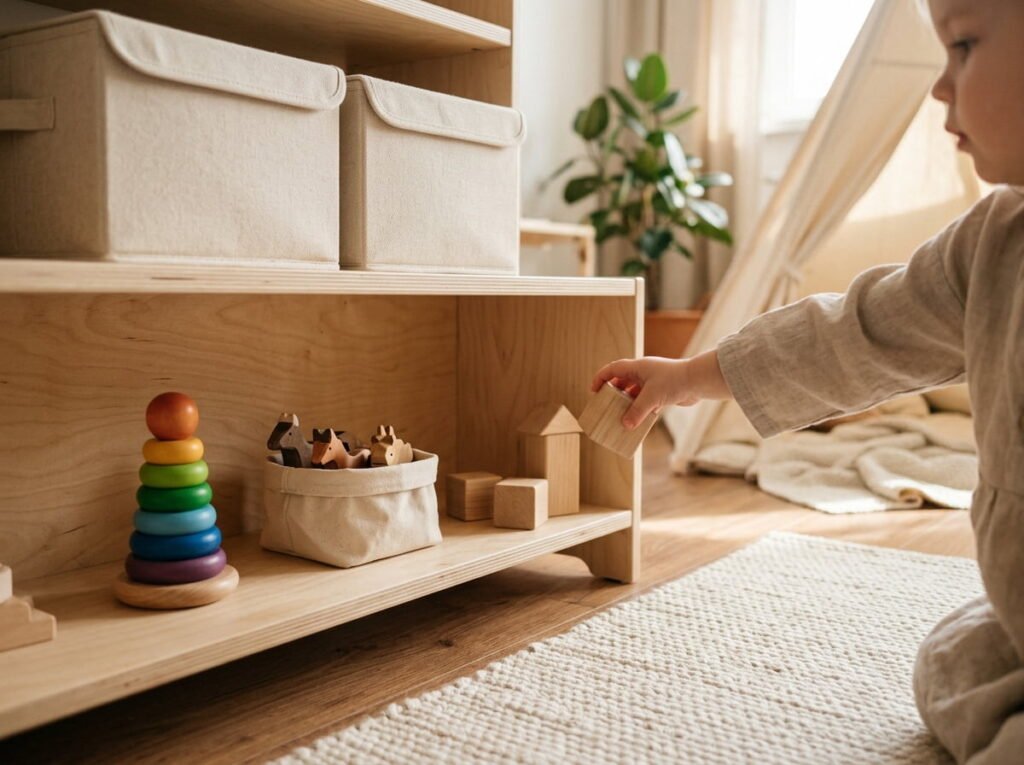
Toys multiply fast, and a big purge can upset a child.
Try rotating instead. Keep a smaller set out, and store the rest in a closed box on a high shelf. After a few weeks, swap them. Old toys feel new, and the room stays easier to tidy and clean.
Involve your child in the choices, and never throw out their things in secret. Check toys for damage, and follow safety guidance on anything broken or with small parts.
Let them help carry the donate bag, if they want to.
📌 Good To Know
Fewer toys out usually means deeper play and a faster tidy up. Store the rotation box where children cannot reach it on their own.
11. Home Office: Tame Papers, Cables, and the Desk Drawer
A desk collects the things you meant to deal with later.
Start with paper. Sort it into act on, file, and recycle, and shred anything with personal details. Then untangle the cables: keep the ones you use, label them, and let go of the chargers that fit nothing you own. Finish with the desk drawer, which is usually half pens that do not work.
Keep the desktop for the laptop, a lamp, and one cup.
Check how long to hold important documents with your local guidance before you shred them.
12. Use a Basket for Items That Belong in Other Rooms
Decluttering one room often means carrying things to another.
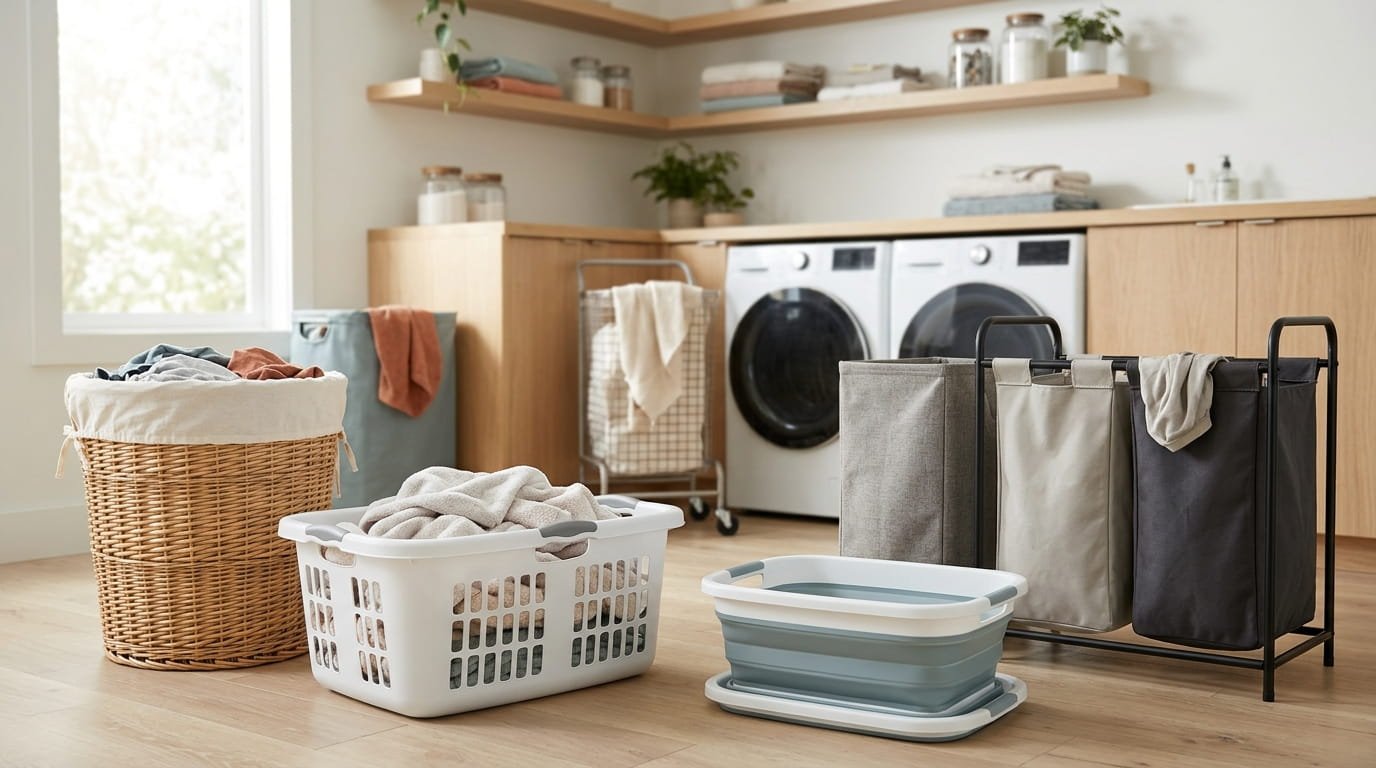
If you walk each item to its home, you lose your place and your time. Use a basket instead. Drop in anything that belongs elsewhere, keep working, and deliver the basket when the session ends.
That keeps your attention on the room in front of you. Empty the basket room by room on your way, and put each item in its proper spot right away.
Basket rules
13. Finish One Zone Completely Before You Stop for the Day
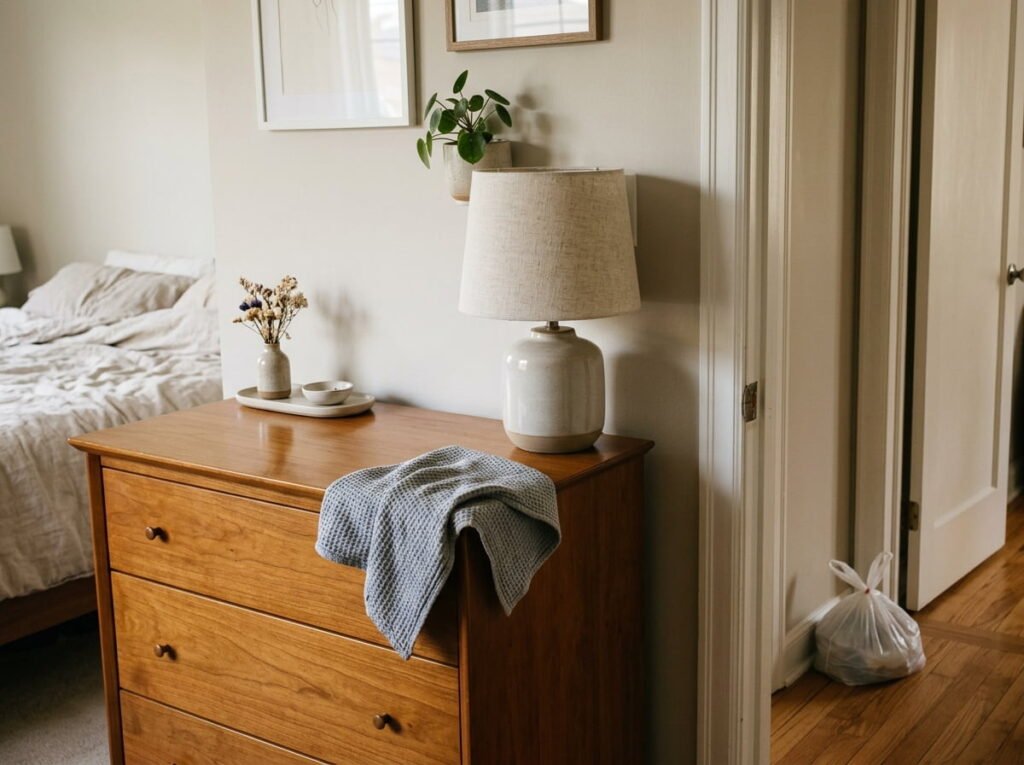
A half-sorted zone is worse than an untouched one.
Open drawers, items on the floor, and a pile “to decide” all feel like failure the next morning. Plan each session so it ends with one zone fully done, wiped, and put back.
If time is running out, shrink the zone instead of leaving it open. Finish the top drawer and leave the bottom one for next time.
A finished zone is also something you can see and enjoy, which makes you want to come back.
14. Move the Donation Bag Out of the House Within a Few Days
A donation bag by the door turns into furniture.
The longer it sits, the more likely you are to dig through it. Set a deadline when you fill it, such as the next time you drive out. Put it in the car right away, so the errand is already half done.
Check what your local donation center accepts first, and keep anything that needs special disposal, like batteries or chemicals, separate.
Once it is gone, do not go back through it.
Tie the bag as soon as the session ends.
Check what your local center accepts and when it is open.
Put the bag in the car the same day.
Drop it off on your next trip out.
15. Rotate a Short Weekly Room Reset So the Work Stays Done
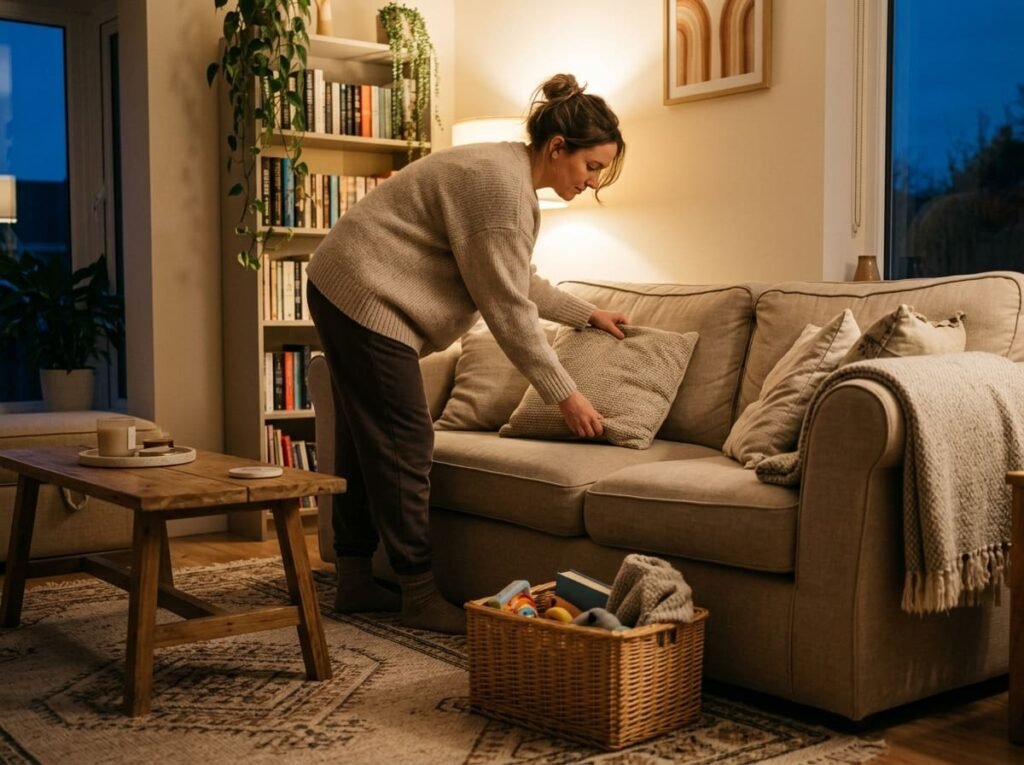
A cleared room stays clear with a little upkeep.
Pick one room each week and give it a short reset. Put strays back, clear the main surface, empty the bin, and check the corners. Monday could be the entryway, Tuesday the kitchen counter, and so on.
It is not a deep clean. It is a quick tidy that stops piles from forming again.
If one spot keeps filling up, it either needs a better home for its contents, or fewer contents.
A cleared room that slowly refills, until you need another big session to catch up.
One short weekly reset per room, so piles never build and the next clean stays quick.
Conclusion
You do not need a free weekend to get your home under control. A single room, a short timer, and a clear stopping point are enough to make real progress, and each finished space makes the next one easier.
The reason to declutter one room at a time is that it fits the life you already have. Start with the room that bothers you most, finish one zone, and let the rest wait for another day.
A cleared room is also faster to clean, which gives the time back.
Save this list on Pinterest so you have a simple plan the next time the clutter starts to feel like too much.