If you have never decluttered before, the hardest part is not the stuff. It is the starting. You look at a full closet, a packed drawer, a counter covered in mail, and you have no idea which thing to pick up first.
So you wait for a free weekend, or a burst of motivation, and neither one shows up. The pile gets bigger, and the idea of fixing it gets heavier.
This decluttering 101 guide takes the guessing out. It covers fifteen steps in the order a beginner actually needs them: why you are doing it, how to start small, which method to pick, how to decide, and how to keep the space clear. Each step points to a deeper topic if you want more.
No step asks you to own as little as possible. Keep what you use and love. If something belongs to another person, ask before you move it.
1. Decide Why You Are Decluttering Before You Touch Anything
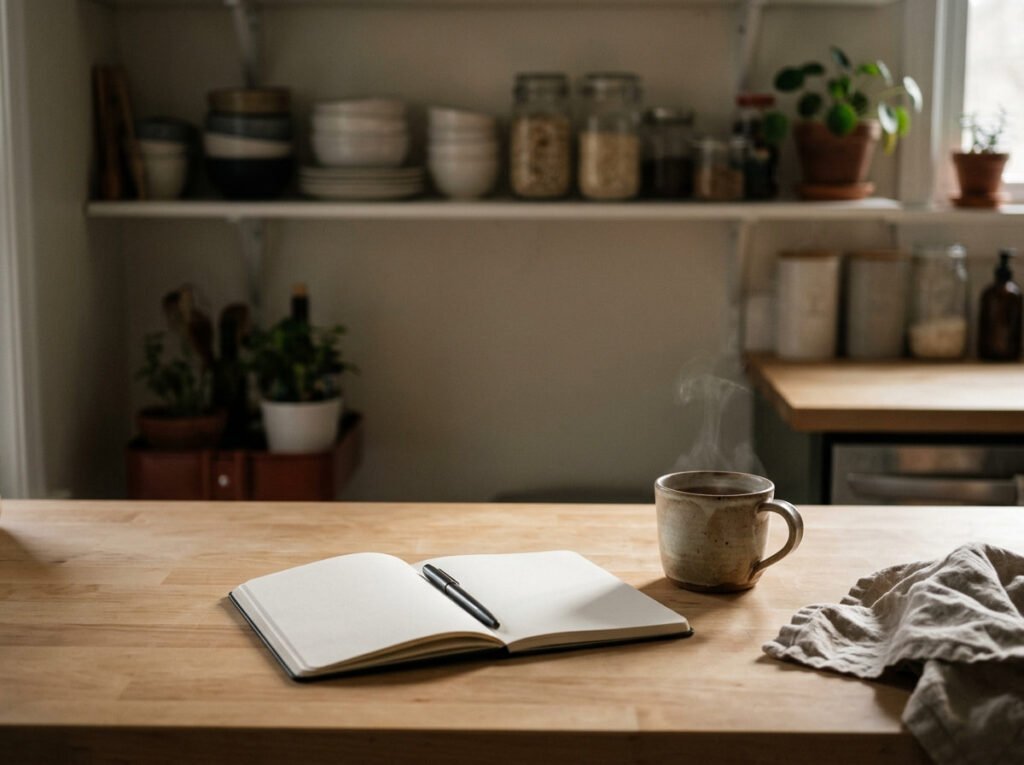
Without a reason, decluttering becomes moving piles from one room to another.
Take a minute and name what you want. Maybe you want a counter you can wipe in one pass, a bedroom that feels restful, or a hallway you can walk through. Write it in a few words and keep it where you can see it.
That reason is your filter. When you hold an item and feel stuck, ask whether it helps the goal or gets in its way.
If you share your home, share the goal too, so everyone is aiming at the same thing.
2. Start Small, Because a First Win Matters More Than a Big Plan
A big plan feels good on Sunday and falls apart by Tuesday.
Pick one small spot instead: a single drawer, one shelf, or the top of the dresser. Empty it, wipe it, and put back only what belongs. It takes a short while, and you see the result right away.
That quick finish is what keeps you going. A small job completed beats a large one abandoned halfway.
Choose a spot you see every day, so the win keeps showing up.
Good first spots
3. Learn the Four Common Methods and Pick the One That Fits Your Life
There is no single right way to declutter, only the way you will actually do.
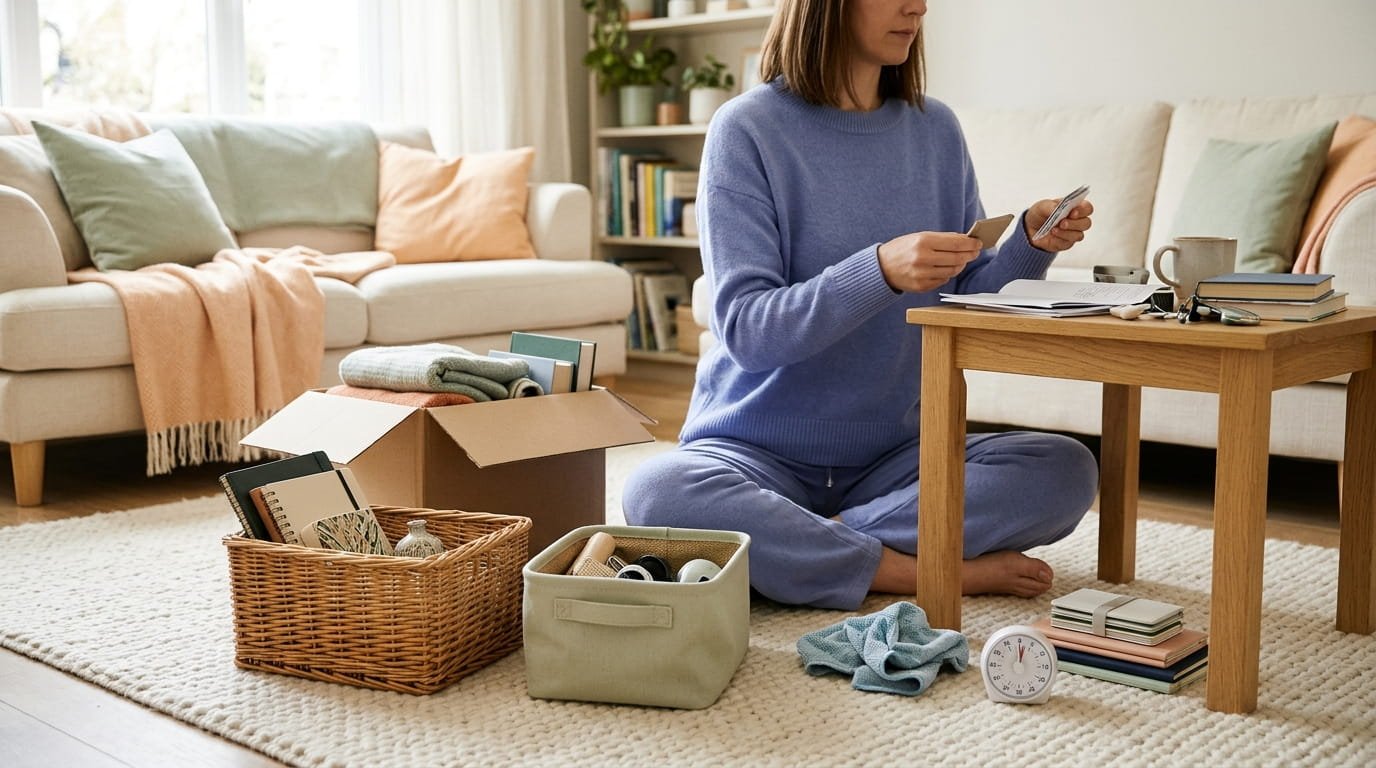
Four general approaches cover most people. Room by room works through one space at a time. Category by category gathers every item of one type, like clothes, before sorting. A timed sprint uses a short timer and stops when it rings. A box system sorts everything into keep, let go, and maybe.
Try one for a week. If it feels like a chore, switch.
4. Gather Five Basic Supplies Before You Begin
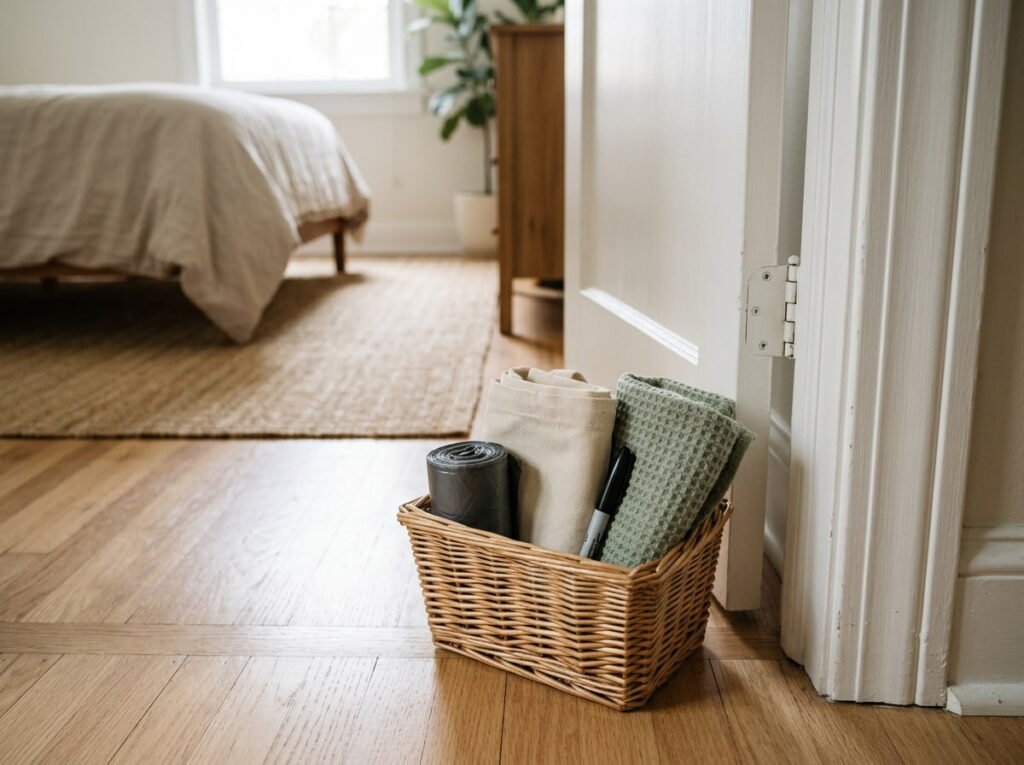
Stopping to look for a bag is how momentum dies.
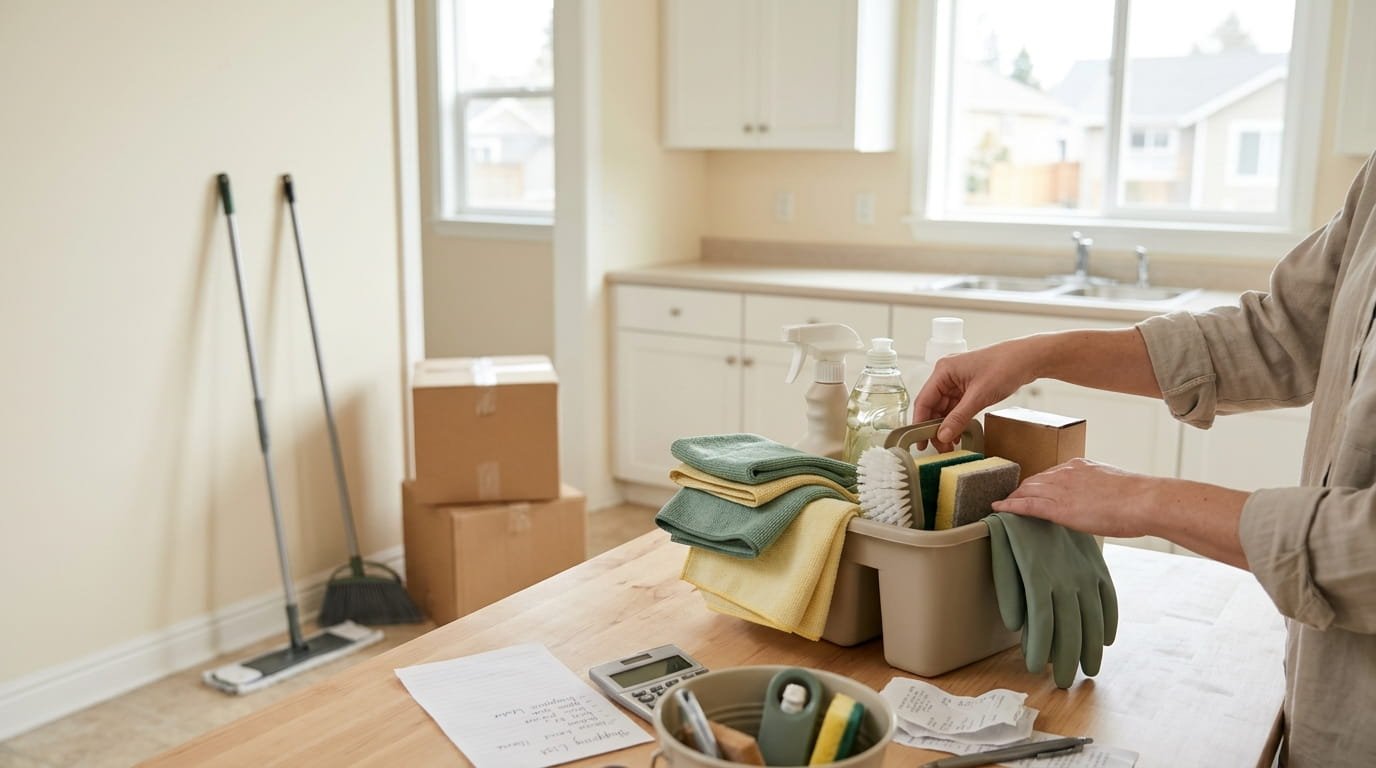
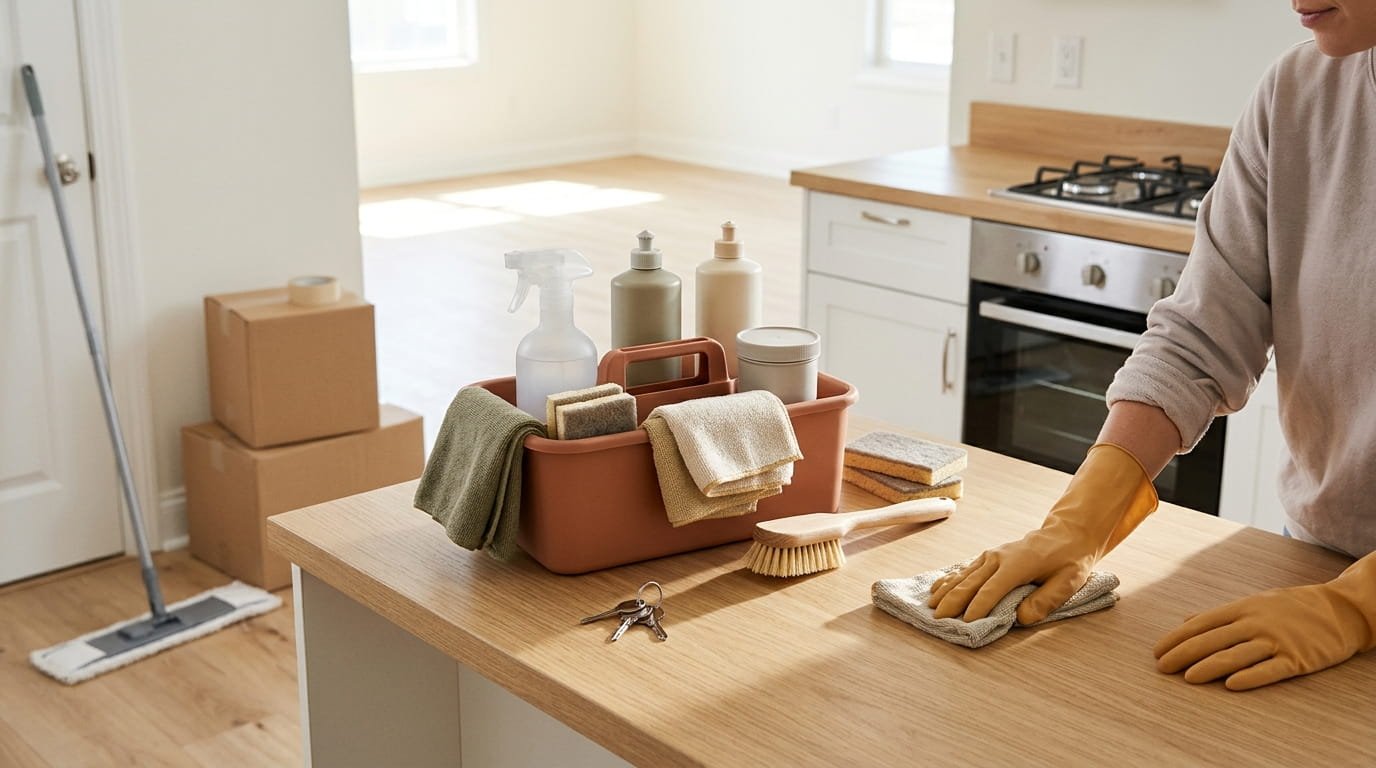
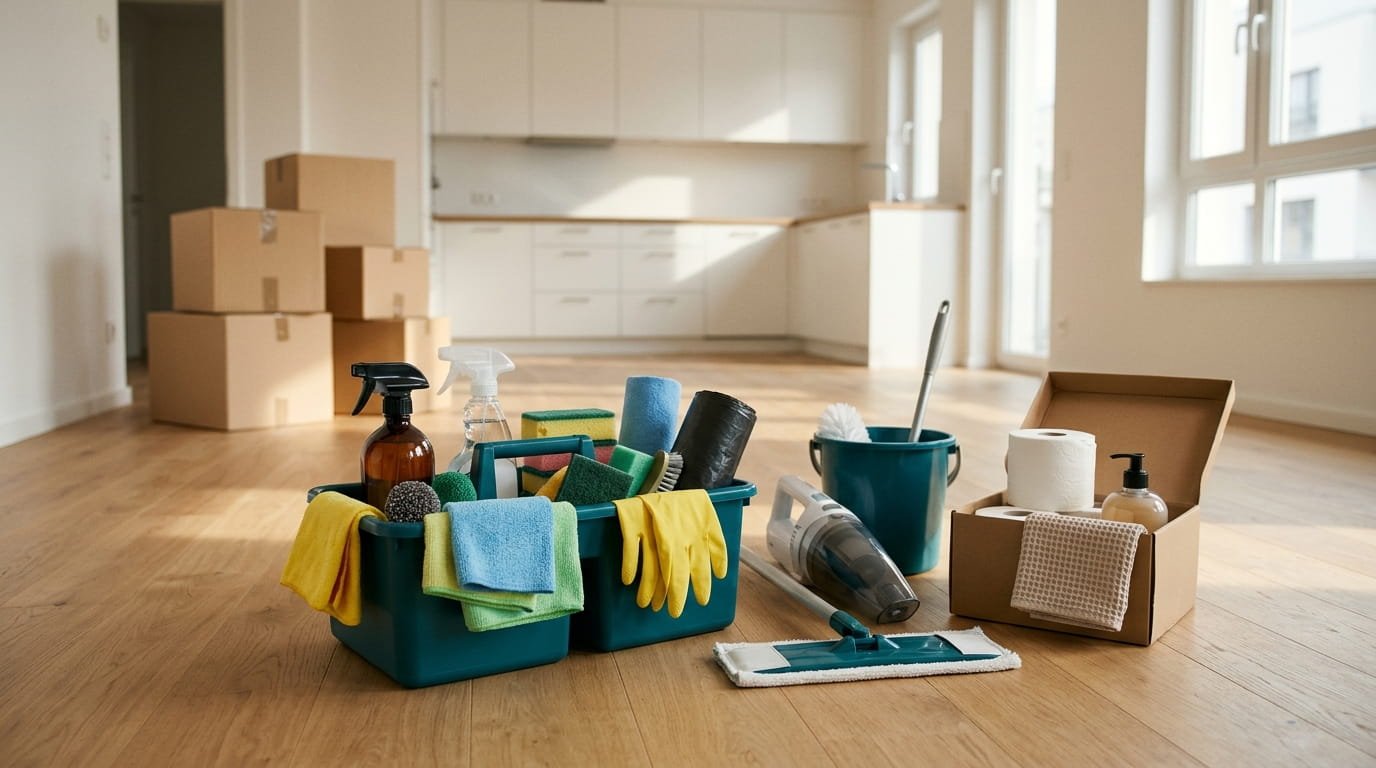
Set out five things first: a trash bag, a donation bag, a box for things that belong in other rooms, a damp cloth, and a marker or sticky notes. Keep them in one basket near where you are working.
When the session ends, the basket goes back to its spot, ready for next time.
Grab a trash bag and a donation bag, and set them by the door of the room.
Add a box or basket for items that belong in other rooms.
Keep a damp cloth ready to wipe each space as you empty it.
Have a marker or sticky notes for labeling the maybe box with a date.
5. Use Simple Questions to Decide Keep, Let Go, or Maybe
Deciding is where most beginners freeze, so give yourself a few quick questions.
Do I use it? Do I like it? Is it in good shape? Do I have another one? If the answers are mostly no, it is a candidate to go. If you truly cannot decide, put it in the maybe box with a date, and look again later.
Handle each item once. Picking it up again and again is what eats the time.
Ask the same few questions for every item.
Decide fast and drop it in a pile.
Date the maybe box and revisit it.
Keeping things out of guilt.
Saying “I might need it” about everything.
Deciding for someone else’s belongings.
6. Know the Common Categories: Clothes, Kitchen, Paper, Bathroom, and Sentimental
Clutter is not all the same, and each type behaves differently.
Clothes pile up quietly and carry fit and style questions. Kitchen items multiply through duplicates and unused gadgets. Paper arrives daily and needs a system. Bathroom products expire. Sentimental things carry feelings, not logic.
Knowing the category tells you how to treat it. Some are quick, and some need patience. Sort the quick ones first, and leave the emotional ones for last.
Each category has a deeper topic of its own, so use this as a map, then dig in where you need to.
| Category | What to watch for |
|---|---|
| Clothes | Fit, wear, and “someday” pieces |
| Kitchen | Duplicates and unused gadgets |
| Paper | Daily mail and old documents |
| Bathroom | Expired and half-used products |
| Sentimental | Feelings, so go slowly |
7. Start With the Easy Categories to Build Momentum

Begin where decisions are cheap.
Duplicates, expired items, broken things, and obvious trash take seconds to decide, and nobody feels attached to them. Clearing them first shows quick progress and builds confidence for harder choices.
Save photos, letters, gifts, and heirlooms for the end. By then you have practiced, and the decisions feel lighter.
Think of it as warming up before a heavier lift.
Starting with a box of old photos, getting stuck, and giving up before anything is cleared.
Clearing duplicates and trash first, building speed, and saving the emotional items for last.
8. Handle Paper and Digital Clutter With a Simple Sorting System
Paper and screens fill up without a sound.
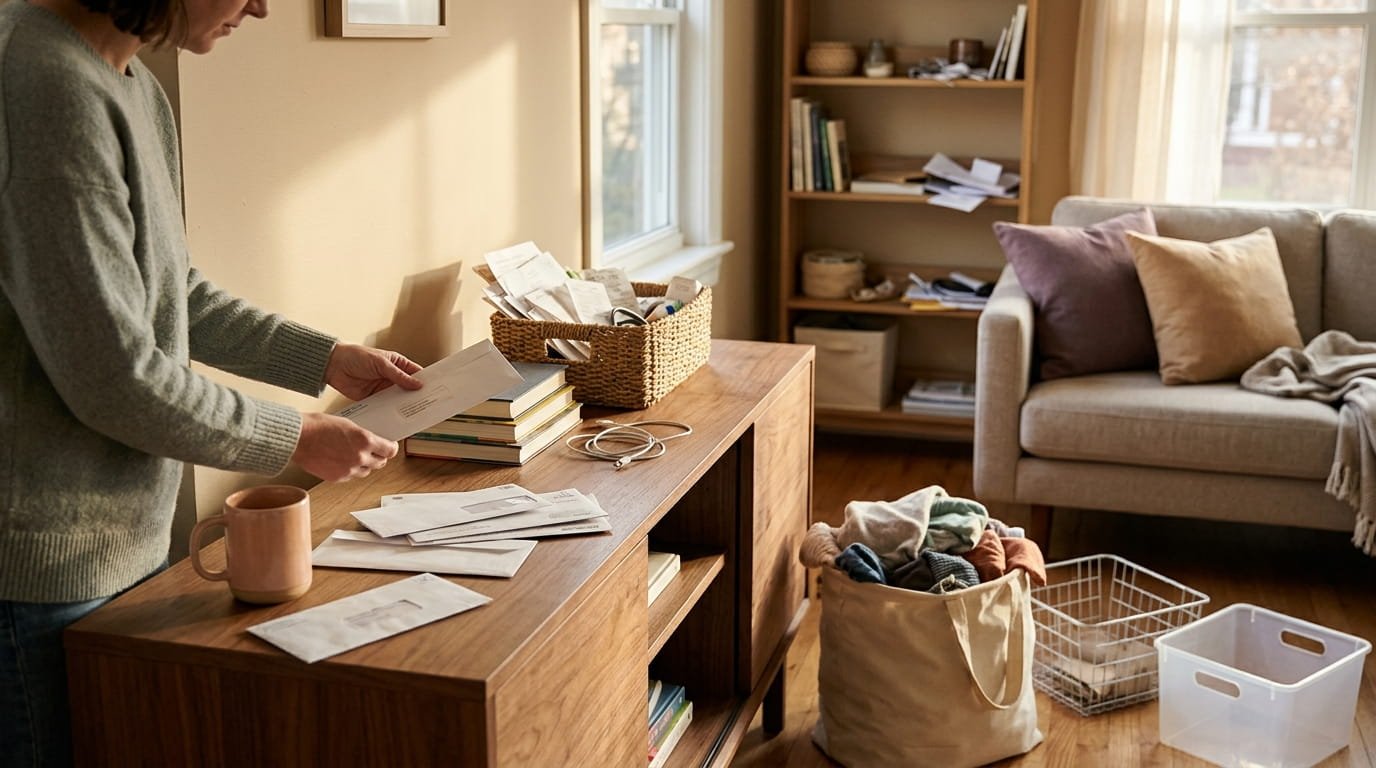
For paper, set one spot for incoming mail and sort it once a week into three piles: act on, file, and recycle. Shred anything with personal details. For digital clutter, start small: delete old screenshots, clear a downloads folder, and unsubscribe from a few emails.
Keep important documents, such as IDs and tax papers, in one safe, labeled place. Check local guidance on how long to hold them before you shred.
💡 Quick Tip
Open mail over the recycling bin. Junk goes straight in, and only the pieces that need action come to the table.
9. Go Slowly With Sentimental Items and Other People’s Belongings
Some things are not clutter, even if you never use them.
Sentimental items deserve time. Choose the pieces that matter most, keep them in one box or on one shelf, and take a photo of anything too large to store. If a decision feels heavy, set it aside and come back another day.
Other people’s belongings are a different rule altogether: ask first. Never discard what belongs to a partner, a child, or a family member without their say.
Your things are yours to decide. Other people’s things are theirs. Ask before you move them.
10. Deal With Expired Products and Chemicals Safely
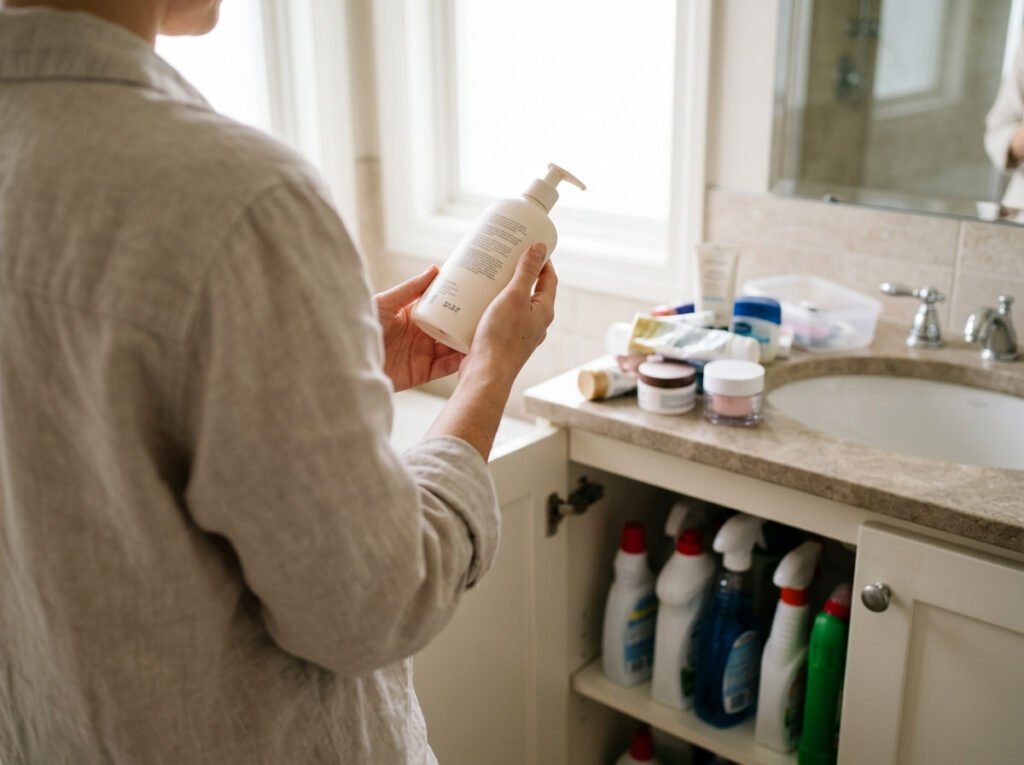
Old products hide in cabinets for years.
Check dates on lotions, sunscreen, makeup, and food. Let go of what is expired, dried out, or unused. Medicines, cleaners, paint, batteries, and aerosols can need special handling, so follow your local guidance for disposal.
Never pour products together or down the drain to get rid of them, and never mix old cleaners. Keep chemicals in their original, labeled containers, out of reach of children and pets.
⚠️ Watch Out
Do not mix cleaners or empty them into one bottle. Some combinations release harmful fumes. If you are unsure how to dispose of something, check your local waste service.
11. Give Every Kept Item a Home So Clutter Does Not Return
Clutter is usually just stuff with nowhere to live.
When an item has a clear spot, putting it away takes seconds. When it does not, it lands on the nearest flat surface. Walk through what you kept and decide where each thing belongs, close to where you use it.
Keys by the door, chargers by the bed, cloths under the sink. If something has no good home, ask whether it needs to stay.
For bins, labels, and dividers, see our guides on storage bins and decluttering organizers.
12. Get the Let-Go Pile Out of the House Quickly
A donation bag by the door turns into furniture.
The longer it sits, the more likely you are to dig back through it. Pick a deadline when you fill it, like your next errand. Put it in the car right away, so the trip is already half done.
Check what your local donation center accepts first. Keep anything that needs special disposal, such as batteries or chemicals, separate.
Once it is gone, do not reopen the bags.
Tie the bag as soon as the session ends.
Check what your local center accepts and when it is open.
Put the bag in the car the same day.
Drop it off on your next trip out.
13. Clean the Space Once It Is Empty
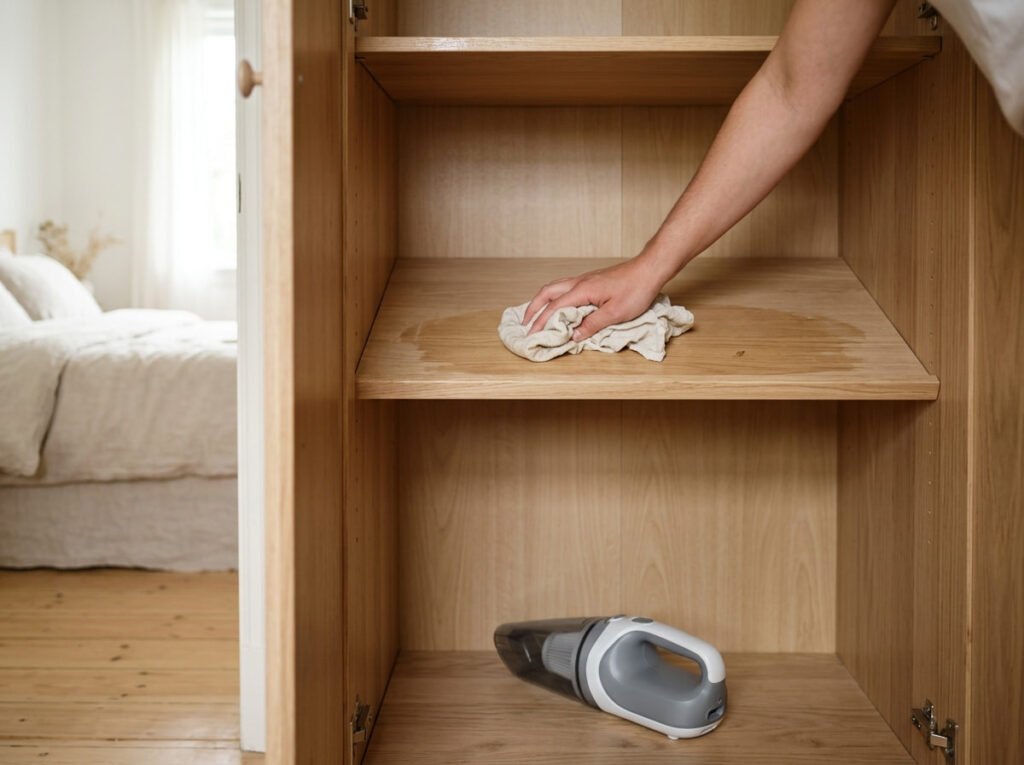
An empty shelf is the only time you can clean all of it.
Dust the top first, wipe the surfaces with a damp cloth, and vacuum the floor and corners. Check for damp spots or signs of pests while you are there. Let everything dry fully before anything goes back.
Work from top to bottom so dust falls onto areas you have not cleaned yet. Use one cleaner at a time, and test on a hidden spot for wood or painted surfaces.
14. Avoid the Five Most Common Beginner Mistakes
Most stalled projects fail in the same few ways.
Starting too big is the first. Buying organizers before decluttering is the second. Skipping the let-go step leaves bags by the door. Deciding for other people causes arguments. And stopping with a half-sorted space is worse than not starting.
None of these mean you are bad at it. They are normal steps in learning.
Quick check before you start
15. Follow a Simple First-Week Plan and Keep Going
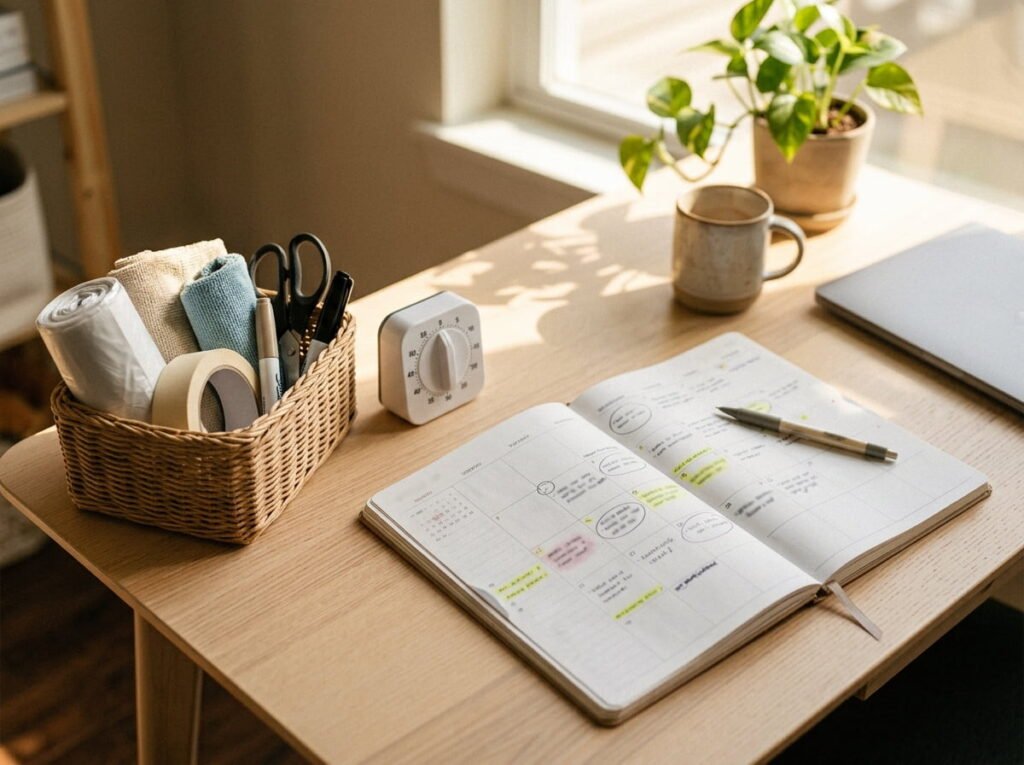
A week is long enough to build a habit and short enough to stay interested.
Spend a few short sessions on one spot each day: a drawer, a counter, a shelf, the entryway, and a quick weekend reset. Take the bag out on day six. Do a ten minute check on day seven.
After that, repeat the pattern on a new space. Adjust the order and pace to your own week.
A big, vague plan to “sort the house,” no start date, and piles that keep growing.
One small spot a day, a bag out the door by the weekend, and a pattern you can repeat in any room.
Conclusion
Decluttering gets easier the moment you stop waiting for the perfect weekend. One small spot, one clear reason, and one bag out the door will teach you more than any big plan.
The point of decluttering 101 is to build a habit you can repeat. Keep what you use and love, give each thing a home, and ask before you touch anyone else’s belongings.
A clear space also cleans faster, which gives some of your time back.
Save this list on Pinterest so you have a simple starting point the next time the clutter starts to feel like too much.