
A studio has no door to close on a mess. The kitchen, the bed, and the bathroom door all share one room, so dust from one job lands on the next.
Most people start wherever the dirt looks worst. In a small space, that backfires fast, because every wipe and sweep spreads grime to a spot you just finished.
A smart plan to clean studio apartment before move in works by zone and by height. You start high, finish low, and keep each area closed off in your head, even without walls. One room means fewer places to hide, and the whole job is faster than it looks.
Below are 15 steps, each with a clear method and a quick reference you can screenshot. Most take ten to twenty minutes. Work through them in order, and you can set down your first box in a place that already feels like yours.
1. Set a Plan to Clean Studio Apartment Before Move In With a Timer for Each Zone
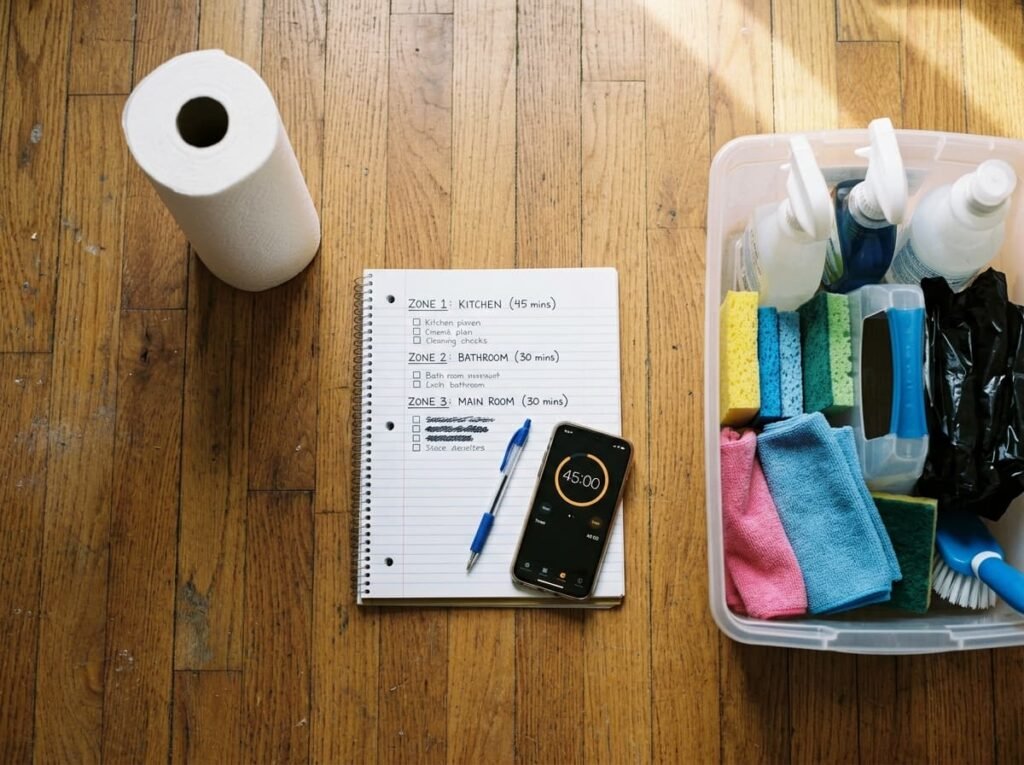
A studio can eat a whole day if you let it, so give every zone a time limit.
Walk the space once and note what needs the most work. Then split your hours into small blocks, such as thirty minutes for the kitchenette and twenty for the bathroom. Set a phone timer for each block, and move on when it rings. A fast first pass beats one perfect corner.
- Do the slow jobs first, like the oven and fridge
- Keep floors for the very end
- Take a five minute break between zones
Plan on a full day if the last tenant left a mess, and half a day if it looks fairly clean.
2. Open the Windows, Prop the Door, and Clear the Floor So You Can Work
Fresh air and clear floors save more time than any cleaning product.
Open every window and prop the front door, so fumes leave and dust has somewhere to go. Pull everything off the floor, including boxes and bags, and stack it near the door or in the bathtub. A bare floor lets you sweep once instead of working around piles.
If the last tenant left items behind, photograph them and ask the landlord before tossing anything.
💡 Quick Tip
Run a small fan in the open window, facing out. It pulls stale air and cleaner fumes out of a closed up studio much faster.
3. Pack a Single Cleaning Caddy You Can Carry Between Zones
In a studio, you never walk far, so one caddy is all you need.
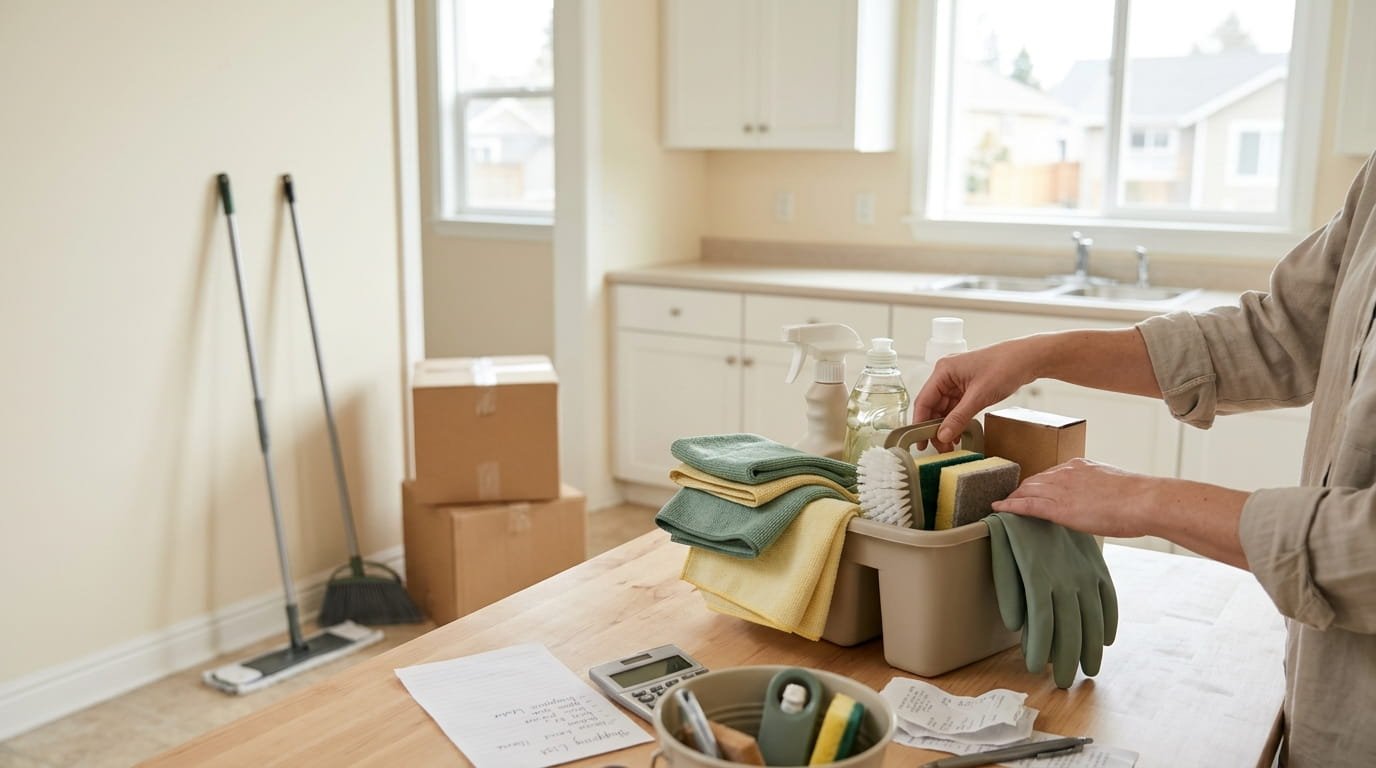
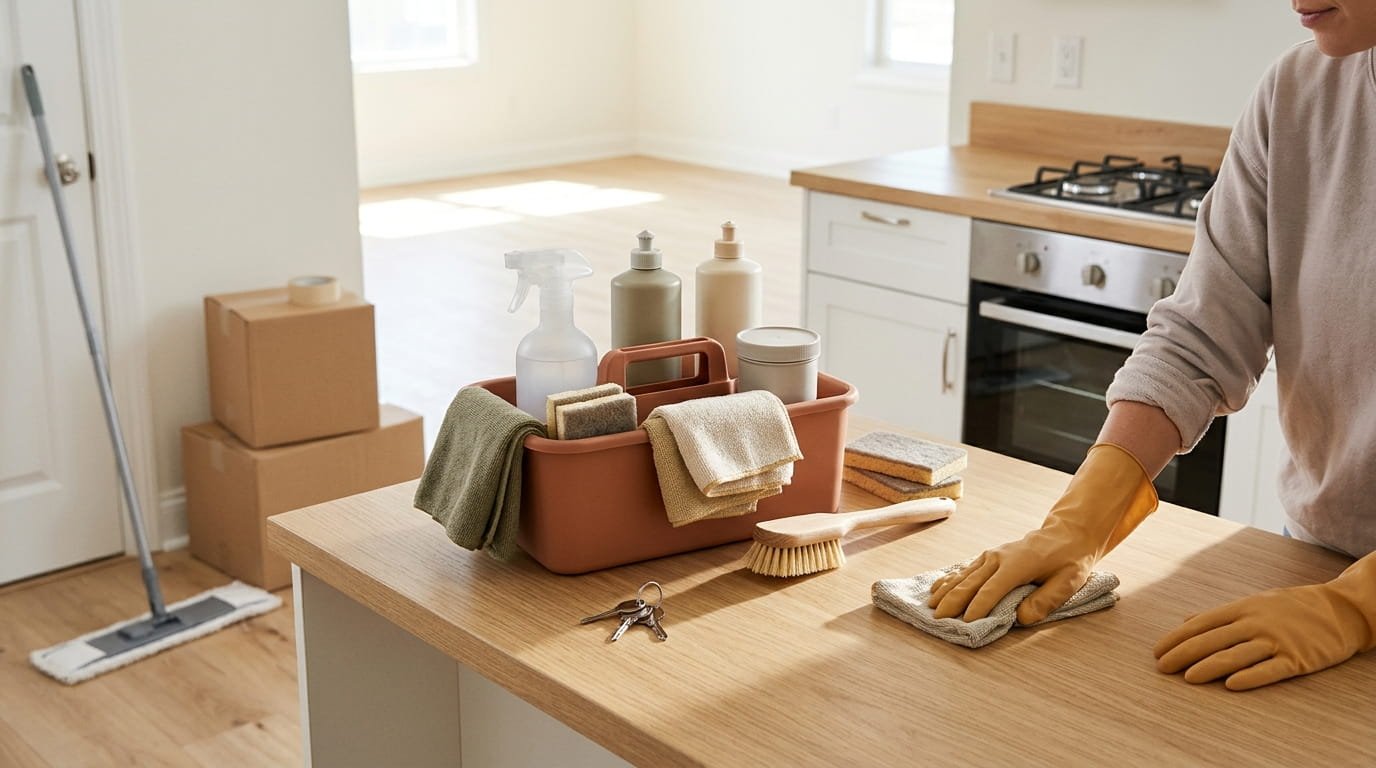
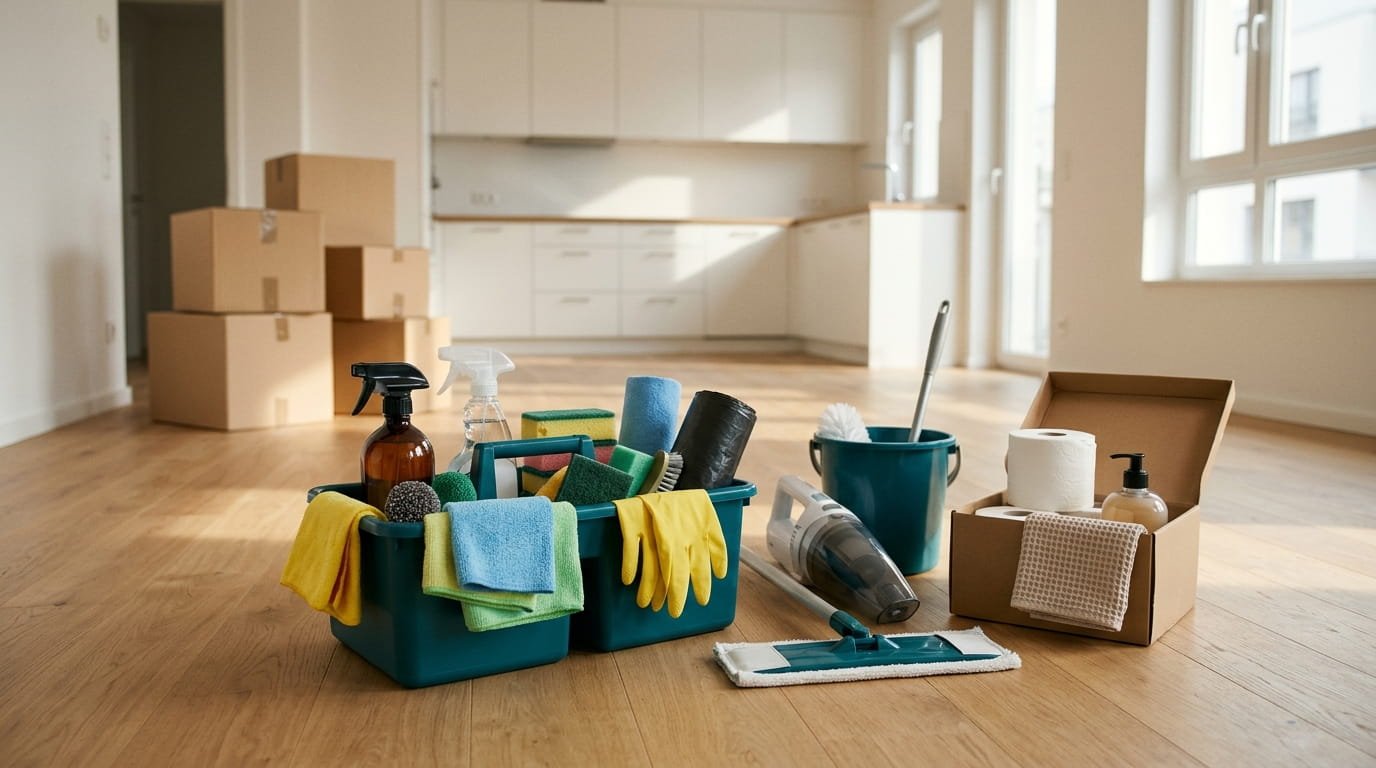
Fill a bucket or tote with an all purpose cleaner, a degreaser, a bathroom cleaner, glass cleaner, microfiber cloths, a scrub brush, an old toothbrush, rubber gloves, and trash bags. Add a small step stool for high spots. Keep it in the middle of the room and grab it as you move.
Color code your cloths so the bathroom ones never touch the kitchen.
Never mix bleach with ammonia or vinegar, and use one product per surface.
4. Split the Studio Into Four Zones: Kitchen, Bath, Sleep, and Entry

One big room feels overwhelming until you draw invisible walls through it.
Mentally divide the space into a kitchen zone, a bath zone, a sleep zone, and an entry. Finish one fully before starting the next, and work from the back of the room toward the door. This keeps you from tracking dirt across clean floors.
Start with the zone that holds the slowest jobs. For most studios, that is the kitchen.
Walk the room and name each zone, starting with the farthest from the door.
Clean each zone top to bottom, then wipe the floor edge before moving on.
Finish at the entry, where your boxes will come in.
5. Dust the Ceiling, Fan, and Light Fixtures First, Since Everything Is in One Room
Dust falls on everything in a studio, so it has to come down first.
Use a long handled duster or a damp cloth on ceiling corners, vents, and any fan. Slide a pillowcase over fan blades to trap dust. Wash glass light covers in soapy water and dry them well. Work across the whole room before you touch a single surface below.
Turn off the power at the switch before you touch any fixture.
Skip this step, and you will wipe the same shelf twice.
Dust high, then work down to the floor.
Use a pillowcase to trap fan dust.
Dusting shelves before the ceiling.
Touching fixtures with the power on.
6. Wipe the Inside of Every Cabinet, Closet, and Built In Before You Unpack
Studios have fewer shelves, so every one of them has to work, and that means starting clean.
Open every cabinet, drawer, and closet, and vacuum out crumbs and dust. Wipe the shelves with a cloth and warm soapy water, working into the corners. Peel off old shelf liner and wipe away any sticky film. Check the closet rod, the top shelf, and the floor, where lint gathers.
Leave all the doors open until everything is dry.
Do the kitchen cabinets first, since food and dishes will go in them soonest.
| Kitchen cabinets | Closets and built ins |
|---|---|
| Vacuum crumbs, then wipe with soapy water. | Dust the top shelf and rod first, then wipe. |
| Dry fully, since dishes will sit inside. | Wipe the floor corners where lint collects. |
| Do these first, since they are used first. | Do these while the rest of the room dries. |
7. Clean the Kitchenette Appliances: Mini Fridge, Microwave, and Two Burner Stove
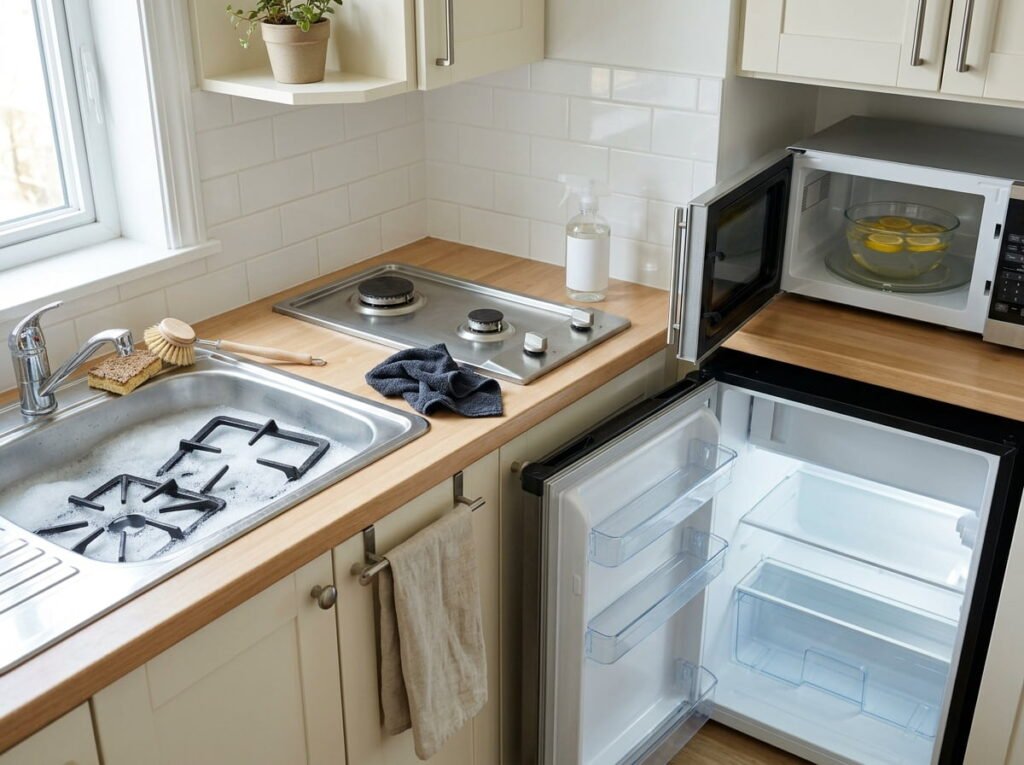
Small appliances sit right next to your bed, so their smells become your smells.
For the mini fridge, unplug it, empty it, and wash the shelves and walls with warm soapy water. Wipe the door seal with a toothbrush and leave the door open to dry. For the microwave, heat a bowl of water with lemon slices for three minutes, then wipe the walls and turntable. For the stove, soak the grates and pans, then degrease the top.
Check the oven manual before using any cleaner inside it.
Leave the fridge door propped open while you finish the rest of the room.
A mini fridge with a stale smell, a splattered microwave, and a stovetop with burnt on drips.
A fresh fridge, a wiped microwave, and a stovetop that feels smooth and dry.
8. Scrub the Small Bathroom Top to Bottom Without Spreading Germs
A tiny bathroom has nowhere to hide, so cleaner order matters more than cleaner strength.
Spray the toilet, tub or shower, and sink with the right cleaner, and let it sit while you wipe the mirror. Scrub from the cleanest areas to the dirtiest, so the sink comes before the toilet. Use a separate cloth for the toilet and throw it in the wash after.
Brush grout with a baking soda paste and an old toothbrush. Open the door or window for air.
Wipe the floor last, working out toward the door.
Small bathroom order
9. Wash the Windows and Blinds, Because One Big Window Changes the Whole Room
In a studio, a single window is the main light source, and a smeared one dulls the whole space.
Start with the blinds. Close them, wipe each slat, flip, and wipe again. Vacuum the track, then scrub it with a toothbrush and warm soapy water. Wash the glass last and buff it dry with a lint free cloth.
Choose a cloudy day if you can, since direct sun dries cleaner too fast and leaves streaks.
Blinds first, tracks second, glass last. That order keeps dirt off the work you just finished.
10. Wipe Walls, Baseboards, Doors, and Switch Plates in One Loop Around the Room
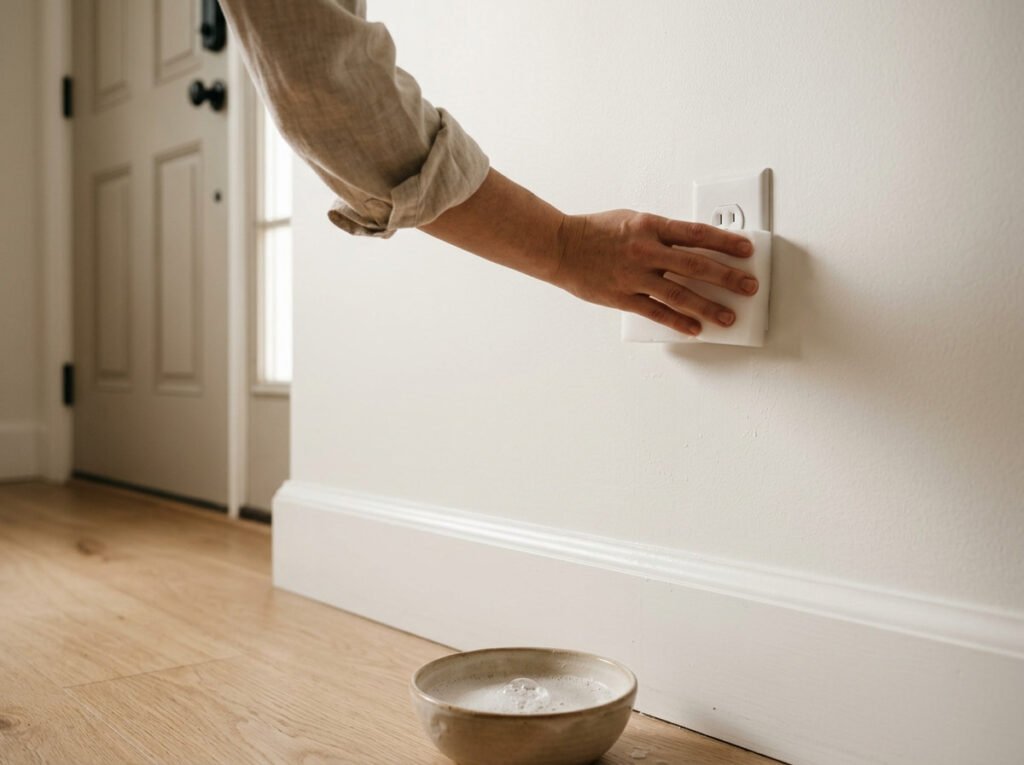
One big loop beats zigzagging, and a studio is the perfect size for it.
Start at the front door and walk the room clockwise. Wipe door handles and switch plates, then scuffs on the walls, then the baseboards. Use a slightly damp microfiber cloth and a drop of dish soap. A melamine sponge lifts stubborn marks, but press lightly on flat paint.
- Test a hidden spot before cleaning a visible wall
- Dry each area with a clean cloth
- Do baseboards last, since they collect the most dust
- ▸Keep the cloth barely damp near switches and outlets, never dripping.
- ▸Wipe the top edge of each door, where dust sits unseen.
- ▸End the loop back at the front door so you know every wall is done.
11. Treat the Murphy Bed, Wall Bed, or Sleeping Nook Area Before It Gets Furniture
The spot where you sleep is the one you will never get to see bare again.
If there is a fold down bed, lower it and wipe the frame, the hinges, and the wall behind it. Vacuum the floor beneath, where dust and lint collect. For a sleeping nook or loft, wipe the ledge, the ladder, and any built in shelves. Check the mattress platform for stains or odors before anything goes on it.
Check the manual or ask the landlord before taking any wall bed apart.
Keep your hands clear of springs and hinges as you work.
12. Check Vents, Radiators, and the Heating or Cooling Unit Hidden in a Small Space
In a studio, the heating or cooling unit often sits a few feet from your pillow.
Wipe vent covers with a damp cloth and vacuum the slats with a brush attachment. Dust radiators with a long, thin brush, since dust falls between the fins. Check the filter on any wall unit and replace it if it looks gray and clogged. Look at the manual for the right filter size.
Turn the unit off before you clean around it.
If you see dark patches or smell something musty, tell the landlord and let a professional check it.
Turn the unit off, then vacuum the vent slats with a brush attachment.
Wipe covers and radiator fins with a damp cloth or a long, thin brush.
Check the filter, replace it if clogged, and report any musty smell or dark patches.
13. Deal With Odors in a Single Room Space Without Masking Them
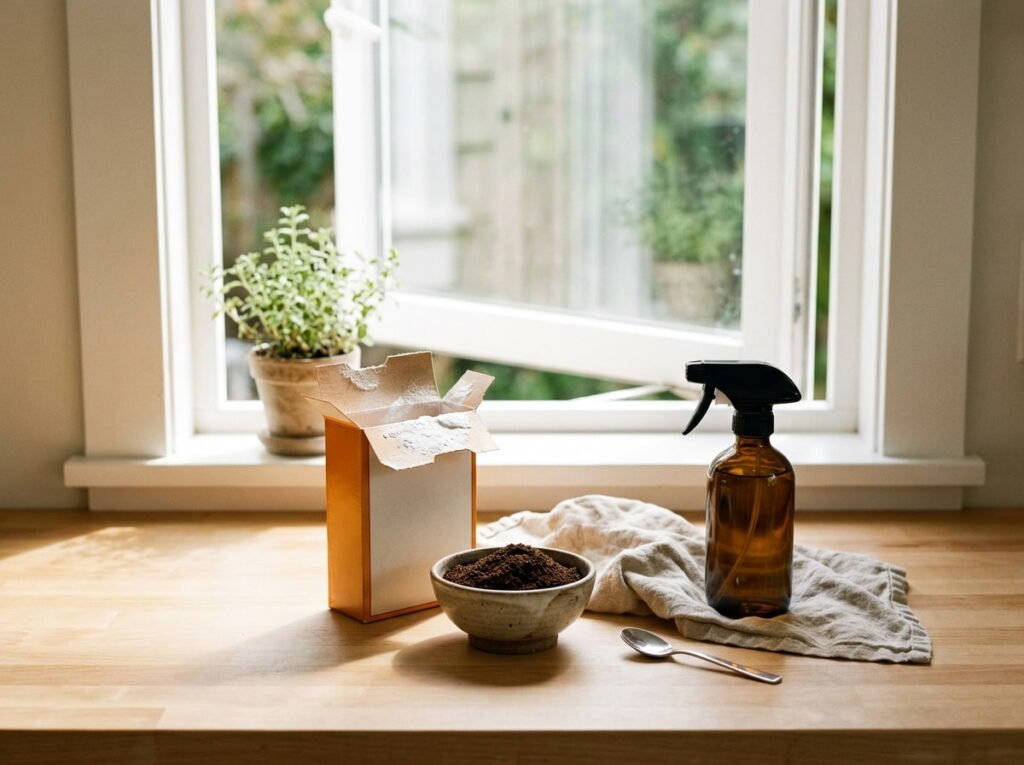
In one room, a smell has nowhere to go, so it has to be removed, not covered.
Find the source first. Check the fridge, the drains, the carpet, the closet corners, and under the sink. Clean what you find, then air the room. Set out bowls of baking soda or dry coffee grounds to absorb what is left. Wash hard surfaces with warm soapy water, since odors cling to dust and grime.
Skip heavy air fresheners. They add scent without removing the cause.
14. Vacuum and Mop in One Pass Toward the Door, Then Let the Floor Dry
Floors come last, because every other job drops something onto them.
Vacuum first, starting at the far wall and working toward the door, including baseboard edges and corners. Then mop hard floors with a barely damp mop and a cleaner that suits the material. For carpet, vacuum slowly in two directions and treat any stains. Change mop water when it turns gray.
Open the windows or run a fan while the floor dries.
| Hard floors | Carpet |
|---|---|
| Sweep, then mop with a barely damp mop. | Vacuum slowly in two directions. |
| Dry in an hour or two with a fan. | Spot treat stains, then let it air dry. |
| Mop toward the door to avoid footprints. | Rent a machine only if stains remain. |
15. Set Up a Clean Entry and a Ready to Sleep Corner Before the Boxes Arrive

The first night in a studio goes better when the bed and the door are ready.
Put a mat just inside the door to catch grit from the movers’ shoes. Make the bed with clean sheets, and set out towels and basic toiletries in the bathroom. Keep your cleaning caddy by the door until the last box is in. Photograph each zone before furniture goes in, in case you need proof of the starting condition.
Leave a path from the door to the bed clear, so you can find it in the dark.
Lay a mat inside the door and make the bed first.
Photograph each zone before furniture arrives.
Letting boxes cross wet floors.
Burying sheets and towels in the last box.
Conclusion
A studio gives dirt nowhere to hide, and it gives you nowhere to retreat. That sounds like a problem, but it makes the job shorter than it looks.
Work from the ceiling down, finish one zone before starting the next, and save the floors for last. With a plan to clean studio apartment before move in, the whole space comes together in a single focused day, and you start with a bed made and a door that welcomes you. One clean room is a lot easier to keep clean than a messy one.
Save this list for the next time you get new keys, so it is ready before the boxes arrive.