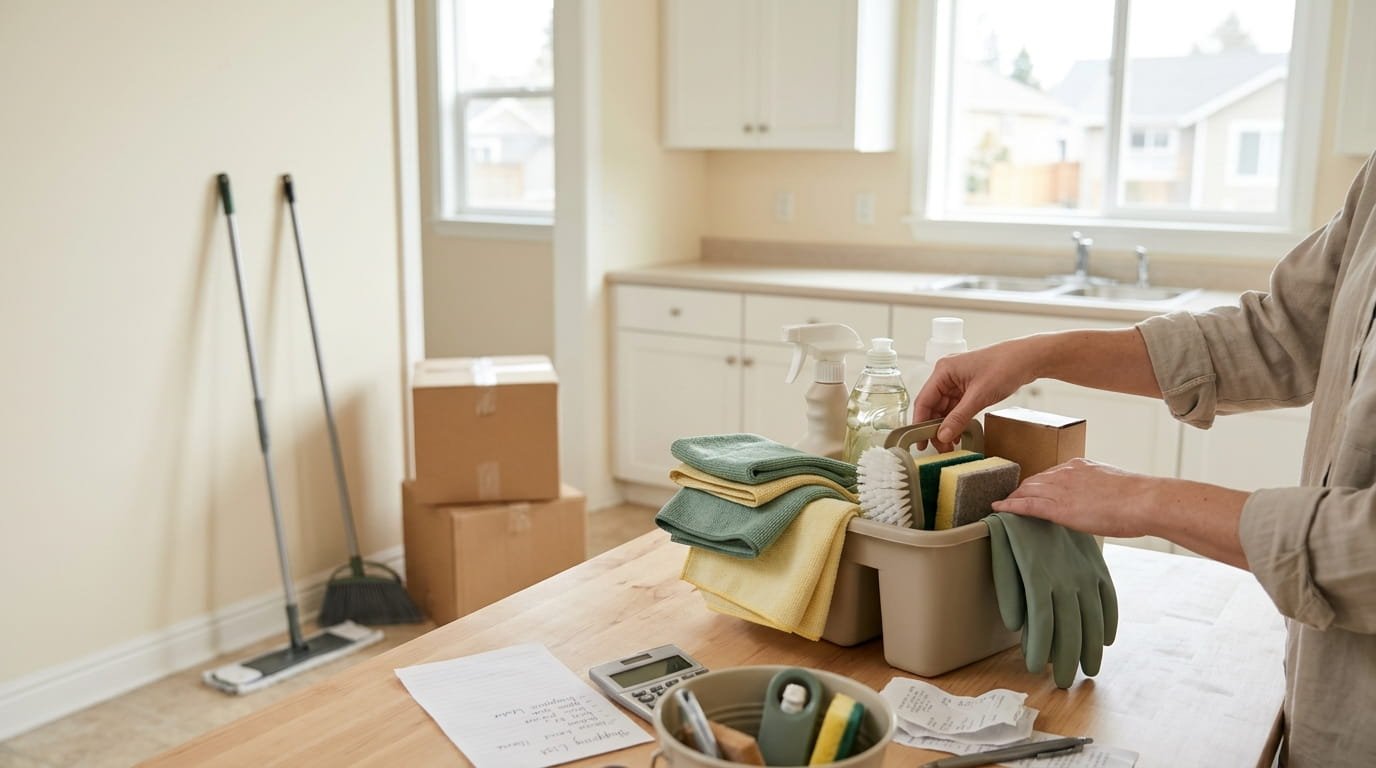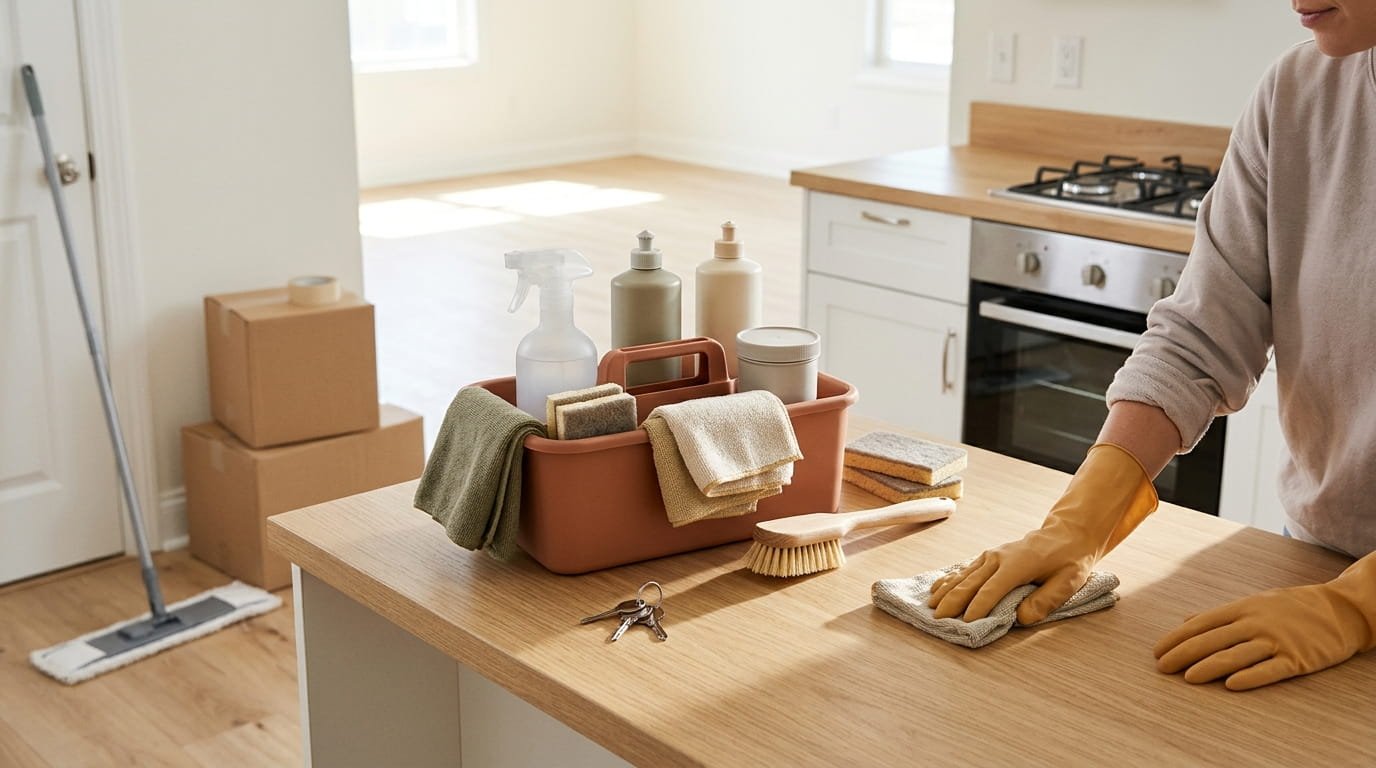
Moving day cleaning gets forgotten until the last minute. The boxes are packed, the truck is loaded, and then someone looks at the empty kitchen and asks where the sponge went.
That is the honest problem. Cleaning supplies get packed too early, buried under books, or left at the old place. You end up wiping counters with a sock or buying a rushed bottle at the nearest shop.
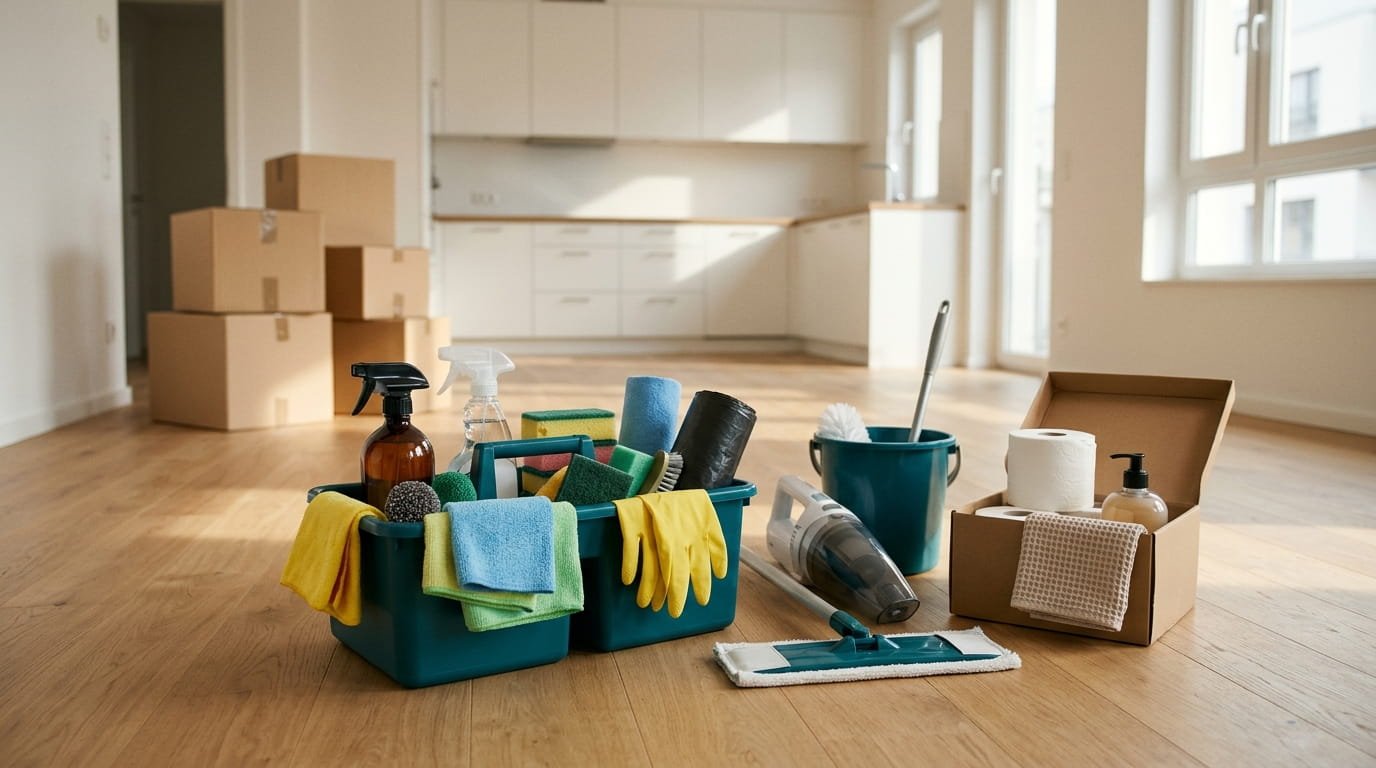
A moving day cleaning supply kit fixes that by putting everything in one place, packed last, and ready to use first. You can use it to clean the old home for your deposit and the new one before the furniture goes in.
The 18 ideas below cover which kit to build, what goes in each part, and what to look for when you buy. You will not find brand names or prices here, just plain advice on choosing supplies that suit your move. Read through, pick the kit that matches your plan, and pack it last.
1. Decide Which Kit You Need: Move Out, Move In, or Both

Before you buy anything, work out what you are cleaning.
A move out kit focuses on getting the old place ready for inspection: floors, bathrooms, the kitchen, and wall marks. A move in kit focuses on a quick clean of the new place before boxes arrive, including cupboards, bathrooms, and the first night’s bed area. Many people need both.
Know which you are building, so you do not buy two of everything or forget half of it.
2. Pack an Open First Cleaning Box for the Moment You Arrive
The first thing you need in a new place is often a clean toilet seat and a clean counter.
Pack a small box with only the essentials for day one. Keep it separate from the main kit, and label it clearly. When the truck arrives, this box comes in first, so you can wipe, wash, and settle in without searching.
Keep it small enough to carry in one trip.
The open first box
3. Pack the Kit Last, Load It Last, and Unload It First
The order you pack in decides whether the kit helps or hides.
Pack the cleaning supplies after everything else, and load them last on the truck or in the car. That way they come out first at the new place and sit on top at the old one while you finish the final clean. Keep them away from food and fragile items.
A bright label or a different colored box makes it easy to spot.
Pack the cleaning kit last and load it last, so it comes out first.
4. Choose Your Tier: Starter, Standard, or Full Kit
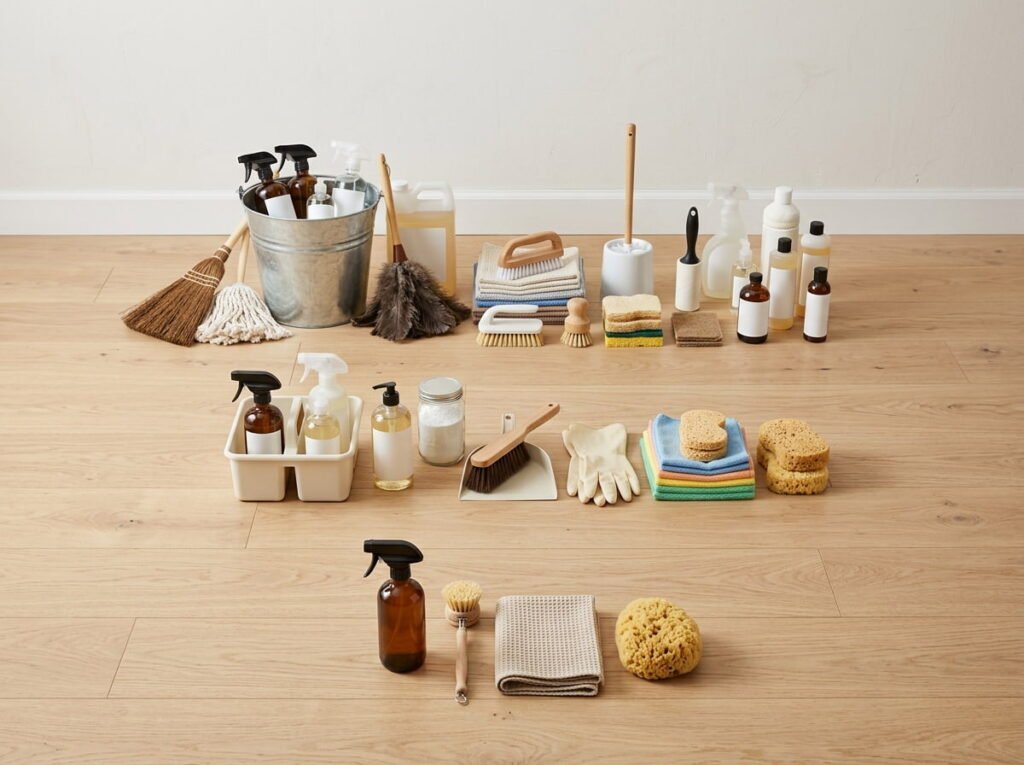
You do not need a full cleaning cupboard to move.
A starter kit covers a quick clean of a small place. A standard kit adds what a family home needs, with extra tools for the bathroom and kitchen. A full kit suits large homes or a strict deposit inspection. Use the table to match your move to a tier, and add only what you need.
Buying in tiers keeps you from overspending on things you will not use.
| Kit | Best for and what is in it |
|---|---|
| Starter | Small place. Cleaner, cloths, sponge, gloves, bags |
| Standard | Family home. Starter plus toilet brush, glass cleaner, mop, scrub brush |
| Full | Large home or deposit inspection. Standard plus oven care, touch up tools, extension pole |
5. Pick a Multi Surface Cleaner and a Glass Cleaner With the Right Label
Two bottles can handle most of the job, and the label decides which ones to buy.
Look for a multi surface cleaner that lists the surfaces it suits, and a glass cleaner for mirrors and windows. Check for warnings about stone, wood, or painted finishes. Choose products with a scent you can tolerate, since you will be in an enclosed space.
Read the directions before you start, and never combine products.
Check the label for safe surfaces.
Test on a hidden spot before using it widely.
Mixing two products to get a stronger clean.
Using a strong cleaner on stone or painted surfaces.
6. Build a Bathroom Mini Kit for Toilets, Tubs, and Tile
Bathrooms are the rooms inspectors and new owners look at first, so give them their own small kit.
Keep a toilet brush, a bowl cleaner, a scrub sponge, a squeegee, and a pair of gloves together in one small bag or caddy. Add a cloth for the mirror and a small brush for grout. Having it ready means you can clean the whole bathroom in one session without searching.
Choose tools that rinse easily, since you may not have a place to dry them.
💡 Quick Tip
Buy a cheap toilet brush for the move and toss it when you finish. It is easier than packing a used one.
7. Build a Kitchen Mini Kit for Ovens, Fridges, and Counters
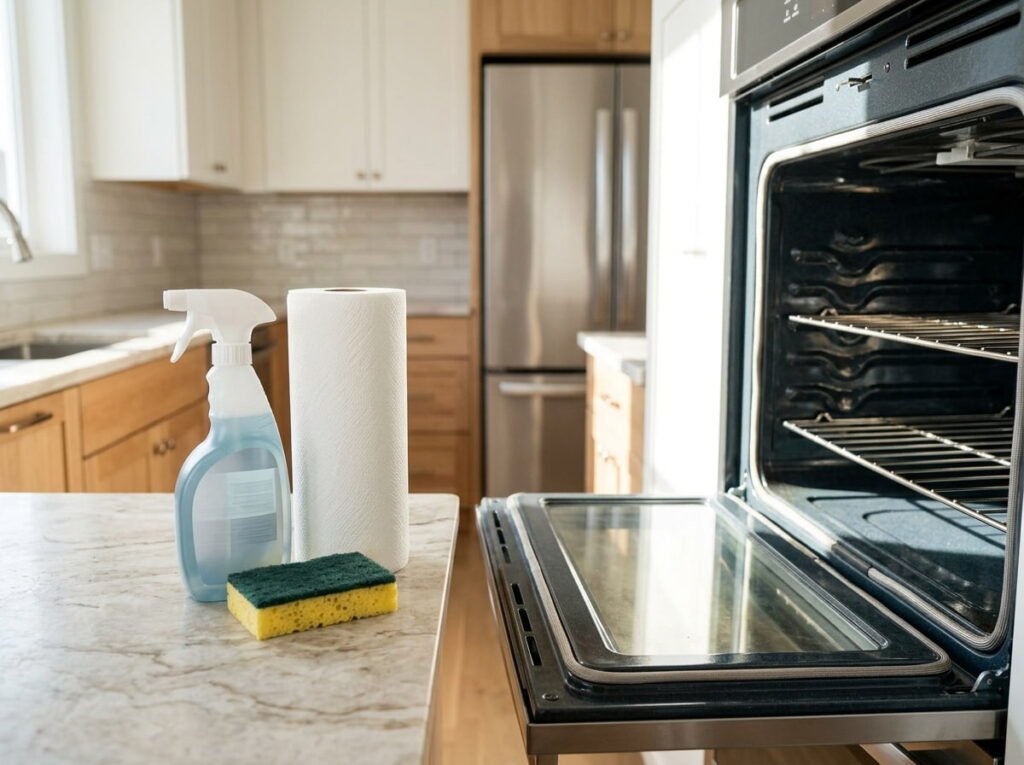
Kitchens take the longest to clean, and a good kit speeds up every part of it.
Pack a degreaser, a few sponges, a non scratch scrub pad, and a roll of paper towels. Add oven cleaner only if you will use it, and follow its directions and warnings closely. Pack fridge wipes or a spray and cloth for shelves and seals.
Start with the oven, since it needs time to work, and clean the other areas while it sits.
A greasy oven, sticky fridge shelves, and crumbs in every drawer.
A clean oven, wiped shelves, and bare counters ready for the next person.
8. Add a Floor Kit With a Flat Mop and a Small Vacuum
Floors take the most effort, and the right tools cut the work in half.
A flat mop with washable pads works on most hard floors and fits in a car. A small handheld or stick vacuum handles carpets, stairs, and corners. Add a broom and dustpan as a backup for places the vacuum cannot reach.
Check the floor type before you choose a cleaner, since wood and laminate dislike too much water.
Vacuum or sweep every room first, working from the far corner toward the door.
Mop hard floors with a lightly damp pad, and avoid soaking wood or laminate.
Open the windows so the floors dry before anything goes back on them.
9. Stock Cloths, Sponges, and Scrub Pads in the Right Mix
A kit is only as good as what you wipe with.
Pack a bundle of microfiber cloths in different colors, a few sponges, and a couple of non scratch scrub pads. Add disposable cloths for the dirtiest jobs, like the toilet and oven. Having a mix means you can match the tool to the mess and stop using one cloth on everything.
Pack a few more than you think you need. Moving is messy.
10. Add Gloves, Masks, and Trash Bags for Safety and Cleanup
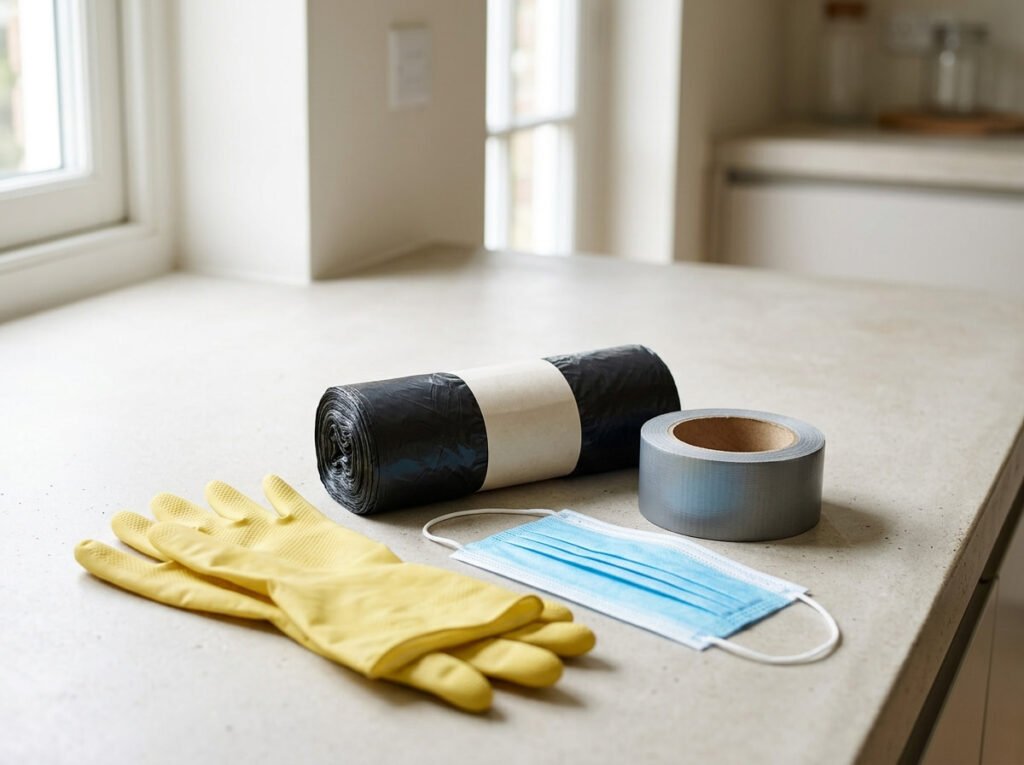
The unglamorous items protect you and make cleanup faster.
Pack rubber gloves that fit well, a mask for dusty rooms and strong cleaners, and plenty of sturdy trash bags. Add a roll of tape for sealing boxes and bags. Heavy duty bags handle old shelf liners, broken items, and leftover rubbish.
Keep a few bags at the top of the kit so you can start tidying right away.
⚠️ Watch Out
Open windows when you use strong cleaners, and never mix them. If you feel dizzy or your eyes sting, step outside for fresh air.
11. Pack a Deposit Touch Up Kit for Scuffs and Wall Marks
Small marks can cause big arguments at the final inspection.
Include a few items for quick fixes: an eraser sponge for scuffs, a soft cloth, a bit of mild soap, and a small tub of spackle or touch up paint if your lease allows. Check your agreement before you repair anything on a wall, since some landlords prefer to handle it themselves.
Test any eraser sponge on a hidden spot first. It can dull glossy paint.
Scuff marks, nail holes, and smudges along the hallway wall.
Clean, even walls with the marks wiped away and any holes filled, if the lease allows.
12. Compare Disposable and Reusable Supplies for a One Time Move
Not every move needs the same kind of supplies.
Disposable cloths, wipes, and gloves are convenient when you will not wash anything afterward, and they save carrying wet items. Reusable cloths, sponges, and mop pads cost less over time and create less waste, but they need washing and drying space.
Mix both. Use disposable items for the dirtiest jobs, and reusable ones for everything else.
| Disposable | Reusable |
|---|---|
| Convenient, nothing to wash | Needs washing and drying |
| Good for the toilet and oven | Good for glass and counters |
| Creates more waste | Less waste, lasts longer |
13. Consider Concentrates and Refills for Fewer Bottles to Carry
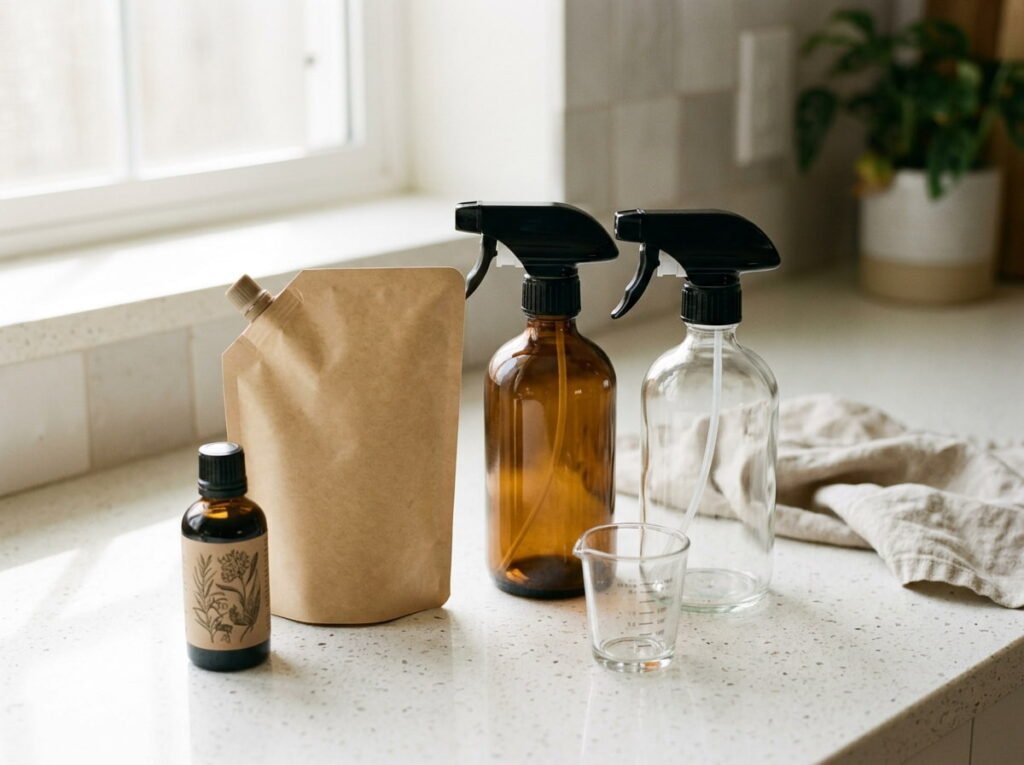
Bottles are heavy, bulky, and easy to leak in a moving box.
Concentrates and refill packs shrink what you have to carry. A small concentrate bottle can make several spray bottles worth of cleaner, and refill pouches take up less space than full bottles. Follow the mixing directions carefully, and label each diluted bottle clearly.
This works best if you already have empty spray bottles to refill.
14. Choose Child and Pet Safer Options When Little Ones Are Around
A new home often means kids and pets exploring before everything is put away.
Choose cleaners with clear child safety labels, and keep every bottle high and closed. Rinse surfaces well after cleaning, especially floors and counters. Avoid strong scents and harsh products in spaces where pets and small children spend time.
Keep a note of the products you used in case someone has a reaction and needs advice.
📌 Good To Know
Let cleaned floors dry fully and air out the room before children and pets walk through. If anyone swallows a cleaner, call your local poison advice service right away.
15. Pack Bottles to Prevent Leaks and Carry Everything in One Caddy
A leaking bottle can ruin more than the box it is in.
Tape caps shut, put bottles inside zip bags or small buckets, and stand them upright. Place the heaviest items at the bottom of a caddy or bin, and keep the cleaners away from food, clothes, and electronics. A single caddy with a handle keeps the whole kit together.
Keep a trash bag in the caddy for spills.
Tape caps and bag each bottle upright.
Keep cleaners in a separate, labeled caddy.
Packing cleaners next to food or clothes.
Laying bottles on their sides.
16. Shop Smart: Where to Buy and What to Check Before You Pay
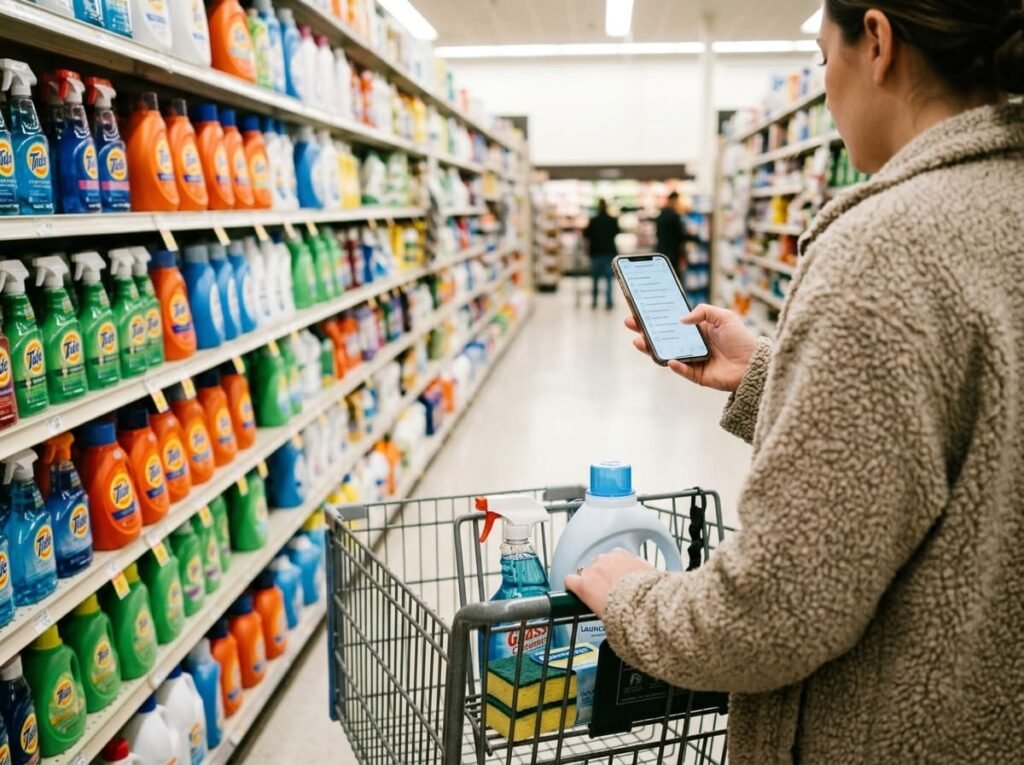
The best place to buy depends on how soon you need the kit.
Home improvement and hardware stores usually have the widest choice. Supermarkets and big box stores are quick for basics. Online shops suit planning ahead, and they often offer bundles. Whichever you pick, check what is in the kit, the sizes, and the return policy before you buy.
Buy the essentials a few days before the move, so you have time to fix any gaps.
Check before you pay
17. Compare Cost Per Item Before You Buy a Pre Made Bundle
A ready-made bundle is convenient, and it is not always the best value.
Count what is in it, and think about what you would actually use. Some bundles include filler items you do not need, and others leave out essentials. Compare the cost of the bundle with the cost of buying the useful pieces separately, and check the size of each bottle.
If the bundle fits your plan and the price is fair, it can save time. If not, build your own.
18. Finish With a Ten Minute Last Walk Through Checklist

The last ten minutes at the old place make a big difference.
Walk through each room with a cloth and the kit in hand. Check cupboards, drawers, closets, and the fridge. Wipe the counters, the bathroom surfaces, and the door handles. Take photos of each room once it is clean, in case you need proof later.
Then pack the kit last and close the door behind you.
Check every cupboard, drawer, closet, and shelf for anything left behind.
Wipe counters, bathroom surfaces, switches, and door handles.
Photograph each clean room, then pack the kit last.
Lock up and hand over the keys with a clean, calm walk through.
Conclusion
A moving day cleaning supply kit saves you from the last minute scramble. Pack it last, load it last, and unload it first, and the cleaning that comes with a move stops feeling like an afterthought.
You do not need every item on this list. Start with the tier that fits your move, add the mini kits you will use, and skip the rest. A short, well packed kit beats a cart full of extras you never open.
Whether you are cleaning the old place for the deposit or freshening the new one before the boxes arrive, a good kit makes it quicker. Build yours a few days ahead, and moving day will go more smoothly.
Save this list to your moving board so it is ready the next time you pack up and head out.