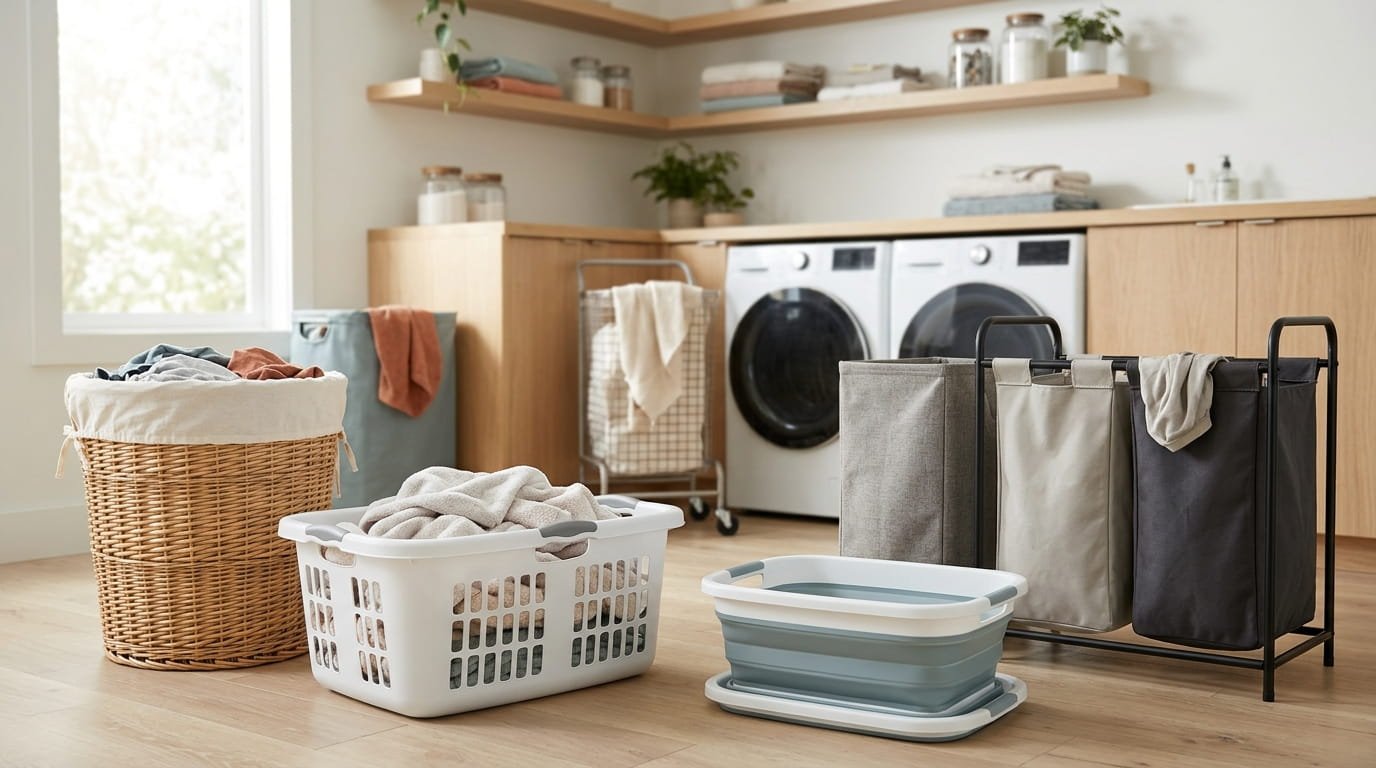
A bottle of store detergent runs out at the worst time, usually when the hamper is overflowing and the shelf is empty.
That is when many people look at DIY laundry detergent. The idea is simple: a few pantry-style ingredients, one bowl, and a jar that sits next to the washer. The catch is that most online recipes skip the part where it does not work for every washer, every water type, or every fabric.
This list fixes that. Each step explains what to check, what to mix, and what to watch for, so you can try a batch without guessing.
Below are 15 steps, each with a clear method and a quick reference you can screenshot. Some take five minutes, and a few are about knowing when to stop. Results vary by machine and water, so test small and adjust.
1. Decide if DIY Laundry Detergent Fits Your Washer, Water, and Fabrics

Homemade detergent works well for some households and badly for others, so check the fit first.
Think about three things: your washer type, your water, and what you wash. High efficiency machines use little water, and some homemade mixes leave residue in them. Hard water can reduce cleaning power. Heavily soiled work clothes and special fabrics may need more than a simple mix.
- Look at your washer type and manual
- Notice if your water leaves spots or scale
- List any fabrics that need special care
If two of the three raise a flag, consider a small test batch or stick with store detergent.
2. Check Your Washer Manual Before You Switch Away From Store Detergent
The manual is the one document that can save you from a repair bill.
Look for the section on detergent. Many manuals recommend products made for your machine type, and some warranties ask you to follow that advice. Homemade mixes with bar soap or washing soda may not be covered. If the manual is silent, contact the maker before you switch.
If you rent, ask the landlord before changing what goes into a provided machine.
⚠️ Watch Out
Homemade detergent can leave residue that builds up inside some machines. If your manual advises against it, follow the manual.
3. Gather the Five Basic Ingredients and Know What Each One Does
Every recipe is a mix of the same few ingredients, and knowing their jobs helps you adjust.
Bar soap, grated fine, does the cleaning. Washing soda boosts cleaning power and softens water. Baking soda helps with odors and gentle lifting. Borax is a common addition, but some people avoid it, so treat it as optional. A little salt or oxygen booster can help with whites.
Use up and down arrow keys to resize the meta box pane.Toggle panel: AIOSEO Settings
Search Appearance
SERP Preview
A Cleaner Home, A Better Life
https://cleanhomechecklist.com › 15-steps-to-make-diy-laundr…
15 Steps to Make DIY Laundry Detergent at Home Without Ruining Your Cl …
A bottle of store detergent runs out at the worst time, usually when the hamper is overflowing and the shelf is empty. That is when many people look at DIY laun …
Post Title
Click on the tags below to insert variables into your title.
Post Title Separator Site Title
995 out of 600 max recommended pixels.
Meta Description
Click on the tags below to insert variables into your meta description.
Post Excerpt
294 out of 160 max recommended characters.
Social AppearanceToggle panel: WPCode Page ScriptsToggle panel: AIOSEO Writing Assistant

Elevate your SEO with AIOSEO Writing Assistant
Now Integrated into SEOBoost
Experience the power of AI-driven writing assistance seamlessly integrated into SEOBoost. Login to enhance your content creation process and boost your search rankings. Login to SEOBoostPostBlock
15 Steps to Make DIY Laundry Detergent at Home Without Ruining Your Clothes
Set featured image
Generate with Elementor AIAdd an excerpt…
2,164 words, 11 minutes read time.
Last edited a day ago.
StatusDraft
PublishImmediately
Slug15-steps-to-make-diy-laundry-detergent-at-home-without-ruining-your-clothes
Authoriamwaqasmayo2910@gmail.com
TemplateDefault template
DiscussionOpenDon’t update the modified dateMove to trash
MonsterInsights
AIOSEO
57
Your post needs improvementNo focus keyword setOptimize with AI
Improvements
- Focus KeywordNo focus keyword setFix →
- Basics4 improvementsFix →
- Readability1 improvementFix →
Good
- VisibilityCan be indexed by search engines
- SocialReady to share
Categories
Search CategoriesLaundryBathroom CleaningCleaning PrintablesDaily and Weekly CleaningDeclutteringDeep CleaningKitchen CleaningMove-In and Move-Out CleaningSeasonal CleaningUncategorizedAdd Category
Tags
Toggle panel: LiteSpeedDisable CacheDisable Image LazyloadDisable VPIViewport ImagesViewport Images – Mobile
Learn MoreOpen publish panel
Buy plain, unscented products first, so you can see what actually works.
Never mix any of these with bleach.
4. Choose Between Powder, Liquid, and Gel Styles Based on Your Laundry

The three styles differ in effort, shelf life, and how they behave in cold water.
Powder is the easiest to make and stores well, but it can fail to dissolve in cold water. Liquid takes more time and needs stirring before each use. Gel is thicker and often a step between the two. Pick the style that matches your washer and your patience.
| Powder | Liquid |
|---|---|
| Quick to mix, stores dry. | Takes longer, needs shaking or stirring. |
| May not dissolve in cold water. | Dissolves more easily in most cycles. |
| Best for warm and hot washes. | Best for mixed temperatures. |
5. Make a Simple Powder Detergent in One Bowl and One Afternoon
Powder is the best first batch, since there is nothing to cook or wait for.
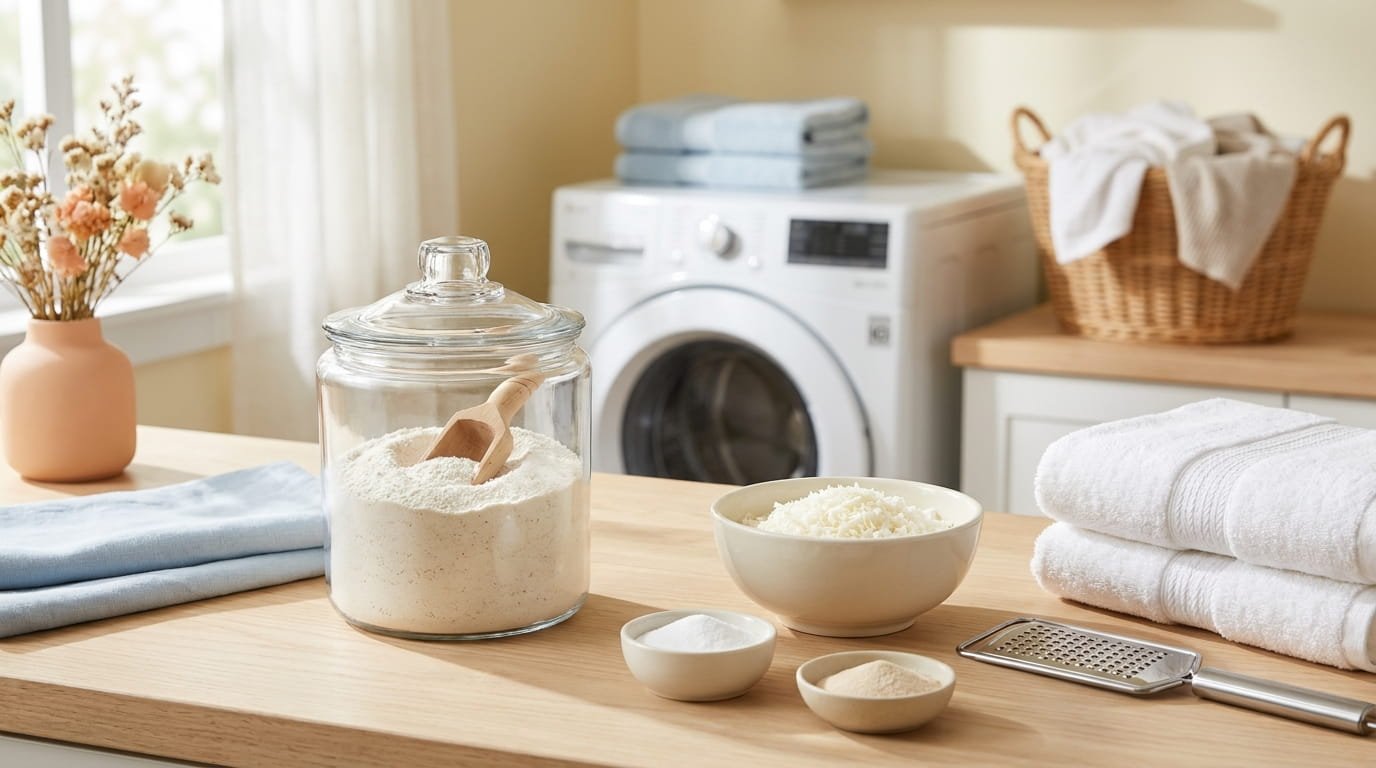
Grate a bar of soap on the finest side of a box grater, or pulse chunks in a food processor. Mix the soap with equal parts washing soda and baking soda in a dry bowl. Stir well, then pour into a jar with a tight lid. Label it with the date and the recipe.
Wear a dust mask and gloves while mixing, since the powder is fine and can irritate your nose and skin.
Use a dedicated scoop and keep it in the jar.
Grate a bar of soap very fine, or pulse it in a food processor used only for this.
Stir in equal parts washing soda and baking soda in a dry bowl.
Store in a labeled, airtight jar, and keep a scoop inside.
6. Make a Liquid Detergent With Grated Soap and Hot Water
Liquid takes more patience than powder, and the main mistake is rushing the melt.
Grate a bar of soap fine and stir it into a pot of hot water over low heat until it dissolves. Do not let it boil hard. Stir washing soda into a bucket of hot water, then pour in the soap mixture and stir again. Cover and let it sit for several hours or overnight. It will thicken and may separate, which is normal.
Shake or stir it before every use, since the mix settles as it rests.
Use a bucket and spoon kept only for laundry, never for food.
Melt the soap slowly over low heat.
Stir the batch before every use.
Boiling the soap hard or leaving the pot unattended.
Using kitchen tools you also cook with.
7. Mix a Gentler Version for Sensitive Skin and Baby Clothes
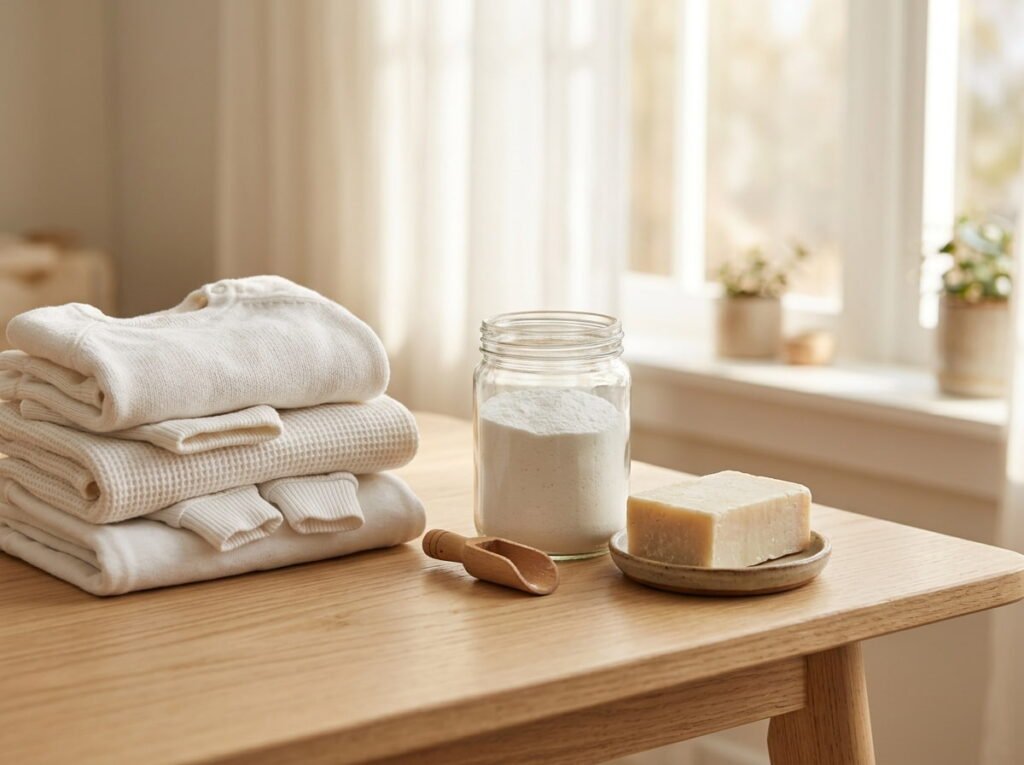
Some skin reacts to scents, dyes, and strong washing soda, so a plainer mix helps.
Choose a plain, unscented bar soap with no added dyes. Skip essential oils and borax, and use a little less washing soda. Run an extra rinse cycle so no residue stays in the fabric. Wash a small test load first and watch for any redness or itching.
Stop using the mix if skin reacts, and ask a doctor about persistent irritation.
A scented mix with extra additives that leaves skin itchy after wearing.
A plain, unscented mix with an extra rinse, tested on a small load first.
8. Add Scent Safely With a Few Drops of Essential Oil, or Skip It
Scent is optional, and the clean smell of fresh laundry needs no help.
If you want fragrance, add a few drops of essential oil to the dry or finished mix and stir well. Start small, since oils are strong. Keep oils away from pets, especially cats, and from babies and anyone with asthma. Some oils can stain fabric, so test a small load first.
Before you add scent
9. Use the Right Amount Per Load So Clothes Come Out Clean
More detergent does not mean cleaner clothes, and too much leaves a film.
Start with a small scoop for a regular load and adjust based on results. Use less for lightly soiled loads and a bit more for heavy ones. If clothes feel stiff or look dull, you are likely using too much. If they smell musty, you may need more or a hotter wash.
Write your starting amount on the jar lid, so everyone at home uses the same scoop.
Start with less than you think you need. Add more only if clothes still smell or look dirty.
10. Fix Hard Water Problems With a Simple Water Softening Step

Hard water fights soap, and the result is gray whites and stiff towels.
Signs include scale on faucets, spots on glasses, and clothes that feel rough. Washing soda helps soften water, and a splash of white vinegar in the rinse can ease stiffness. Never add vinegar to the same load as a bleach product. A water softener or a filter at the machine is another option to look into.
- Use warm water when fabrics allow it
- Try a little more washing soda for hard water
- Rinse an extra time if towels feel stiff
- ▸Look for white scale around faucets as a clue that your water is hard.
- ▸Adjust one thing at a time so you know what made the difference.
- ▸Ask your water utility about local hardness if you are unsure.
11. Pretreat Stains Before They Go in the Machine
A mild detergent works best when stains get a head start.
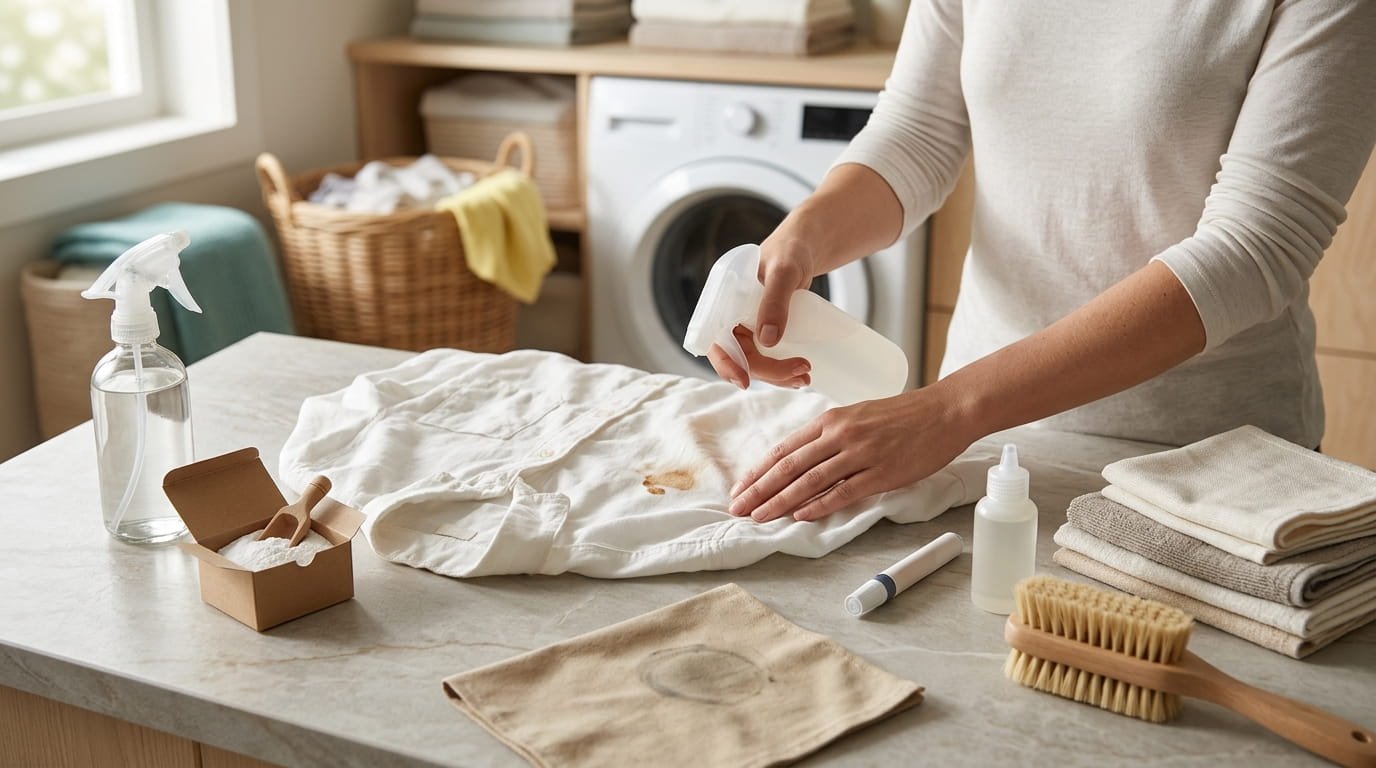
Blot fresh spills right away, then rinse from the back of the fabric with cool water. Rub a little grated soap or a thin paste of washing soda and water into the spot, and let it sit for fifteen to thirty minutes before washing. Test on a hidden seam first, since washing soda can fade some dyes.
Skip hot water on protein stains like blood or egg, which can set them in.
Check the stain before drying. Heat locks in anything that survived the wash.
12. Skip DIY Detergent for Certain Loads, Like Cloth Diapers and Delicates
Some laundry needs a product made for it, and a homemade mix is not always the safe choice.
Cloth diapers can hold soap residue that leads to leaks and irritation, so follow the diaper maker’s wash guide. Wool, silk, and other delicates often need a gentle, pH balanced detergent, since washing soda can damage fibers. Performance gear and anything with a care label that names a specific detergent should follow that label.
When in doubt, use store detergent for that load.
Read the care label before every new type of fabric.
Set aside diapers, wool, silk, and gear for a store detergent made for them.
Use the DIY mix for sturdy cottons like towels, sheets, and everyday basics.
13. Troubleshoot Residue, Stiff Towels, and Dull Whites
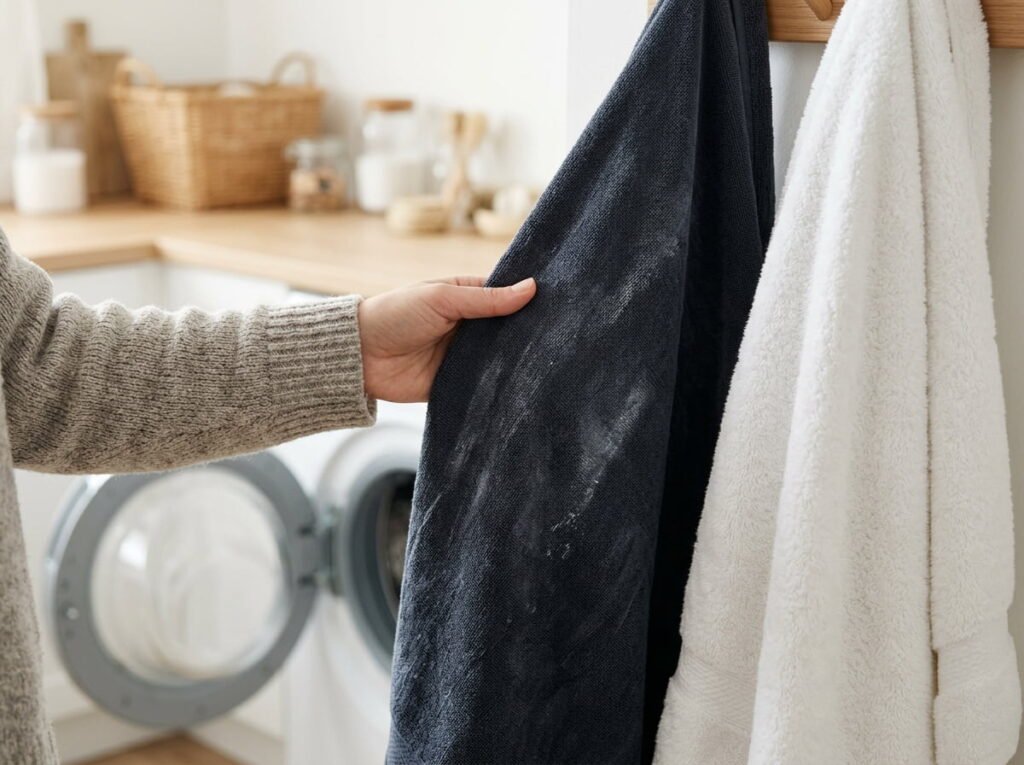
Most problems with homemade detergent come from too much soap or water that is too hard.
White streaks or a gritty film usually mean the powder did not dissolve, so switch to a warmer wash or dissolve it in hot water first. Stiff towels point to buildup, so run an extra rinse and use less detergent. Dull whites often need a warmer wash or a bit more washing soda.
Change one thing at a time so you know what worked.
14. Store Your Detergent Safely Away From Kids, Pets, and Dampness
A jar of white powder looks harmless, and that is exactly the risk.
Keep it in a labeled, sealed container on a high shelf or in a latched cabinet. Never reuse food containers, and never store it where someone might mistake it for flour or sugar. Damp air clumps powder and spoils liquid, so choose a cool, dry spot. If a child or pet swallows any, call poison control right away.
| Safe storage | Risky storage |
|---|---|
| Labeled, sealed jar on a high shelf. | Unlabeled jar within a child’s reach. |
| Cool, dry cabinet with a latch. | Damp spot next to the washer drain. |
| A dedicated scoop kept inside. | A food container or kitchen spoon. |
15. Test a Small Batch, Track the Results, and Decide Whether to Keep Going

The last step is honest feedback from your own laundry.
Make a small batch and use it for two weeks. Note how towels feel, whether whites stay bright, whether odors clear, and whether the washer drum stays clean. Compare against what you got before. If results are good, scale up. If not, adjust the recipe or go back to store detergent without guilt.
This article is general information, not a product or safety guarantee, so follow your washer manual and care labels.
Make a small batch and track results for two weeks.
Adjust one thing at a time.
Making a huge batch before testing.
Ignoring residue, rashes, or machine warnings.
Conclusion
Homemade laundry detergent is not magic, and it is not right for every washer. What it gives you is a simple, low-cost option you can adjust, as long as you test small and listen to what your clothes tell you.
Check your manual, start with a plain powder, and use less than you think you need. With DIY laundry detergent, the best results come from one change at a time and honest notes on how towels, whites, and the washer drum look after two weeks. If something feels off, going back to store detergent is a fine choice.
Save this list for the next time the detergent runs low, so the recipe and the warnings are ready before the hamper is full.