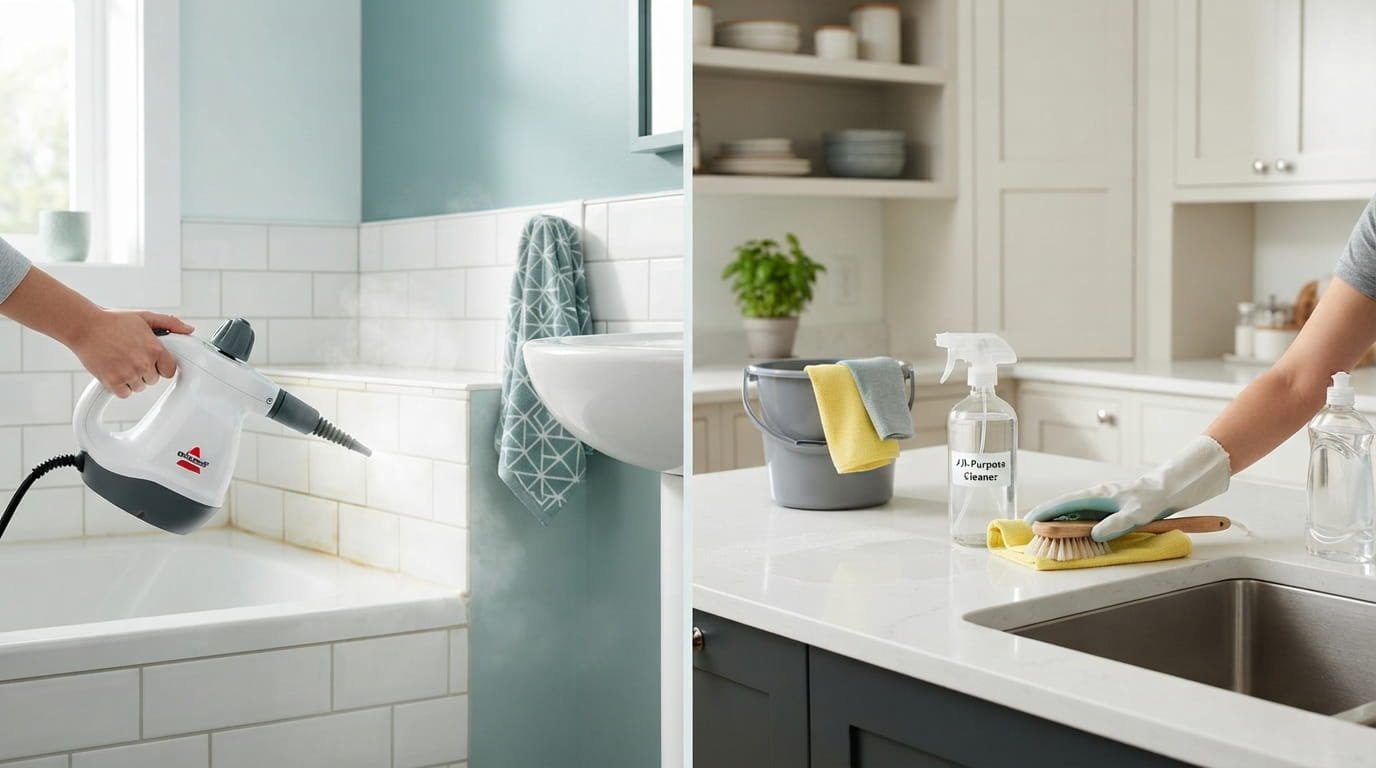

Your washing machine cleans everything except itself. That’s the part nobody tells you when you buy one. Detergent residue, fabric softener, hard water minerals, and trapped moisture build up in places you never look, and after a while your “clean” laundry comes out smelling faintly sour no matter what setting you use.
A deep clean washing machine routine fixes this, and it takes less effort than people expect. Most of the buildup lives in three or four specific spots, not the whole machine, so you’re not scrubbing for hours. You’re targeting the exact places where grime actually collects.
This isn’t about buying a specialty cleaning pod once a year and hoping for the best. It’s about understanding what’s actually happening inside your machine between loads, then handling each spot the right way. Once you go through this list, you’ll know exactly what to check monthly versus what only needs attention a couple times a year. Your clothes will notice the difference, and so will your nose.
Clean the Machine, Not Just the Clothes
Most washing-machine buildup hides in a few predictable places. Target them in order, then keep a simple maintenance rhythm.
Flush the Buildup
Start with a hot empty cycle to loosen detergent residue and mineral scale.
Attack Hidden Grime
Clean the detergent drawer, rubber gasket, drum, and debris filter where residue collects.
Stop Moisture Traps
Leave the door cracked, check hoses, and let damp areas dry instead of feeding mildew.
Check the Details
Inspect lint traps, wipe the control panel safely, and clean the exterior without soaking electronics.
Keep the Rhythm
Weekly: gasket + drawer. Monthly: hot cleaning cycle + filter. Every 3 months: deeper drum clean.
1. Run an Empty Hot Cycle With Vinegar First
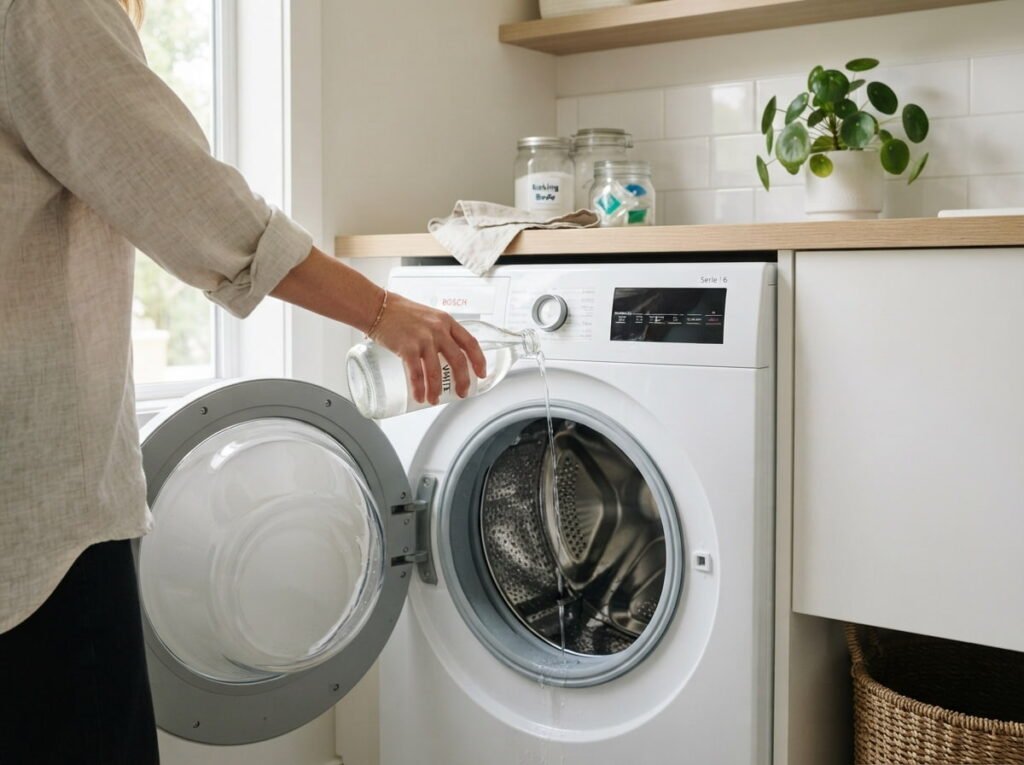
Before you touch a sponge, run one empty cycle on the hottest setting with two cups of white vinegar poured directly into the drum. This loosens detergent film and mineral scale so every step after this one actually works instead of pushing grime around.
Skip the vinegar and you’re just rearranging buildup, not removing it. This first cycle is the baseline every other step depends on.
2. The Detergent Drawer Is Hiding More Than You Think
Pull that drawer all the way out. Most machines let it slide free with a firm tug and a small release tab underneath. What’s usually waiting back there is a paste of old fabric softener and mildew clinging to the plastic channels.
Soak it in warm soapy water for fifteen minutes, then scrub the grooves with an old toothbrush. Dry it fully before sliding it back in, since trapped moisture is exactly what caused the buildup in the first place.
💡 Quick Tip
Leave the empty drawer slot open for an hour after this cycle so the whole compartment air dries.
3. The Rubber Door Seal Is the Real Culprit
Front loaders get blamed for smelling musty, but it’s almost never the drum itself. It’s the rubber gasket around the door, where water pools in the folds every single wash and never fully dries.
Fold back every crease of that seal and you’ll likely find dark buildup you didn’t know existed. Wipe each fold with a vinegar soaked cloth, working all the way around.
Fold the gasket open with your fingers and check every crease.
Leave the door open a crack after each load.
Wiping only the visible front edge of the seal.
Closing the door tight right after a wash.
4. Make a Baking Soda Paste for the Drum Interior
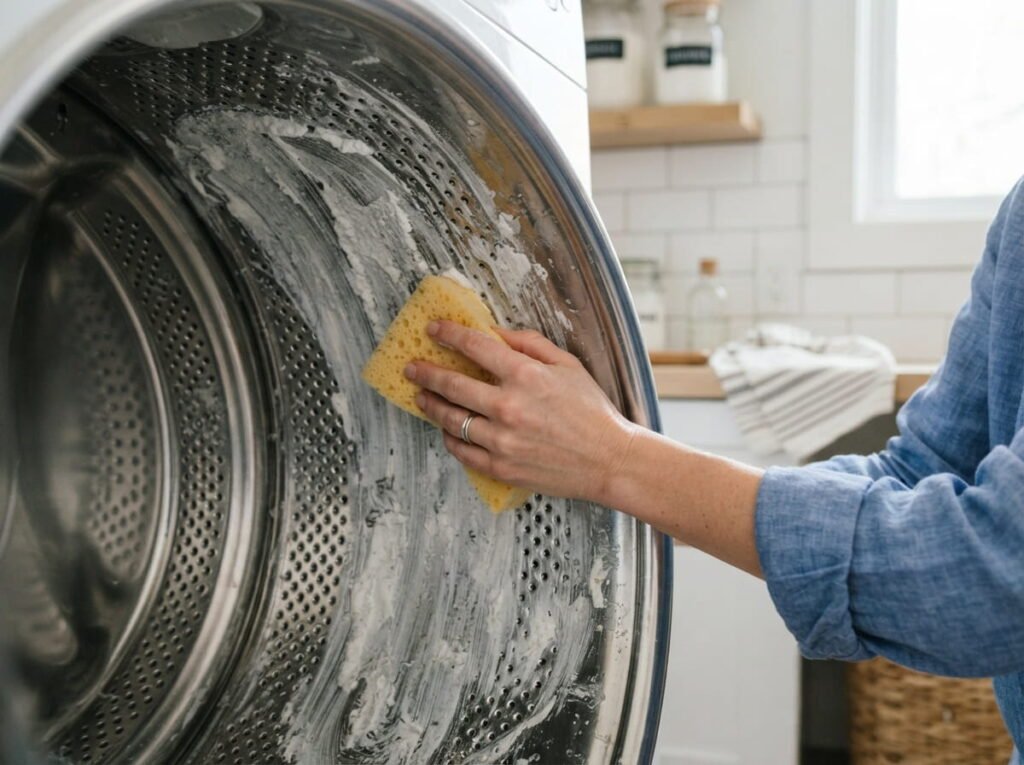
One rule here: if the drum still smells off after the vinegar cycle, the residue is thicker than a rinse alone can handle. That’s when a paste earns its place.
- Mix baking soda with a small amount of water until it forms a thick paste
- Spread it across the drum walls and let it sit for twenty minutes
- Run a second hot cycle to rinse everything away
Mix baking soda with a little water into a thick, spreadable paste.
Coat the drum walls, focusing on the ridges and drain holes.
Let it sit twenty minutes, then run a hot rinse cycle.
5. Find and Clean the Debris Filter
Most people wash their machine for years without ever opening this. The debris filter, usually a small hatch near the bottom front, catches coins, lint, buttons, and hair that never made it down the drain.
Keep a shallow towel underneath before opening it, since trapped water will spill out the moment you twist the cap loose.
6. Wipe the Control Panel the Right Way
Spray cleaner directly onto buttons and screens seems harmless, but liquid can seep behind the panel and damage the electronics underneath. That’s an expensive mistake for a five minute wipe down.
Spray a microfiber cloth instead, never the panel itself, and go over every button edge where lint and detergent dust collect.
⚠️ Watch Out
Never spray cleaner directly onto the control panel. Dampen the cloth first, always.
7. Leave the Door Cracked Between Loads
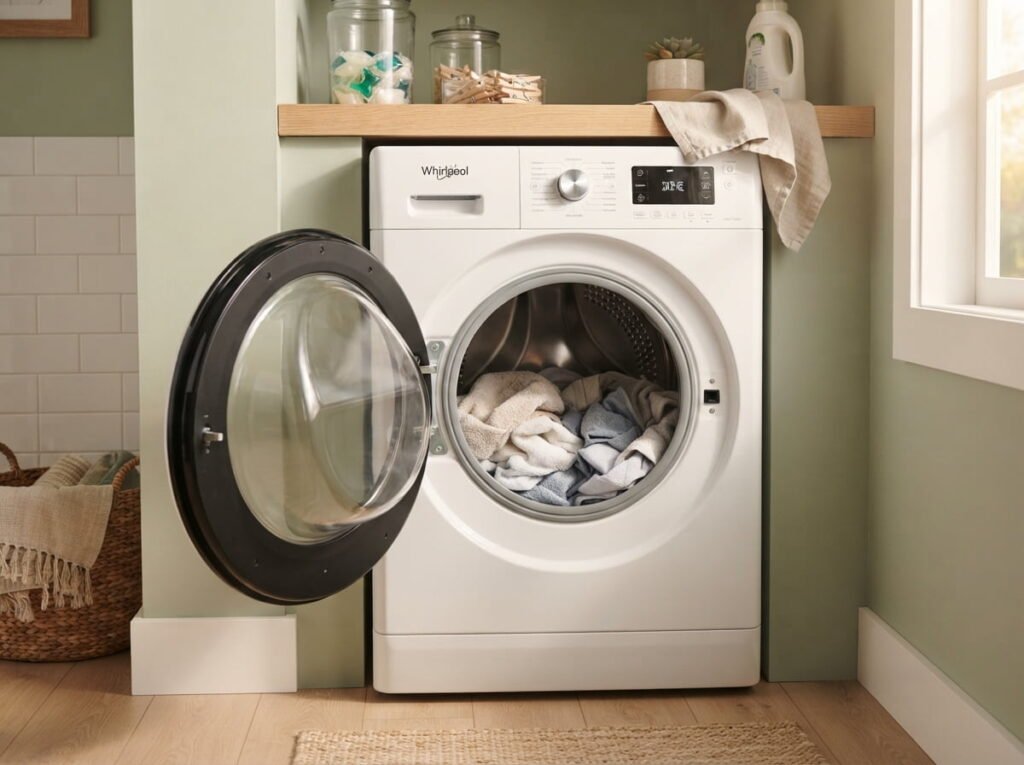
This single habit prevents more mildew than any cleaning product you can buy. A closed door traps moisture inside the drum and gasket, giving mold exactly the damp, dark environment it needs to grow back within days.
Prop it open a few inches after every load. It looks a little untidy, but it’s the difference between a clean smelling machine and one you’re rescrubbing every month.
A cracked door after every load prevents more mold than any product you could buy.
8. Check the Hoses Behind the Machine
A musty smell that lingers even after you’ve cleaned the drum and seal often traces back here. Pull the machine away from the wall a few inches and look at where the hoses connect, since small leaks create damp spots that never fully dry.
Gather these before you start so you’re not stopping halfway through:
What to grab first
9. Top Loaders Have a Hidden Lint Trap Too
People assume lint traps are a front loader problem, but plenty of top loaders have one too, usually a small mesh screen or filter cup tucked near the agitator or along the top rim of the drum.
Check your manual if you’re not sure, since some are barely visible until you know exactly where to look.
10. Chasing Down a Musty Smell That Won’t Quit
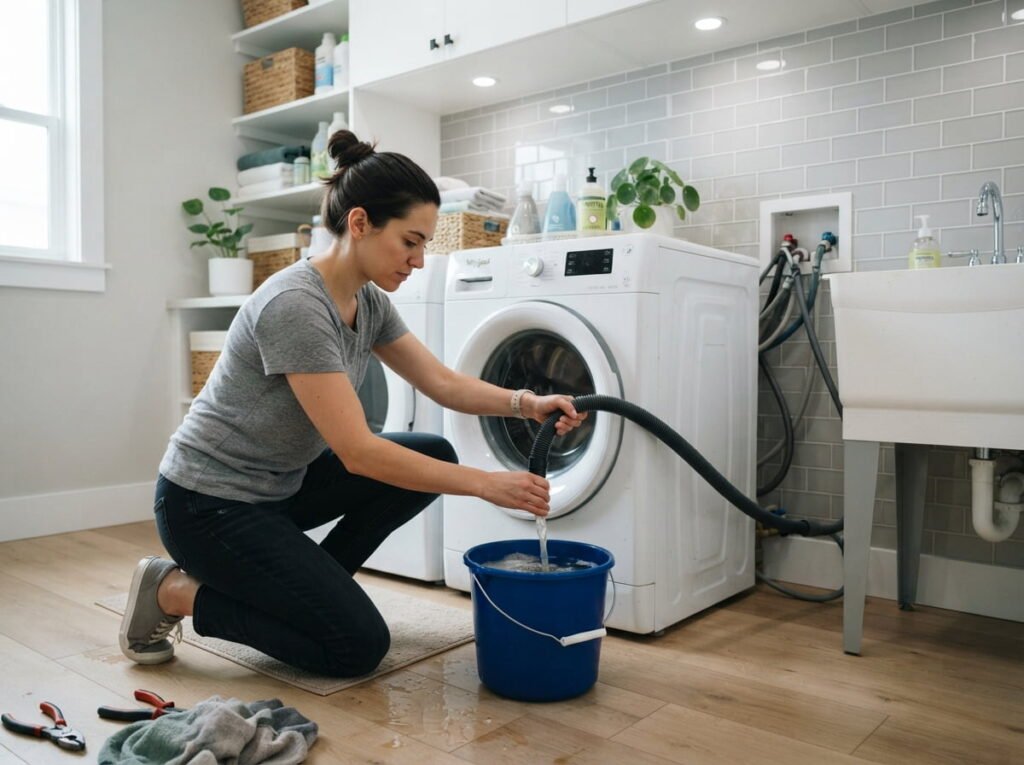
Sometimes you clean everything on this list and the smell still shows up. When that happens, it’s worth ruling out causes in order rather than guessing.
| Likely Cause | What to Check |
|---|---|
| Gasket buildup | Recheck every fold, not just the front. |
| Drain hose clog | Detach and flush it separately. |
| Too much detergent | Cut your usual amount in half next load. |
11. The Exterior and Top Surface Deserve a Real Wipe Down
A quick paper towel swipe across the top just moves dust around and leaves streaks behind. The lid, control area, and sides collect a thin film of detergent dust and fingerprints that only a proper wipe actually lifts.
Use a damp microfiber cloth with a small amount of dish soap, then dry it with a second cloth so no streaks or water spots are left behind.
Dusty top surface with dried detergent streaks and fingerprints around the buttons.
A clean, streak free surface that actually looks cared for, not just wiped in passing.
12. Set an Actual Cleaning Schedule
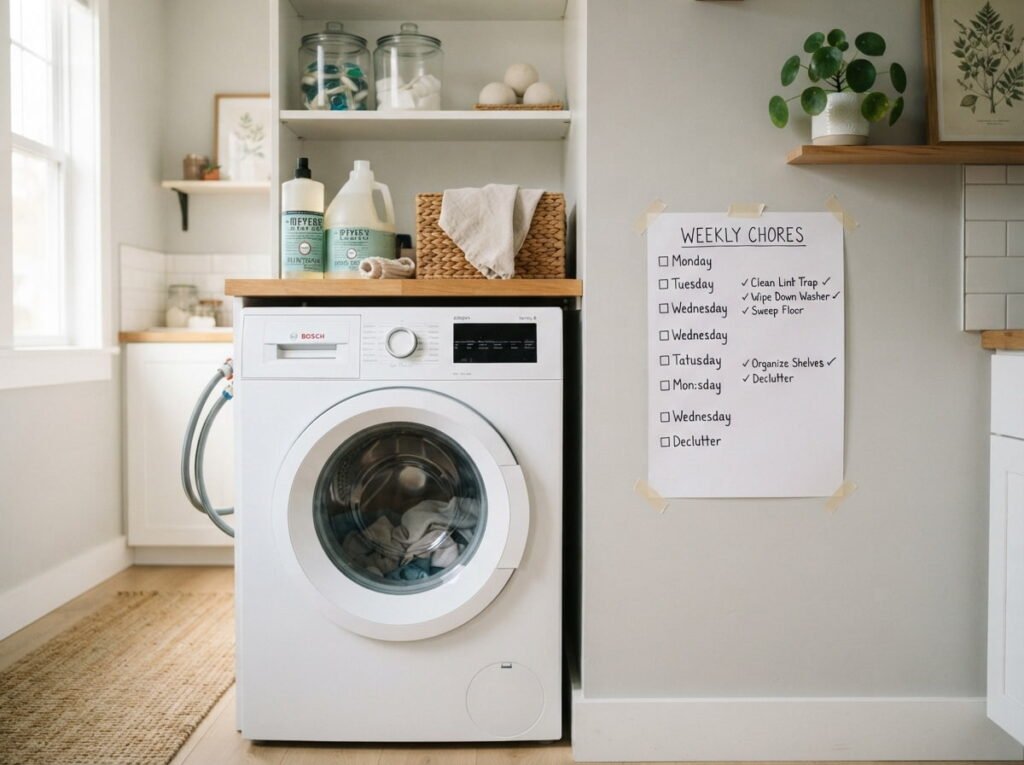
One clean session fixes the current buildup, but it won’t stay that way without a rhythm. Some tasks need weekly attention, others only need a check every few months.
- Wipe the gasket and drawer weekly, since these collect moisture fastest
- Run the vinegar cycle and clean the filter once a month
- Deep clean the drum with baking soda every three months, or sooner if odor returns
Wipe the gasket and drawer weekly, since these collect moisture fastest.
Run the vinegar cycle and clean the filter once a month.
Deep clean the drum with baking soda every three months, or sooner if odor returns.
Conclusion
Once you’ve gone through this list, your washing machine stops being the appliance you ignore and starts being one you actually maintain. The buildup that causes that faint sour smell lives in specific, predictable spots, and now you know exactly where to look each time.
A deep clean washing machine routine isn’t a one time fix. It’s a rhythm, a few minutes here and there, that keeps every load coming out the way it should. The gasket, the drawer, the filter, they all reset once you handle them properly, and staying on top of it from here is far easier than the first deep clean ever was.
Save this list for the next time your laundry smells a little off and you’re not sure why. Chances are the answer is already on this list.