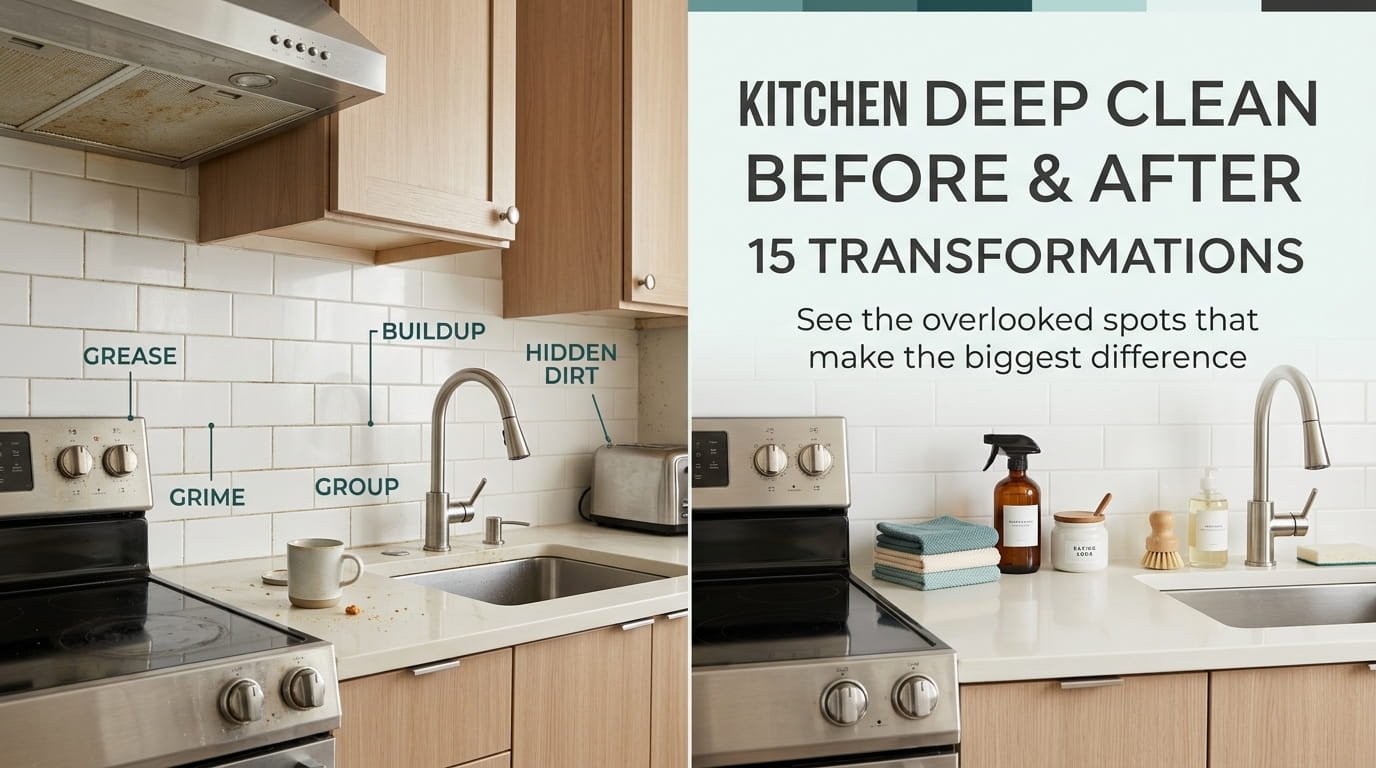
Most kitchens look clean on the surface while the real grime hides in spots nobody checks during a regular wipe down. The range hood filter, the grout lines, behind the fridge, all of it quietly builds up until one day you finally look closely and wonder how long it’s actually been like that.
A real kitchen deep clean before and after isn’t about a quick surface refresh. It’s about the specific spots that collect grease, crumbs, and buildup differently than the rest of the room, and actually seeing the transformation once they’re handled properly. Some of these jobs take five minutes. Others take a full afternoon. All of them make a visible difference once you’re done.
This list walks through fifteen spots worth tackling, one at a time, in whatever order makes sense for your kitchen. By the end, you’ll have a room that’s actually clean underneath, not just tidy on top.
1. Strip and Degrease the Range Hood Filter
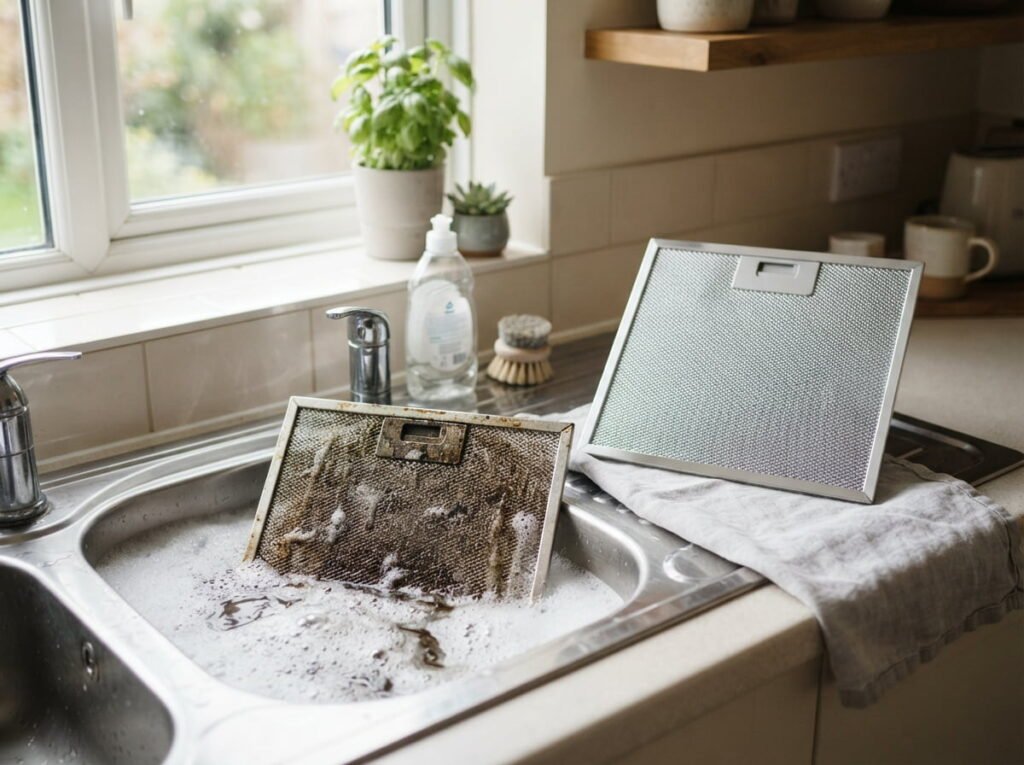
That thin film coating your range hood filter isn’t just dust. It’s grease that’s been building up with every meal you’ve cooked, and it’s part of why your kitchen never quite smells fully fresh no matter how often you wipe the counters.
Soak the filter in hot water with a splash of dish soap and a bit of baking soda for twenty minutes, then scrub with a stiff brush.
A dull, sticky filter coated in a visible film of old grease.
A filter that looks and functions like new, pulling smoke and grease the way it should.
2. Clean Inside Every Cabinet, Not Just the Fronts
Open any cabinet you haven’t cleared out in a while and you’ll likely find crumbs in the corners, sticky rings where bottles used to sit, and shelf liner that’s seen better days.
- Empty one cabinet completely and check expiration dates while you’re at it
- Wipe every shelf with warm soapy water, corners included
- Replace shelf liner if it’s stained or peeling before putting items back
Empty one cabinet completely and check expiration dates while you’re at it.
Wipe every shelf with warm soapy water, corners included.
Replace shelf liner if it’s stained or peeling before putting items back.
3. Descale the Inside of Your Kettle and Coffee Maker
If your coffee has tasted slightly off lately, mineral buildup inside the machine is often the reason, not the beans or the water itself.
4. Deep Clean the Grout Between Backsplash Tiles
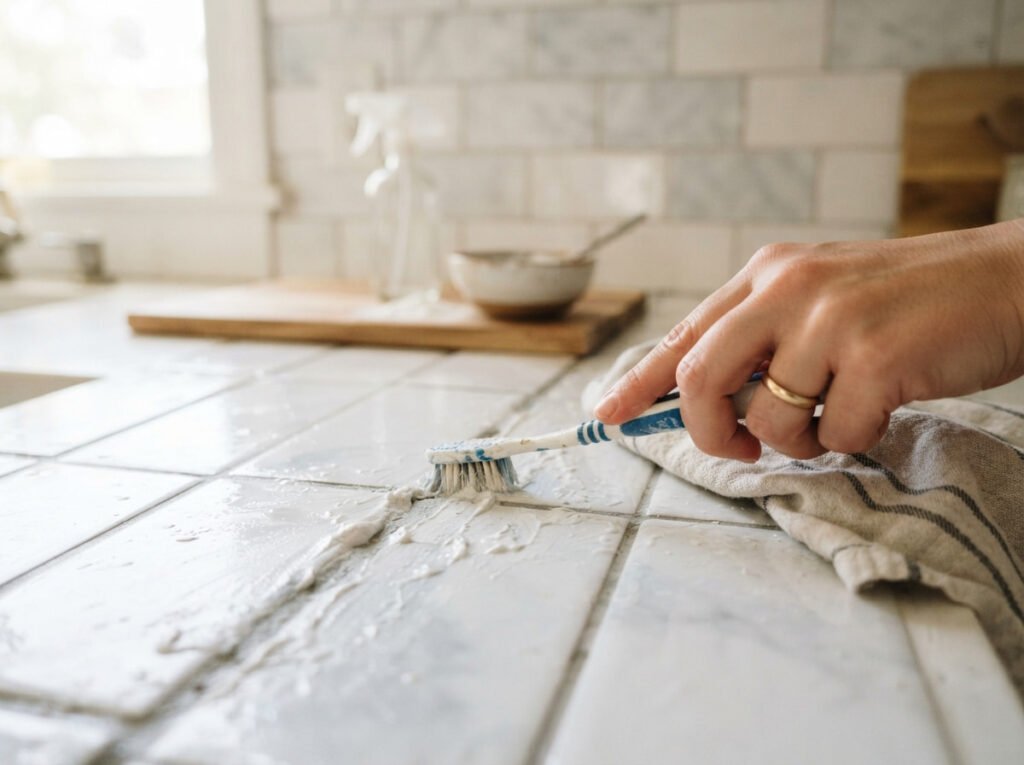
Grout doesn’t stay white forever, and once it starts discoloring, it drags down how clean the whole backsplash looks even if the tiles themselves are spotless.
💡 Quick Tip
A paste of baking soda and water, scrubbed with an old toothbrush, works on most grout without needing anything harsh.
5. Pull Out the Fridge and Clean Behind and Underneath It
This is the spot most people never see, and it’s exactly why it collects the most. Dust bunnies, dropped crumbs, and the occasional lost bottle cap tend to pile up back there for years at a time.
Years of dust, crumbs, and forgotten items collected under and behind the fridge.
A clear, dust free space that also lets the fridge run more efficiently.
6. Scrub the Inside of Your Microwave Properly
Wiping down a microwave with a dry paper towel just moves splatters around instead of actually lifting them, especially the baked on spots that have been through dozens of reheating cycles.
| Dry Wipe | Steam Method |
|---|---|
| Smears splatters instead of lifting them. | Loosens buildup so it wipes away easily. |
| Leaves baked on spots untouched. | Softens even old, dried on residue. |
7. Deep Clean Your Sink and Disinfect the Drain
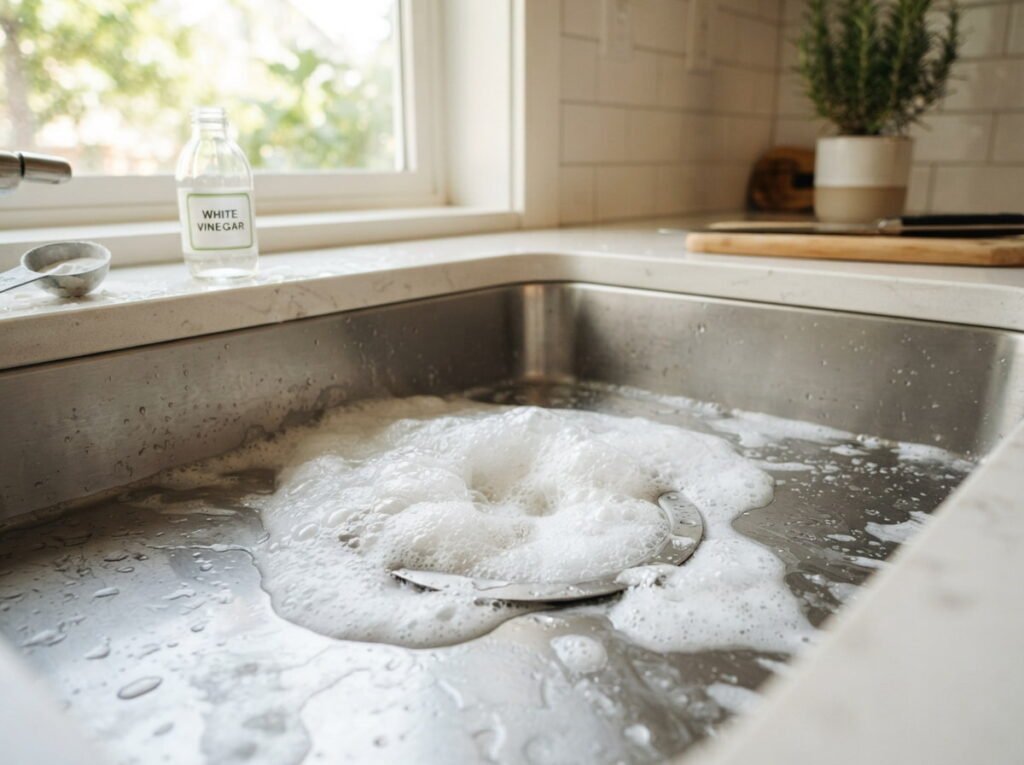
A sink can look spotless and still be the source of a faint smell in the kitchen, since bacteria builds up inside the drain itself where you can’t see it.
Pour baking soda down the drain, then follow with hot vinegar.
Scrub the basin with a paste for stubborn stains.
Only rinsing the drain with plain water.
Ignoring a lingering smell that keeps coming back.
8. Wipe Down and Organize Your Spice Cabinet
Sticky lids and jars pushed to the back long past their prime tend to build up here quietly, since spices don’t spoil the way food does, they just fade and get forgotten.
Clear it out with these in mind:
What to check
9. Clean the Dishwasher Itself, Not Just Run It Empty
An empty cycle with nothing but water doesn’t touch the buildup sitting in the filter or gasket, and that buildup is often why dishes come out with a filmy residue even after a full wash.
Dishes coming out with a filmy residue despite a full cycle.
A clean filter and gasket that actually let dishes come out spotless.
10. Degrease Your Stovetop Knobs and Control Panel
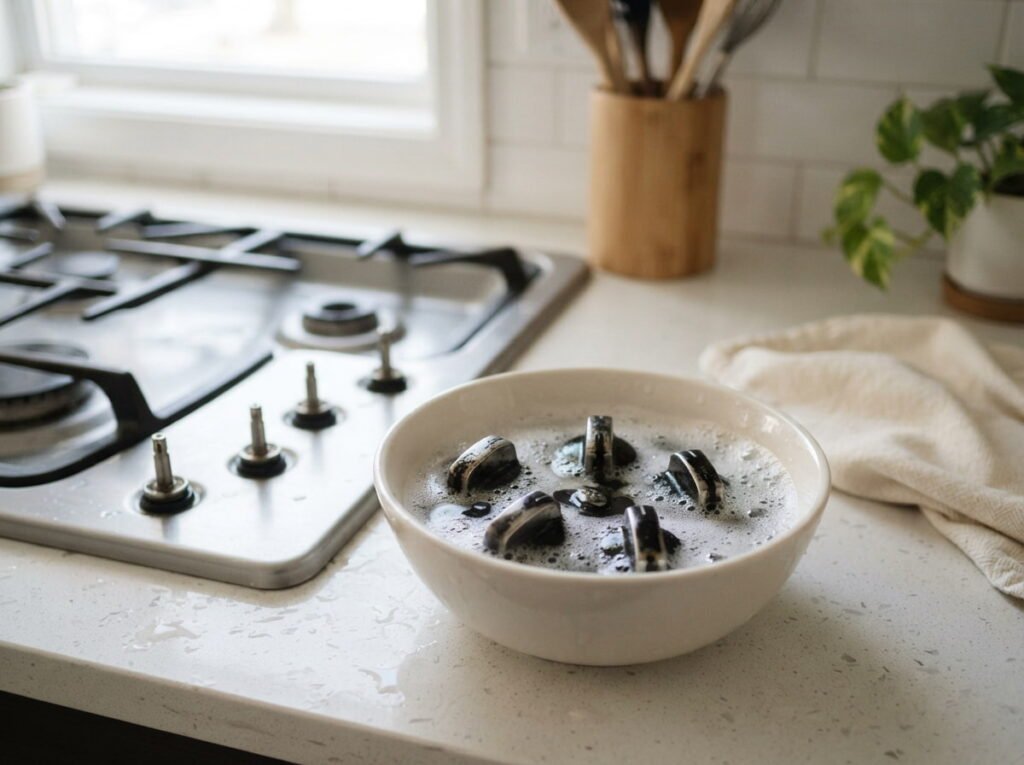
Pull the knobs off and you’ll usually find a ring of grease and grime that’s collected in the crevice underneath, a spot that a quick surface wipe never actually reaches.
⚠️ Watch Out
Let knobs soak in warm soapy water rather than scrubbing them dry, which can scratch the finish.
11. Deep Clean Your Kitchen Trash Can
The bin itself holds onto smells long after the trash is gone, especially if a bag has ever leaked at the bottom without anyone noticing right away.
The smell you keep noticing is usually the bin itself, not whatever’s currently inside it.
12. Wipe Down and Reset Your Pantry Shelves
A pantry shelf that hasn’t been fully cleared in months tends to have a layer of crumbs at the back, a sticky ring from a leaked bottle, and at least one item well past its date.
- Take everything off one shelf at a time so it doesn’t feel overwhelming
- Wipe the shelf fully before anything goes back
- Group similar items together as you restock so future spills are easier to spot
Take everything off one shelf at a time so it doesn’t feel overwhelming.
Wipe the shelf fully before anything goes back.
Group similar items together as you restock so future spills are easier to spot.
13. Clean Your Kitchen Light Fixtures and Ceiling Fan

Everything above eye level in a kitchen tends to collect a mix of dust and airborne grease from cooking, and it goes unnoticed until you’re standing under it looking straight up.
A dulled light fixture coated in a fine layer of dust and cooking residue.
Brighter light output and a fixture that actually looks as clean as the counters below it.
14. Deep Clean Your Countertops With the Right Method for Your Material
Not every countertop handles cleaning products the same way, and using the wrong one can dull, etch, or discolor a surface that otherwise just needed a gentle touch.
| Material | Care Note |
|---|---|
| Granite or marble | Avoid vinegar or acidic cleaners, they can etch the stone. |
| Laminate | A mild soap and water mix works fine for most spots. |
15. Do a Final Reset With a Fresh, Simple Styling Pass

Once everything underneath is actually clean, a few small finishing touches are what make the whole transformation visible instead of just felt.
Conclusion
A kitchen that’s actually clean underneath looks different from one that’s just tidy on top, and the difference usually comes down to the spots most people skip. The range hood filter, behind the fridge, inside the dishwasher, all of it adds up to a room that finally matches how it looks at first glance.
Working through even a handful of these transformations shows in ways a regular wipe down never will. A kitchen deep clean before and after isn’t about doing everything at once. It’s about picking the spots that have been quietly building up and finally giving them the attention they’ve needed.
Save this list for whenever you’re ready to see your own kitchen’s transformation, one spot at a time.