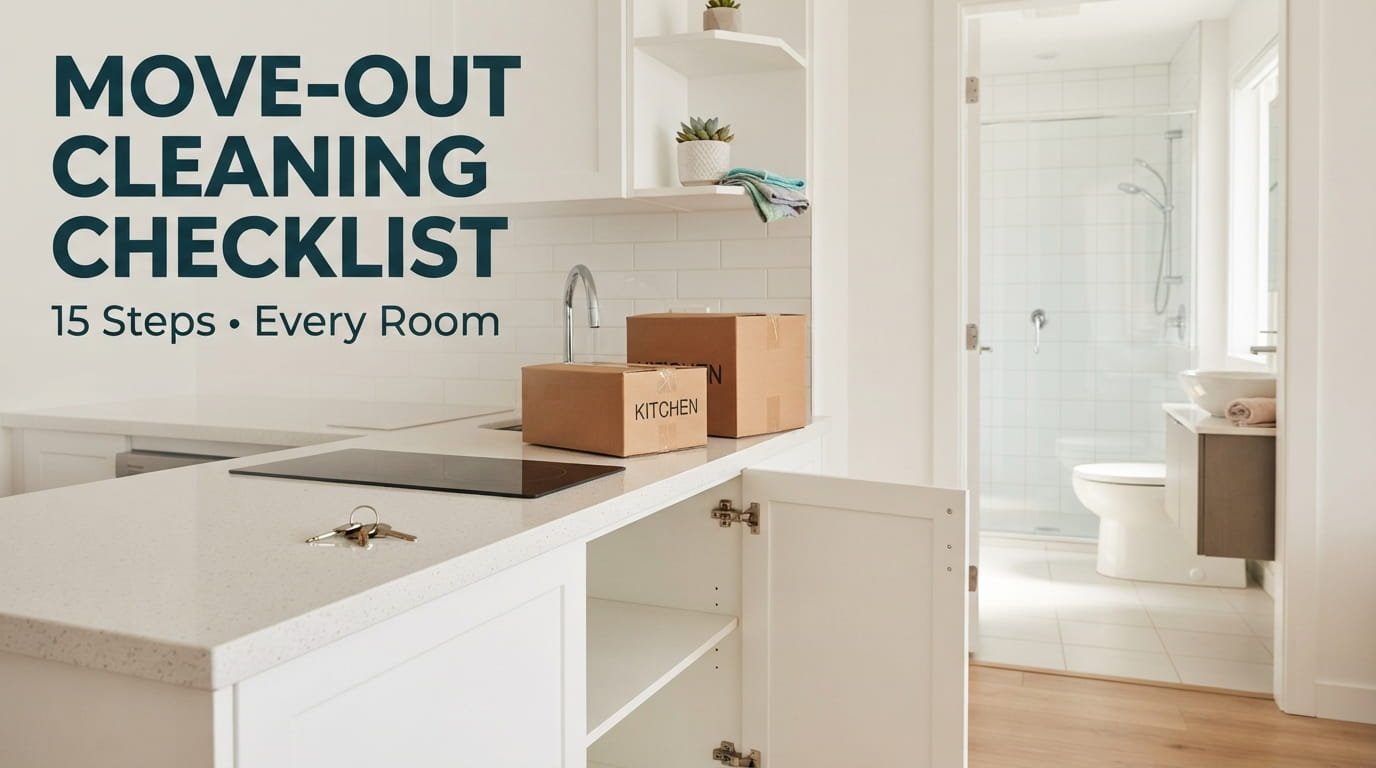
Getting a security deposit back usually comes down to details most people never think about until the final walkthrough is already scheduled. A regular weekly clean isn’t enough here. Landlords and property managers check the spots that build up slowly over months of living somewhere, the grease behind the stove, the grout in the shower, the dust sitting on top of ceiling fan blades.
This move out cleaning checklist covers all fifteen of those spots, room by room, so nothing gets missed in the rush of packing boxes and coordinating movers. Some tasks take ten minutes. Others need a full afternoon and a bottle of degreaser. None of them require hiring a professional if you give yourself enough time to work through the list in order.
Print this before your move out date gets close, not the night before. Working through a few tasks each day during your last week in the space makes the final walkthrough something you’re ready for instead of something you’re dreading.
1. Clearing and Cleaning Every Kitchen Cabinet Inside and Out
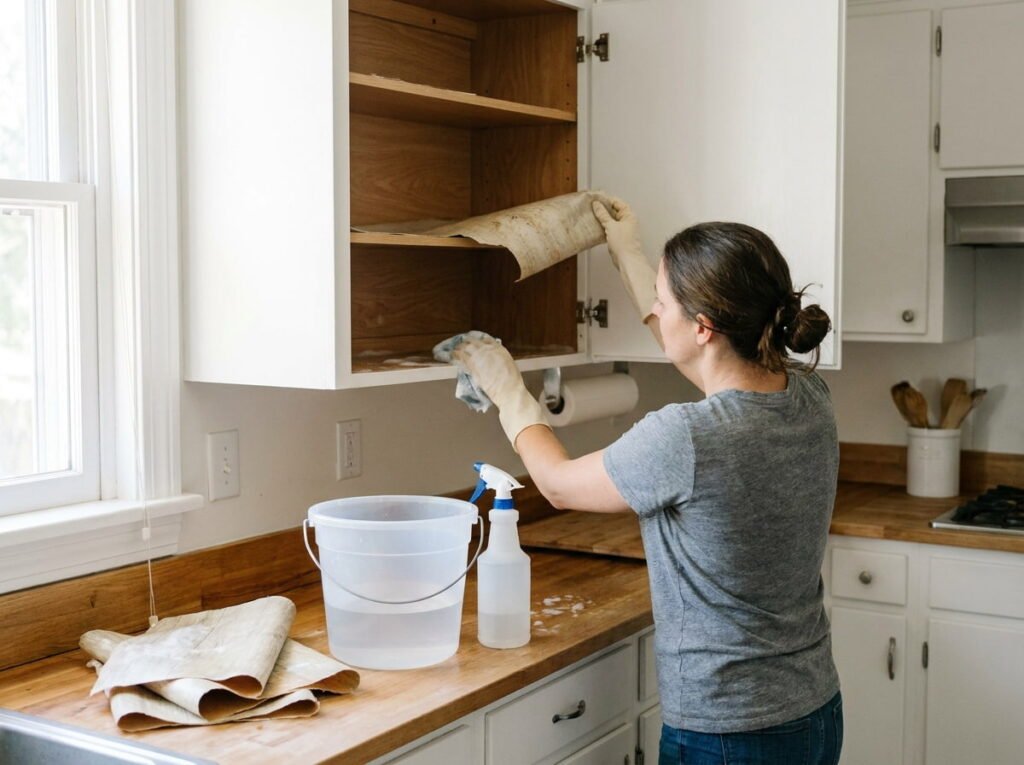
Cabinets get overlooked because the outside looks fine even when the inside is a different story. Empty every cabinet completely, wipe the interior shelves, and clean the exterior fronts where grease from cooking has settled into the finish near the stove.
- Remove all shelf liners and check underneath for spills
- Wipe cabinet fronts in the direction of the grain
- Leave doors open until everything dries fully
Landlords often open cabinets first during a walkthrough, so this one matters more than it seems.
2. Degreasing the Oven and Stovetop Before the Final Walkthrough
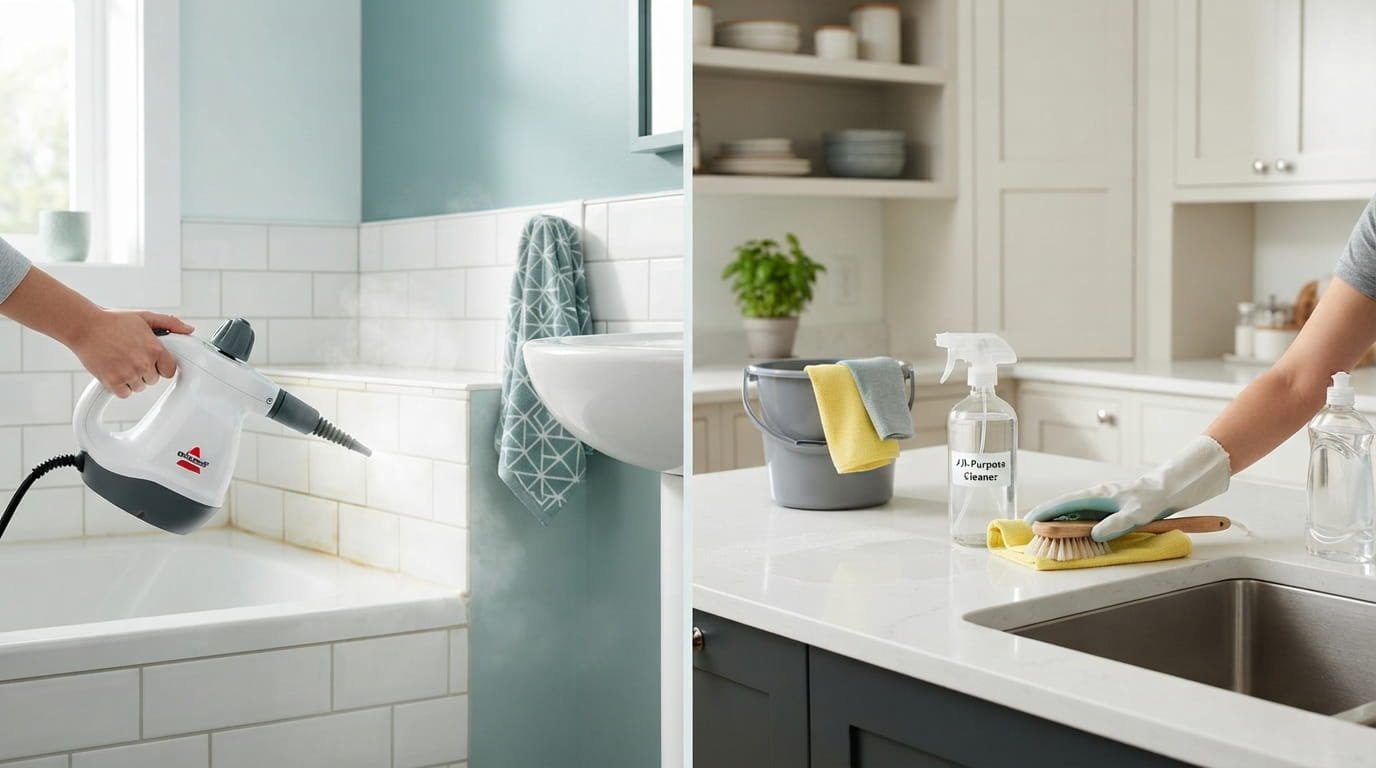
Baked on grease is one of the most common reasons a move out inspection flags the kitchen. A baking soda paste left overnight, followed by a vinegar wipe the next morning, clears the oven interior without harsh chemicals or heavy scrubbing.
Pull the burner grates off the stovetop and soak them separately while the oven paste works.
💡 Quick Tip
Start this one at least two days before your walkthrough so the overnight soak has time to work.
3. The Fridge and Freezer Deep Clean That Prevents a Deposit Deduction
An empty fridge left with sticky shelves and a freezer full of frost is an easy deduction for a landlord to justify. Pull every shelf and drawer out to wash separately, defrost the freezer completely, and wipe the door seals where mold tends to collect.
Sticky shelves, frosted freezer walls, and a lingering food smell.
Clean shelves, a fully defrosted freezer, and no odor left behind.
4. Scrubbing Grout and Tile in the Bathroom Down to Original Color
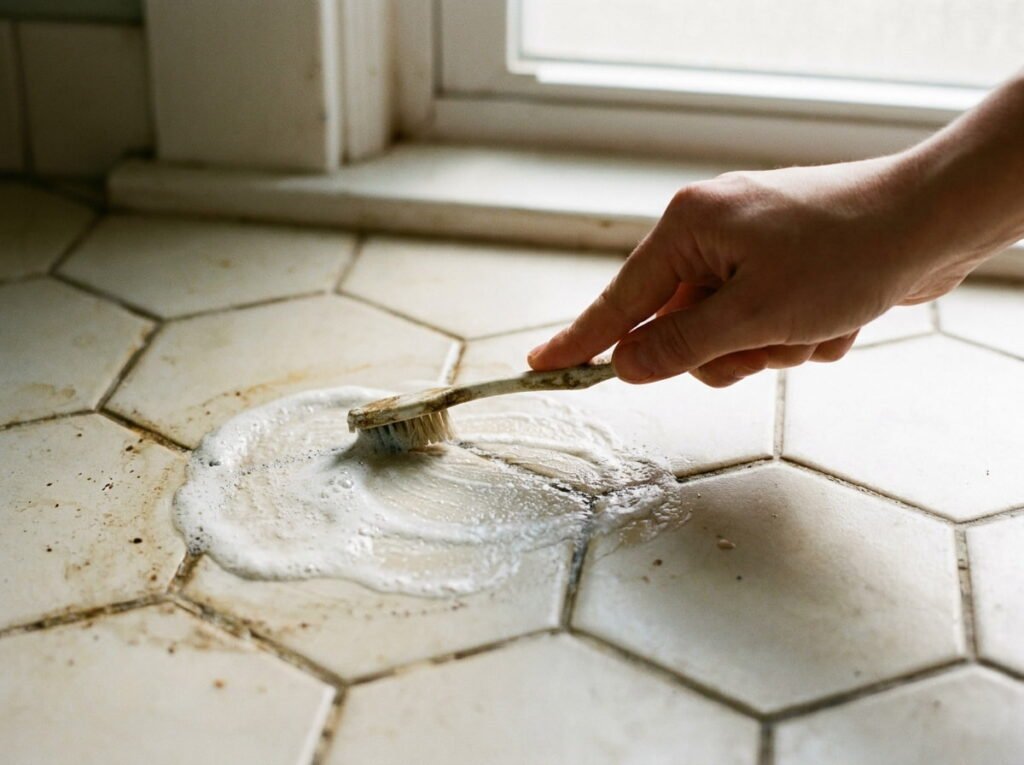
Grout darkens gradually over months of showers and mopping, which means it’s easy to stop noticing how far it’s drifted from its original shade. A paste of baking soda and hydrogen peroxide left on for fifteen minutes, then scrubbed with an old toothbrush, brings it back close to new.
What you’ll need
5. The Toilet, Tub, and Shower Detail Work Landlords Actually Check
Most tenants clean the visible surfaces of the bathroom and stop there, leaving the toilet base, tub caulking, and showerhead untouched. Scrub under the toilet rim, check the caulk line around the tub for mildew, and soak the showerhead in vinegar if water pressure has dropped.
6. Wiping Down Every Closet Shelf and Rod Before You Leave
Closets end up coated in a thin layer of dust that nobody notices until it’s the only thing left after everything’s packed. Wipe every shelf, the closet rod itself, and the floor before checking corners for anything left behind.
- Remove all hangers and check the floor for stray items
- Wipe shelves and the rod with a damp cloth
- Vacuum or sweep the closet floor last
Remove all hangers and check the floor for stray items.
Wipe shelves and the closet rod with a damp cloth.
Vacuum or sweep the closet floor last.
7. Cleaning Windows, Sills, and Tracks Room by Room
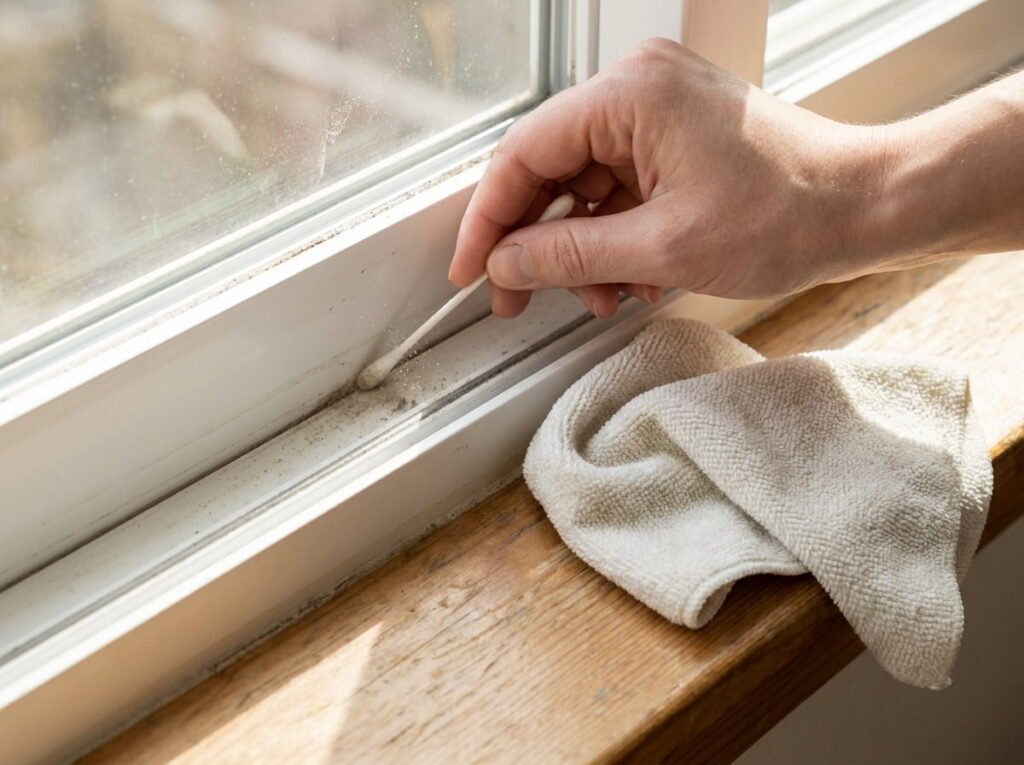
Window tracks collect a mix of dead bugs and dust that most people never see up close until they’re looking for it. A vacuum with a crevice attachment gets most of it out, and a cotton swab dipped in vinegar handles the tight corners a vacuum can’t reach.
Streaked glass is one of the fastest things a walkthrough inspector notices from across the room.
Vacuum tracks before wiping them.
Use a lint free cloth on the glass.
Wiping glass with a dirty cloth first.
Leaving debris packed in the corners.
8. Patching Nail Holes and Wiping Down Every Wall
Small nail holes from picture frames are one of the most common deductions on a move out inspection, and they’re also one of the easiest to fix yourself. A small amount of spackle, smoothed flush with a putty knife and left to dry, disappears completely once it’s painted over or even left as is on a light colored wall.
| Small Holes | Larger Damage |
|---|---|
| Fill with spackle and smooth flat | May need a patch kit or landlord notice |
| Usually not deposit worthy | Best to flag before the walkthrough |
9. The Baseboard and Vent Pass That Inspectors Notice First
Dust settles on baseboards and vent covers for months without anyone noticing at eye level, but it’s one of the first things an inspector’s eye catches at the bottom of a wall. Wiping every baseboard with a damp cloth and removing vent covers to vacuum inside makes a visible difference room by room.
Inspectors look low and up, so baseboards and vents get noticed more than you’d think.
10. Cleaning Light Fixtures and Replacing Any Burnt Out Bulbs
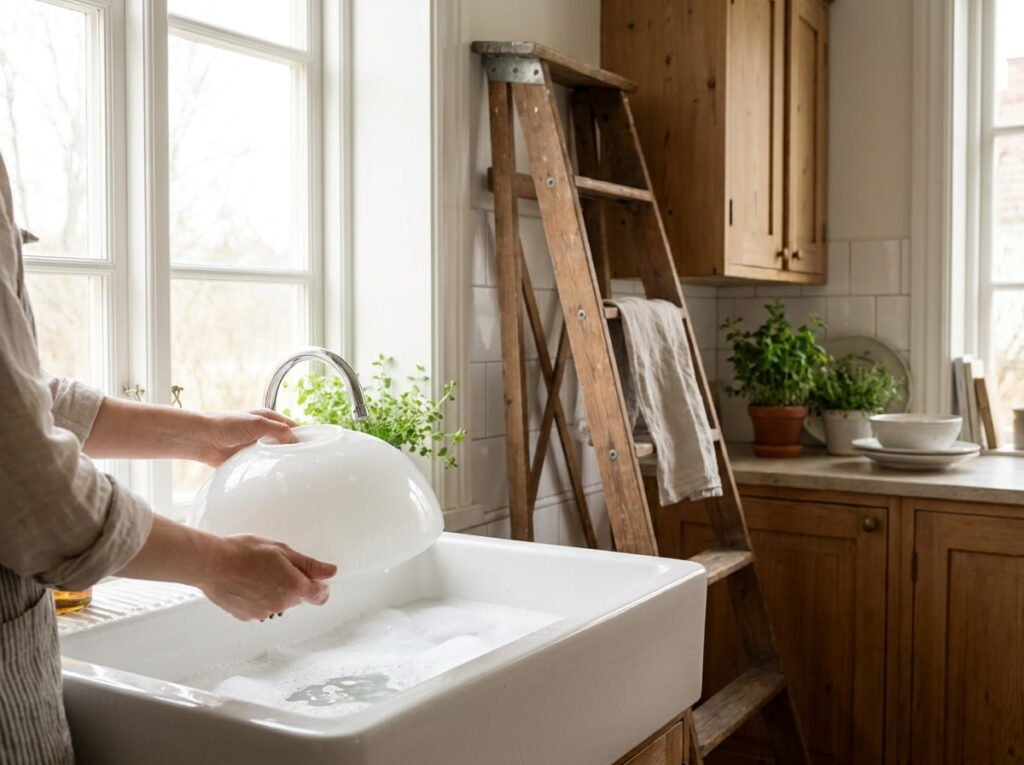
Dust and dead bugs collect inside light fixture covers in a way that’s invisible until the light is off and you’re actually looking up at it. Remove each cover, wash it in warm soapy water, and swap out any burnt out bulbs before you go.
- ▸Remove and wash fixture covers separately.
- ▸Check every bulb before you leave the unit.
- ▸Keep a few spare bulbs on hand just in case.
11. Wiping Down Doors, Handles, and Switch Plates Throughout the Unit
Every door, handle, and switch plate in the unit gets touched constantly over months of living there, yet they’re some of the last things anyone thinks to clean before moving out. A disinfecting wipe across every door surface, handle, and switch plate room by room takes less than twenty minutes total.
12. The Laundry Area Reset for Washer, Dryer, and Lint Trap
A washer and dryer left with a clogged lint trap or a musty smell in the drum is an easy thing for a landlord to flag during inspection. Clean the lint trap thoroughly, wipe down the washer drum and rubber gasket, and run an empty cycle with vinegar if there’s any lingering odor.
📌 Good To Know
Front load washers hold onto smell in the rubber gasket more than any other spot, so check there first.
13. Cleaning Ceiling Fans and Overhead Fixtures Room by Room

Ceiling fan blades collect a surprising amount of dust simply because nobody looks up at them during a regular clean, and that dust often becomes visible the moment the fan gets turned on. Wipe each blade with a damp cloth working from the base outward so dust falls away instead of scattering across the room.
A visible layer of dust along the top edge of every blade.
Clean blades and no dust falling once the fan runs.
14. The Final Floor Treatment for Carpet, Tile, and Hardwood
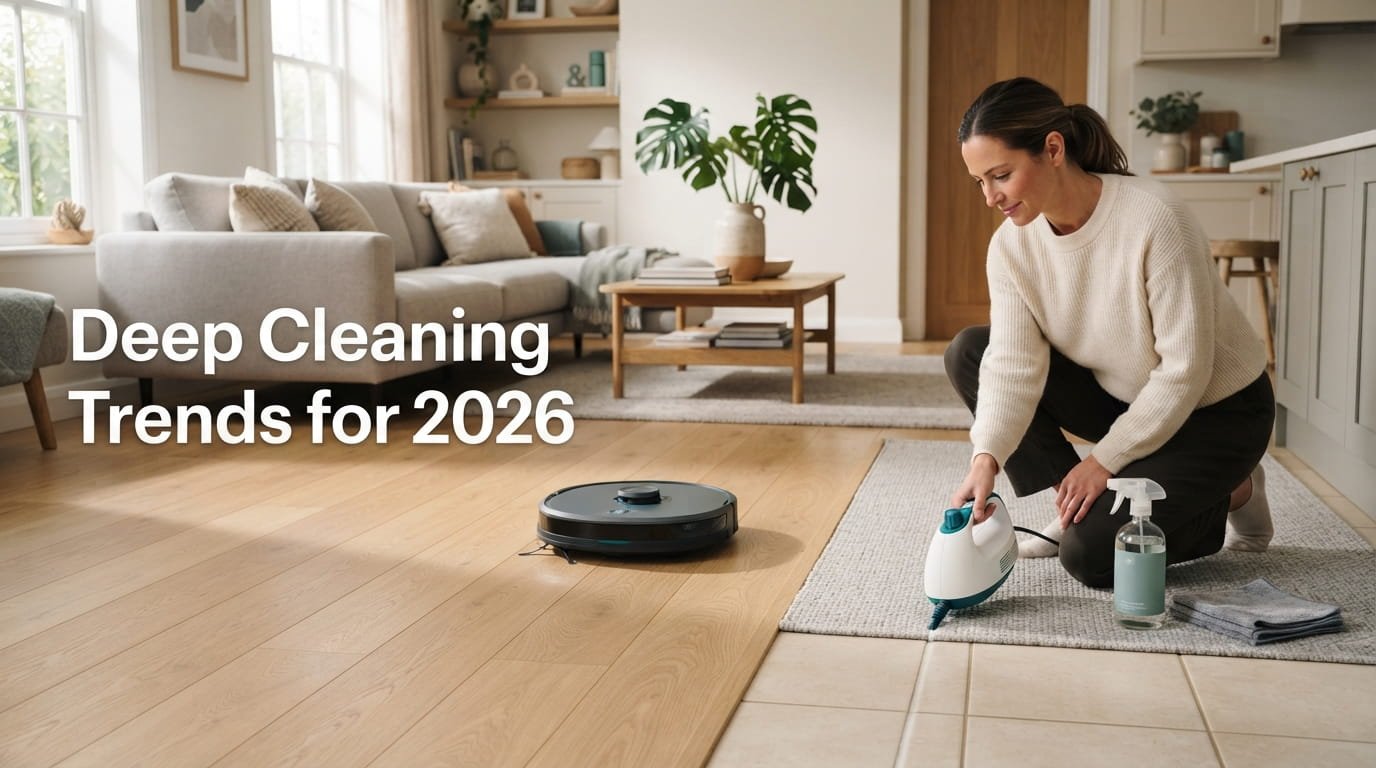
Every floor type needs a different final pass, and treating them all the same way is one of the most common mistakes during a move out clean. Carpet usually needs a professional steam clean or a rented machine, tile needs grout attention along with mopping, and hardwood needs a cleaner made specifically for wood finishes.
Match the floor to the method
15. A Room by Room Final Walkthrough Before You Hand Back the Keys
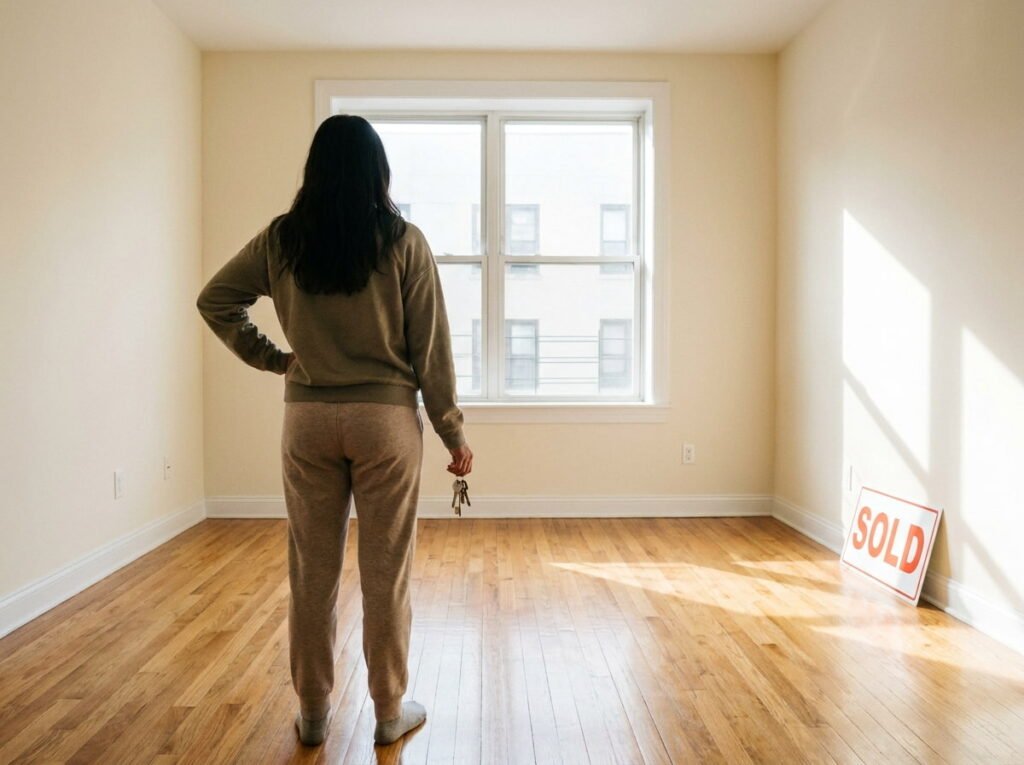
Doing your own walkthrough before the official one catches the small things that get missed in the middle of a long cleaning session. Walk through every room with fresh eyes, checking corners, behind doors, and inside every closet one last time before the keys leave your hands.
Conclusion
A move out cleaning checklist works best when it’s followed room by room instead of tackled all at once the night before you leave. The spots that actually affect a deposit, grout, cabinet interiors, baseboards, ceiling fans, all take a little extra time, but none of them require anything beyond what’s likely already in your cleaning supplies.
Spread these fifteen tasks across your last week in the space, checking off a few each day so the final walkthrough doesn’t turn into a scramble. A little planning here goes a long way toward getting your full deposit back without any surprises.
Save this list so it’s ready the next time you’re prepping to hand back a set of keys.