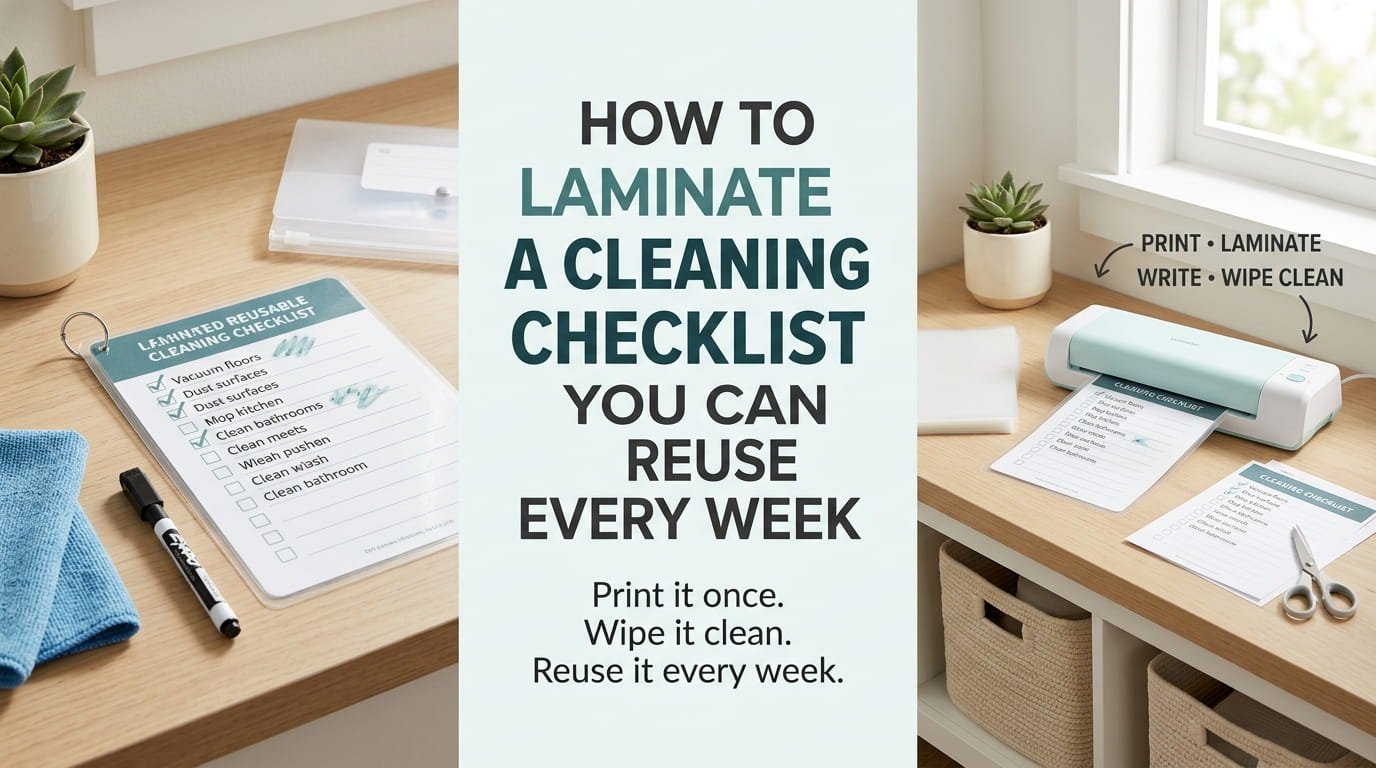
Printing a new cleaning checklist every single week is the kind of small habit that quietly wastes paper and never actually sticks. The fix isn’t a fancier app or another planner. It’s learning how to laminate a cleaning checklist once so it becomes something you wipe clean and reuse instead of something you toss in the recycling bin after seven days.
This isn’t complicated, but there are a few steps people skip that lead to a laminate that peels at the corners or a dry erase marker that won’t wipe off clean months later. Getting the paper weight right, trimming the edges properly, and picking the correct marker type all matter more than people expect.
This walkthrough covers the whole process from picking a layout to storing the finished sheet between uses. By the end, you’ll have a checklist that survives months of dry erase marker instead of one that needs replacing every few weeks. Grab a printer, a laminator or laminate sheets, and let’s get into it.
1. Choosing a Checklist Layout That Actually Fits How You Clean
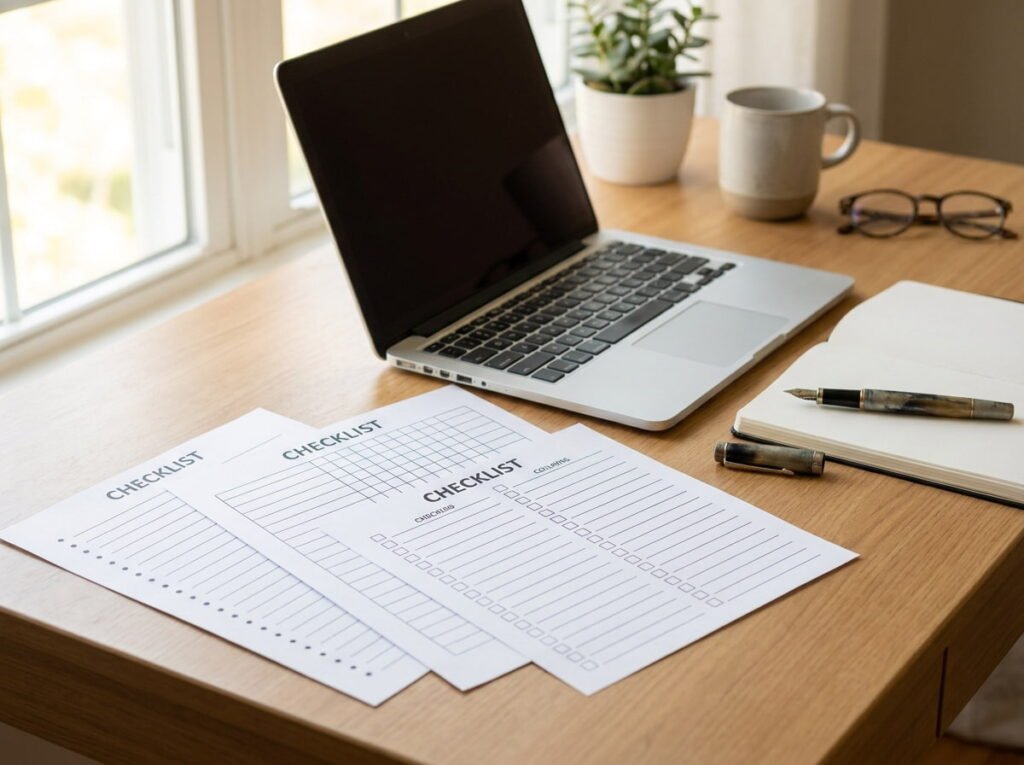
Before anything gets printed, decide what kind of checklist you actually want to reuse. A room by room layout works differently than a daily task list, and picking the wrong one means redesigning the whole thing after a week of using it.
- Room by room works well for deep cleaning sessions
- A daily task list suits quick, repeated routines
- A zone based layout fits smaller homes best
Pick whichever matches your actual cleaning rhythm, not the one that looks nicest on paper.
2. Formatting Your Checklist So It Prints Without Cutting Off Text
Nothing wastes a sheet of laminate faster than printing a checklist only to find the last column cut off at the margin. Check your printer’s margin settings before printing, and leave at least half an inch of white space around the entire page.
Print a test page on regular paper first to confirm nothing is cut off before you commit to your good paper.
💡 Quick Tip
Always print a test page on scrap paper before running your final copy through the laminator.
3. Picking Paper Weight That Holds Up Under a Laminator
Standard printer paper works fine for laminating, but it tends to bubble slightly under heat and feels flimsy once it’s sealed. Switching to cardstock or a heavier paper weight before printing gives the finished sheet more rigidity and makes it feel closer to a store bought product.
Thin printer paper that feels flimsy even after laminating.
Cardstock that feels sturdy and holds its shape after sealing.
4. The Difference Between Pouch Laminators and Cold Laminate Sheets
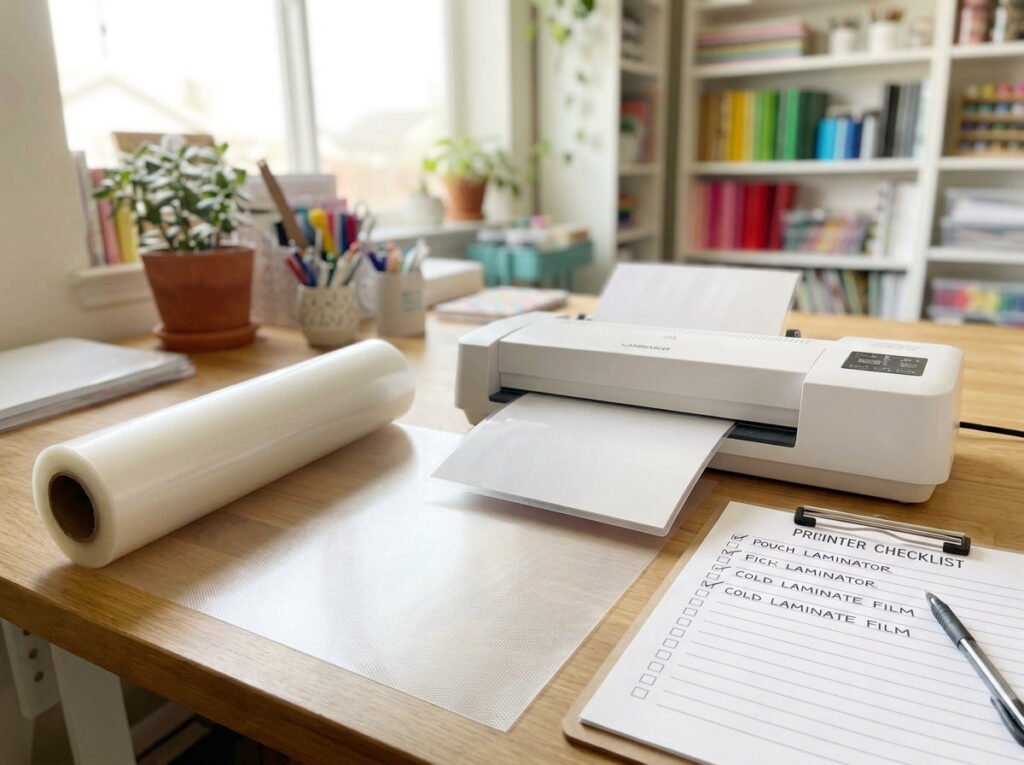
A pouch laminator uses heat to seal a printed page inside a plastic sleeve, while cold laminate sheets are a peel and stick option that needs no machine at all. Pouch laminators give a cleaner, more durable seal, while cold sheets work better if you’re only laminating one or two pages occasionally.
Which one fits your needs
5. Setting Your Printer to the Right Quality Before You Waste Paper
Printing on the default draft setting can leave text looking faded or slightly blurry once it’s sealed under laminate, since the plastic layer can exaggerate print quality issues. Switching to a higher quality or “best” print setting before your final print run makes text sharper and lines cleaner.
6. Trimming Your Printed Page Before It Goes Into the Laminator
- Print your checklist and let the ink dry fully before handling it
- Trim excess white space with scissors or a paper cutter
- Leave a small even border around every edge for the seal
Leaving too little border means the laminate seal won’t fully close around the edges.
Print your checklist and let the ink dry fully before handling it.
Trim excess white space with scissors or a paper cutter.
Leave a small, even border around every edge for the seal.
7. Feeding a Sheet Through a Pouch Laminator Without Jamming It
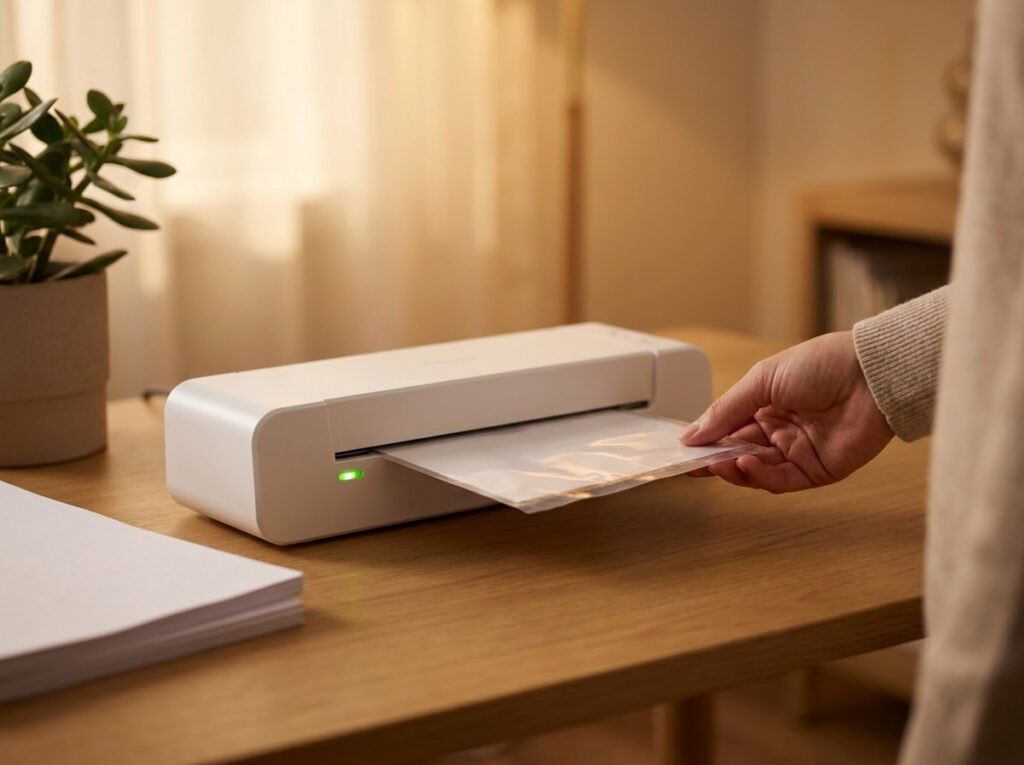
Jams almost always happen the same way, feeding the page in crooked or letting the pouch stall halfway through the rollers. Center your page inside the pouch with an even border on all sides, then feed it in straight and steady, sealed edge first.
Feed the sealed edge in first.
Keep the page centered with even borders.
Feeding the page in crooked.
Pulling the pouch if it stalls mid feed.
8. Rounding the Corners So the Laminate Doesn’t Peel at the Edges
Sharp corners on a laminated sheet are the first spot the seal tends to lift, since they take the most handling and pocket wear over time. A corner rounder tool, sold cheaply at most craft or office supply stores, clips each corner into a soft curve that resists peeling far longer than a square edge.
| Square Corners | Rounded Corners |
|---|---|
| Peel and lift within weeks | Hold their seal much longer |
| Catch on bags or pockets | Slide in and out smoothly |
9. Choosing the Right Dry Erase Marker So It Actually Wipes Clean
Not every marker labeled “dry erase” performs the same way on laminate, and a permanent marker used by mistake will not come off with water. Sticking to a genuine dry erase marker and wiping soon after each use keeps the surface from staining over time.
Only genuine dry erase markers wipe clean off laminate, so double check before you write.
10. What to Do When Old Marker Ghosting Won’t Wipe Away
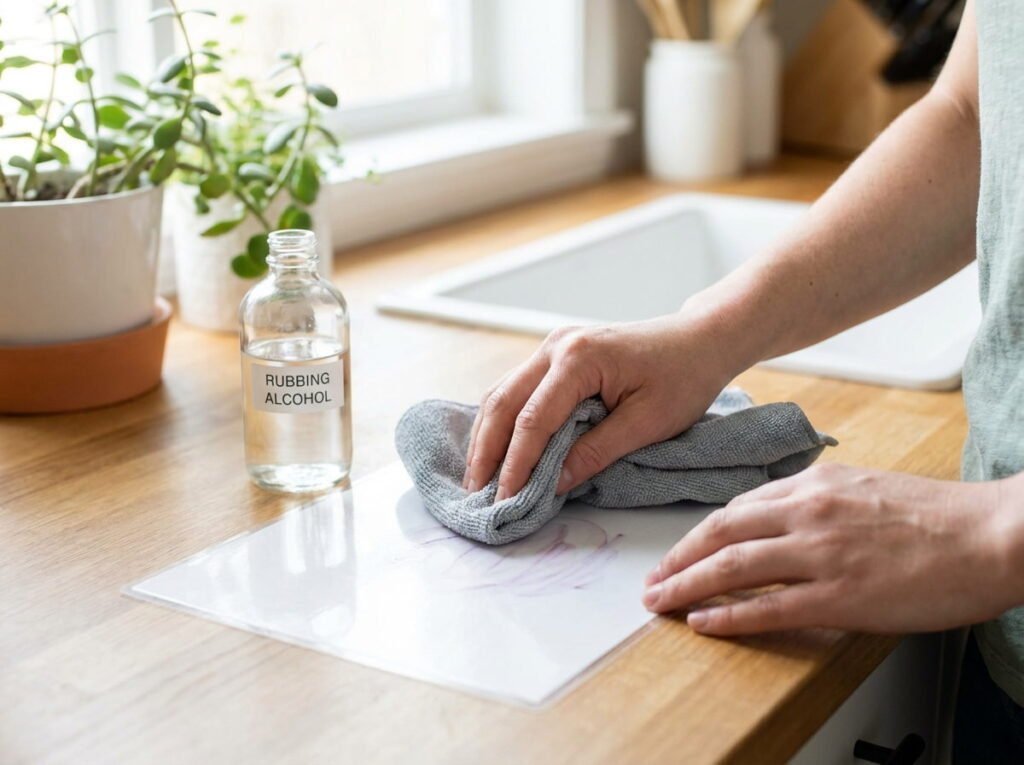
Marker left too long can leave a faint ghost image behind even after a normal wipe, especially if it sat there for days instead of getting cleaned right after use. Rubbing alcohol on a soft cloth usually lifts old ghosting that a regular eraser or water can’t touch.
- ▸Dab rubbing alcohol onto a soft cloth, not directly on the sheet.
- ▸Rub gently in small circles over the ghosted area.
- ▸Wipe dry with a clean cloth once the ghosting lifts.
11. Hole Punching and Binder Rings for a Checklist You Can Flip Through
A single laminated sheet works fine for one routine, but multiple checklists start to pile up loose on a counter fast. Punching a hole in one corner and threading a binder ring through it turns separate sheets into a flip through booklet you can hang from a hook.
12. Mounting a Laminated Checklist to a Wall or Cabinet Without Damage
Sticking a checklist directly to a wall or cabinet often means peeling paint or leftover residue once you decide to move it. Removable adhesive strips designed for renters hold a laminated sheet firmly in place and come off clean whenever you’re ready to relocate it.
💡 Quick Tip
Press removable strips firmly for thirty seconds before hanging anything to get the strongest hold.
13. Making Multiple Copies for Different Rooms or Family Members
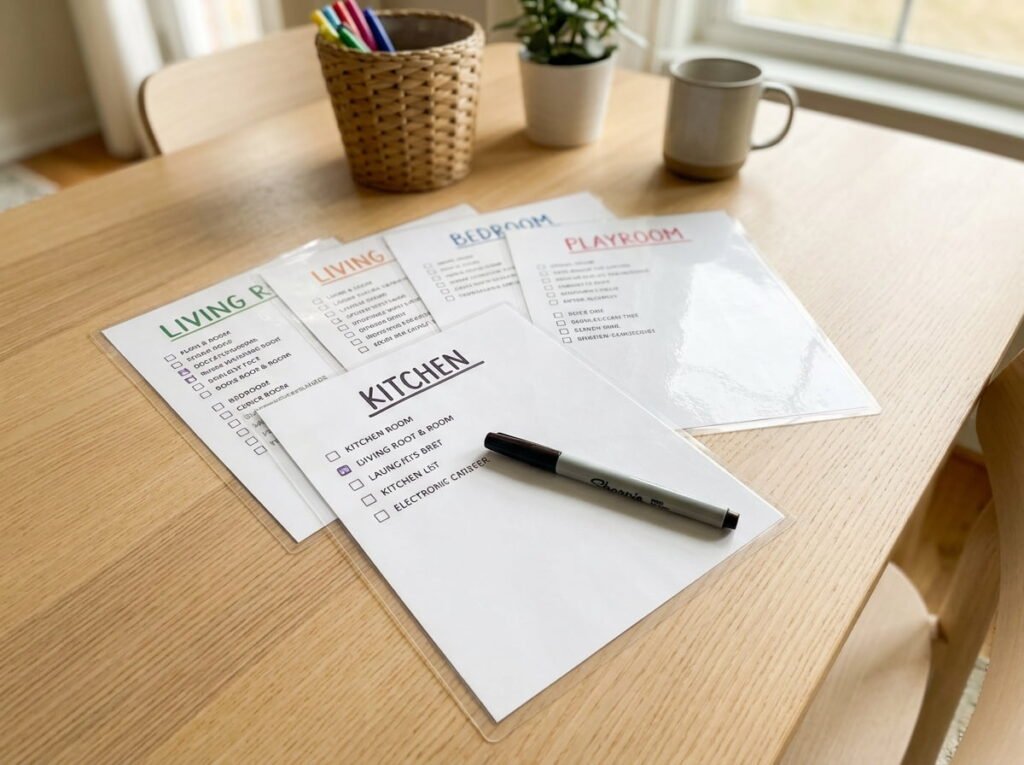
One checklist rarely covers a whole household the same way, especially if kids or roommates are handling different chores in different spaces. Printing and laminating a separate sheet for each room or each person means everyone can track their own tasks without erasing someone else’s progress.
One shared sheet with everyone’s tasks crossed out and erased over each other.
Separate sheets per person, each one tracked independently.
14. Cleaning and Storing Your Laminated Sheet Between Uses
A laminated sheet that gets wiped with a damp cloth and stored flat lasts far longer than one left crumpled in a drawer or exposed to direct sunlight on a windowsill. Wipe it down after each cleaning session and slide it into a folder or magazine holder when it’s not in use.
Storage habits that help
15. Knowing When It’s Time to Reprint Instead of Reusing the Same Sheet
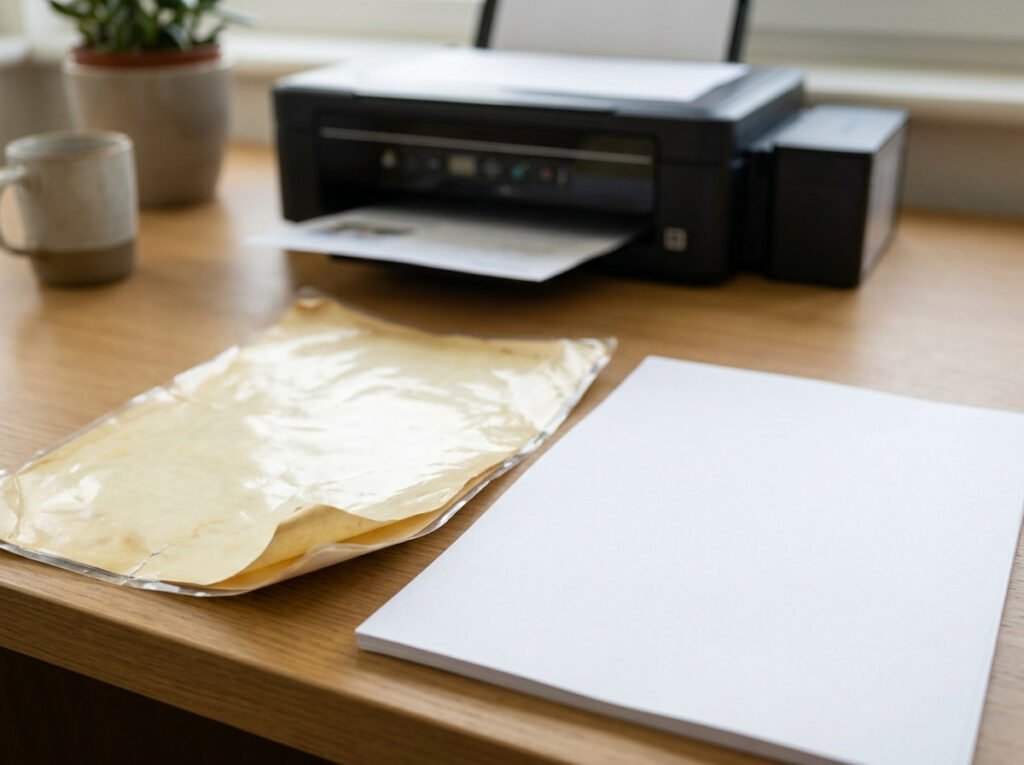
Even a well cared for laminated sheet eventually reaches the point where reprinting makes more sense than continuing to patch it up. Peeling corners that keep lifting despite rounding, permanent ghosting that alcohol won’t remove, or a layout that no longer matches your routine are all signs it’s time for a fresh print.
Conclusion
Once you laminate a cleaning checklist the right way, it stops being a piece of paper you reprint every week and starts being a tool you just wipe clean and reuse. The paper weight, the trimmed edges, and the right marker all matter more than they seem to at first, but none of it takes more than an extra few minutes the first time you set it up.
From here, it’s just maintenance. Wipe it down, store it flat, and reprint only when the layout stops matching how you actually clean.
Save this list so it’s ready the next time you’re setting up a checklist you actually want to last.