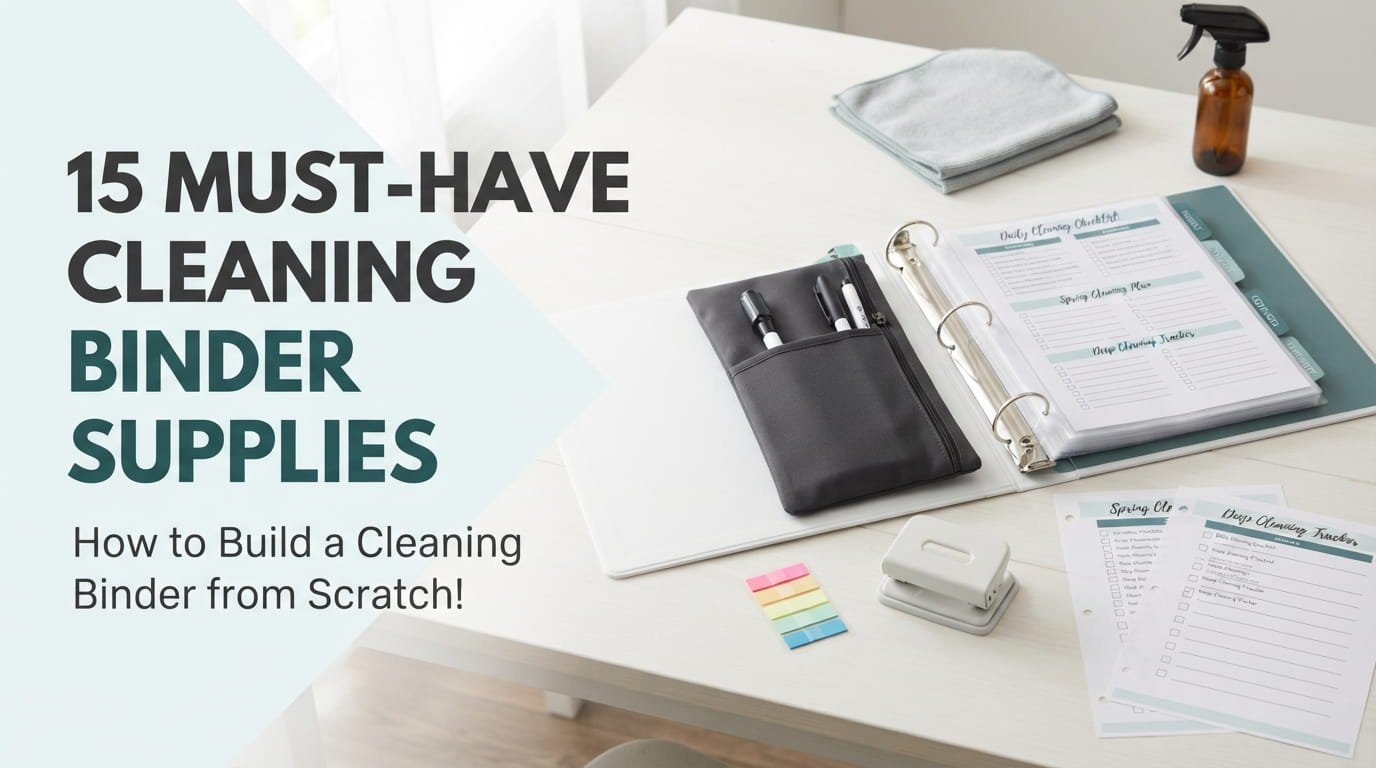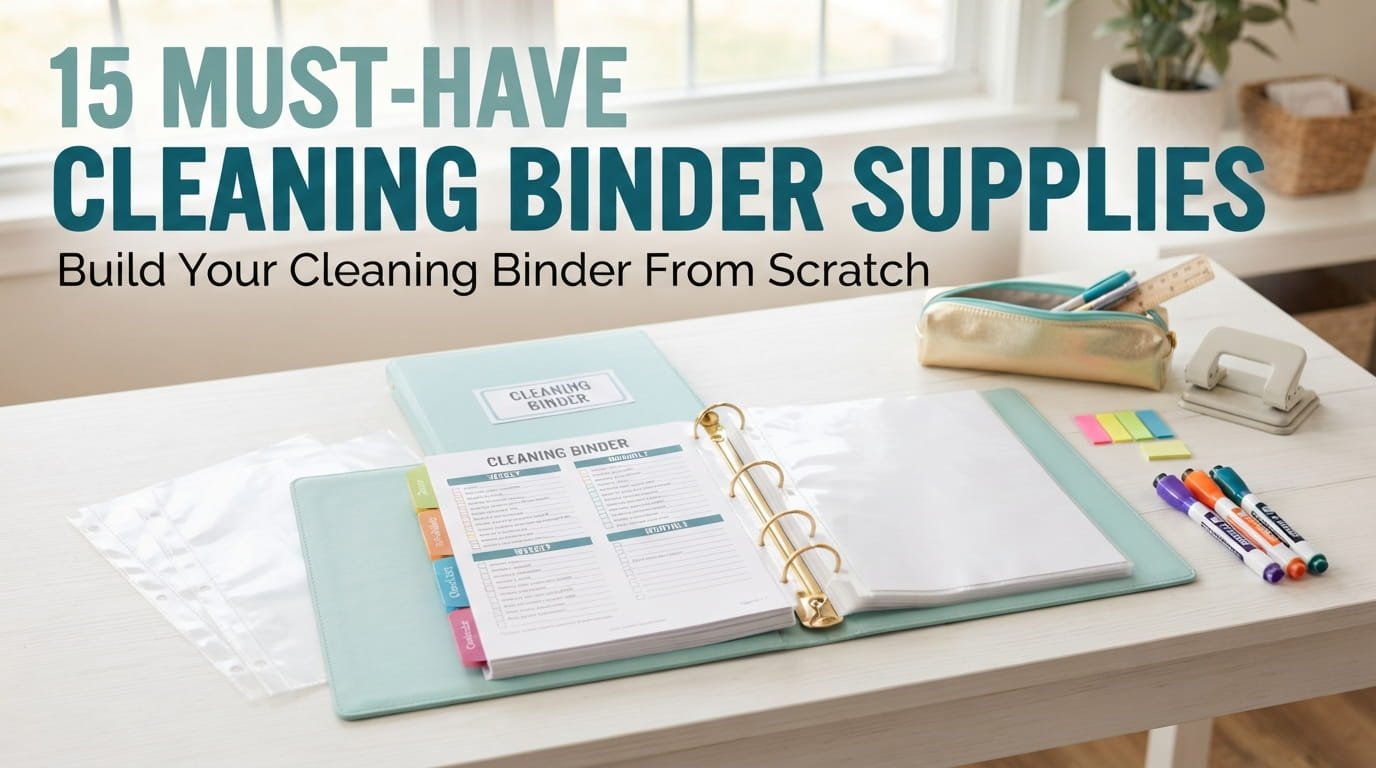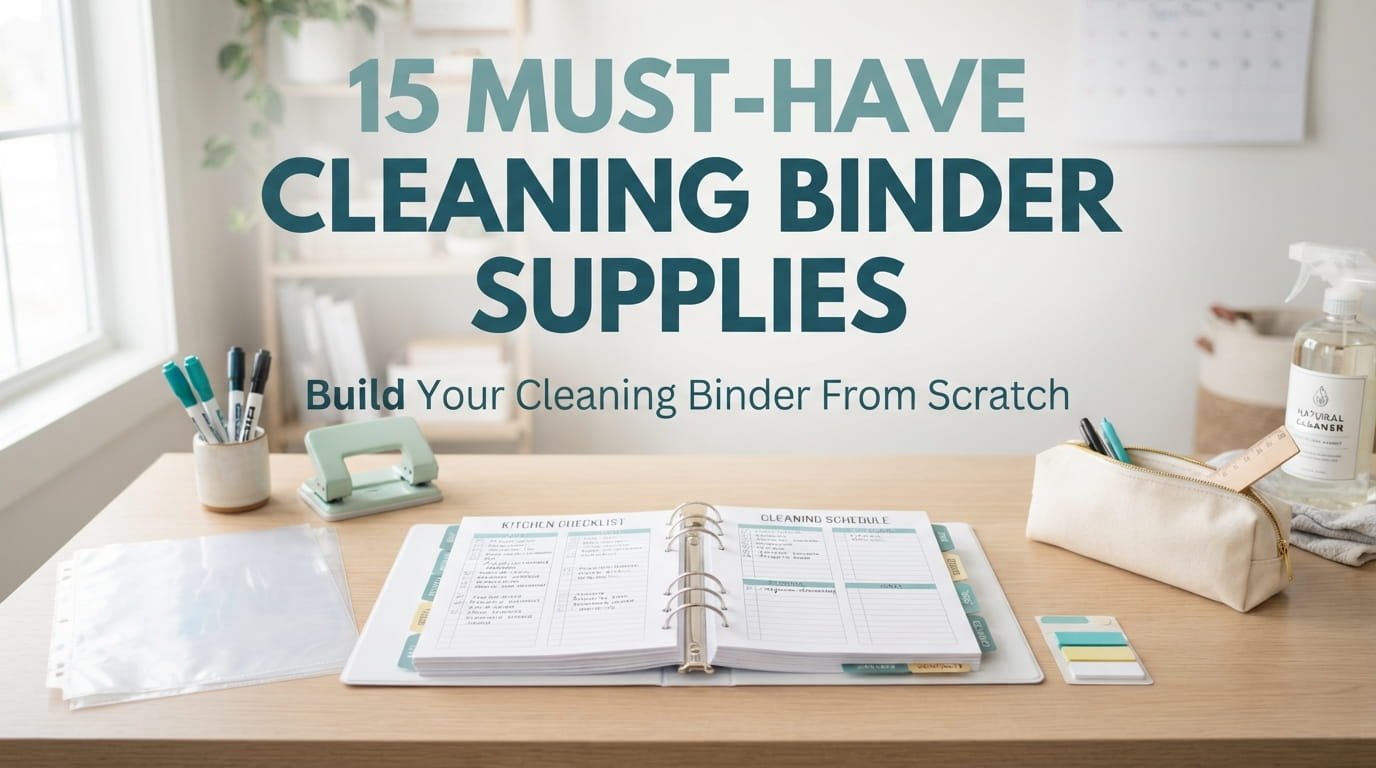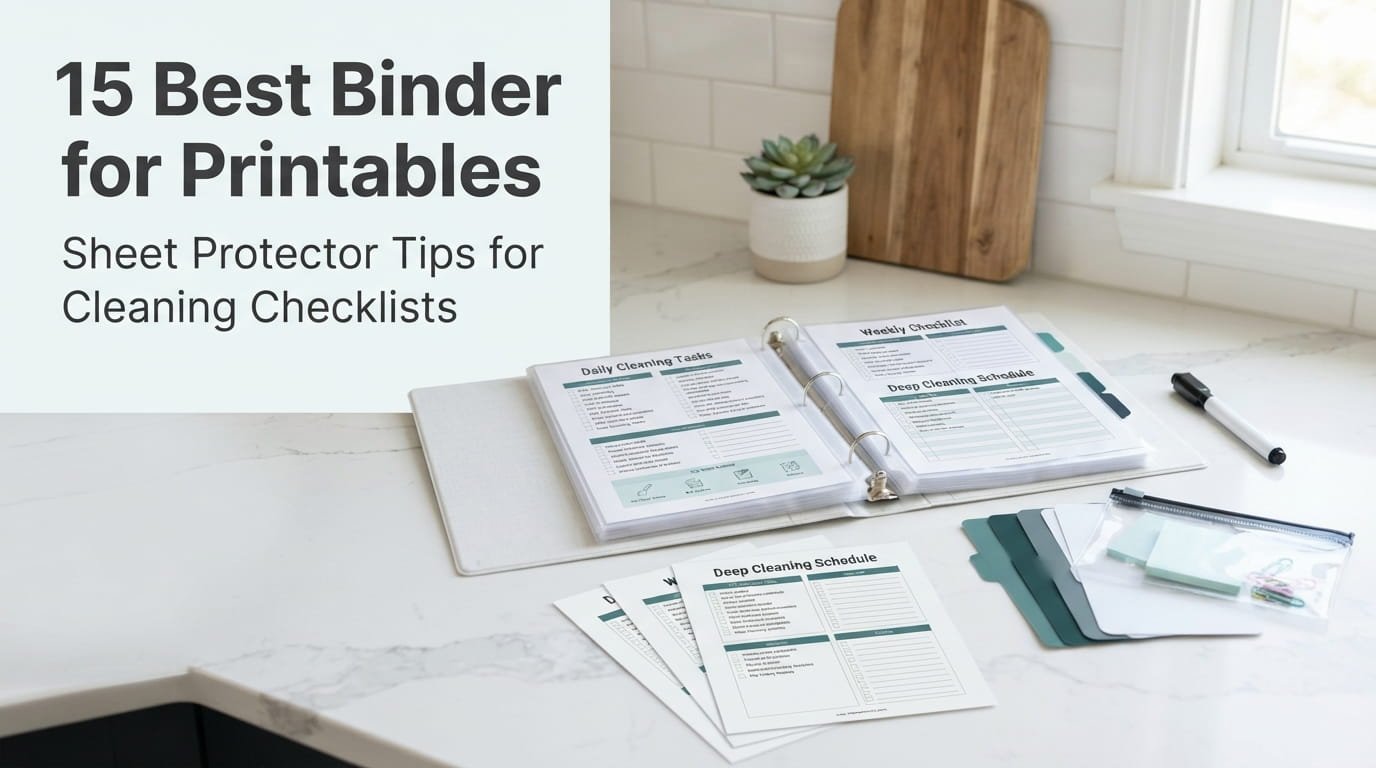
A cleaning binder sounds simple until you actually try to build one, and then it turns into a stack of loose printables shoved into whatever folder was closest. The idea was good. The execution just never quite held together.
Good cleaning binder ideas aren’t really about the checklists inside. They’re about the structure that keeps everything findable, a cover that makes you want to open it, tabs that don’t require flipping through six sections to find the one page you need, pockets that hold this week’s printout without it sliding out and getting lost under the couch.
This list focuses on the binder itself, the parts most guides skip past to get straight to the checklists. Covers, dividers, pockets, paper choice, the small structural decisions that decide whether this thing survives past week two or ends up back in a drawer.
Build it once with a little intention and it stops feeling like a project you have to maintain.
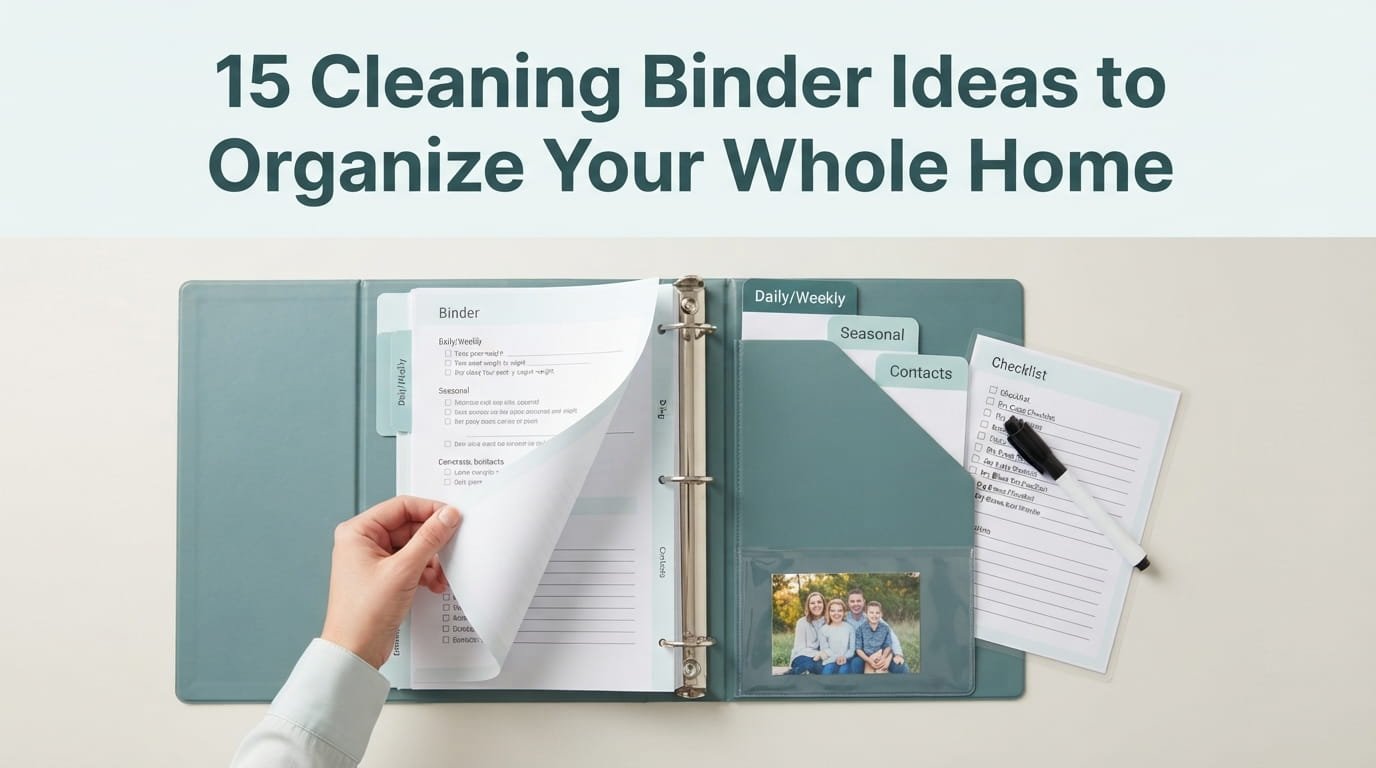
Binder Structure, Ranked by Impact
The checklists inside matter less than these four decisions.
Rings & Paper Weight
95%D-rings and 24lb paper are the #1 reason a binder lasts a year instead of a month.
Tabs & Color-Coding
80%Once your eye learns the colors, you grab the right section without reading a single label.
Front Pocket & Lamination
70%Keeps this week’s page within reach and reusable, instead of reprinted every Sunday.
Cover & Personal Touches
55%Decides whether this sits out on the counter daily or ends up back in a drawer.
1. Choose a Cover That Sets the Tone Before You Even Open It
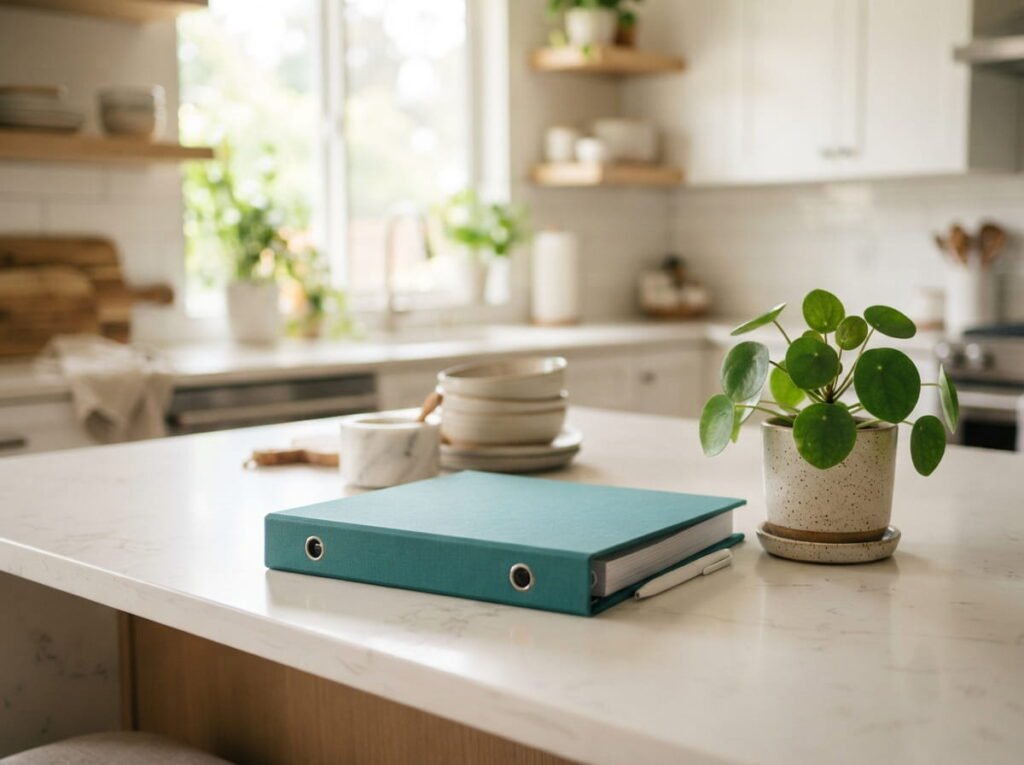
The cover is the first thing that decides whether this binder gets used daily or forgotten on a shelf, so it’s worth more thought than a plain plastic sleeve.
- A photo cover with your own handwriting scanned in for a personal touch
- A solid color matching your kitchen or command center
- A clear sleeve cover you can swap out seasonally without buying a new binder
Whatever you pick, make it something you’d actually want sitting out on the counter.
2. Color Code the Tabs So You Never Flip to the Wrong Section
Five plain tabs labeled by hand all start looking the same after a few weeks of use, especially when you’re grabbing the binder mid-task with wet hands.
A simple color system
Once your eye learns the colors, you stop reading labels entirely and just grab by color instead.
3. Divide by Room Instead of Building One Long Master List
A single master checklist stretching across ten pages sounds thorough, but it means flipping through nine irrelevant pages just to find the bathroom section.
Give each room its own short divided section.
Keep each page to one room, front and back at most.
One long checklist covering the whole house at once.
Mixing kitchen and bathroom tasks on the same page.
4. Add a Clear Front Pocket for Just This Week’s Printable
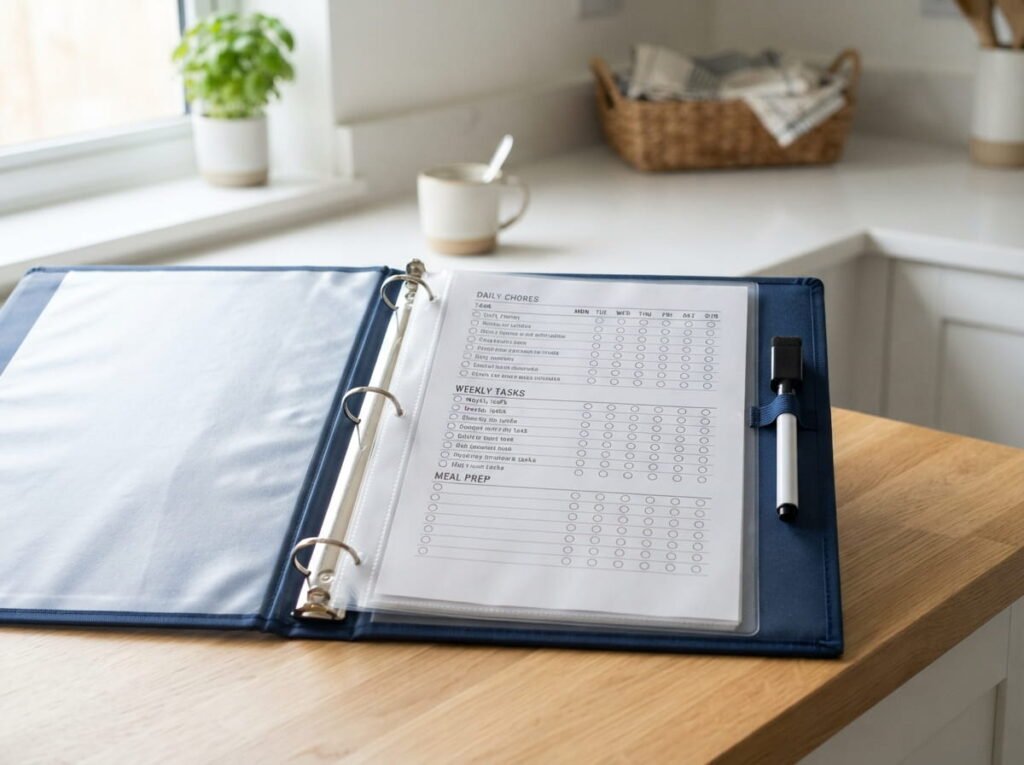
The binder shouldn’t need to open to be useful for the one page you’re actually using right now.
A clear vinyl pocket right inside the front cover holds this week’s active checklist where you can see it without unclipping anything. Swap it out every Sunday during your reset.
💡 Quick Tip
Slide a small dry erase marker into the pocket too. It turns the front page into a checklist you can mark up without printing a fresh copy every week.
5. Laminate the Pages You’ll Reuse With a Dry Erase Marker
Printing the same weekly checklist every single week is a quiet waste of paper and ink that adds up faster than most people notice.
Lamination sheets from a home printer or a local print shop turn any page into something you wipe clean instead of replace.
6. Include a Before Photo Page for the Motivation Boost
Nobody remembers exactly how bad a space looked once it’s clean, which makes it easy to slide back into old habits without noticing.
- Take one photo of the space that bothers you most, right now, no staging
- Print it small and tape it to the inside cover or the first divider
- Replace it once the space genuinely improves, not before
Seeing the actual before photo does more to keep momentum going than any motivational quote ever could.
Photograph the space honestly, mess and all.
Place it somewhere you’ll actually see it.
Swap it only once the space has really changed.
7. Build a Supply Inventory Section With a Sleeve for Receipts
Most cleaning supply tracking lives entirely in someone’s memory, which works fine until that person is out of town and everyone else is guessing.
Loose receipts stuffed in a junk drawer, product amounts tracked from memory.
A plastic sleeve holding receipts behind a simple stock list anyone can check.
Anyone in the house can flip to this section and know exactly what’s running low, without a text asking someone else first.
8. Add a Seasonal Divider That Only Comes Out Four Times a Year

Seasonal tasks get skipped constantly because they’re not part of any regular routine and nobody remembers them until the season’s already half over.
| Spring Section | Fall Section |
|---|---|
| Window screens, gutters, outdoor furniture | Weatherstripping, heating filters, storm prep |
| Closet swap, allergy season prep | Holiday prep, closet swap back |
A dedicated divider means these pages stay tucked away until the season actually calls for them.
9. Keep a Delegate Page for Chores That Belong to Someone Else
The binder shouldn’t just track what needs doing, it should also track who’s actually supposed to be doing it.
A written name next to a task ends the “I thought you had it” conversation before it starts.
This page works best with names, not just tasks, so responsibility is visible instead of assumed.
10. Slide a Sticker Sheet Into the Front Pocket for Visual Progress
A checked box feels good for about two seconds. A sticker somehow feels good for the rest of the day.
- Small dot stickers for quick daily tasks
- Star stickers reserved for anything that took real effort
- A blank column just for stickers, separate from the written checklist
It sounds small, but a physical mark tends to stick with people more than a checkbox ever does.
A simple sticker system
11. Label the Spine So It’s Easy to Grab Without Searching
A binder that looks identical to three other binders on the shelf gets passed over constantly, even when it’s exactly the one you need.
- A printed spine label matching the cover style
- Bold enough text to read from across the room
- The category name only, not a full description that won’t fit anyway
Something this small takes minutes to make and saves you from pulling four wrong binders off the shelf.
12. Choose Rings and Paper Weight That Actually Hold Up to Daily Use

A binder that rips a page every time you flip through it stops getting flipped through at all, no matter how well the sections were planned.
- Pick D-rings over round rings, they hold more pages without warping
- Use 24 pound paper minimum for anything you’ll handle weekly
- Reinforce hole edges on your most used pages with clear tab stickers
The difference is barely noticeable on day one, but it’s the reason a binder either lasts a year or falls apart in a month.
D-rings hold more without the pages warping over time.
Heavier paper survives weekly handling far better than printer default.
Reinforcement stickers cost almost nothing and save your most used pages.
13. Leave a Blank Notes Page Instead of a Pile of Sticky Notes
Sticky notes stuck to random binder pages fall off, curl up, and eventually end up on the floor instead of wherever they were actually useful.
Loose sticky notes scattered across three different pages, half of them missing.
One dedicated notes page at the back, holding every mid-clean thought in one spot.
One page tucked at the very back gives every random thought a permanent home instead of a temporary one.
14. Add a Quick Habit Tracker Sleeve Right at the Front
The habit you’re trying to build shouldn’t be buried behind six other sections you have to dig through first.
A small habit tracker slipped into the very front sleeve, right behind the cover, keeps the one habit you’re actually working on visible every time the binder opens.
💡 Quick Tip
Track just one habit at a time in this spot. Swap it out once it sticks instead of stacking on a second one too early.
15. Finish With a Table of Contents Page So Nothing Gets Buried
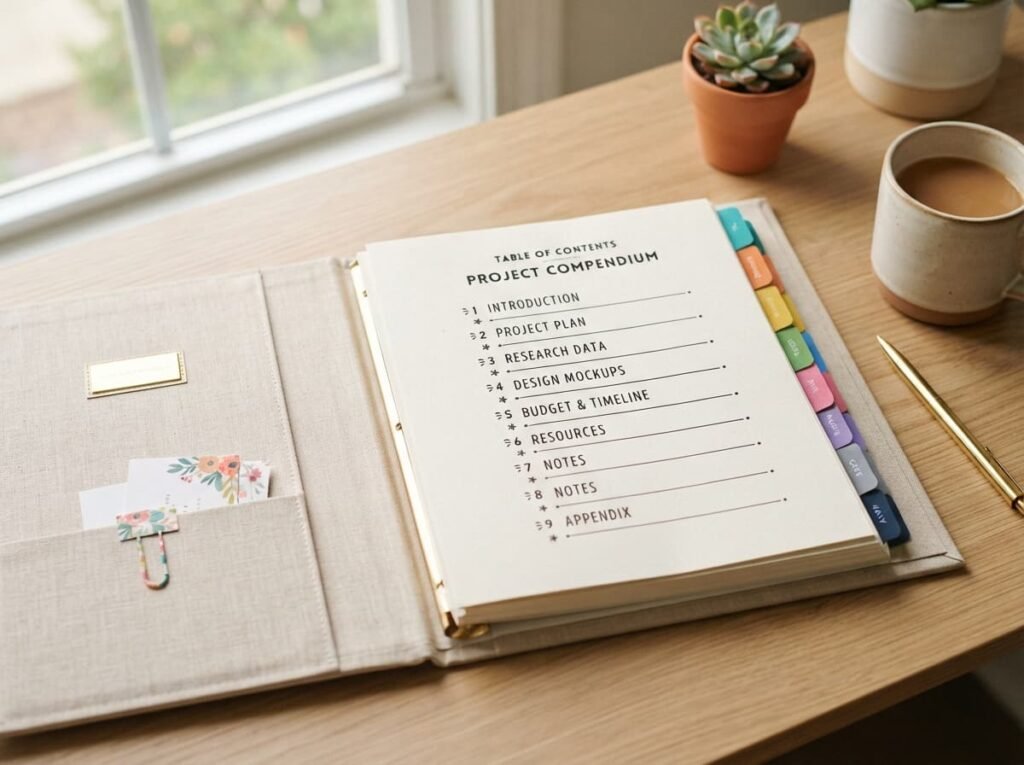
A binder with eight sections and no table of contents means every new task starts with a few minutes of flipping around trying to remember which tab has what.
One page listing every section by name and tab color turns the whole binder from a stack of pages into an actual system you can navigate without thinking.
A binder without a table of contents is just a stack of paper. This one page is what turns it into a system.
Conclusion
The checklists inside a cleaning binder matter, but they’re not what makes the binder actually get used. That comes down to structure, a cover you like looking at, tabs you can grab without thinking, pockets that hold exactly what you need this week. Get the cleaning binder ideas around the container right, and the content inside almost takes care of itself.
Start with just three or four sections instead of all fifteen. Add the rest as you actually need them.
Save this list for the next time you’re ready to build a binder that survives past the first month.