Blinds and curtains are two of the most neglected spots in any home, mostly because nobody agrees on the right way to clean them. Wood blinds can’t get wet. Vinyl ones can be soaked in a tub. Some curtains go straight into the washer while others fall apart if you try. That confusion is exactly why this task gets pushed off for months, sometimes years, at a time.
This guide walks through how to clean blinds by material type first, since that single detail changes everything about the process, then moves into curtains and the fabric specific steps that keep them from shrinking or fraying. Nothing here requires special equipment beyond what’s already in most homes, a bathtub, a vacuum attachment, and a bit of patience for the slower methods.
Because this task gets skipped so often, the difference is dramatic once it’s actually done. Expect to notice dust you didn’t know was there and a room that suddenly feels brighter once the light isn’t filtering through a layer of grime.
1. Figuring Out What Your Blinds Are Made Of Before You Clean Them
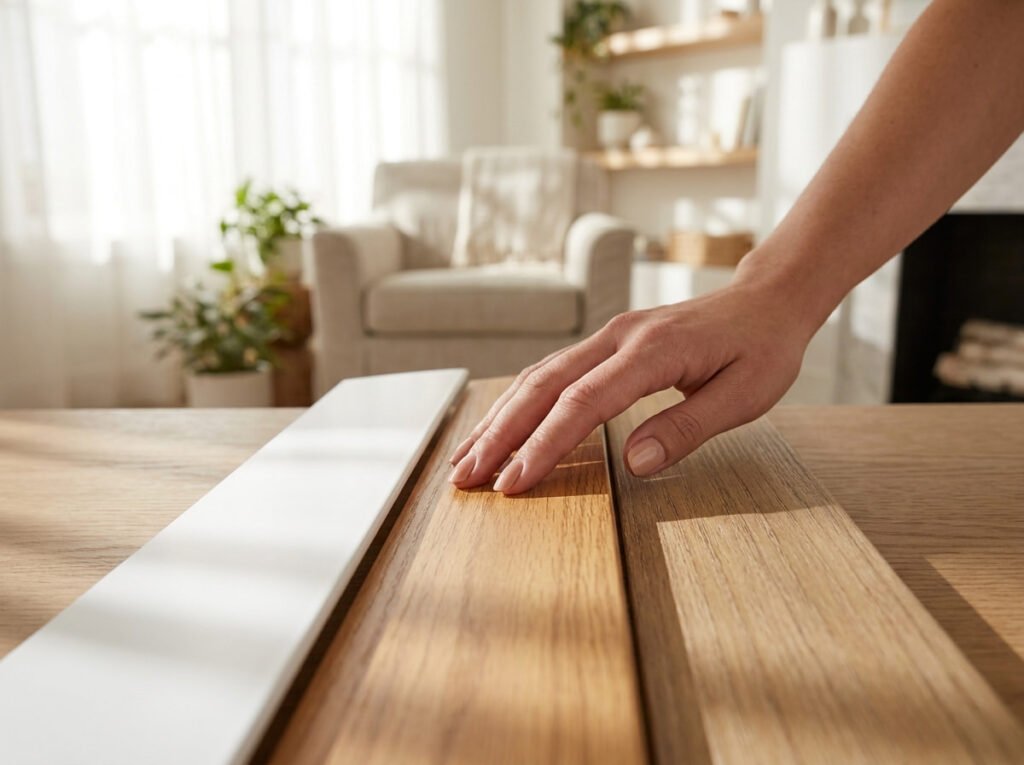
Every cleaning method that follows depends on knowing exactly what material you’re working with, so this step comes first. Vinyl and aluminum blinds can handle water and a full soak. Real wood blinds cannot. Faux wood sits somewhere in between, tolerating a damp cloth but never a soak.
- Vinyl or aluminum: safe for water and full soaking
- Real wood: dust and spot clean only, never wet
- Faux wood: damp cloth is fine, avoid submerging
Check the material before moving to any method below, since using the wrong one can warp or ruin the slats.
2. The Sock and Vinegar Trick for Dusting Between Every Slat Fast
Dusting individual slats one by one with a cloth takes forever and still misses the gaps between them. Slip an old sock over your hand, dip your fingers lightly in a mix of water and vinegar, and run your hand across each slat like you’re wiping with a built in glove.
This method covers both sides of a slat in one motion instead of two separate passes.
💡 Quick Tip
Close the blinds fully in one direction first, dust that side, then flip and repeat on the other.
3. Taking Vinyl Blinds Down for a Full Soak Without Damaging Them
Vinyl and aluminum blinds are the only type that can handle a genuine soak, and taking them off the mounting brackets first makes the whole process far easier. Lay them flat in a bathtub filled with warm water and a mild dish soap, letting them sit for fifteen minutes before wiping each slat clean.
Gray, dusty slats with a visible film across every surface.
Bright, streak free slats that look freshly installed.
4. Why Wood Blinds Should Never Go Anywhere Near Water
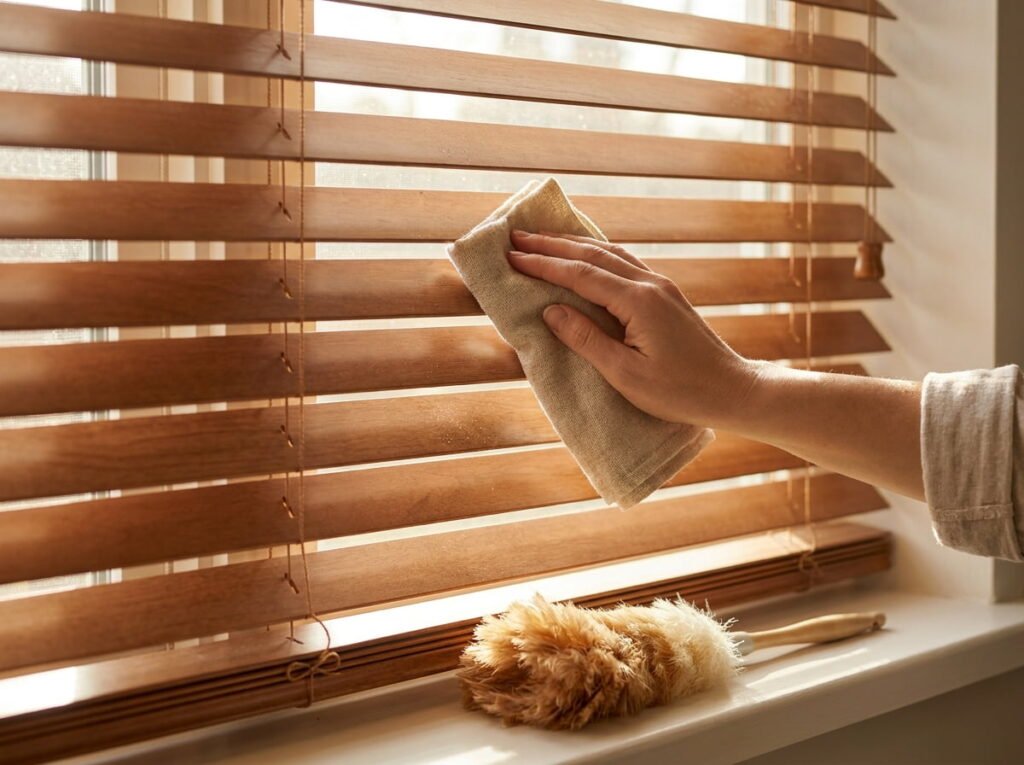
Real wood absorbs moisture in a way plastic and aluminum never do, which means even a light soak can cause warping, swelling, or a finish that starts to peel within days. Stick to dry dusting and spot cleaning with a barely damp cloth wrung out until it’s nearly dry.
Safe methods for wood
5. Cleaning Faux Wood Blinds With a Damp Cloth Instead of a Soak
Faux wood looks like real wood but behaves more like vinyl in small doses, tolerating a damp wipe as long as it’s not fully submerged. A cloth dampened with warm water and a drop of dish soap, wrung out well, handles most buildup without risking the finish.
6. The Bathtub Method for Deep Cleaning a Full Set of Blinds at Once
- Line the tub with an old towel to prevent scratches on the surface
- Lay vinyl or aluminum blinds flat and fill with warm soapy water
- Let them soak fifteen minutes, then wipe each slat before rinsing
Draining and rinsing right in the tub means no dripping mess across the house afterward.
Line the tub with an old towel to prevent scratches on the surface.
Lay the blinds flat and fill the tub with warm, soapy water.
Let them soak fifteen minutes, then wipe each slat before rinsing.
7. Vacuuming Cellular and Honeycomb Shades Without Crushing the Pleats
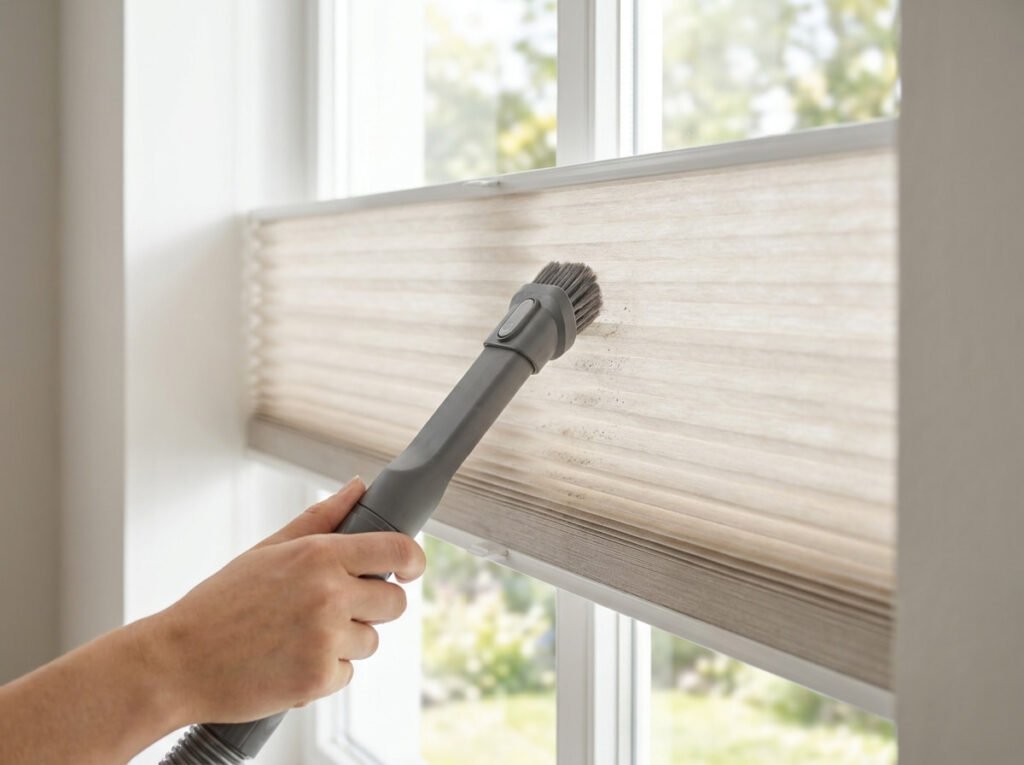
Cellular shades trap dust inside their folded pleats in a way flat blinds never do, and pressing too hard with a regular attachment can flatten the structure permanently. A soft brush attachment on the lowest suction setting, moved gently along each pleat, pulls dust out without collapsing the shape.
Use the soft brush attachment on low suction.
Move gently along the pleats, not across them.
Pressing the nozzle directly into the folds.
Using high suction that can flatten the pleats.
8. Sorting Curtains Into Machine Washable and Dry Clean Only
Not every curtain fabric survives a washing machine, and the care tag is the only reliable way to know before you start. Cotton and polyester blends usually wash fine, while silk, velvet, and heavily lined curtains often need dry cleaning instead.
| Machine Washable | Dry Clean Only |
|---|---|
| Cotton and polyester blends | Silk and velvet |
| Basic lined panels | Heavily lined or structured curtains |
9. The Gentle Cycle Settings That Keep Curtains From Shrinking
Even machine washable curtains can shrink or lose shape if they’re run through a standard cycle at full speed and heat. Cold water, the gentle or delicate cycle, and a mild detergent protect fabric from the wear a normal wash cycle causes.
Cold water and the gentle cycle protect fabric that hot water and full speed will damage.
10. Hand Washing Delicate or Sheer Curtains in the Bathtub
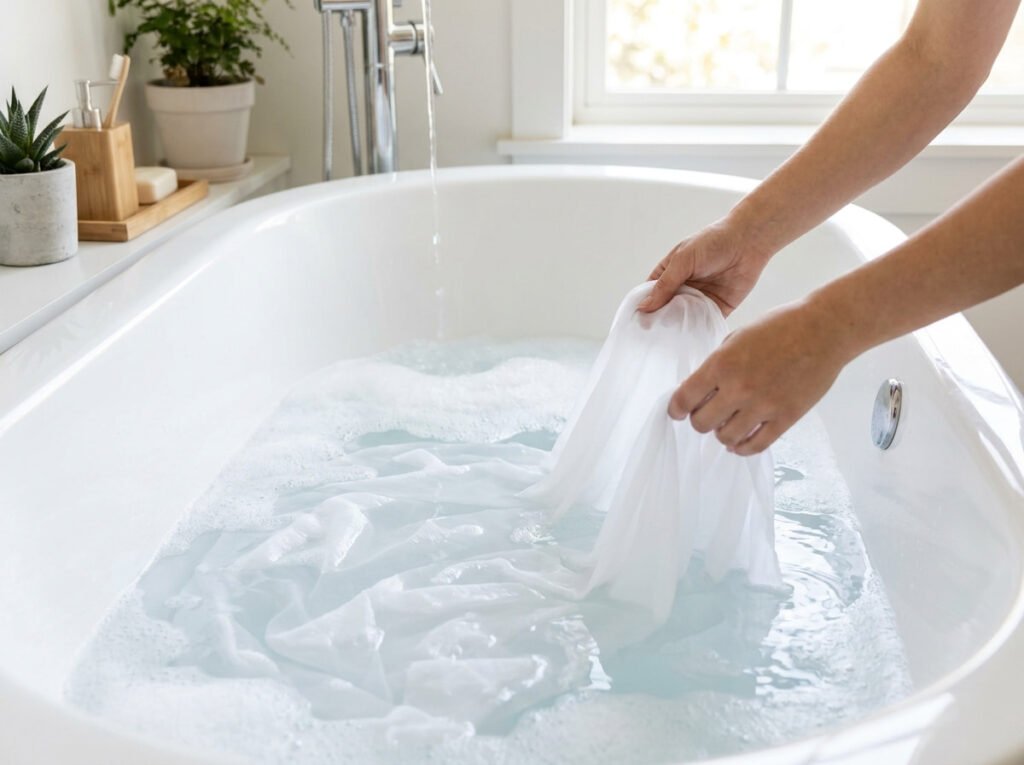
Sheer curtains snag easily in a machine and often come out with runs or tears that weren’t there before. Filling the tub with cool water and a small amount of mild detergent, then gently swishing the fabric by hand, cleans without the friction a machine creates.
- ▸Fill the tub with cool water and a mild detergent.
- ▸Gently swish the fabric by hand, no wringing.
- ▸Rinse thoroughly and let excess water drip out.
11. Steaming Curtains on the Rod Instead of Taking Them Down
Taking curtains down for every clean isn’t always necessary, especially for wrinkles and light dust rather than deep grime. A handheld garment steamer run down the fabric while it’s still hanging smooths wrinkles and loosens surface dust without the hassle of removing and rehanging panels.
12. Drying Curtains the Right Way So They Don’t Need Reironing
Tossing wet curtains into a hot dryer is the fastest way to end up with wrinkles that take twice as long to iron out afterward. Hanging them back on the rod while still slightly damp lets gravity pull out most wrinkles naturally as they finish drying.
💡 Quick Tip
Rehang curtains while they’re still damp so their own weight smooths out most of the wrinkles.
13. Cleaning the Dust That Collects on Top of the Curtain Rod Itself
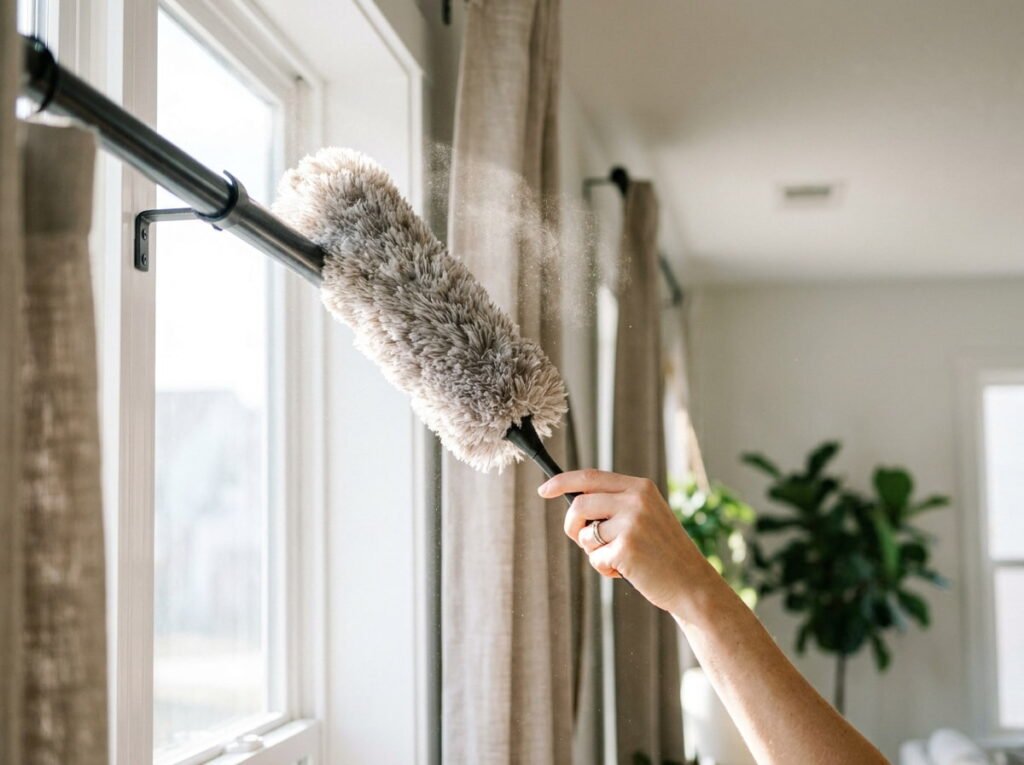
Everyone focuses on the fabric and forgets the hardware holding it up, but curtain rods collect a visible layer of dust along the top edge that’s easy to spot once you actually look. A quick pass with a microfiber duster or a damp cloth clears it in under a minute per window.
A visible gray line of dust running along the top of the rod.
A clean rod that no longer sheds dust onto fresh curtains.
14. Spot Treating Stains on Blinds or Curtains Before a Full Wash
A single stain doesn’t always mean the whole item needs a full wash right away, and treating it early prevents it from setting permanently. Dab, don’t rub, a mild stain remover onto the spot and let it sit for a few minutes before blotting with a clean cloth.
Before you treat a stain
15. Setting a Realistic Schedule So This Doesn’t Become a Once a Decade Job

The reason blinds and curtains get this dirty in the first place is that nobody schedules them the way they schedule other cleaning tasks. A quick dust monthly, paired with a full wash or soak twice a year, keeps this from ever reaching the level of grime that makes the job feel dreadful.
Conclusion
Learning how to clean blinds and curtains properly comes down to one simple rule: match the method to the material, and don’t treat every window covering the same way. Vinyl can soak, wood can’t, and most curtains just need the right cycle and a little patience instead of a full dry cleaning bill.
Once you’ve worked through the steps here, this stops being a task you dread and becomes something you maintain with a quick monthly pass. The difference in how much brighter a room feels afterward is usually enough motivation to keep it on a real schedule going forward.
Save this list for the next time your blinds and curtains need more than a quick dusting.