Most people treat mattress cleaning like a project that needs an entire weekend, so it never actually happens. The truth is you can get a real deep clean done in about half an hour, using the time your baking soda needs to sit as a built in break instead of dead time.
Learning how to deep clean a mattress doesn’t require special equipment or a long list of products. It comes down to doing the right steps in the right order, treating stains before they set deeper, and using your wait time wisely instead of standing around watching baking soda do its job.
This walkthrough moves fast on purpose. Strip, vacuum, treat, powder, wait, finish. By the time you’re done, your mattress will smell noticeably fresher and look better than it has in months, and you’ll have used every minute of that thirty without wasting any of it.
1. Strip Everything Off the Mattress First, Sheets and All
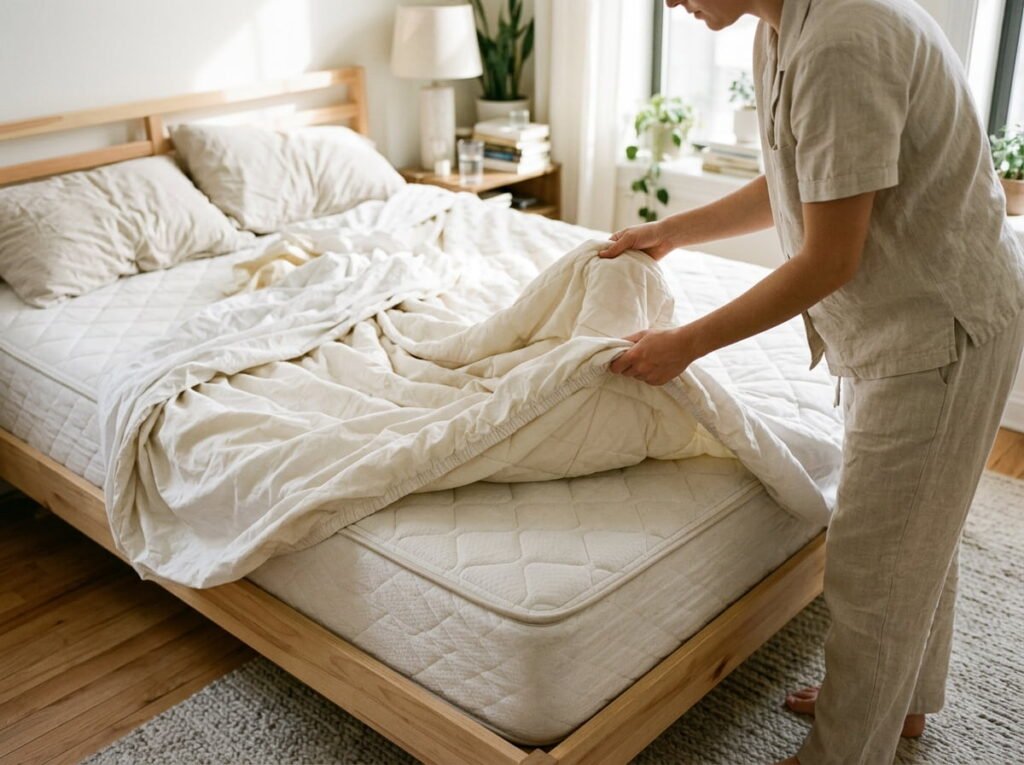
Nothing else on this list works if there’s still fabric between you and the mattress surface. Pull off sheets, the mattress protector, and any pillow covers before touching anything else.
Toss it all straight into the wash so it’s already moving while you work.
2. Vacuum the Entire Surface With an Upholstery Attachment
Dust, skin flakes, and pet hair settle into a mattress surface constantly, and vacuuming now means the baking soda later actually touches the fabric instead of a layer of debris.
- Attach the upholstery or crevice tool to your vacuum
- Work in slow, overlapping passes across the whole top surface
- Go over the sides and seams where debris tends to collect
Attach the upholstery or crevice tool to your vacuum.
Work in slow, overlapping passes across the whole top surface.
Go over the sides and seams where debris tends to collect.
3. Check for Stains Before You Apply Anything
Different stains need different treatment, and applying baking soda over a stain without addressing it first just means you’re covering the problem instead of fixing it.
Identify the stain type before choosing a treatment.
Treat stains before moving on to the baking soda step.
Applying the same treatment to every stain regardless of type.
Covering a stain with baking soda hoping it’ll just disappear.
4. Treat Protein Based Stains With Cold Water First
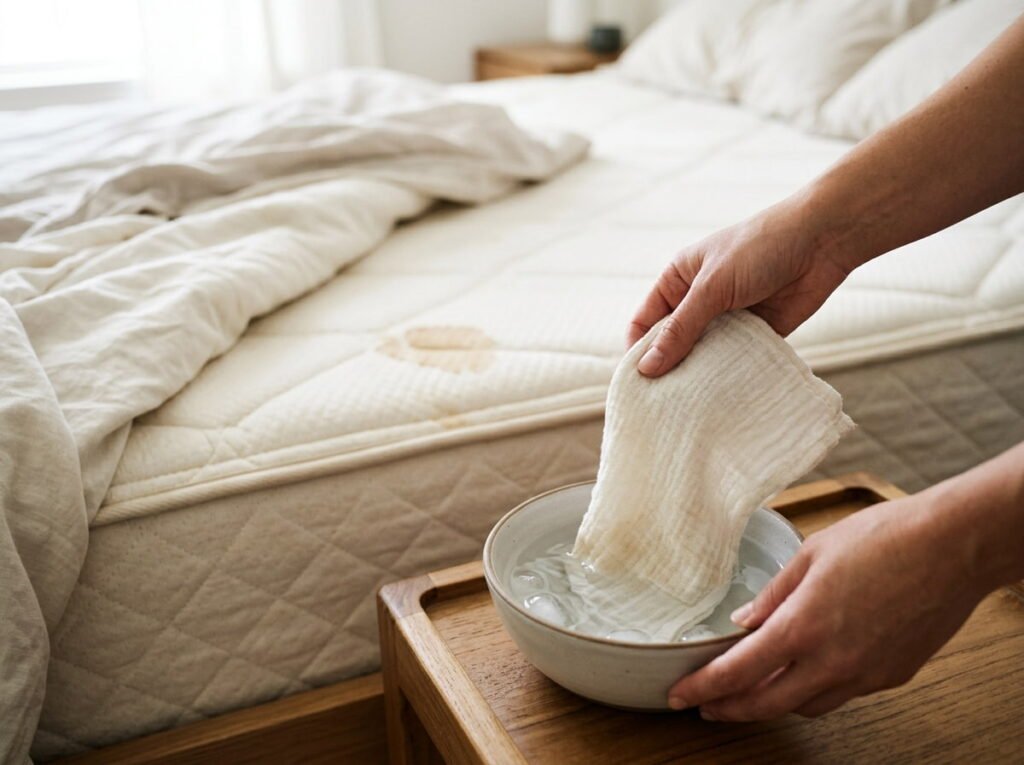
Hot water actually sets protein based stains like sweat deeper into the fabric instead of lifting them out, which is the opposite of what you’re trying to do.
💡 Quick Tip
Blot with a cold, damp cloth first. A small amount of dish soap mixed in helps lift the stain further.
5. Make a Simple Baking Soda Mixture for Odor Control
Plain baking soda handles most odor issues on its own, and adding a few drops of essential oil gives it a light scent without overwhelming the mattress in fragrance.
6. Sprinkle the Mixture Evenly Across the Entire Surface
Corners and edges tend to get skipped in the rush to cover the middle, but odor collects in those spots just as much as anywhere else on the mattress.
Work through the whole surface with these in mind:
What to cover
7. Let the Baking Soda Sit for the Full Time It Needs
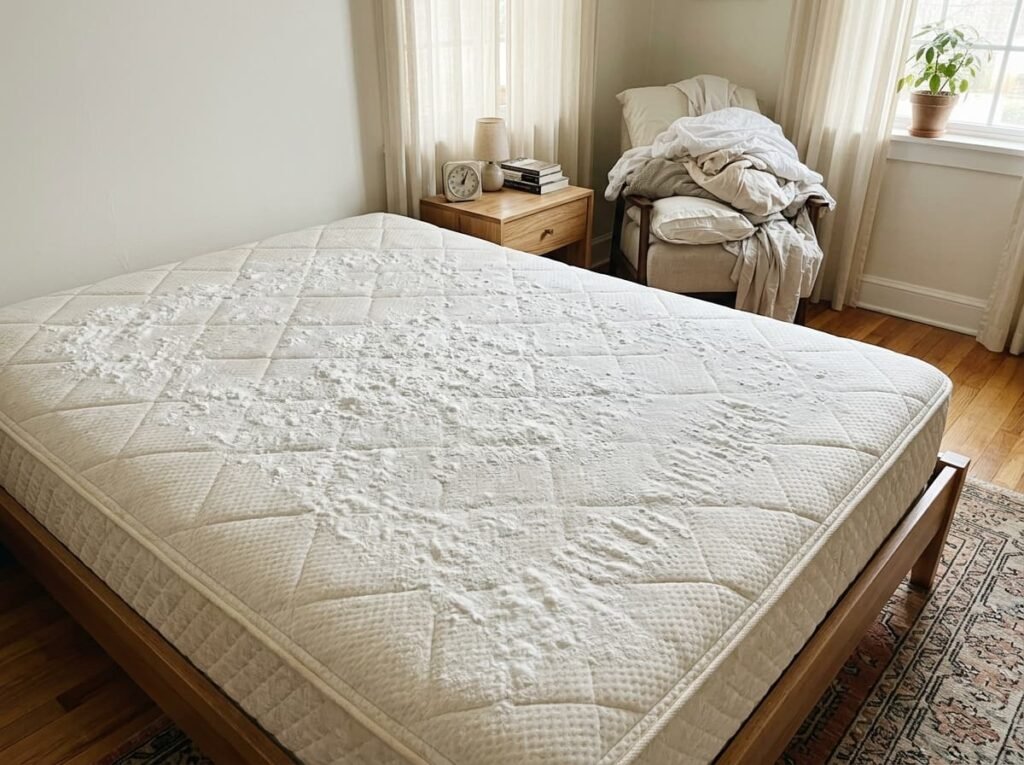
Rushing this step is the single fastest way to undo the whole process, since baking soda needs real contact time to actually pull odor and moisture out of the fabric.
Fifteen minutes of sitting time does more work than any amount of extra baking soda.
8. Use the Extra Time to Flip and Air Out Your Pillows
This is exactly the kind of task that fits perfectly into a wait you’d otherwise spend standing around watching the clock.
- Pull pillows out of their cases while the mattress rests
- Fluff and flip them to let trapped air circulate
- Set them near an open window if one’s available
Pull pillows out of their cases while the mattress rests.
Fluff and flip them to let trapped air circulate.
Set them near an open window if one’s available.
9. Vacuum the Baking Soda Off Thoroughly
Any powder left behind in seams or piping will end up on your sheets the moment you put them back on, which defeats a good chunk of the point of this whole process.
A visible white film sitting across the mattress surface.
A completely clean surface with the odor absorbed and removed.
10. Spot Check the Mattress Cover or Protector While It’s Exposed
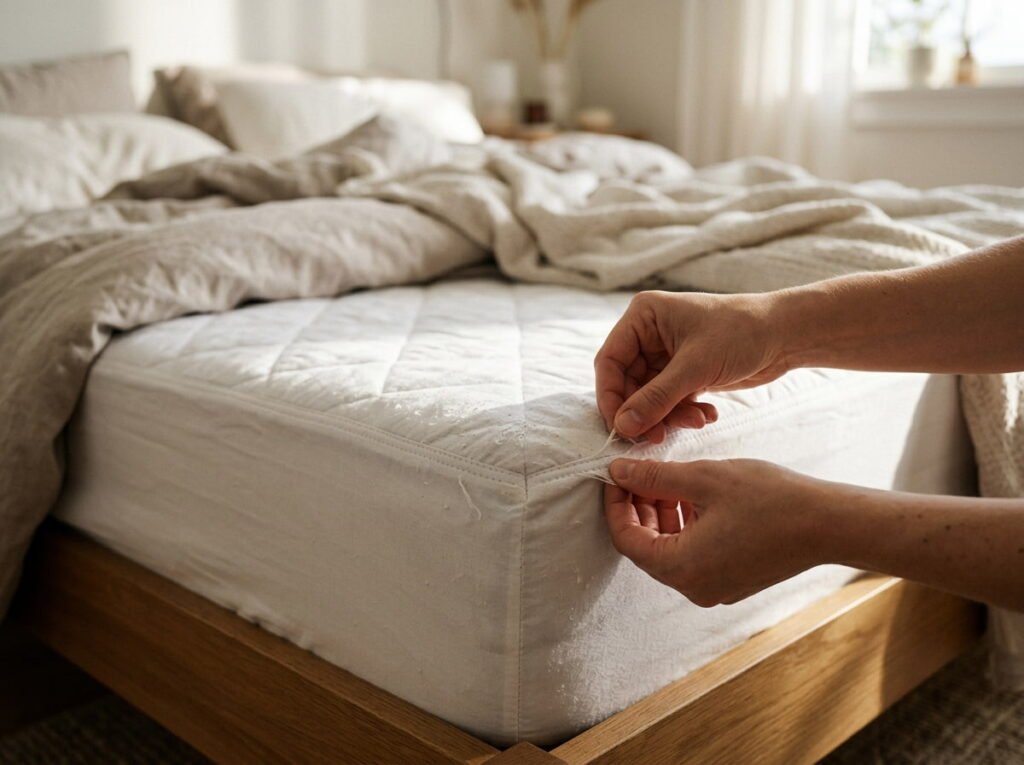
With everything already stripped off, this is the easiest moment all year to actually notice thinning fabric or a seam starting to pull apart.
| Sign to Watch For | What It Means |
|---|---|
| Thin or worn fabric patches. | The protector is due for a replacement soon. |
| A seam starting to separate. | Replace it before the gap gets bigger. |
11. Wipe Down the Mattress Edges With a Slightly Damp Cloth
The trim and piping around the edges get skipped almost every time someone cleans a mattress, even though hands and feet touch that border constantly.
12. Let the Mattress Fully Air Dry Before Redressing It
Skipping this step traps whatever moisture is left right back inside the mattress, undoing the drying benefit of everything you just did.
⚠️ Watch Out
Even a slightly damp edge from wiping needs a few minutes of open air before sheets go back on.
13. Open a Window or Run a Fan to Speed Up Drying Time
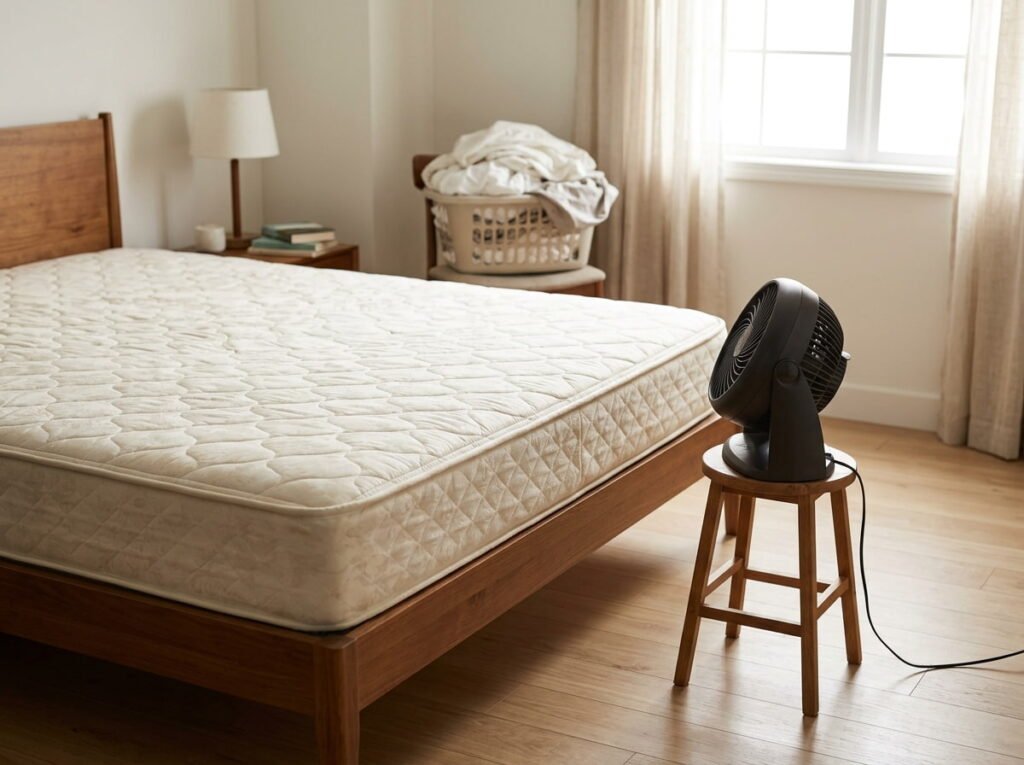
A little airflow cuts the wait significantly, especially if the room tends to hold humidity or you’re working in a smaller bedroom.
14. Wash Your Mattress Protector While the Mattress Airs Out
The load you started back at step one has probably finished by now, which makes this the perfect moment to swap it into the dryer instead of letting it sit.
- Move the wash load into the dryer once it’s done
- Use this stretch to tidy the nightstands or nearby surfaces
- Check back on the mattress once the dryer cycle finishes
Move the wash load into the dryer once it’s done.
Use this stretch to tidy the nightstands or nearby surfaces.
Check back on the mattress once the dryer cycle finishes.
15. Rotate or Flip the Mattress If Your Model Allows It
With the mattress already bare, this is the easiest moment all year to rotate it, since you’d otherwise have to strip everything off separately just for this one task.
Check your manual first to confirm your mattress allows rotating.
Rotate head to foot if it’s one sided.
Flipping a mattress that’s built to only face one way.
Skipping this step just because it takes an extra minute.
16. Put a Fresh Mattress Protector on Before the Sheets
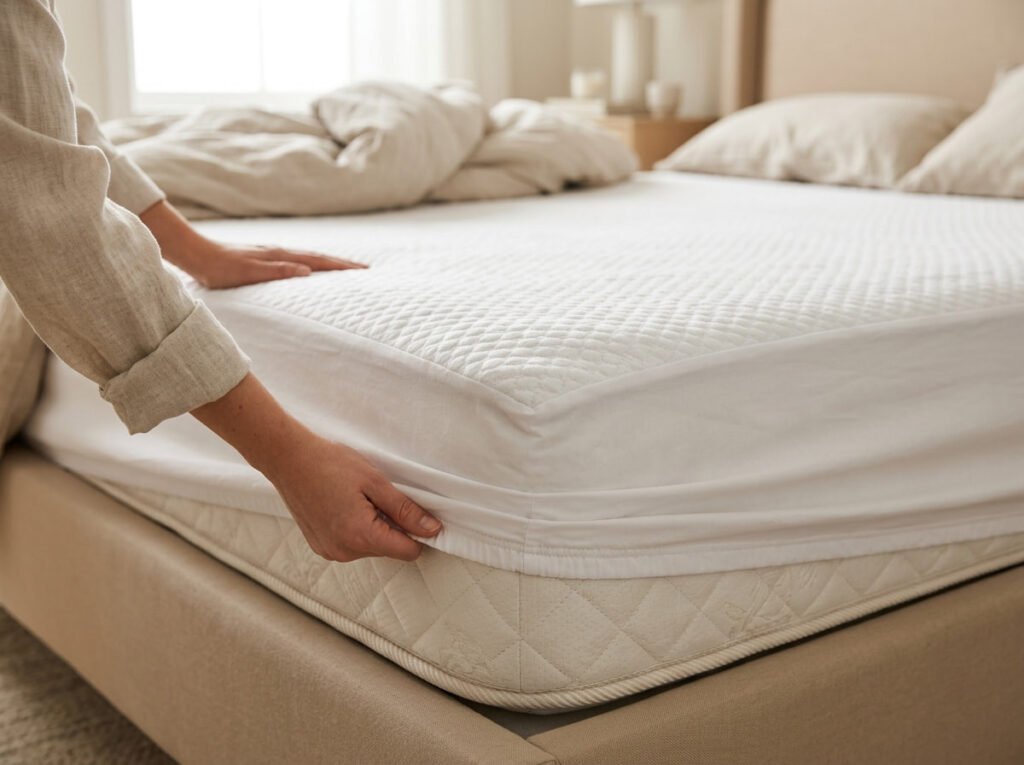
This is the layer people forget to replace, even though it’s the one doing the most work to protect the mattress from everything you just spent thirty minutes cleaning off.
Grab these before you start redressing the bed:
What to check
17. Remake the Bed With Clean Sheets
This is the satisfying part, the moment where thirty minutes of work actually turns into a bed that looks and smells noticeably different from where you started.
A stripped, slightly worn looking mattress mid process.
A freshly made bed that smells and feels noticeably cleaner.
18. Set a Reminder for Your Next Deep Clean

Without something on the calendar, this tends to become a once every few years task instead of the regular habit it should actually be.
Conclusion
Thirty minutes is genuinely all it takes once you know the order things should happen in. Strip, vacuum, treat, powder, wait, finish, and the waiting time never actually goes to waste since there’s always something else worth doing while the baking soda sits.
Learning how to deep clean a mattress this way turns a task people put off for years into something you can knock out on an ordinary Saturday morning without disrupting the rest of your day. The difference shows up the moment you lie down that night.
Save this list for the next time your mattress needs some real attention, and you’ll have it done before you’d normally even finish deciding to start.