Baseboards get overlooked until the gray film is so obvious you can’t unsee it every time you walk into the room. By then, a quick wipe barely makes a dent, and the usual all purpose spray just moves the grime around instead of lifting it.
Learning how to clean baseboards properly isn’t complicated, but it does take more than a damp rag dragged along once a month. Dust builds up in a way that’s different from most surfaces, clinging to the top edge and packing into corners where a regular cloth never quite reaches.
This list covers the specific tools and methods that actually get baseboards white again, plus a few habits that keep them from sliding back into gray within weeks. Some of these take two minutes. Others are worth doing once and then forgetting about for months. Start with whatever’s bothering you most right now.
1. Why Baseboards Turn Gray Faster Than Any Other Painted Surface
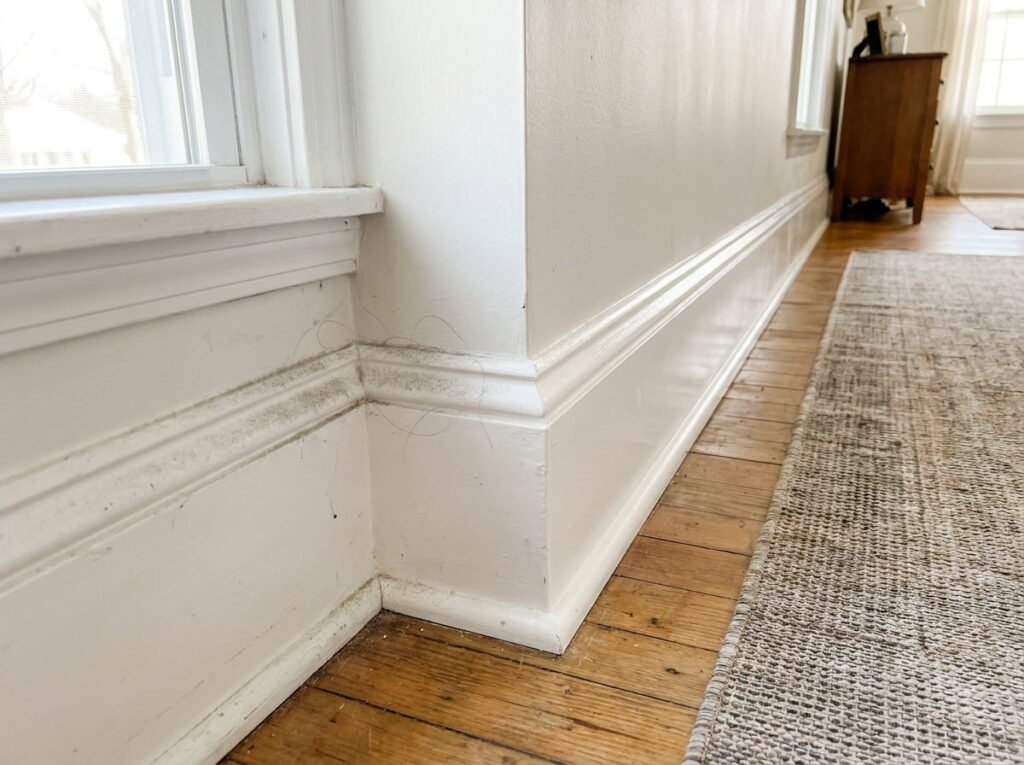
Baseboards sit right at floor level, catching dust kicked up by foot traffic, pet hair, and static that pulls debris straight to the surface.
Baseboards collect dust faster than walls because they sit exactly where floor dust settles and static pulls it in.
Understanding why they get dirty this fast makes the rest of this list make a lot more sense, especially the prevention habits near the end.
2. The Dry Dusting Pass That Has to Happen Before Any Liquid Touches the Baseboard
Skipping straight to a wet cloth turns loose dust into a muddy paste that’s harder to remove than the dust ever was on its own.
💡 Quick Tip
Run a dry microfiber cloth or a vacuum brush attachment along the whole baseboard first. Never start with a wet cloth on dusty baseboards.
This one dry pass cuts your actual cleaning time down significantly, since you’re not fighting mud paste on the second pass.
3. The Dish Soap and Warm Water Mix That Handles Most Everyday Grime
Most baseboard grime isn’t stubborn at all, just built up gradually, which means a simple mix usually handles it without anything stronger.
Drying immediately after matters more than people expect, since leftover moisture along paint seams can cause peeling over time.
4. Using a Dryer Sheet on Baseboards to Cut Dust and Repel It Longer
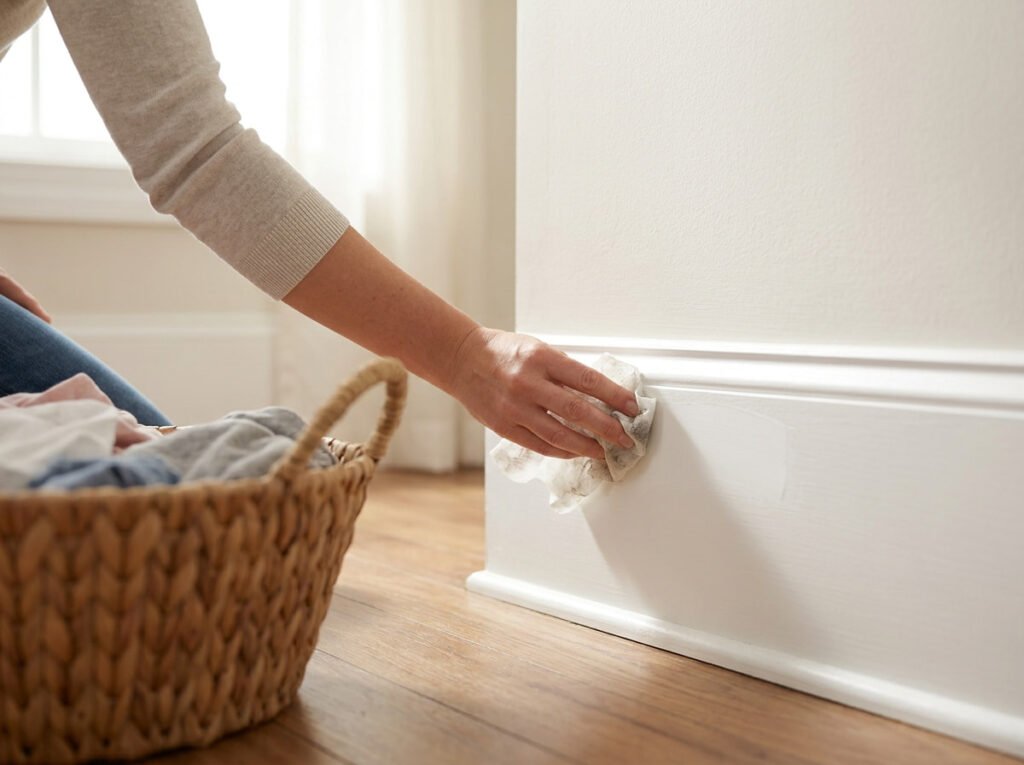
A used dryer sheet still carries a light coating that helps repel dust after cleaning, which makes it worth keeping around for exactly this purpose.
📌 Good To Know
Wipe clean, dry baseboards with a used dryer sheet after your regular clean. The slight residue it leaves behind slows down how fast dust resettles.
This works best as a final step after the baseboard is already clean and dry, not as a substitute for actually washing it.
5. The Melamine Sponge Trick for Scuff Marks That Regular Cleaner Won’t Touch
Shoe scuffs and drag marks near doorways often shrug off dish soap entirely, sitting there no matter how many times you wipe over them.
Test a small hidden section first, since melamine sponges are mildly abrasive and can dull a very glossy finish if you press too hard.
6. Cleaning the Top Edge Where Dust Actually Builds Up the Fastest
The flat top edge of a baseboard collects more dust than the front face ever does, simply because it’s a horizontal surface facing upward.
Run a dry cloth along the top edge first, since this is where dust piles up thickest.
Follow with a lightly damp cloth to lift whatever the dry pass left behind.
Move to the front face only after the top edge is fully clean.
Cleaning top to bottom in this order keeps dust from the edge falling and resettling on a section you already finished.
7. Why a Toothbrush Beats a Rag for Baseboard Corners and Tight Joints
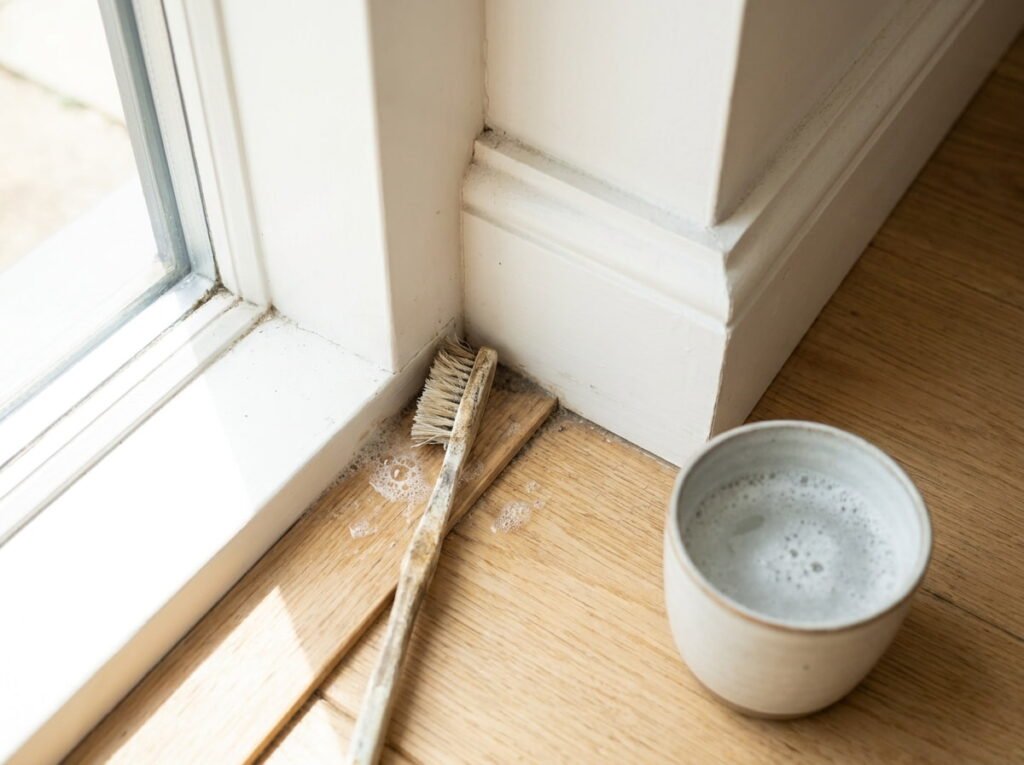
A cloth simply can’t bend into the tight angle where two baseboard pieces meet, which is exactly where grime tends to pack in the hardest.
💡 Quick Tip
Dip an old toothbrush in your soapy water mix and work it into corner joints and any decorative grooves along the baseboard.
Keep a designated toothbrush just for this job, separate from anything used elsewhere, so it’s always within reach for future cleanings.
8. Getting Pet Hair Off Baseboards Without It Just Sticking to a Damp Cloth
Pet hair clings to baseboards with static, and a damp cloth often just smears it around instead of actually picking it up.
Use a dry rubber glove or a vacuum brush attachment first.
Follow with a damp cloth only after the loose hair is gone.
Don’t start with a wet cloth on baseboards covered in pet hair.
Don’t skip the dry step even if it feels like an extra task.
A slightly damp rubber glove run along the baseboard works especially well, since the rubber grabs hair static cloth just pushes around.
9. The Vinegar Solution That Works on Painted Baseboards Without Dulling Them
Vinegar cuts through grime effectively, but full strength vinegar can leave a dull haze on painted surfaces if it’s not diluted properly.
The plain water wipe at the end removes any lingering vinegar residue that could otherwise dull a glossy paint finish over time.
10. Cleaning Baseboards in a Kitchen Where Grease Splatter Is the Real Problem
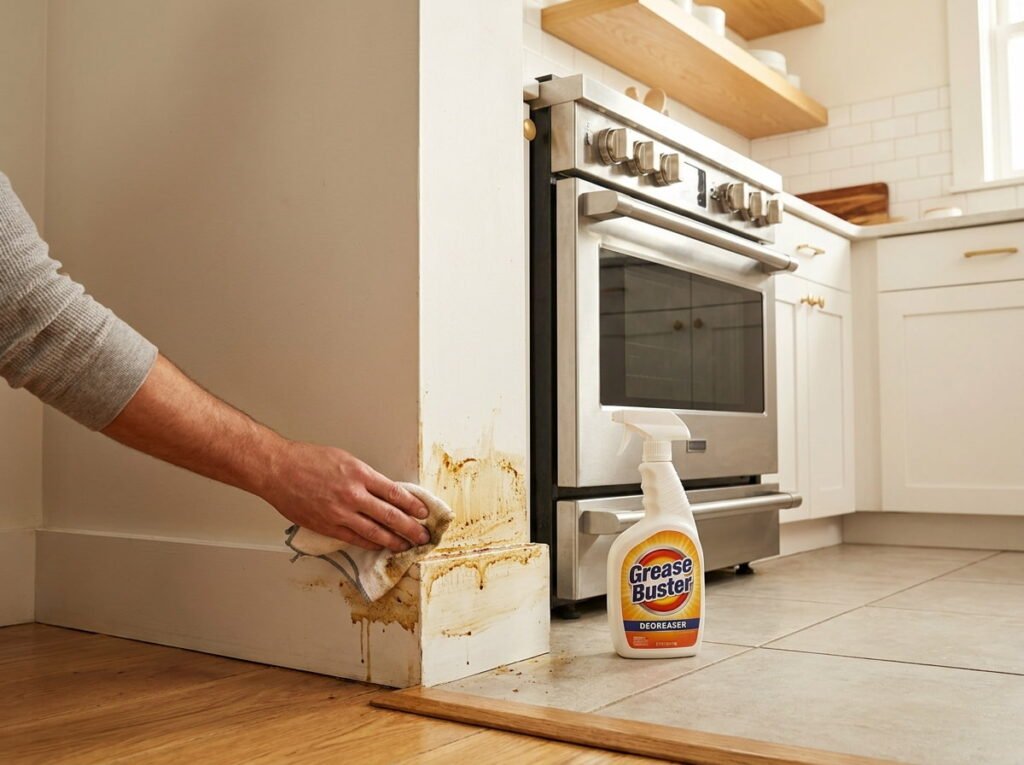
Kitchen baseboards deal with a specific kind of grime, airborne grease from cooking, that a basic soap and water mix sometimes struggles to fully break down.
Kitchen baseboard checklist
Kitchen baseboards usually need this treatment more often than other rooms, roughly every few weeks instead of monthly.
11. Why Bathroom Baseboards Need a Different Approach Than the Rest of the House
Bathroom baseboards deal with humidity and splashed water in a way no other room does, which means mold and mildew are a real possibility, not just dust.
Check for any dark spots that could be early mold before wiping.
Dry the baseboard thoroughly after cleaning, not just wipe it wet.
Don’t ignore small dark spots hoping they’ll go away on their own.
Don’t leave the baseboard damp after cleaning in a humid bathroom.
Bathroom baseboards near the tub or shower deserve a quick check every time you clean the bathroom itself, not just during a deep clean.
12. The Magic Eraser Mistake That Can Actually Strip Paint Off Baseboards
Melamine sponges work well on scuffs, but people often assume more pressure means better results, and that assumption is what actually causes the damage.
⚠️ Watch Out
Pressing hard with a melamine sponge on flat or matte paint can strip a thin layer of finish along with the scuff, leaving a dull patch behind.
Use light pressure and short passes, checking the spot after each pass rather than scrubbing continuously in one place.
13. Getting Into Baseboard Grooves and Detail Work With a Small Paintbrush
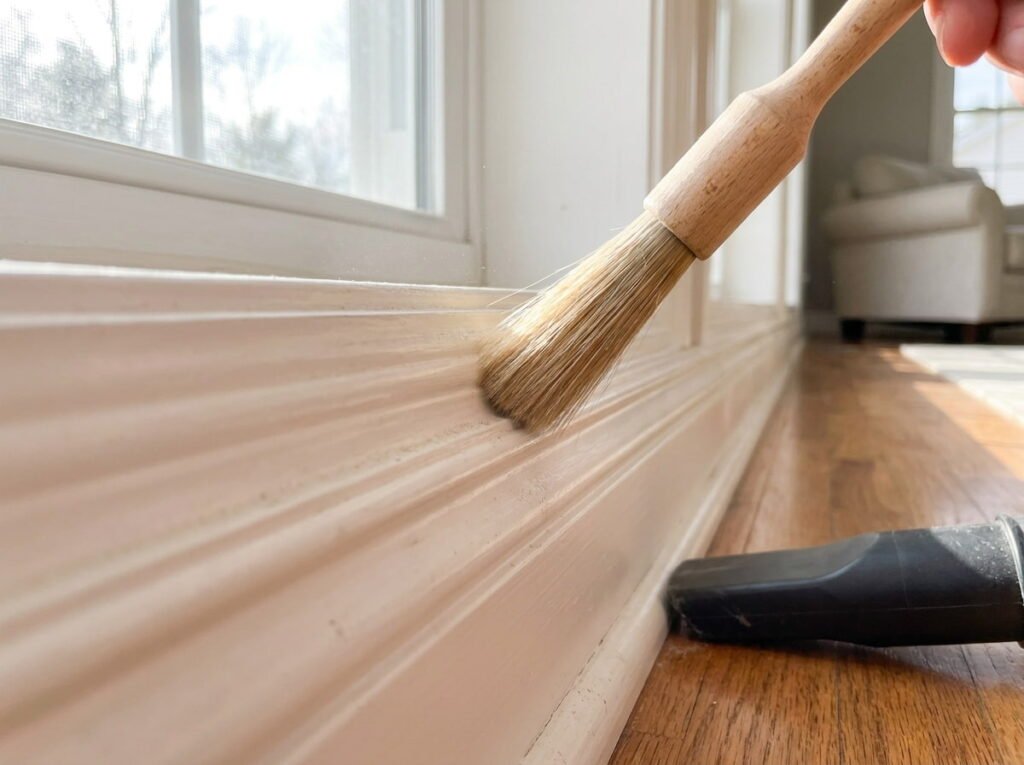
Decorative baseboards with grooves or raised trim trap dust in places a cloth simply glides right over without ever touching.
Use a small, dry paintbrush to sweep dust out of grooves and details.
Vacuum immediately after to catch what the brush loosened.
Follow with a lightly damp cloth over the same detail work.
A cheap one inch paintbrush kept in your cleaning caddy does more for detailed trim than any cloth ever will.
14. Wood Baseboards vs Painted Baseboards, Why the Cleaning Method Changes
Not every baseboard is the same material, and using the wrong approach can damage a wood finish that a painted surface would handle just fine.
| Painted Baseboards | Wood Baseboards |
|---|---|
| Handles damp cloths and mild soap well | Needs a barely damp cloth to avoid warping |
| Melamine sponges safe on most finishes | Skip abrasive sponges, use wood polish instead |
If you’re not sure which type you have, test any new method on a small hidden section before treating the whole room.
15. The Vacuum Attachment That Cuts Dusting Time Down Before You Even Wipe
A crevice or brush attachment on your vacuum can handle most of the loose dust in a fraction of the time a hand dusting pass would take.
Hand dusting a whole room’s baseboards, slow and easy to miss spots.
A quick vacuum pass with a brush attachment, faster and more thorough.
Run the vacuum along the whole baseboard before wiping, and the wet cleaning step afterward goes noticeably faster.
16. Why Cleaning Baseboards Before Mopping Saves You From Doing the Floor Twice
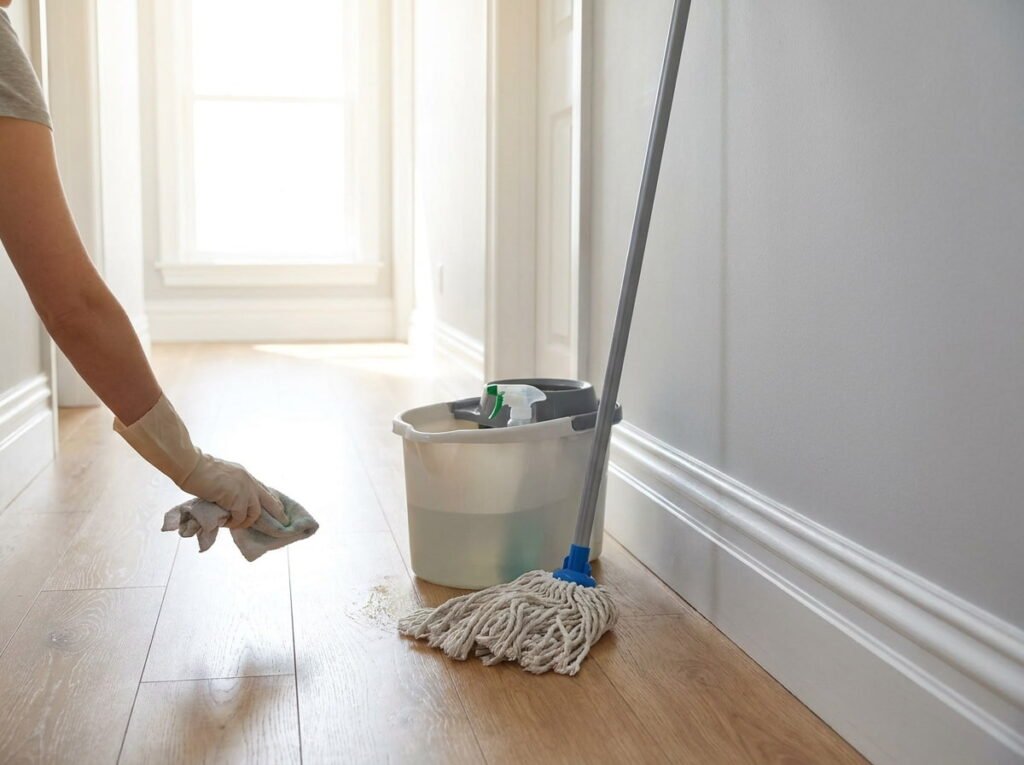
Mopping first and cleaning baseboards after means dust and grime from the baseboard falls right back onto the floor you just finished.
💡 Quick Tip
Always clean baseboards before you mop, never after. Whatever falls during baseboard cleaning gets swept up in the mopping that follows.
This one order change means you never have to mop the same floor twice in a single cleaning session.
17. A Simple Trick for Reaching Behind Furniture Without Moving Everything Out
Baseboards behind a couch or dresser often get skipped entirely, since moving heavy furniture out of the way feels like too much effort for a quick clean.
- Slide a long handled duster or a yardstick wrapped in a cloth into the gap
- Angle a flashlight to check how much buildup is actually back there
- Move furniture out fully only once or twice a year for a proper deep clean
- ▸Slide a long handled duster or wrapped yardstick into the gap.
- ▸Angle a flashlight to see how much buildup is actually there.
- ▸Move furniture out fully only once or twice a year for a full clean.
This trick handles the worst of it between the rare occasions you actually pull furniture away from the wall.
18. Touching Up Scuffed Paint After Cleaning So Baseboards Look Freshly Done
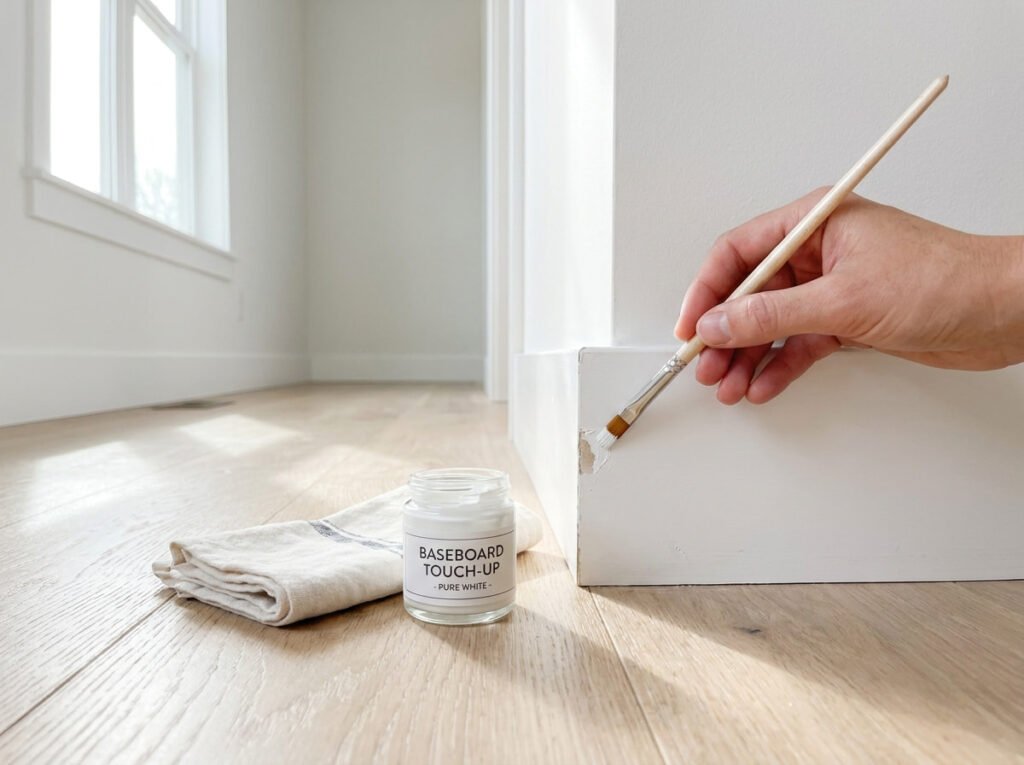
A clean baseboard with chipped or scuffed paint underneath still looks worn, even though the grime itself is completely gone.
Clean baseboards with visible paint chips near doorways and corners.
A quick touch up coat that makes the whole baseboard look freshly painted.
Keep a small labeled jar of your baseboard paint color on hand specifically for these quick touch ups after a deep clean.
19. The Weekly Micro Habit That Keeps Baseboards From Ever Needing a Deep Clean Again
A baseboard that gets a light pass every week never has the chance to build up the thick gray film that takes real effort to remove later.
A two minute dry dusting pass once a week prevents the buildup that turns baseboard cleaning into a real chore.
Attach this to a habit you already do weekly, like vacuuming, so it becomes automatic instead of one more thing to remember.
20. Setting a Room by Room Rotation So the Whole House Gets Done Without One Long Day
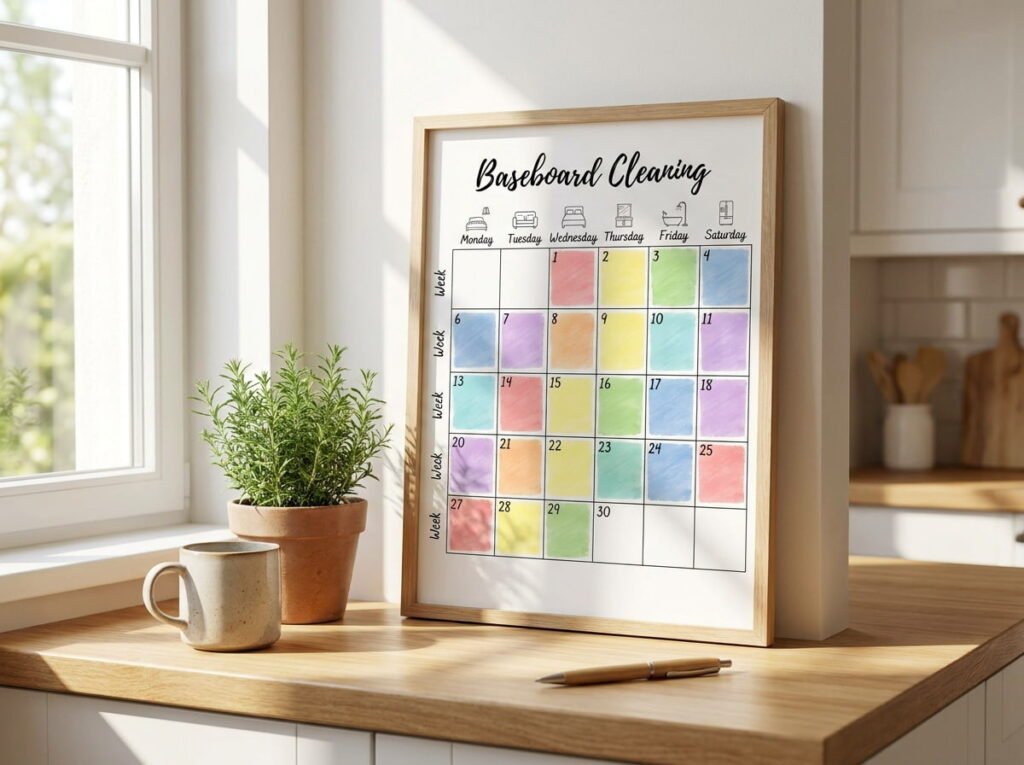
Trying to deep clean every baseboard in the house on the same day usually means the project gets abandoned halfway through.
Spreading it across three or four weeks means each session takes twenty minutes instead of an entire exhausting afternoon.
Conclusion
Learning how to clean baseboards properly comes down to a few simple habits: dust before you wet clean, work top to bottom, and match your method to the material you’re actually working with. None of it takes special tools or hours of scrubbing once you know the right order to do things in.
The real payoff comes from the weekly micro habit more than any single deep clean. A quick dry pass now and then means you’ll rarely face that thick gray buildup again. Small and consistent beats one exhausting session every time.
Save this list for the next time your baseboards need a little attention.