
Most cleaning routines skip the same spots every single week. The tops of cabinets. The washer drum. The dust behind the fridge that’s been building for months. You vacuum, wipe the counters, and feel done, then two weeks later you notice none of that buildup ever actually left. Regular tidying keeps a house looking fine on the surface, but a real reset means going room by room and catching what daily habits always miss.
That’s what a whole house deep clean room by room actually looks like. It’s not one giant weekend of chaos, but a room by room list you can work through at your own pace, one task at a time. Some rooms take twenty minutes. Others need an hour and a good playlist.
This list breaks the whole house into specific, doable jobs, kitchen, bathroom, bedroom, laundry room, and beyond, so nothing gets forgotten and nothing feels overwhelming. Pick a room, pick a task, and start there.
5 Stops on the Whole-House Deep Clean Tour
Kitchen
Grease drifts further than you think
Fridge coils, cabinet fronts, and the oven interior all need their own separate pass.
Bathroom
The vent hides more than the grout
Gray grout lines and a dust-packed exhaust fan housing both need more than a quick wipe.
Bedroom & Closet
What’s under the sheets and shelves
The mattress and every closet shelf collect dust nobody notices until they’re stripped bare.
Living Room
Between the cushions and behind the desk
Couch gaps and tangled cable dust both hide way more than a quick vacuum ever catches.
Laundry, Garage & Beyond
The corners that quietly pile up
The washer drum, the entry mat, and that one garage corner all need their own reset too.
1. Pull the Fridge Out and Attack the Dust Behind It
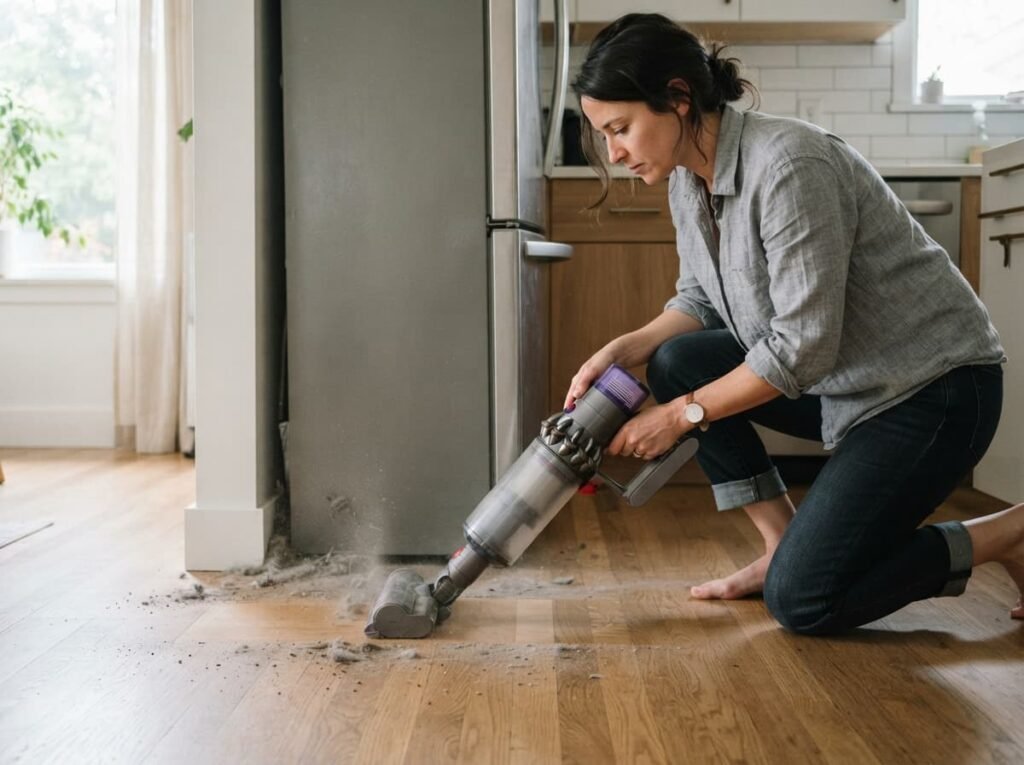
Most people clean everywhere except behind the fridge. That gap collects dust bunnies, dropped crumbs, and enough buildup to change the color of your floor if you let it go long enough.
- Unplug the fridge before you move it
- Pull it away from the wall and vacuum the floor underneath
- Vacuum the condenser coils on the back, they’re the main dust magnet
- Wipe down the wall while it’s exposed
Clogged coils make the compressor work harder, so this is one cleaning job that quietly lowers your energy bill too.
2. Get the Grout Lines Actually White Again
Grout looks fine until you really look at it. It’s clearly more gray than white, and mopping never fixes that because the dirt isn’t on the surface, it’s soaked into the grout itself.
- Mix baking soda with a little water into a thick paste
- Work it into the lines with an old toothbrush
- Let it sit for ten minutes
- Rinse, then go back over any stubborn spots with a bit of hydrogen peroxide on top of the paste
💡 Quick Tip
Once the grout is actually clean, seal it. A grout sealer takes about ten minutes to apply and keeps the color from sinking back in for months.
3. Flip, Vacuum, and Deodorize the Mattress You Never Touch
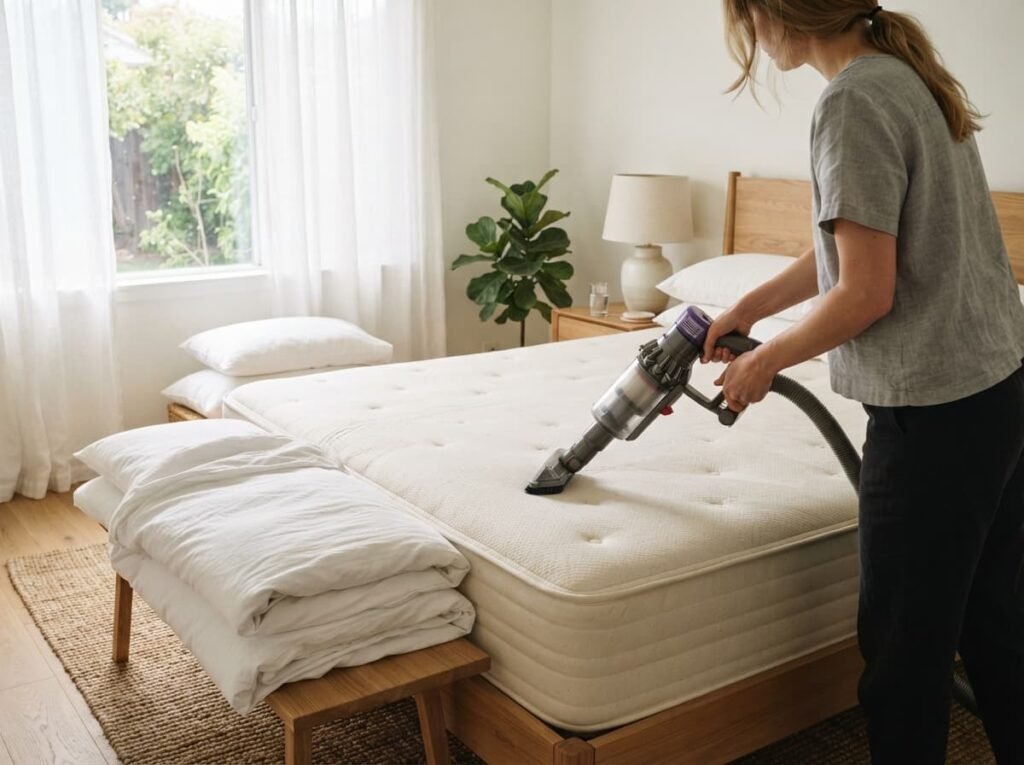
Right now, under your sheets, there’s a mattress that hasn’t been vacuumed since the day you bought it. For most people that’s not an exaggeration.
- Strip the bed down to the bare mattress
- Vacuum the whole surface with the upholstery attachment, especially the seams
- Sprinkle baking soda across the top and let it sit for thirty minutes or longer
- Vacuum the baking soda back up
- Flip or rotate the mattress before the sheets go back on
Flat, dusty, and holding onto months of skin cells and old sweat.
Deodorized, rotated, and wearing evenly instead of sagging in one spot.
4. Unzip the Couch Cushions and Clean What’s Underneath
Pull every cushion off the couch and check what’s living underneath first. Crumbs, coins, and a shocking amount of pet hair usually turn up in that gap between the cushions and the frame.
Unzip the cushion covers if they have zippers and wash them separately, following the care tag. Vacuum the frame and any exposed fabric, then spot treat visible stains with a fabric-safe cleaner.
Skip the water entirely if the tag says dry clean only. Wet foam underneath a cushion can warp and take days to dry out.
Blot a fresh stain, never rub, or it spreads into the fibers around it.
Test any cleaner on a hidden spot first, like the back of a cushion.
Work from the outer edge of the stain inward so it doesn’t grow.
5. Run a Cleaning Cycle Through the Washer Itself
A lot of people assume the washing machine cleans itself since it’s full of soap and water all day. It doesn’t. Detergent residue, fabric softener buildup, and trapped moisture turn the drum and rubber gasket into a breeding ground for mildew, which is usually why clean clothes come out smelling faintly sour.
Run an empty hot water cycle with a cup of white vinegar or a washer cleaning tablet, then wipe down the rubber gasket by hand since that’s where grime hides the most.
Leave the door open between loads so the drum can actually dry out.
Run an empty hot cycle with vinegar once a month.
Wipe the rubber gasket dry after every load.
Assuming soap and water keep the drum clean on its own.
Leaving wet clothes sitting in a closed washer overnight.
6. Wash the Mat and Scrub the Shoe Grime Off the Floor
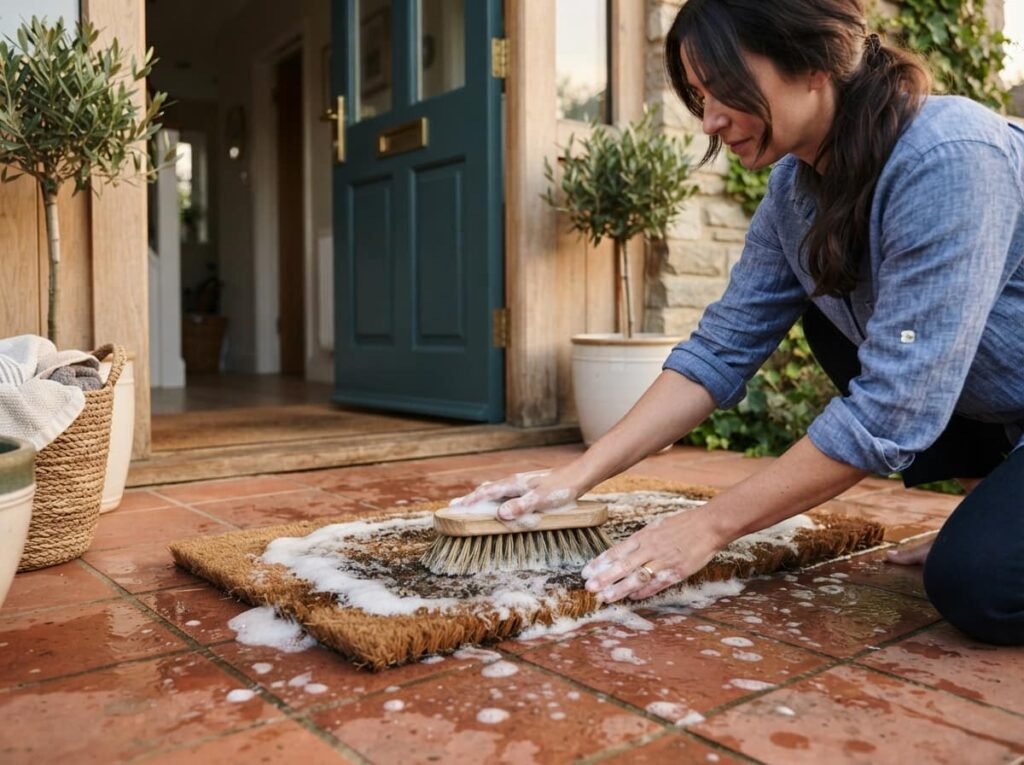
Every pair of shoes that walks through your door drops dirt, salt, and de-icer residue onto that mat before anyone notices it happening.
- Vacuum both sides of the mat, not just the top
- Hose it down or run it through the wash if the tag allows
- Scrub the floor underneath with a stiff brush and degreaser while the mat dries
That grimy square under the mat usually holds months of buildup the mat itself never caught.
What to grab first
7. Untangle the Cables and Vacuum the Dust They’re Hiding
Behind most desks there’s a tangle of cords disappearing into a layer of dust thick enough to see from across the room.
- Unplug everything you safely can
- Wipe the desk legs, floor, and power strip with a dry cloth
- Group cords with velcro ties or a cable sleeve before plugging back in
Dust settles fastest around anything that runs warm, like chargers and power strips, so give those a second pass before calling it done.
8. Sanitize the Toy Bin Nobody Ever Empties
The bottom of the toy bin is where crumbs, sticky fingerprints, and mystery stains go to live, usually for months at a time.
- Dump everything out and sort as you go
- Wipe hard plastic pieces with a diluted disinfectant
- Run anything machine washable through a gentle cycle inside a mesh bag
Let everything dry completely before it goes back in, especially anything with a battery compartment tucked inside.
💡 Quick Tip
Wipe the empty bin itself with soapy water before anything goes back in. It collects as much grime as the toys do.
9. Degrease the Cabinet Fronts Above the Stove
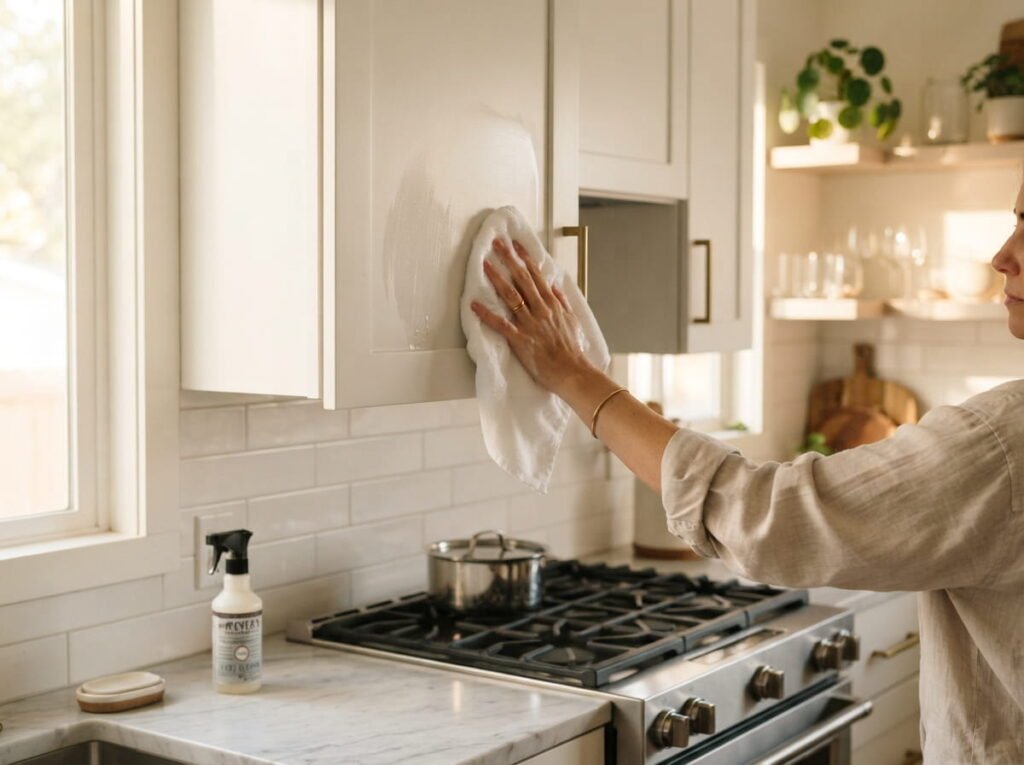
Grease doesn’t stay near the stove, it drifts, which is why cabinet fronts two feet away still feel tacky to the touch even when they look clean.
Mix warm water with a few drops of dish soap, since dish soap is built to cut grease on contact. Wipe in the direction of the wood grain if your cabinets are wood, then dry immediately so water doesn’t sit in the seams.
For stubborn buildup right above the stove, let a baking soda paste sit for five minutes before wiping.
Dish soap cuts grease better than most all-purpose sprays. Save the fancy cleaner for everything else.
10. Scrub the Exhaust Fan Vent Everyone Forgets
A quick wipe of the vent cover looks like enough, but the real dust is packed inside the fan housing, and it’s usually been recirculating through the room for months.
Turn off the power at the breaker before touching anything, unscrew the cover, and vacuum the blades directly. Wash the cover in warm soapy water and let it dry fully before screwing it back on.
Skip this step and airflow keeps dropping even after everything else in the bathroom is spotless.
| Quick Wipe | Real Deep Clean |
|---|---|
| Wipes the visible cover only | Removes cover and vacuums the housing |
| Leaves dust packed against the blades | Restores full airflow and quiets the fan |
11. Sweep, Bag, and Reset the Corner That Became a Dumping Ground
Every garage has one. A corner where things get set down “just for now” and then live there for a year. Old paint cans, tangled extension cords, a box you meant to donate months ago.
Pull everything out of that corner and sort into three piles: keep, donate, toss. Sweep the bare floor, since garage dust is often gritty enough to scratch anything set back down on it. Only return items you’ll actually use again.
Anything leaking, expired, or unlabeled goes straight to proper disposal, not back on the shelf.
A pile of stuff nobody wants to deal with, growing a little more each month.
Swept floor, sorted shelves, and one less spot you avoid looking at.
12. Wash the Tracks, Not Just the Glass
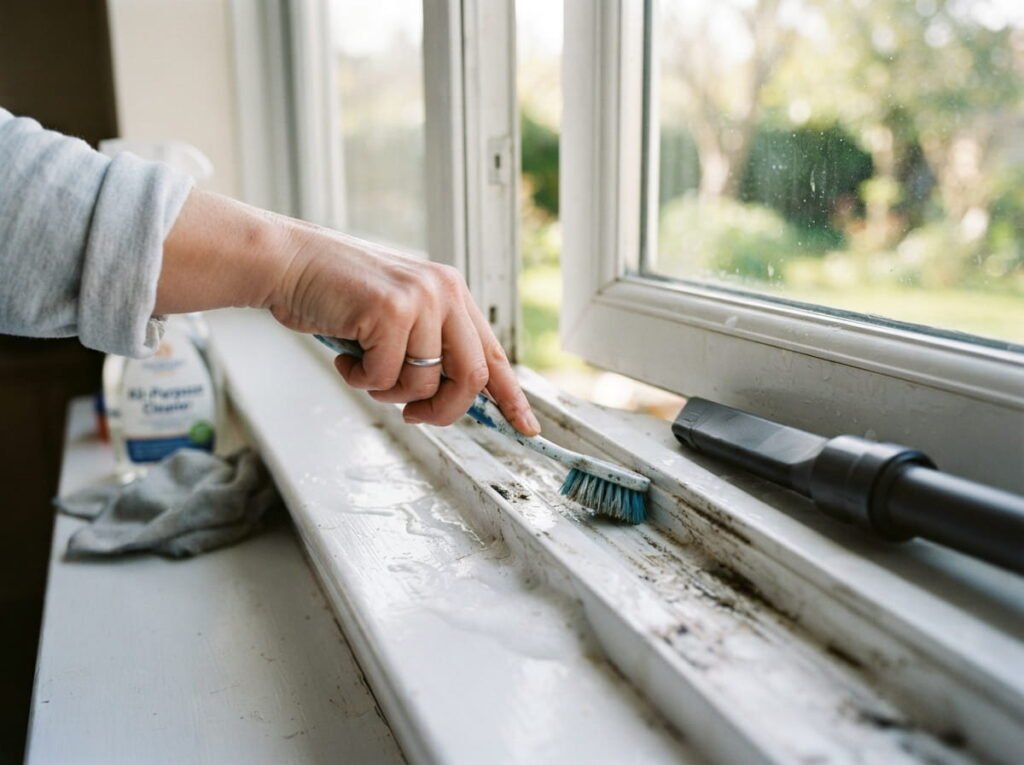
Clean glass with a dirty track underneath still looks like a half finished job the moment the window opens.
- Vacuum loose dirt and dead bugs out of the track first
- Scrub with an old toothbrush and a little dish soap
- Wipe dry, then run a dryer sheet through the track so it slides smoother
Rooms with clean windows read as brighter even before you touch the glass itself.
Vacuum the track before adding any liquid, or the dirt just turns to mud.
A toothbrush reaches corners a rag never will.
Dry the track fully so mildew doesn’t start in the corners.
13. Pull Everything Out and Wipe the Shelves Down
A closet can look organized and still be filthy underneath everything sitting on the shelves. Dust settles under folded sweaters and inside shoe boxes for months without anyone noticing.
Empty one shelf at a time so it doesn’t turn into a giant pile on the bed. Wipe each shelf with a damp cloth before anything goes back, and vacuum the closet floor while it’s clear. This is also the easiest moment to spot anything that’s been sitting untouched for a year.
Put items back by category instead of exactly where they came from. It usually reveals space you didn’t know you had.
14. Deep Clean the Oven Without Toxic Fumes
People assume a truly clean oven needs a harsh chemical spray and a sealed room to survive the fumes. It doesn’t.
Mix baking soda with a little water into a spreadable paste and coat the interior, avoiding the heating elements. Let it sit overnight, then wipe it out with a damp cloth in the morning. A spray bottle of vinegar helps loosen any paste that’s stubborn.
The oven doesn’t need to run to get this clean. Skip the self clean cycle and skip the fumes with it.
💡 Quick Tip
Line the oven floor with foil after cleaning to catch future spills. Swap it out instead of scrubbing baked on drips again.
15. Reset Every Ceiling Fan and Light Fixture at Once

Dust builds up on ceiling fan blades in a way you only notice once the light hits it sideways, and by then it’s usually thick enough to see from the floor.
Slip an old pillowcase over each blade and pull it back off, trapping the dust inside instead of scattering it across the room. Wipe glass light fixtures with a dry microfiber cloth first, then a damp one if grime is stuck on. Working through every fixture in one pass keeps you from repeating the ladder trip room by room.
A pillowcase over the blade traps the dust instead of dropping it on your floor. One pass, no mess.
Conclusion
A whole house deep clean room by room doesn’t need a single overwhelming weekend. It works better as a rotating list you chip away at, one task at a time, whenever you’ve got twenty free minutes or a Saturday morning to spare. The fridge coils, the mattress, the washer drum, none of these get touched during a normal week, which is exactly why they make the biggest difference once they finally do.
Pick whichever room is bothering you most and start there. The rest of the list will still be waiting.
Save this list for the next time your house needs more than a quick tidy.