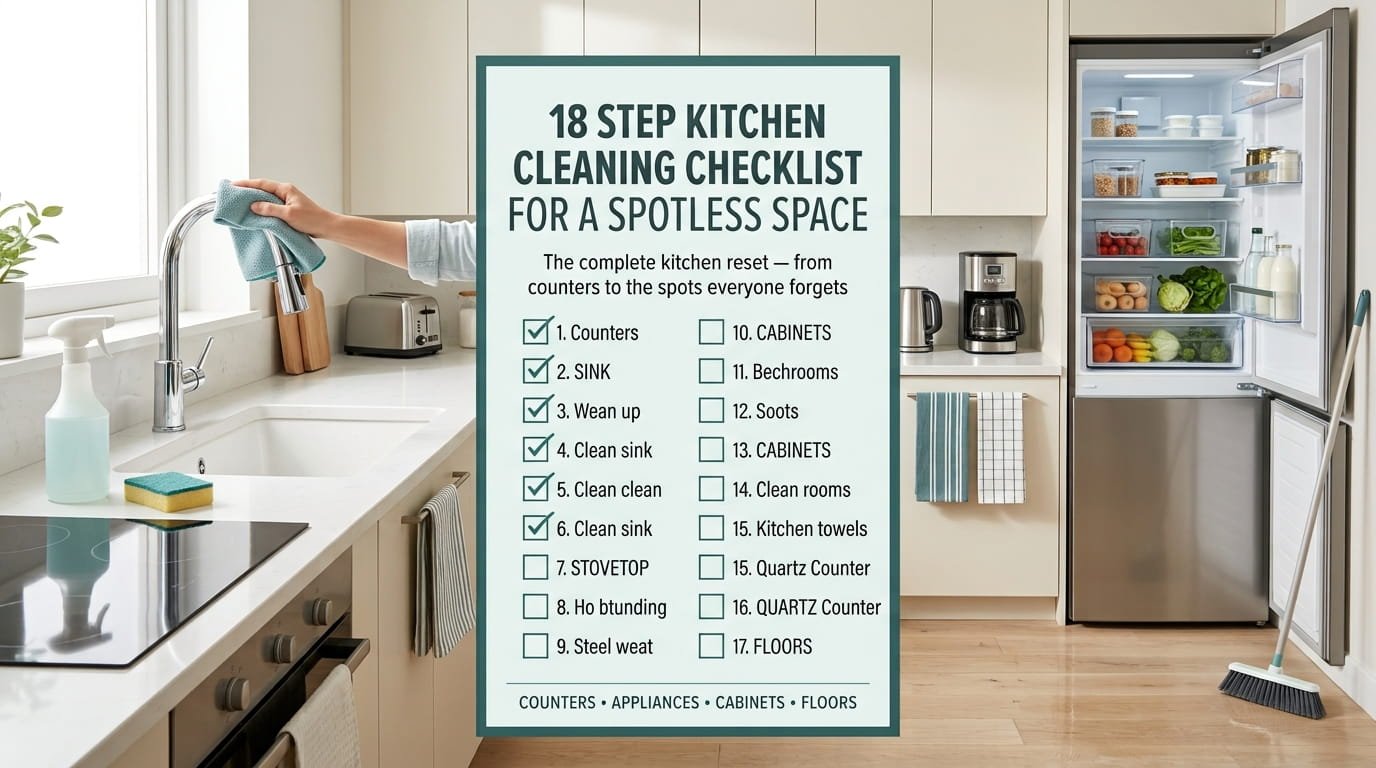
A kitchen can look clean at a glance and still have grease sitting in places you never think to check. That’s the gap most people run into. They wipe the visible surfaces, call it done, and wonder why the room still feels a little off. A real kitchen cleaning checklist goes past the counters and gets into the spots that quietly build up over weeks: the cabinet fronts, the coffee maker, the space behind the fridge.
This list covers all eighteen of those spots in order, from the obvious to the ones almost everyone skips. Some tasks take two minutes. Others need a Saturday afternoon and a pair of gloves. None of them require anything fancier than what’s already under your sink.
Save this one, since it’s built to be used again and again, not read once and forgotten. Print it, check items off as you go, and treat it as the reference you come back to every time the kitchen needs a real reset instead of a quick wipe.
1. Clearing Every Counter Down to Bare Surface Before You Start

Nothing on this list works well if the counters are still covered in mail, appliances, and whatever landed there this week. Clear everything off first, down to bare surface, so you can actually see what needs attention.
- Move small appliances you don’t use daily into a cabinet
- Sort loose papers into keep or toss right away
- Wipe the exposed surface with a degreaser before moving on
Starting from a cleared counter makes every step after this one faster.
2. Degreasing the Stovetop Where Splatter Actually Hides
Most stovetop wipes only catch the flat surface, leaving grease packed into the knobs, the edges near the burners, and the gap where the stove meets the counter. Pull the knobs off if they’re removable and soak them separately while you degrease the rest.
Splatter builds up fastest right around the burners, so give that area an extra pass.
💡 Quick Tip
Soak removable knobs in warm soapy water while you tackle the rest of the stovetop.
3. The Oven Interior Job Most Checklists Skip Entirely
Plenty of kitchen checklists mention the oven and stop there, leaving out the fact that the interior needs its own dedicated time. A baking soda paste left overnight, followed by a vinegar wipe the next day, handles baked on residue without harsh scrubbing.
The glass door alone usually shows the biggest visible change.
Dark baked on residue coating the oven floor and glass door.
Clear glass and a floor free of caked on buildup.
4. Emptying and Wiping the Fridge Shelf by Shelf
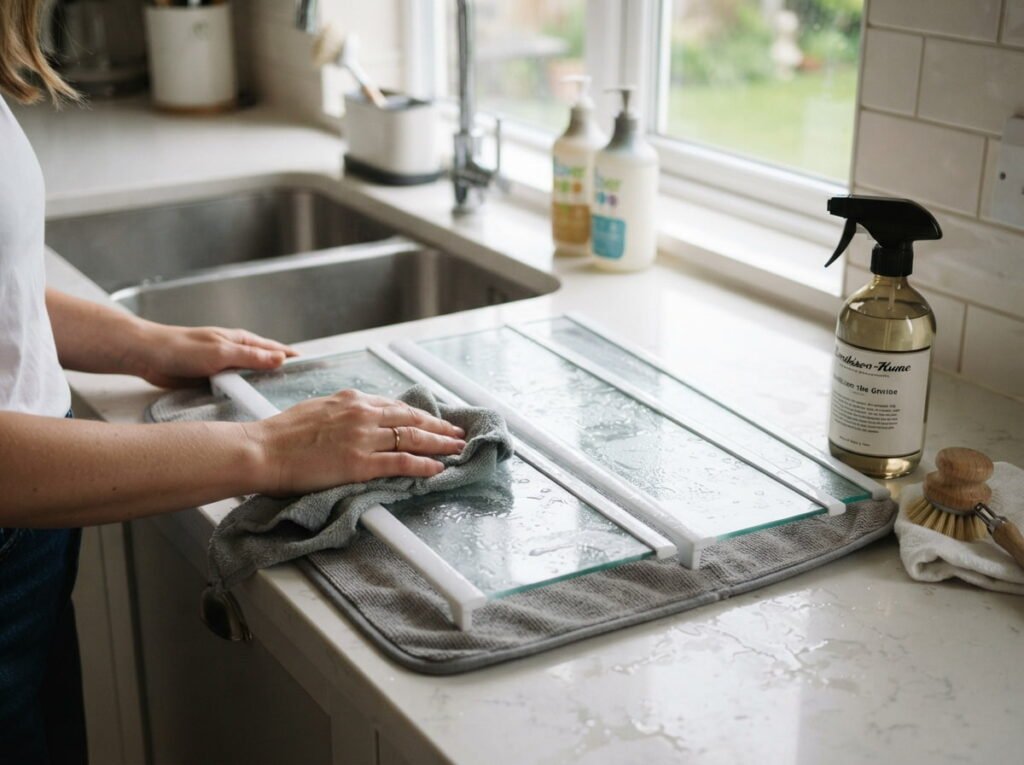
A quick wipe with everything still in place misses the sticky spots hiding under jars and produce bins. Pulling shelves and drawers out completely to wash them in the sink gets into the corners that regular wiping never reaches.
Empty it fully first and check expiration dates while you’re at it.
What to grab first
5. The Microwave Steam Trick That Cuts Scrubbing in Half
Dried on splatter inside a microwave usually means someone reaches for a scraper, which can damage the interior coating. A bowl of water with a splash of lemon juice, microwaved until it steams the walls, loosens everything enough to wipe away with almost no effort.
Let it sit for a couple of minutes after the timer stops before opening the door.
6. Descaling the Coffee Maker Before It Affects the Taste
A coffee maker builds up mineral scale from water long before it shows any visible sign, and the first clue is usually a slightly off tasting cup. Running a cycle of equal parts water and white vinegar, followed by two cycles of plain water, clears it out completely.
- Fill the reservoir with equal parts water and vinegar
- Run a full brew cycle, then let it sit for 20 minutes
- Run two more cycles with plain water to rinse fully
Fill the reservoir with equal parts water and white vinegar.
Run a full brew cycle, then let the solution sit for 20 minutes.
Run two more cycles with plain water to rinse it fully.
7. Sink and Faucet Details People Rush Past
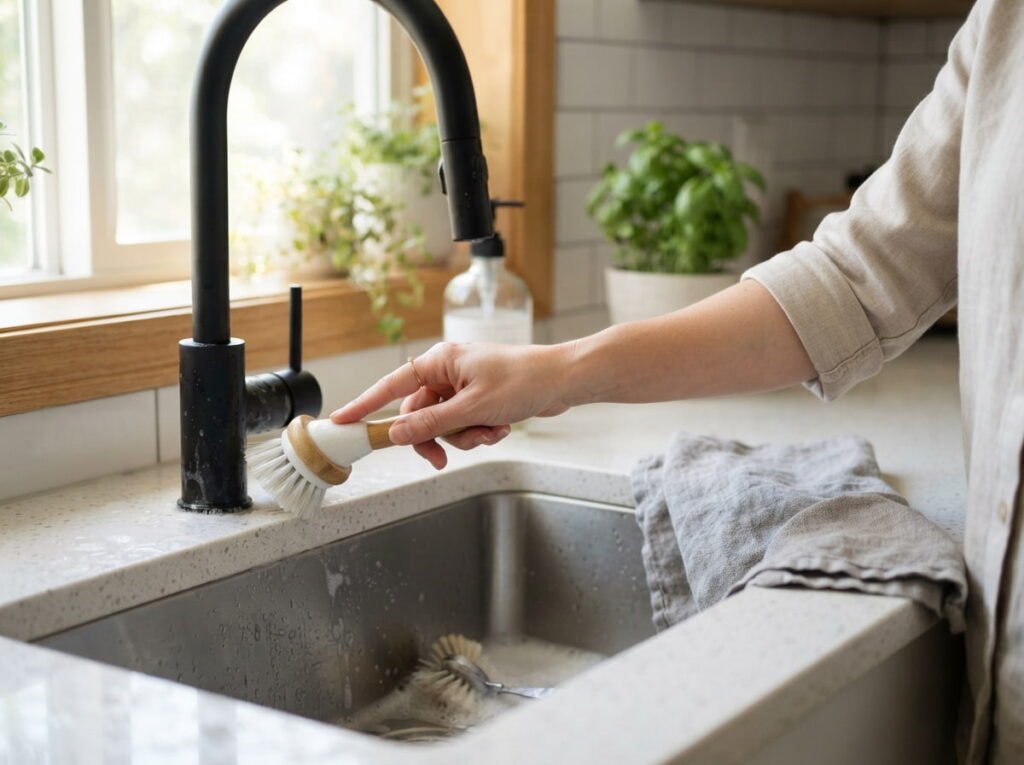
The sink gets wiped constantly but rarely gets the detail work it actually needs, like the base of the faucet where water spots build up or the rubber seal around the drain. A soft brush and a little baking soda handle both without scratching the finish.
Stainless steel sinks especially show streaks if you skip drying them after the final rinse.
Dry the sink after the final rinse.
Use a soft brush around the faucet base.
Abrasive scrubbers on stainless steel.
Ignoring the rubber drain seal.
8. Garbage Disposal Cleaning Nobody Thinks to Add to the List
A disposal can run fine and still smell off because food particles collect below the blades where you can’t see them. Grinding ice cubes with a handful of coarse salt scrubs the inside walls, and running citrus peels through afterward handles the smell.
Most checklists leave this one out entirely, which is exactly why it’s worth adding here.
| Step | What It Does |
|---|---|
| Ice cubes and coarse salt | Scrubs the inside walls |
| Citrus peels | Cuts lingering odor |
9. The Cabinet Front Wipe That Removes Invisible Grease Film
Cabinet fronts near the stove pick up a thin layer of grease over time that’s almost invisible until you run a hand across it and feel the tackiness. A degreaser wiped in the direction of the wood grain, followed by a dry cloth, clears it without leaving streaks.
This one small step changes how the whole kitchen looks from across the room.
Grease film on cabinets is invisible until you touch it, so check by feel, not just by sight.
10. Cleaning Out Cabinet Interiors and Replacing Old Liners
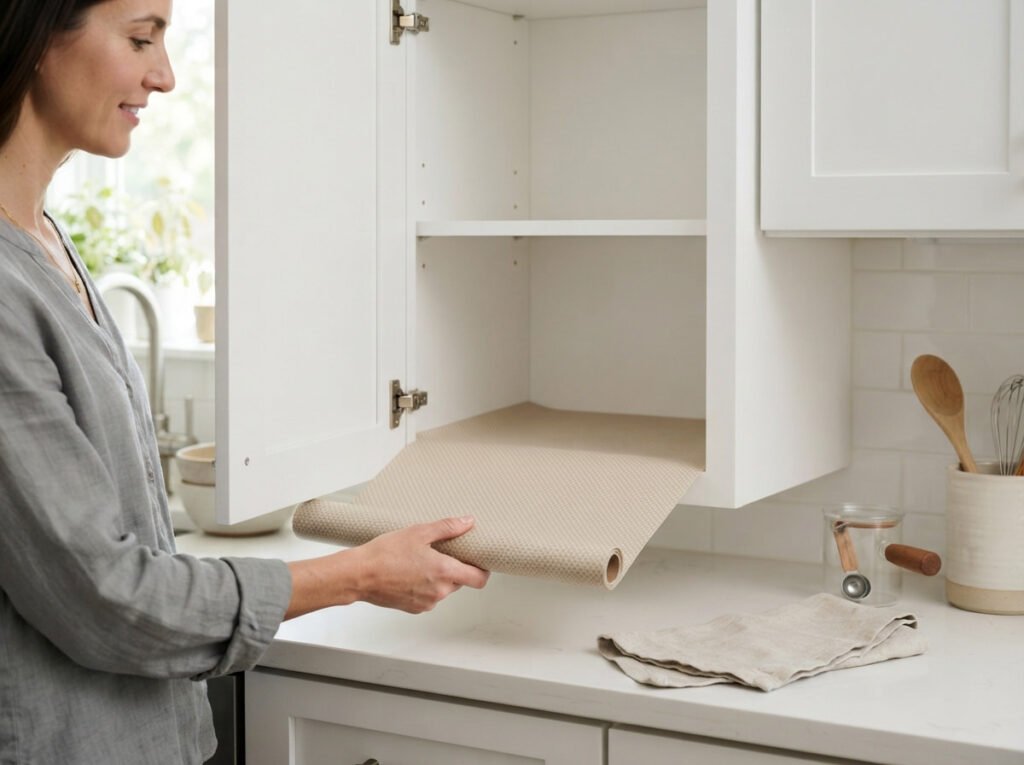
The inside of a cabinet rarely gets touched during a regular clean, but sticky shelf liners and crumbs are part of what makes a kitchen feel grimy even when the outside looks fine. Empty each cabinet, wipe the interior, and swap liners that have yellowed or curled.
- ▸Empty each cabinet completely before wiping.
- ▸Wipe interior walls with warm soapy water.
- ▸Replace liners that have yellowed or curled.
11. Small Appliance Cleaning: Toaster, Blender, and Kettle
Crumbs collect in a toaster tray for months without anyone thinking to check it, and a blender blade holds onto residue long after it looks rinsed clean. Pull the toaster tray out and empty it, run the blender with warm soapy water and a few pulses, and descale the kettle the same way you would a coffee maker.
Three appliances, three different fixes, all done in under fifteen minutes total.
12. Wiping Down Light Switches and Cabinet Handles
These get touched constantly during meal prep, often with hands that just handled raw food or grease, yet they’re almost never part of a regular wipe down. A disinfecting wipe across every switch and handle in the kitchen takes less than five minutes.
It’s an easy step to forget because none of it looks dirty at first glance.
📌 Good To Know
Cabinet handles near the stove and sink pick up the most grease and deserve extra attention.
13. Washing the Trash Can Itself, Not Just Changing the Bag

Swapping the liner doesn’t touch whatever has leaked or splashed onto the inside walls of the can itself, which is why kitchens can smell off even with a fresh bag in place. Rinsing the empty can with hot soapy water, then letting it air dry completely before adding a new liner, fixes that.
Do this outside or in a tub if the can is too big for the sink.
A faint smell that lingers no matter how often the bag gets changed.
A rinsed, dry can with no odor left behind.
14. Cleaning Behind and Under the Refrigerator
Dust, pet hair, and stray food bits collect in the space behind and under the fridge in amounts that surprise most people the first time they actually look. Pull the fridge out carefully, vacuum the space and the coils, and wipe the floor before pushing it back.
What to grab first
15. The Dishwasher Deep Clean That Keeps It Actually Working Well
A dishwasher cleans everything except itself, and food particles trapped in the filter or spray arms slowly make it less effective at its own job. Remove and rinse the filter, run a cup of vinegar through an empty cycle, and check the spray arm holes for clogs.
16. Washing Kitchen Towels and Sponges on a Real Schedule
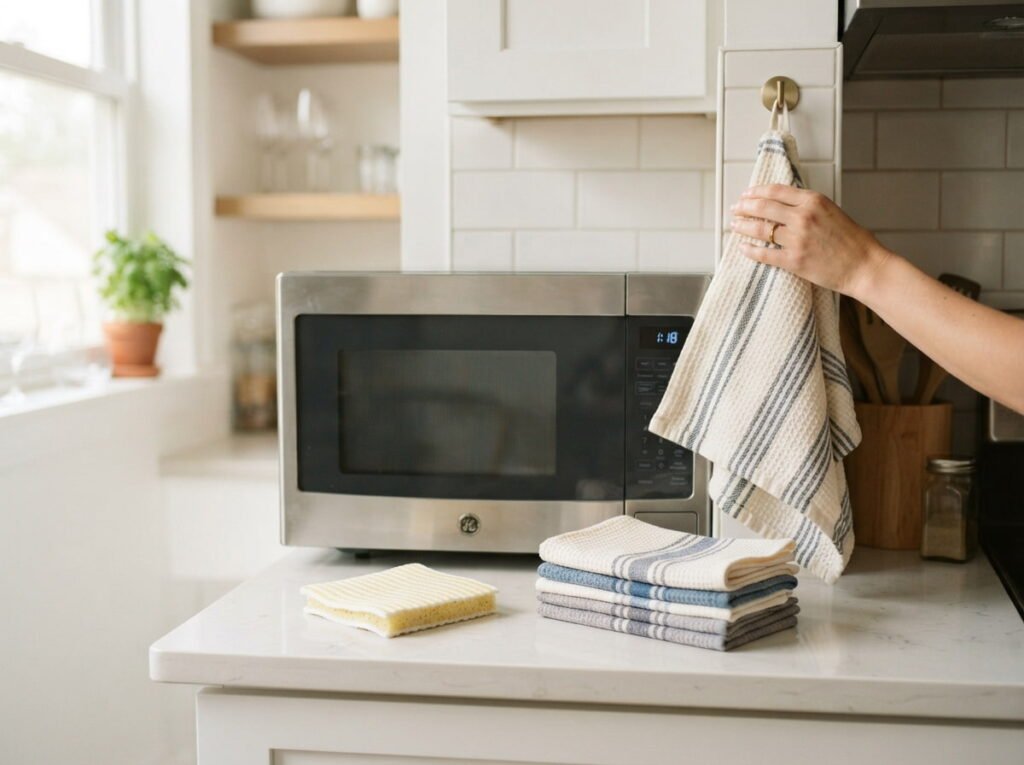
Kitchen towels get used for everything from drying hands to wiping counters, which means they carry more bacteria than most people expect by the end of a single day. Sponges are even worse, since they stay damp and warm, which is exactly what bacteria need to multiply.
- Swap kitchen towels every one to two days
- Microwave a damp sponge for one minute daily to sanitize it
- Replace sponges entirely every one to two weeks
Swap kitchen towels every one to two days.
Microwave a damp sponge for one minute daily to sanitize it.
Replace sponges entirely every one to two weeks.
17. Wiping Down the Range Hood and Vent Filter
The range hood catches steam and grease constantly, but because it sits above eye level, it’s one of the last places anyone thinks to clean. The metal or mesh filter can usually be removed and soaked in hot water with a degreasing dish soap while you wipe the hood exterior separately.
A greasy filter also means the hood isn’t pulling smoke and odor out as well as it should.
Soak the filter separately in hot soapy water.
Wipe the exterior with a degreaser.
Ignoring the filter because it’s out of sight.
Scrubbing mesh filters with anything abrasive.
18. The Final Floor Pass That Ties the Whole Kitchen Together
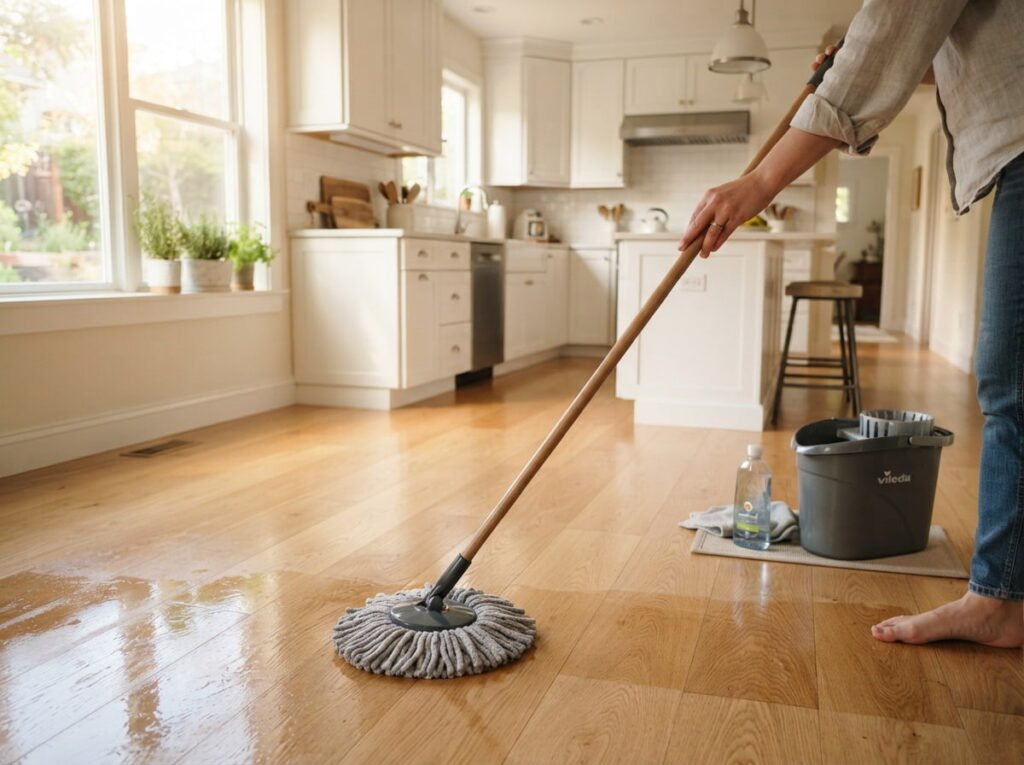
Every task on this list leaves behind some amount of dust, crumbs, or splashed cleaning solution, which is why the floor should always be the last thing you tackle. Sweep or vacuum first to catch loose debris, then mop with a cleaner suited to your floor type.
Doing the floor last means you’re not cleaning it twice.
| Floor Type | Best Cleaner |
|---|---|
| Tile or vinyl | A mild all purpose cleaner |
| Hardwood | A wood specific cleaner, used sparingly |
Conclusion
A truly clean kitchen isn’t about scrubbing harder, it’s about not skipping the spots that quietly build up over time. This kitchen cleaning checklist covers the ones most people miss, from the space behind the fridge to the filter sitting above the stove, so nothing gets left to pile up for months at a time.
You don’t need to tackle all eighteen in one day. Spread them across a few weekends, checking off a handful each time, and the kitchen stays ahead of buildup instead of catching up to it.
Save this list so it’s ready the next time you want a full reset instead of a quick wipe down.