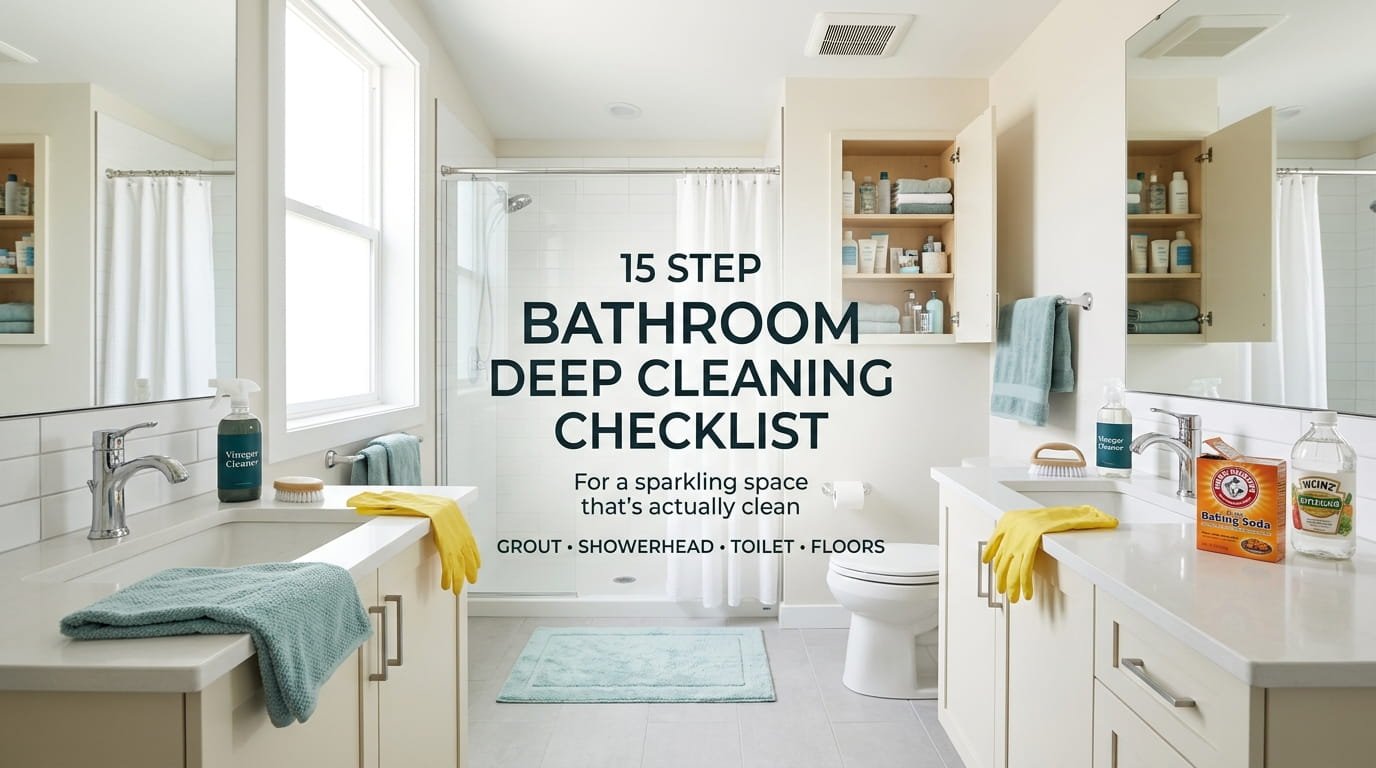
A bathroom can get wiped down every week and still feel like it’s never actually clean. That’s usually because regular cleaning only touches the surfaces you see, while grout, showerheads, and the space behind the toilet quietly collect grime that a quick wipe never reaches. This bathroom deep cleaning checklist is built to close that gap, covering the fifteen spots that make the difference between a bathroom that looks fine and one that actually is.
Some of these tasks take five minutes. Others need an hour and a pair of rubber gloves. None of them require anything more specialized than what’s likely already under your sink, though a few benefit from letting a solution sit and do the work instead of scrubbing right away.
This isn’t meant to be done all in one sitting unless you want to. Work through it over a weekend, checking off a few tasks at a time, and keep this list on hand for the next round. A bathroom this thorough doesn’t happen by accident, and it definitely doesn’t happen with just a sponge and good intentions.
1. Clearing Every Surface Before You Touch a Single Cleaner
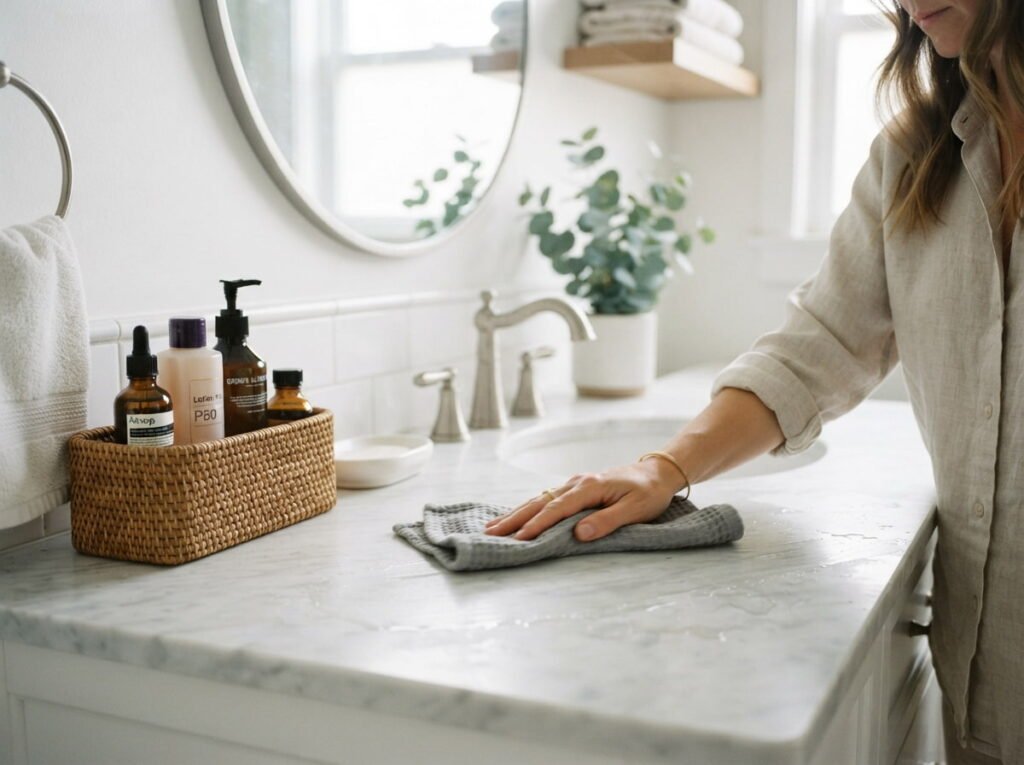
Bottles on the shower ledge, products crowding the counter, and towels draped over every hook make it impossible to actually clean underneath any of it. Clear the counter, shower ledge, and any open shelving completely before you start.
- Move bottles to the tub or a bin outside the room
- Toss anything expired or nearly empty
- Wipe the newly bare surfaces before setting anything back
Starting from empty surfaces means nothing gets missed because it was in the way.
2. Dissolving Soap Scum on Shower Glass With an Acid Soak Instead of Scrubbing
Most people scrub shower glass with the same cloth used everywhere else, which just spreads the film around instead of removing it. A diluted white vinegar solution sprayed on and left to sit for ten minutes breaks down soap scum so the wipe afterward takes almost no effort.
Squeegee the glass after every shower and this task gets shorter every time you do it.
💡 Quick Tip
Let the vinegar sit the full ten minutes before wiping. Rushing it means more scrubbing later.
3. Getting Grout Back to Its Original Color Without Bleach
Grout absorbs everything that touches the floor or shower, which is why it turns gray or yellow long before the tile itself looks dirty. A paste of baking soda and hydrogen peroxide left on for fifteen minutes lifts the discoloration without the fumes or damage that bleach can cause over time.
Scrub with an old toothbrush once the paste has had time to work.
Gray, discolored grout lines that look dirty no matter how often you mop.
Grout back to its original lighter shade, no bleach involved.
4. The Toilet Job Most Checklists Only Half Finish
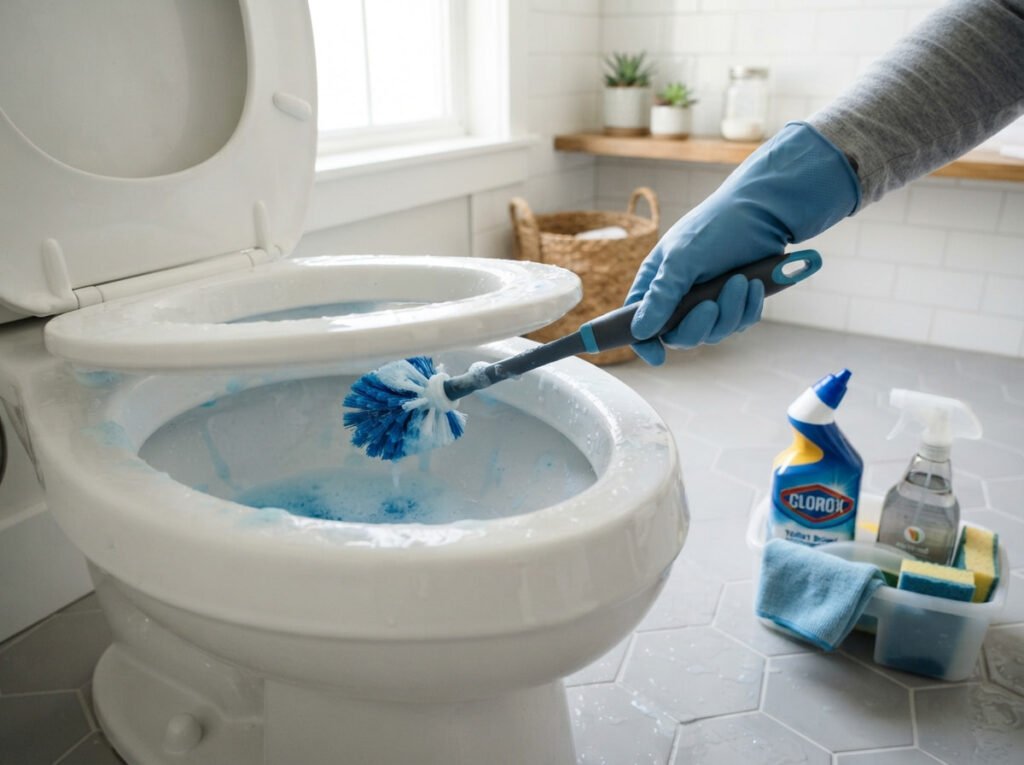
Wiping the seat and swishing the bowl covers the obvious parts, but the base, the hinges, and the area under the rim usually get skipped. A real deep clean means removing the seat if it’s detachable, scrubbing under the rim with a stiff brush, and wiping the base where dust and splashes settle.
What to cover
5. Descaling the Showerhead Where Water Pressure Quietly Disappears
A showerhead losing pressure usually isn’t a plumbing issue, it’s mineral buildup clogging the tiny nozzle holes one at a time. Soaking the showerhead in a bag of white vinegar for a couple of hours dissolves the buildup and brings the pressure back without any tools.
Filling a plastic bag with vinegar and securing it with a rubber band works without even removing the showerhead.
6. Cleaning the Exhaust Fan Vent That Nobody Looks Up At
Dust builds up on the exhaust fan vent for months at a time simply because it sits above eye level and out of the usual cleaning path. A buildup of dust here also means the fan is working harder than it should to pull moisture out of the room.
- Turn off power to the fan at the breaker if it’s wired directly
- Remove the vent cover and wash it in warm soapy water
- Vacuum the fan blades and housing before replacing the cover
Turn off power to the fan at the breaker if it’s wired directly.
Remove the vent cover and wash it in warm soapy water.
Vacuum the fan blades and housing before replacing the cover.
7. Wiping Down the Inside of Cabinets and Drawers
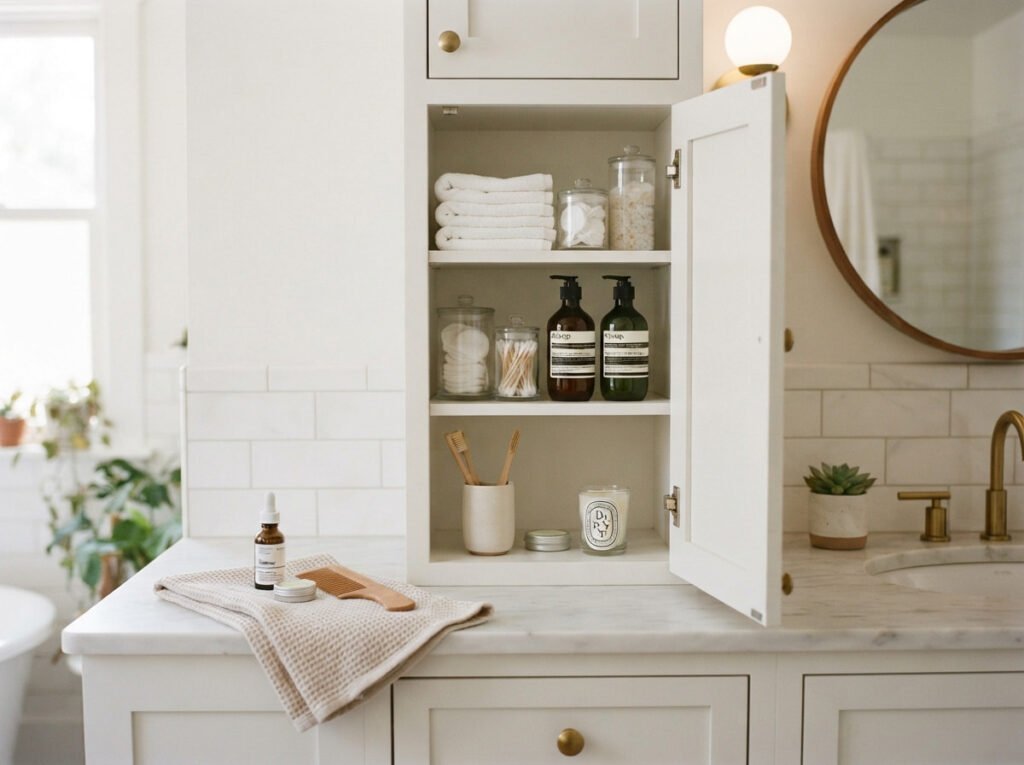
The inside of a bathroom cabinet collects dust, spilled powder, and the occasional sticky ring from a bottle that wasn’t sealed all the way. Empty each drawer and shelf, wipe the interior with a mild cleaner, and let everything dry fully before putting products back.
Damp bathroom air means anything put back too soon can trap moisture and lead to mildew.
Let shelves dry fully before restocking.
Wipe sticky rings from spilled products right away.
Putting damp bottles straight back on the shelf.
Ignoring expired products taking up space.
8. Sink and Faucet Detail Work People Rush Through
The sink gets a quick wipe daily but rarely gets the detail work that actually keeps it looking new, like the base of the faucet where toothpaste splatter dries or the overflow drain hole that traps hair and grime. A soft toothbrush handles both spots without scratching the finish.
Stainless and chrome fixtures show water spots fastest if you skip drying them after the last rinse.
| Spot | How to Clean It |
|---|---|
| Faucet base | Soft toothbrush and mild cleaner |
| Overflow drain hole | Toothbrush and a rinse of hot water |
9. The Bathmat and Shower Curtain Wash Most People Skip
Bathmats sit damp for hours after every shower and quietly build up mildew smell long before it’s visible. Most machine washable mats can go through a normal cycle with a bit of extra detergent, and letting them air dry fully afterward keeps the smell from coming right back.
This one small load makes the whole room smell noticeably fresher.
A damp bathmat holds onto smell longer than almost anything else in the room.
10. Cleaning Behind the Toilet Where Dust and Hair Collect
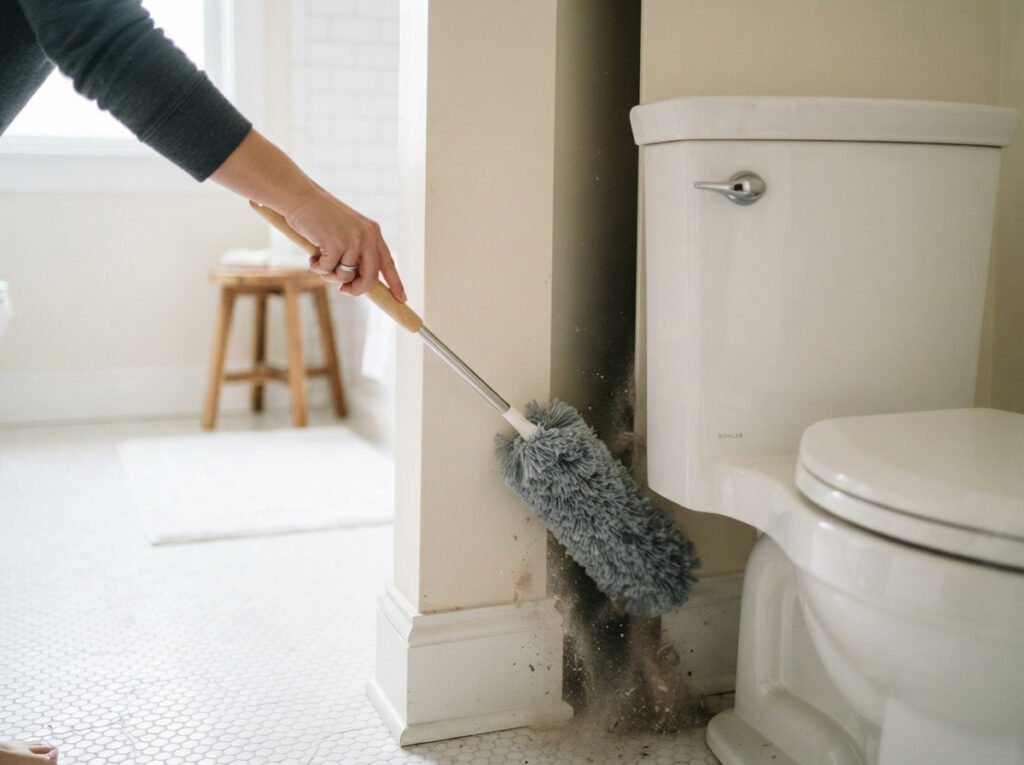
The narrow gap behind a toilet is one of the hardest spots to reach with a regular mop, which is exactly why dust bunnies and hair build up there undisturbed for weeks. A long handled duster or a flattened microfiber cloth on a yardstick gets into that gap without you having to squeeze back there yourself.
- ▸Use a long handled duster for the gap behind the tank.
- ▸Wrap a microfiber cloth around a yardstick as an alternative.
- ▸Follow with a disinfecting wipe on the visible base.
11. Wiping Baseboards and the Bottom of the Door
Bathroom baseboards collect a mix of dust and dried splashes that’s easy to miss at eye level but obvious once you kneel down. A dryer sheet works better here than a cloth since it grabs dust through static instead of just pushing it around, and the bottom edge of the door deserves the same pass since it catches similar grime.
12. Disinfecting Light Switches, Handles, and the Trash Can Lid
These get touched constantly with hands that just handled hair products, toothpaste, or worse, yet they’re almost never part of a regular bathroom wipe down. A disinfecting wipe across the light switch, door handle, cabinet pulls, and trash can lid takes under two minutes.
None of these spots look dirty at a glance, which is exactly why they get skipped so often.
📌 Good To Know
The trash can lid gets touched almost as often as the faucet, so it deserves the same attention.
13. Washing the Shower Curtain Liner Instead of Replacing It
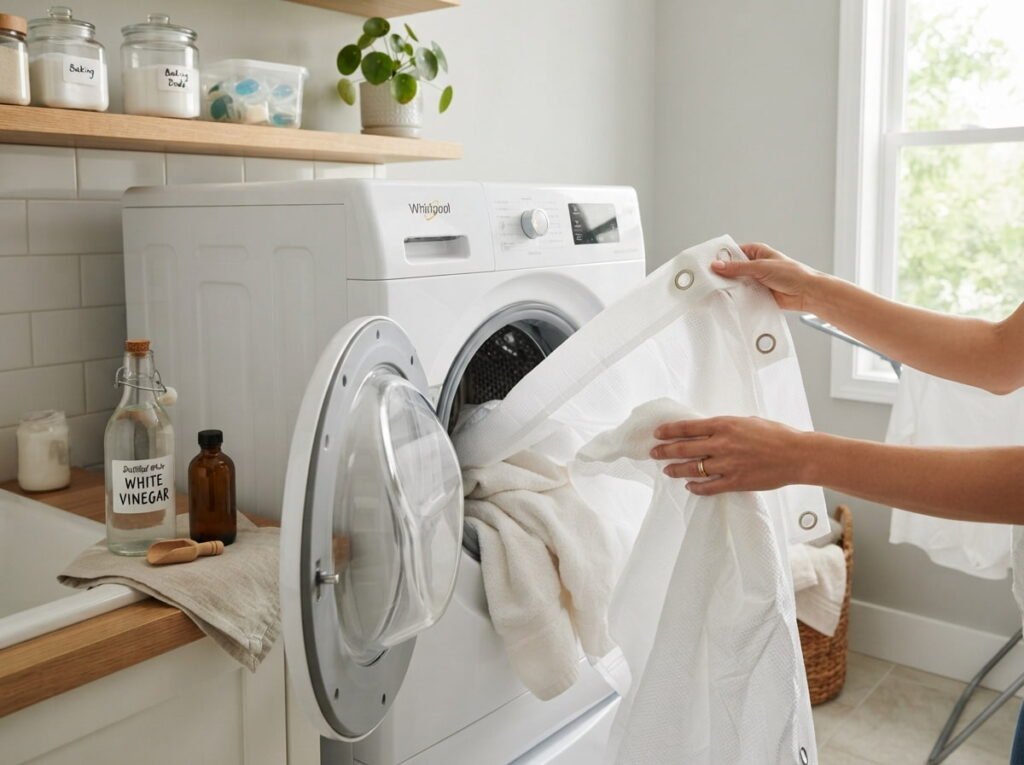
A grimy, mildewed shower liner feels like it belongs in the trash, but most fabric and plastic liners can go through a gentle wash cycle with a couple of towels added to scrub against the fabric. Add a cup of white vinegar to the rinse to cut lingering mildew smell.
A spotted, slightly slimy liner headed for the trash.
A clean liner that’s good for several more months of use.
14. Clearing and Cleaning the Medicine Cabinet Mirror and Shelves
A medicine cabinet gets opened daily but almost never actually emptied out, which means expired medication and old products just sit there taking up space. Pull everything out, check every date, and wipe both the shelves and the inside of the mirror door before restocking only what’s still useful.
What to check
15. The Final Floor Mop That Pulls the Whole Bathroom Together
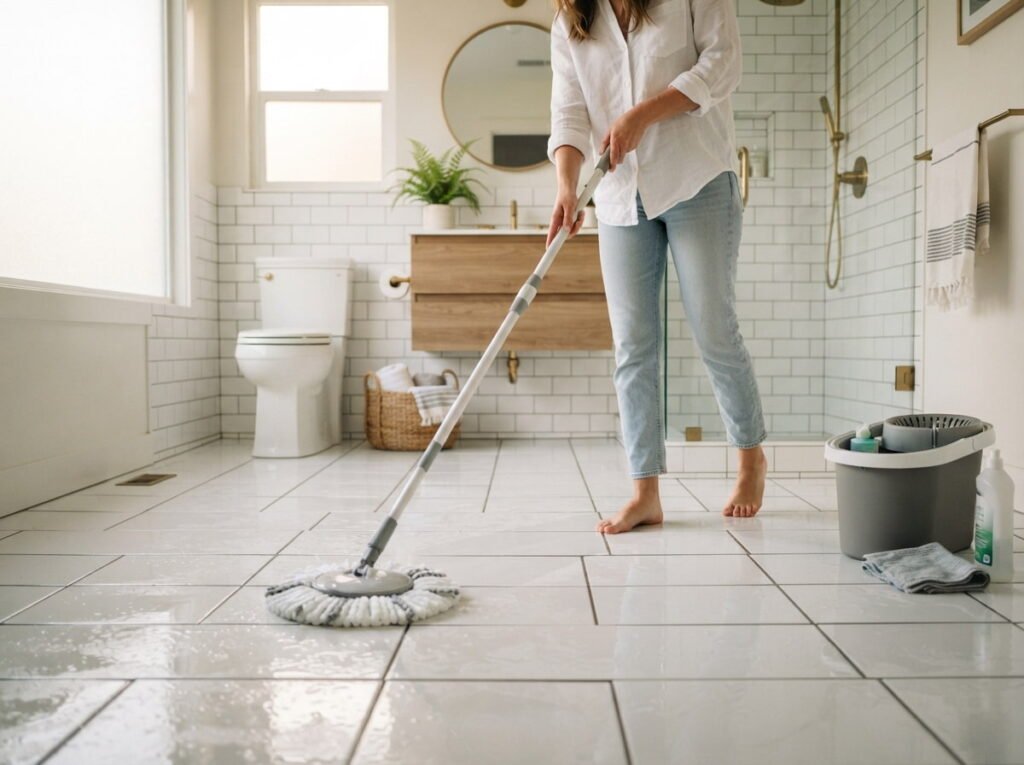
Every task on this checklist kicks up dust, hair, or a bit of cleaning solution, which is why the floor should always be the very last step. Sweep or vacuum first to catch loose debris, then mop with a cleaner suited to the floor material, working from the far corner toward the door.
Conclusion
A bathroom that’s actually deep cleaned, not just wiped down, comes from the spots most people skip: the grout, the showerhead, the gap behind the toilet. This bathroom deep cleaning checklist covers all of it, so nothing gets left to build up quietly for months at a time.
You don’t need to finish all fifteen steps in one sitting. Spread them across a weekend or two, tackling a handful at a time, and the bathroom stays ahead of the grime instead of playing catch up every few months.
Save this list so it’s ready the next time you want a real reset instead of another quick wipe.