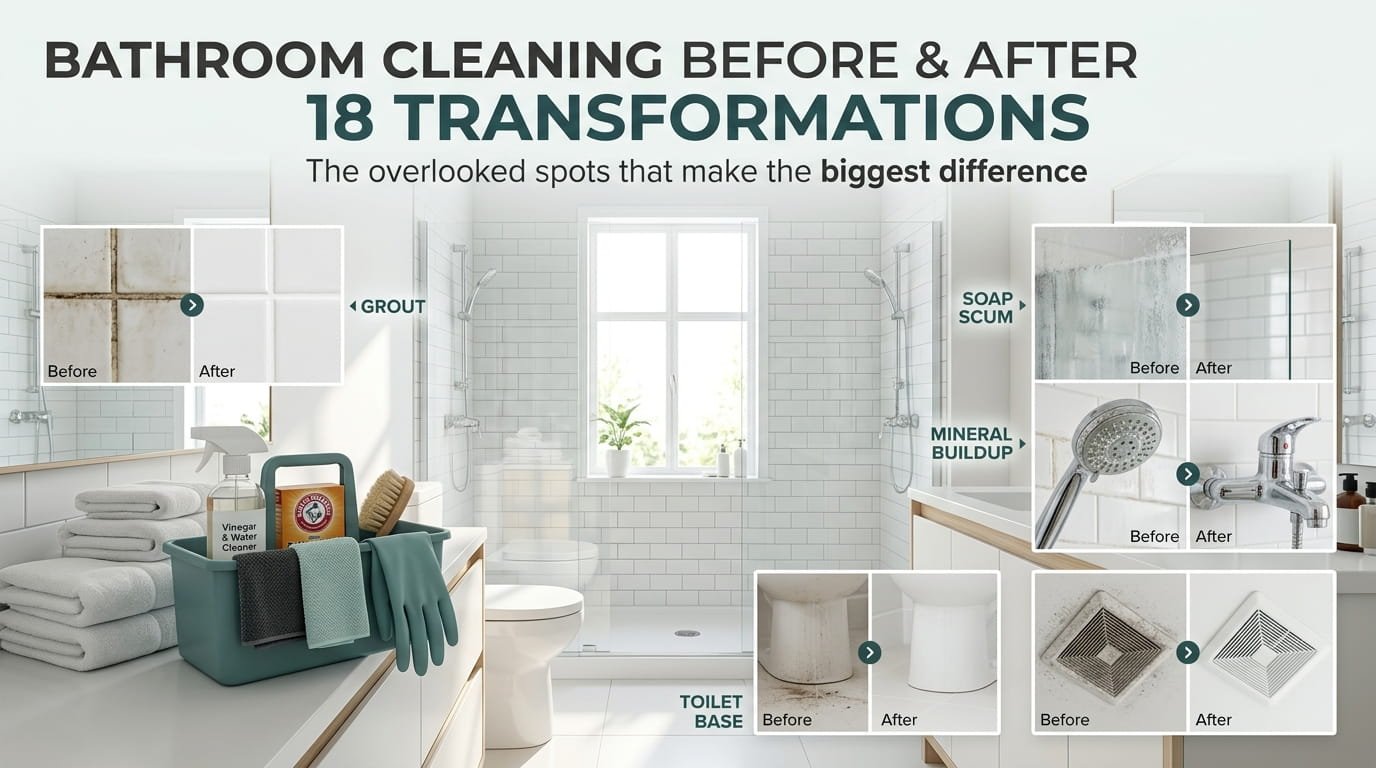
A bathroom can look clean at a glance and still be hiding grime in spots that never get a second look. Grout lines, behind the toilet, inside the exhaust fan cover, all of it quietly builds up while the visible surfaces stay wiped down and presentable.
A real bathroom cleaning before and after isn’t about scrubbing everything you can already see. It’s about the specific spots that collect moisture, soap scum, and mineral buildup differently than the rest of the room, and noticing the actual difference once they’re handled properly. Some of these take five minutes. Others take a full afternoon with the right approach.
This list walks through eighteen spots worth tackling, one at a time, in whatever order fits your bathroom. By the end, you’ll have a space that’s clean in the places that actually matter, not just the ones that are easy to see.
1. Deep Clean the Grout Between Shower and Floor Tiles
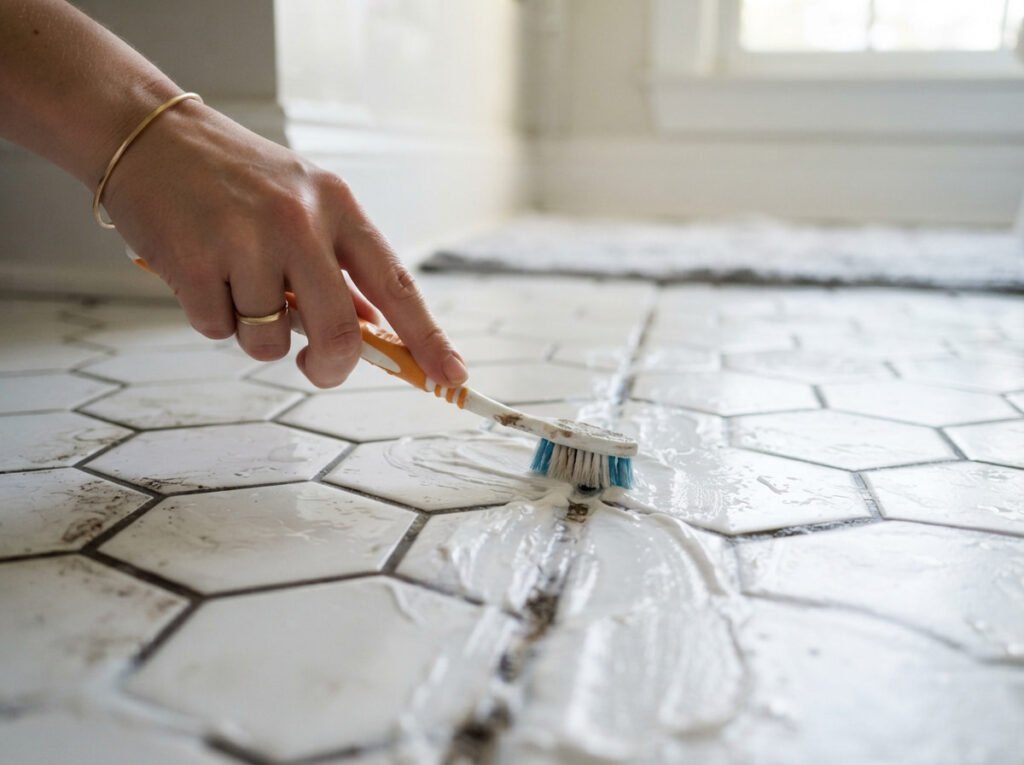
Grout starts out white or light gray, and over time it darkens in a way that makes an otherwise spotless bathroom look older than it is. That discoloration isn’t just dirt sitting on the surface, it’s soaked into the porous material itself.
A paste of baking soda and hydrogen peroxide, left to sit for ten minutes before scrubbing, lifts most of that staining without needing anything harsh.
Dingy gray grout lines that make the whole floor look dirty.
Bright, restored grout that brings the whole tile floor back to life.
2. Descale Your Shower Head From the Inside
If your water pressure has quietly dropped over the past few months, mineral deposits clogging the tiny nozzle holes are usually the real cause, not a plumbing problem.
💡 Quick Tip
Fill a plastic bag with vinegar, tie it around the shower head, and let it soak overnight for the deepest clean.
3. Strip and Clean the Shower Curtain Liner or Glass Door
Soap scum builds up faster than most people expect, forming a hazy film that dulls glass and stiffens fabric liners within just a few weeks of regular use.
Wipe glass doors after every shower to prevent buildup.
Wash fabric liners with towels for extra scrubbing action.
Letting soap scum sit for weeks before addressing it.
Scrubbing glass with abrasive pads that can scratch it.
4. Deep Clean the Toilet Base and Hinges, Not Just the Bowl
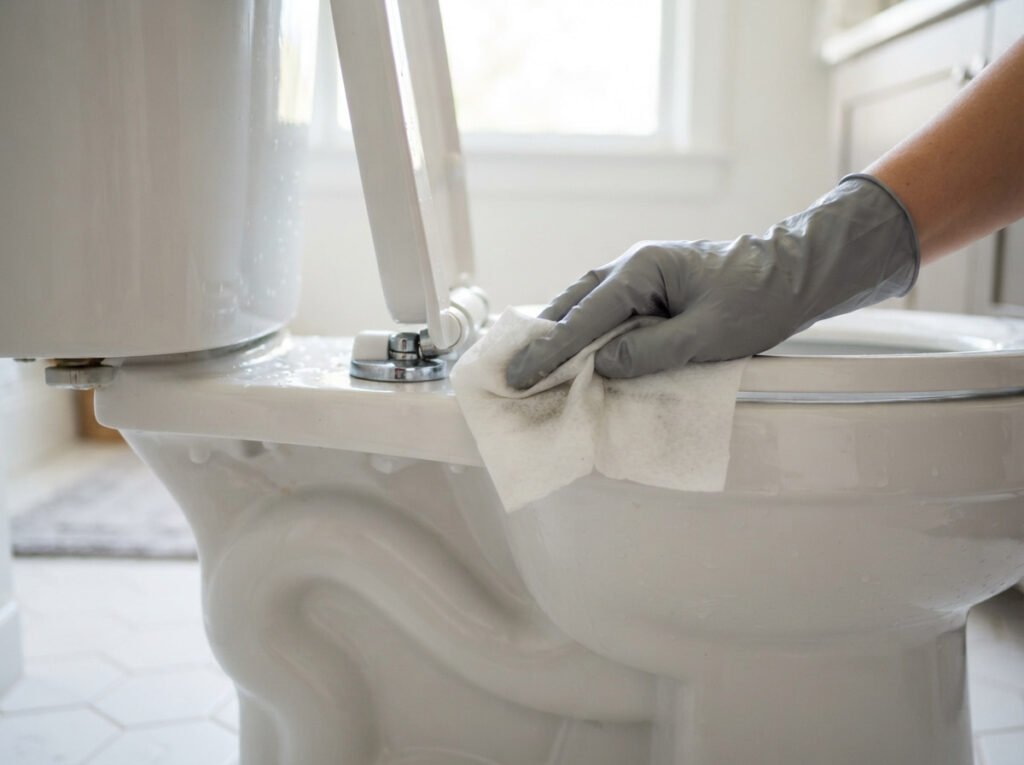
A quick wipe of the seat and a scrub of the bowl leaves out the base, the hinges, and the small gap underneath, spots that collect dust and grime a regular clean rarely reaches.
- Remove the seat if your model allows it for a full hinge clean
- Wipe the base and floor connection with disinfectant
- Dry everything fully before replacing the seat
Remove the seat if your model allows it for a full hinge clean.
Wipe the base and floor connection with disinfectant.
Dry everything fully before replacing the seat.
5. Scrub the Grout and Caulk Line Around the Tub
Constant moisture makes the caulk line around a tub one of the fastest places for mold to get a foothold, often before you notice it’s started.
A caulk line with early dark spots creeping along the seam.
A clean white seam with the mold fully removed and the line intact.
6. Clean Out Your Bathroom Exhaust Fan Cover
That fan pulls double duty clearing steam and odor, and a cover clogged with dust simply can’t move air the way it’s supposed to, no matter how long you run it after a shower.
⚠️ Watch Out
Turn off power at the breaker before removing the cover, since some models have exposed wiring behind them.
7. Deep Clean Your Bathroom Drawers and Organize What’s Inside
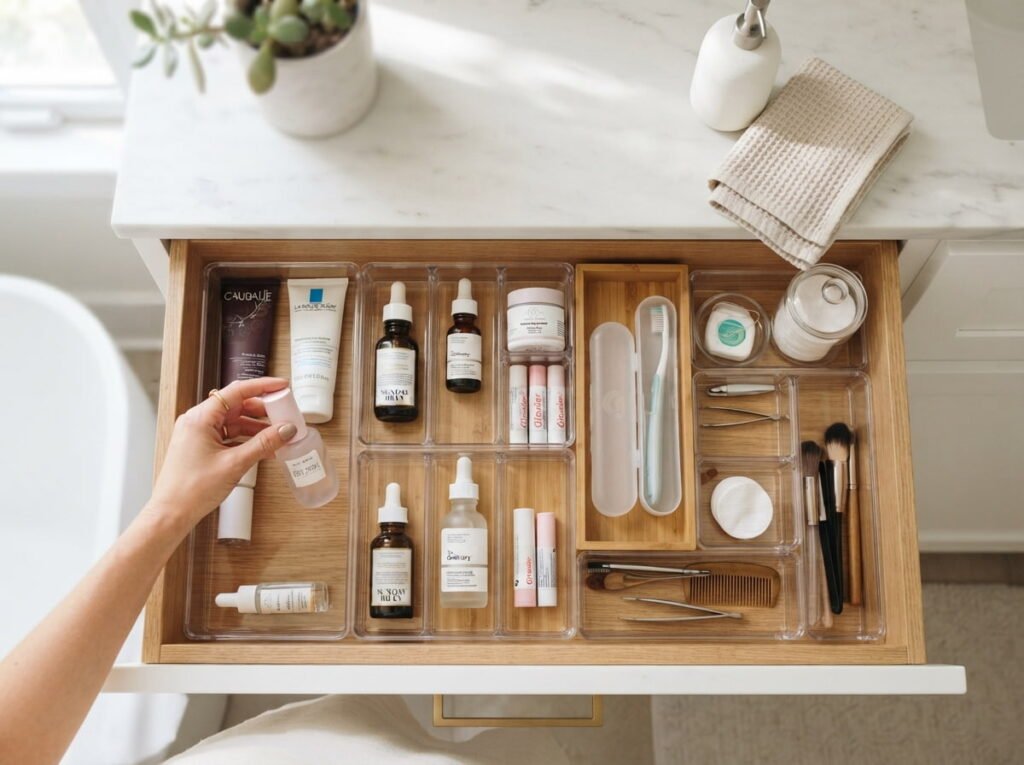
Half empty lotion bottles and expired sunscreen have a way of quietly taking over drawer space until you can’t find what you’re actually looking for.
8. Descale and Disinfect Your Sink Drain and Stopper
Slow drainage isn’t always a plumbing issue. Hair, soap residue, and toothpaste buildup around the stopper often cause the exact same symptom, and it’s an easy fix once you know where to look.
| Symptom | Likely Cause |
|---|---|
| Slow drainage | Buildup around the stopper, not a deep clog. |
| Faint smell | Residue trapped just below the drain surface. |
9. Clean Behind and Around the Toilet on the Floor
This is the spot almost everyone skips, since it requires actually getting down and looking at floor level instead of just wiping what’s visible while standing.
Dust and grime built up in the gap behind and around the toilet base.
A fully clean floor with no hidden buildup left in the corners.
10. Deep Clean Your Bath Mats and Any Fabric Shower Curtains
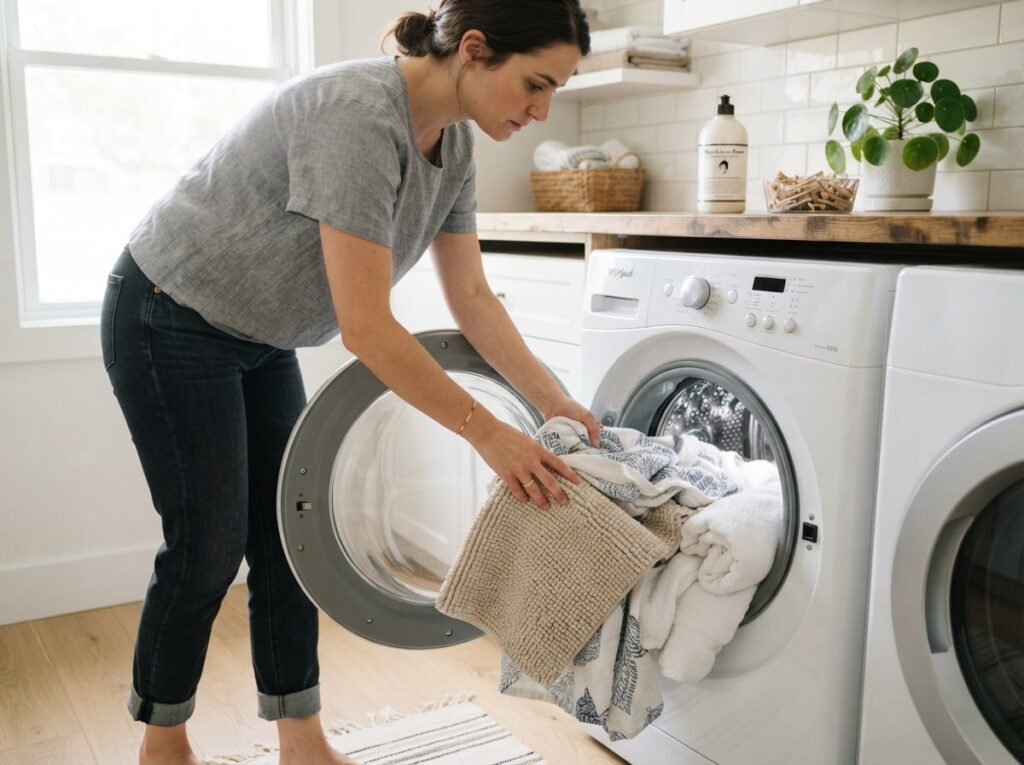
Constant humidity gives mildew exactly the environment it needs, and a bath mat that never fully dries between uses is often the source of a smell you can’t quite place.
Toss these in with a load of towels for extra scrubbing:
What to wash together
11. Scrub Built Up Residue Off Your Showerhead and Faucet Fixtures
Water spots dull the shine on chrome and brushed nickel fixtures faster than most finishes can handle, and that dullness is often mistaken for a fixture that just needs replacing.
A dull fixture usually just needs a real descaling, not a full replacement.
12. Wipe Down and Disinfect Light Switches and Door Handles
These get touched constantly and cleaned almost never, since they’re not visibly dirty the way a counter or floor is, even though they’re carrying just as much daily buildup.
📌 Good To Know
A disinfecting wipe takes seconds and covers switches, handles, and towel bar edges in one quick pass.
13. Deep Clean the Inside of Your Medicine Cabinet or Mirror Storage
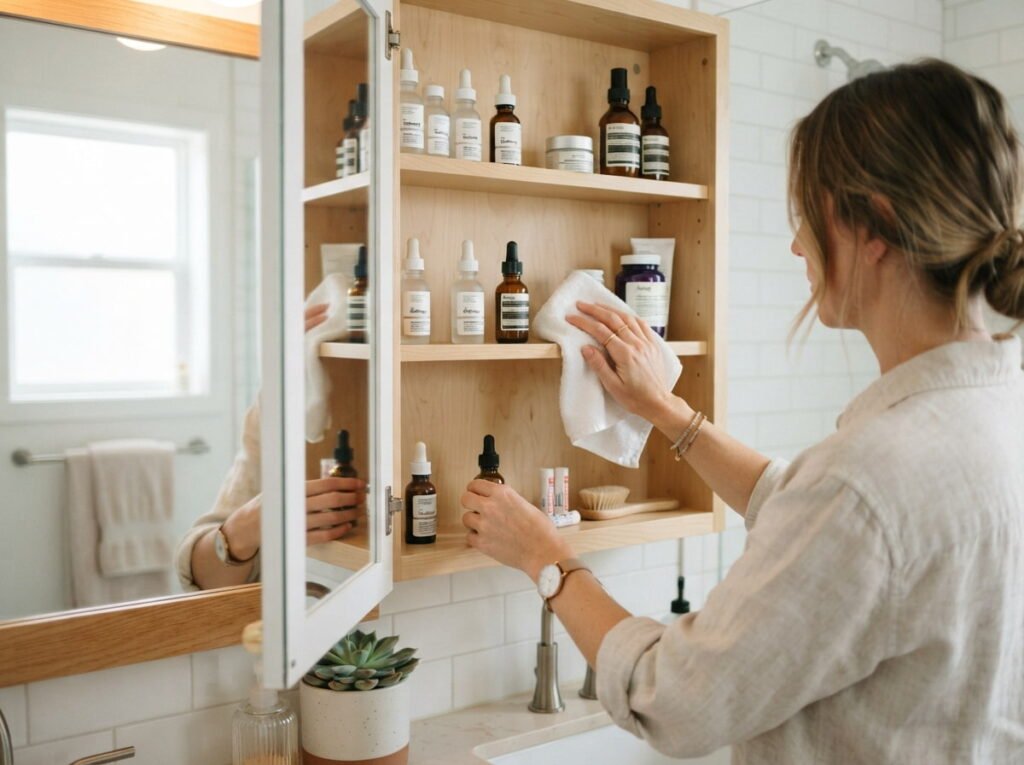
Old prescriptions, dried out ointments, and products you forgot you owned tend to collect here quietly, since the cabinet closes and hides all of it from view.
14. Clean Your Bathroom Trash Can, Not Just the Bag Inside It
A liner catches most of what goes in, but spills and leaks still make their way to the bin itself, and that residue is what keeps the smell coming back no matter how often you swap bags.
- Empty the can completely and remove the liner
- Rinse the inside with hot soapy water
- Let it dry fully before adding a new liner
Empty the can completely and remove the liner.
Rinse the inside with hot soapy water.
Let it dry fully before adding a new liner.
15. Deep Clean Your Vanity Countertop and the Area Around the Faucet
Water spots and dried toothpaste splatter build up daily around the sink, and a normal wipe down often leaves a faint film behind instead of fully lifting it.
Wipe daily with a dry cloth to catch splatter early.
Do a deeper clean around the faucet base weekly.
Letting toothpaste dry hard before wiping it up.
Using the same cloth on the counter and the toilet.
16. Wash Your Shower Caddy or Organizer, Not Just What’s on It
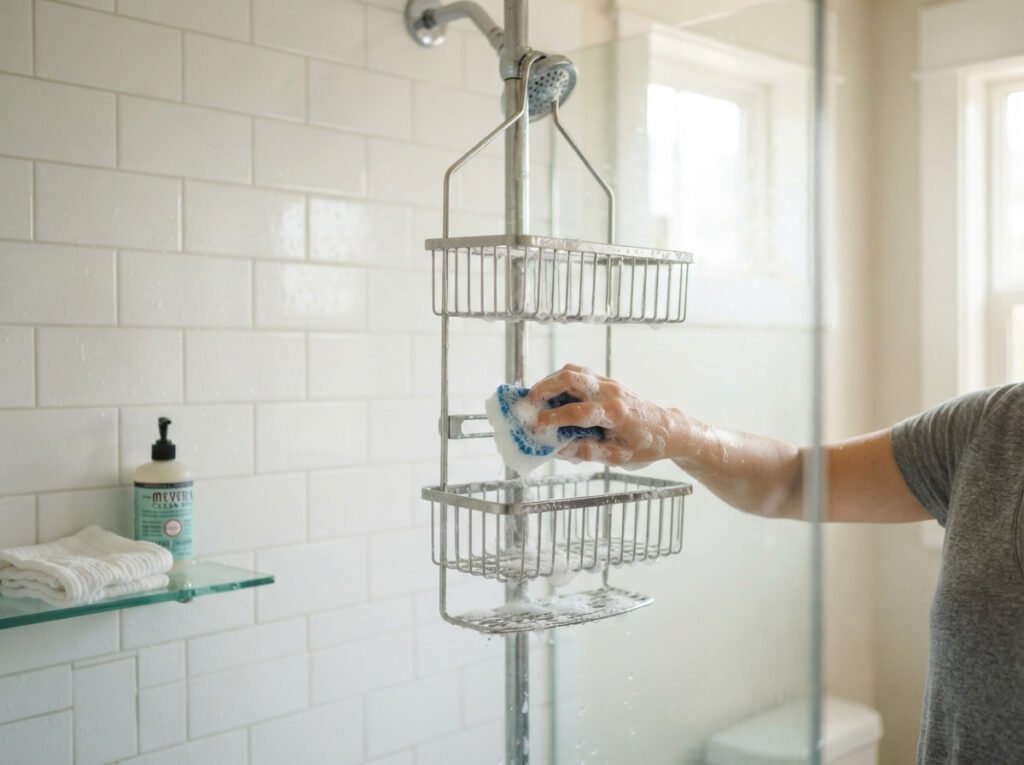
A caddy holding wet bottles day after day tends to develop a slimy film underneath them, hidden by the bottles themselves until you actually pick everything up and look.
💡 Quick Tip
A wire caddy with drainage holes builds up less residue than a solid tray, since water actually passes through it.
17. Deep Clean Your Towel Bars and Hooks
Hands touch these every single day, and the grime that collects there is the same kind you’d find on a doorknob, just easy to overlook because it’s mounted on a towel bar instead.
A towel bar with a faint film of grime built up from daily handling.
A bar and hooks that actually match the clean look of the rest of the bathroom.
18. Do a Final Reset With Fresh Towels and Simple Styling Touches

Once every hidden spot is actually clean, a few small finishing details are what make the whole transformation visible instead of just felt.
Conclusion
A bathroom that’s actually clean underneath looks different from one that’s just wiped down on the surface, and the difference comes down to the spots most people never think to check. The grout lines, behind the toilet, inside the exhaust fan, all of it adds up to a room that finally feels as fresh as it looks.
A real bathroom cleaning before and after isn’t about doing everything in one exhausting session. It’s about picking off the spots that have quietly built up over time and finally giving them the attention they’ve needed. Even a handful of these will show.
Save this list for whenever you’re ready to see your own bathroom’s transformation, one spot at a time.