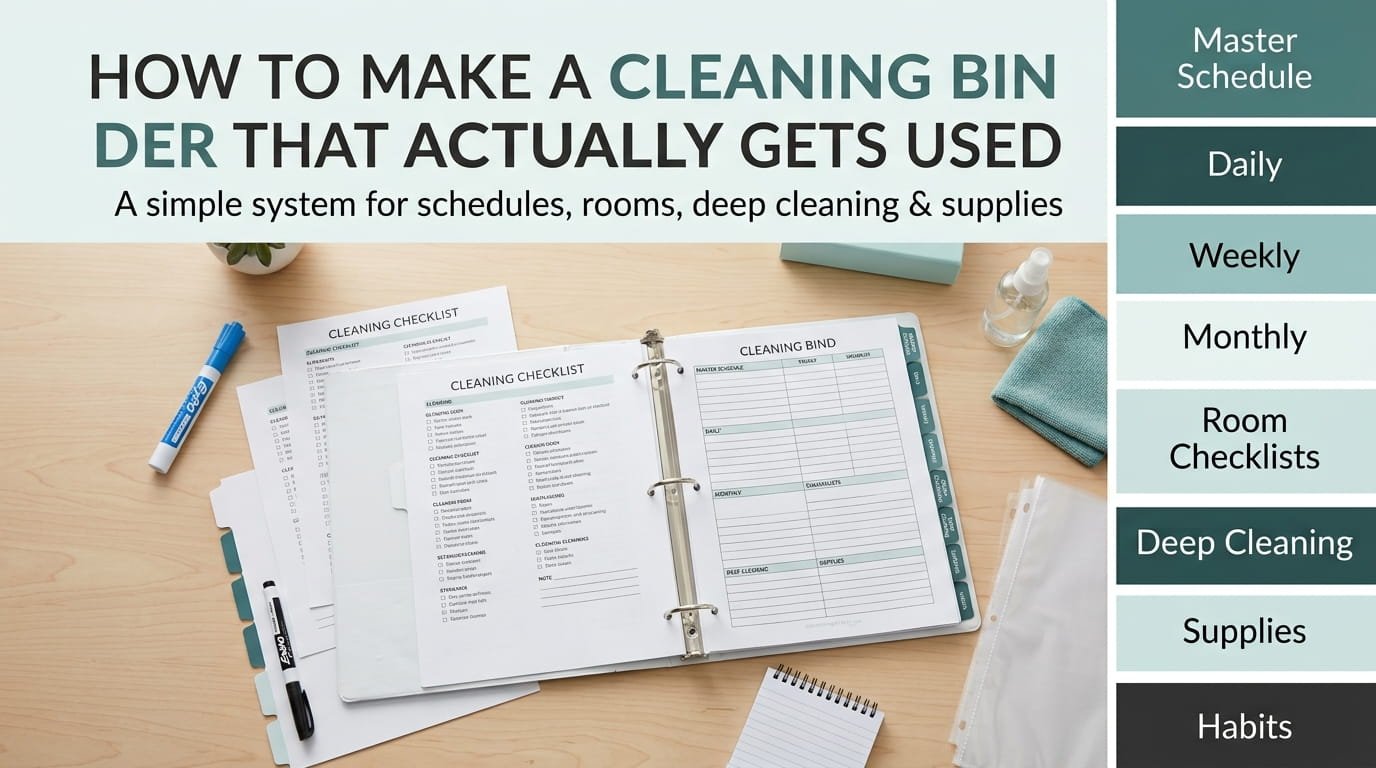
Most cleaning binders get built in one excited weekend and then sit untouched by month two. That’s not because the person lost motivation. It’s because the binder was designed around Pinterest inspiration instead of an actual house and an actual schedule.
Learning how to make a cleaning binder that survives daily use comes down to structure, not decoration. The sections need to match how you actually clean, not how a template assumes you clean. A page for deep cleaning tracked separately from your weekly rundown. A supply page you actually update instead of guessing at the store.
This list walks through building one from the ground up, section by section, in the order that makes sense to assemble it. By the end you’ll have a binder built around your house, not someone else’s.
Build It Once • Actually Use It
Turn scattered chores into one simple system that works.
1. Pick a Binder Size That Actually Fits Your Routine

A half inch binder feels tidy on the shelf, but it fills up fast once you add room checklists, a schedule, and a few extra sections. Most people end up rebuilding within a few months because they undersized it from the start.
Go with a one inch binder if you’re including more than four or five sections. It has room to grow without needing a full rebuild later.
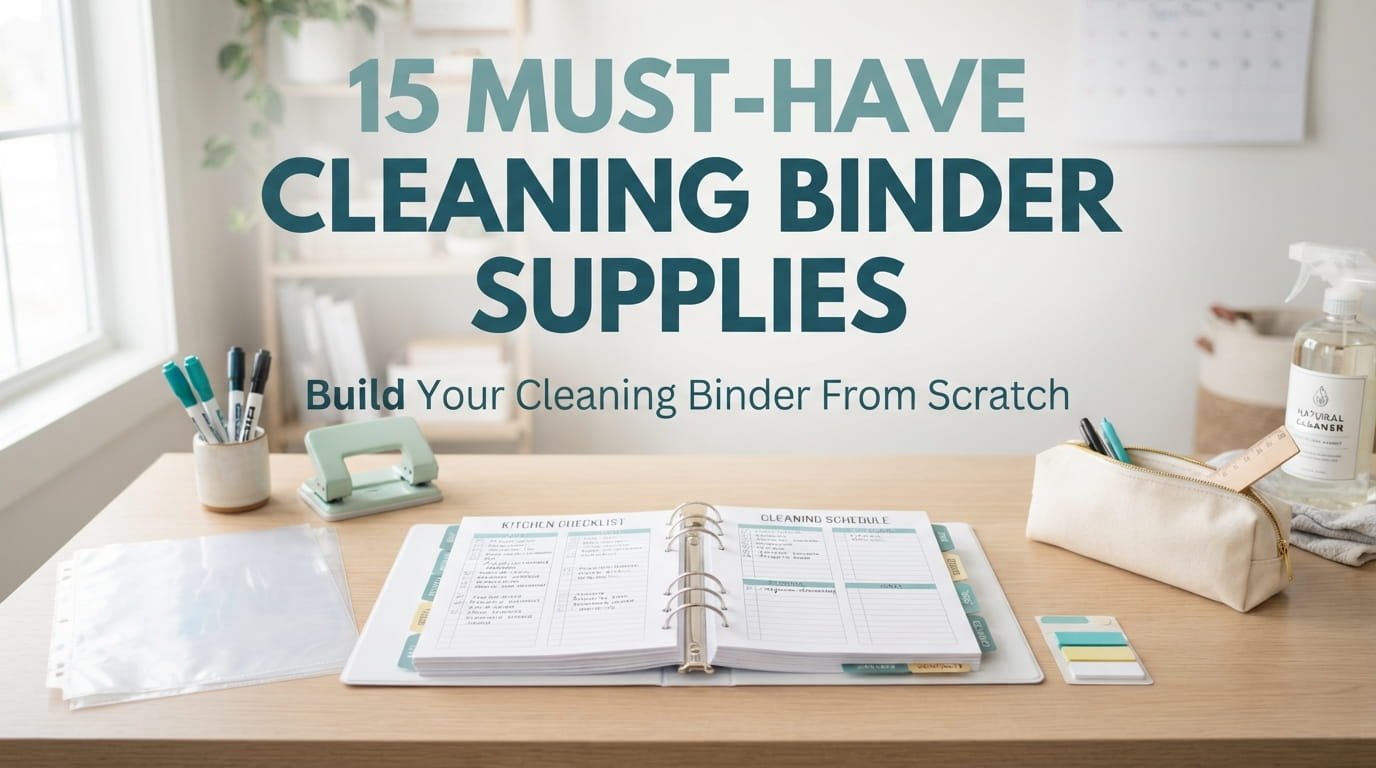
2. Gather Your Supplies Before You Start
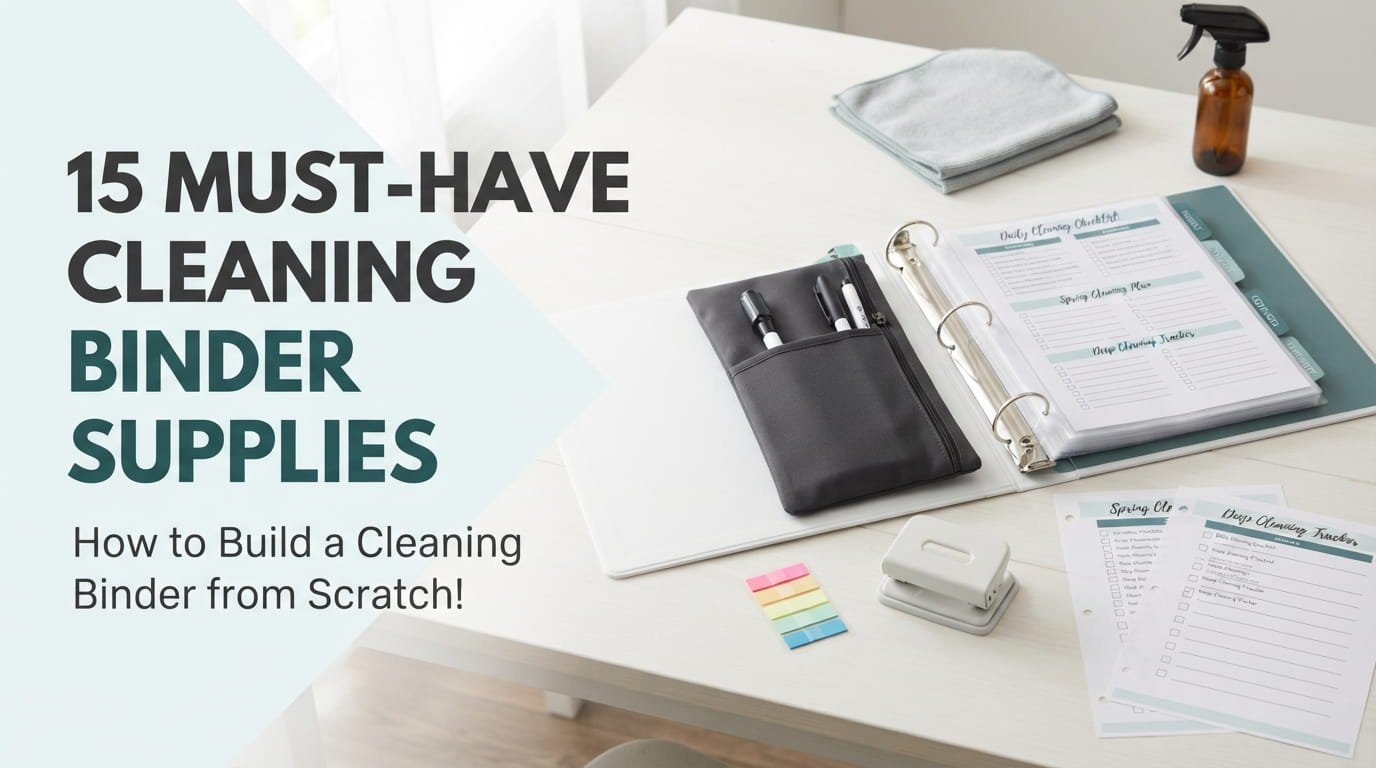
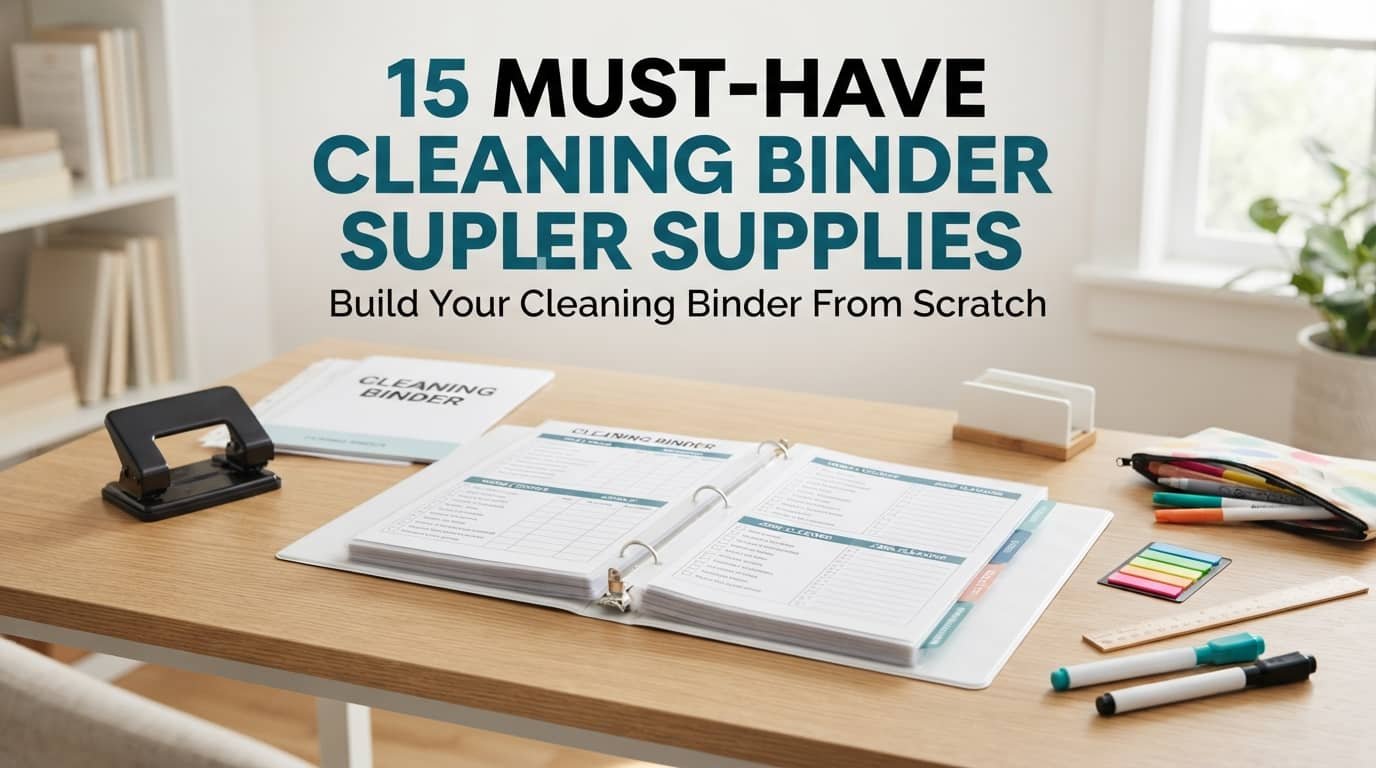
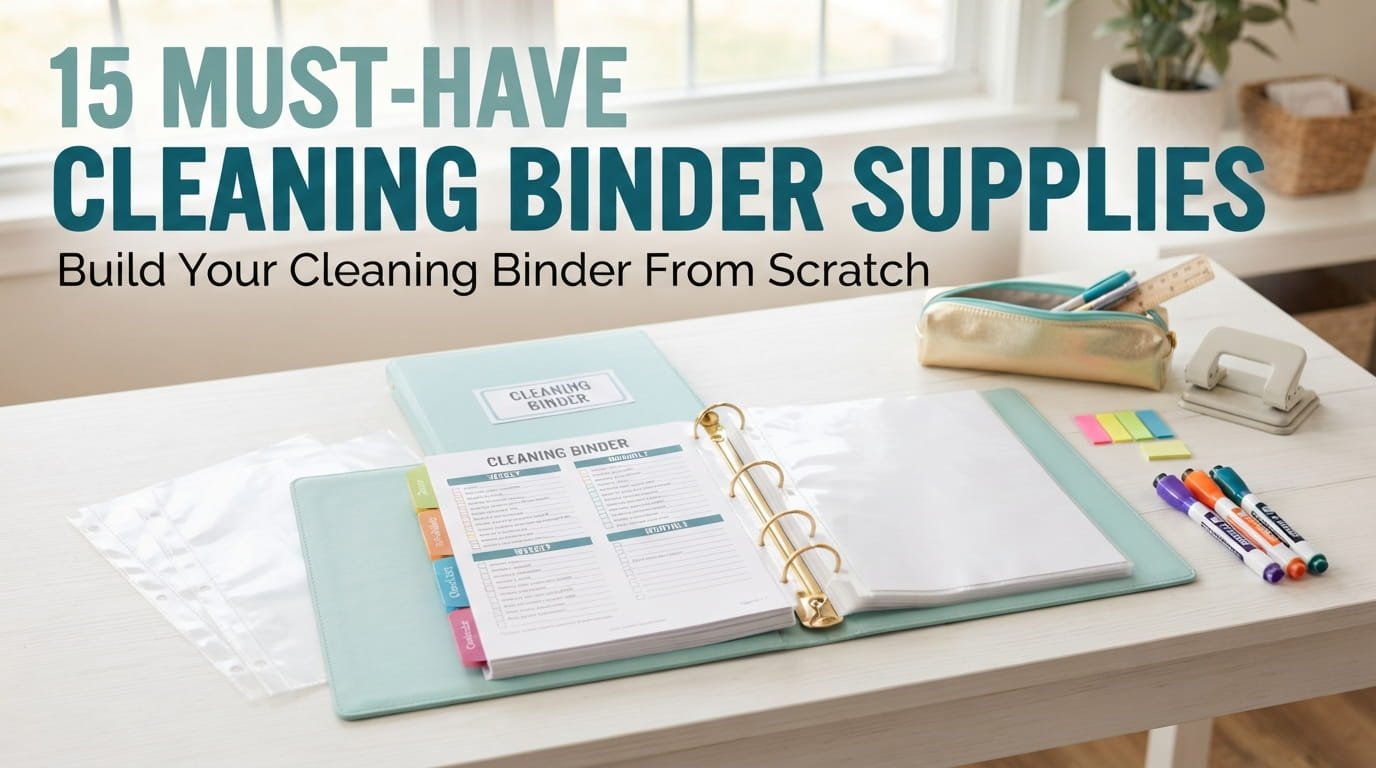
You don’t need much for this, and buying too much upfront is what turns a simple project into a cluttered drawer of half used supplies. Keep the list short and grab exactly what’s below before your first assembly session.
What to grab first
3. Choose a Cover That Survives Real Use
This binder is going to live on a kitchen counter or get pulled out with wet hands after mopping. A cardstock cover slid into a clear pocket handles that far better than a bare printed page glued to the front.
Slide cardstock into the binder’s clear front sleeve.
Wipe the sleeve clean when it gets smudged.
Gluing paper directly onto the binder cover.
Using regular printer paper with no protective layer.
4. Build Your First Section: the Master Cleaning Schedule
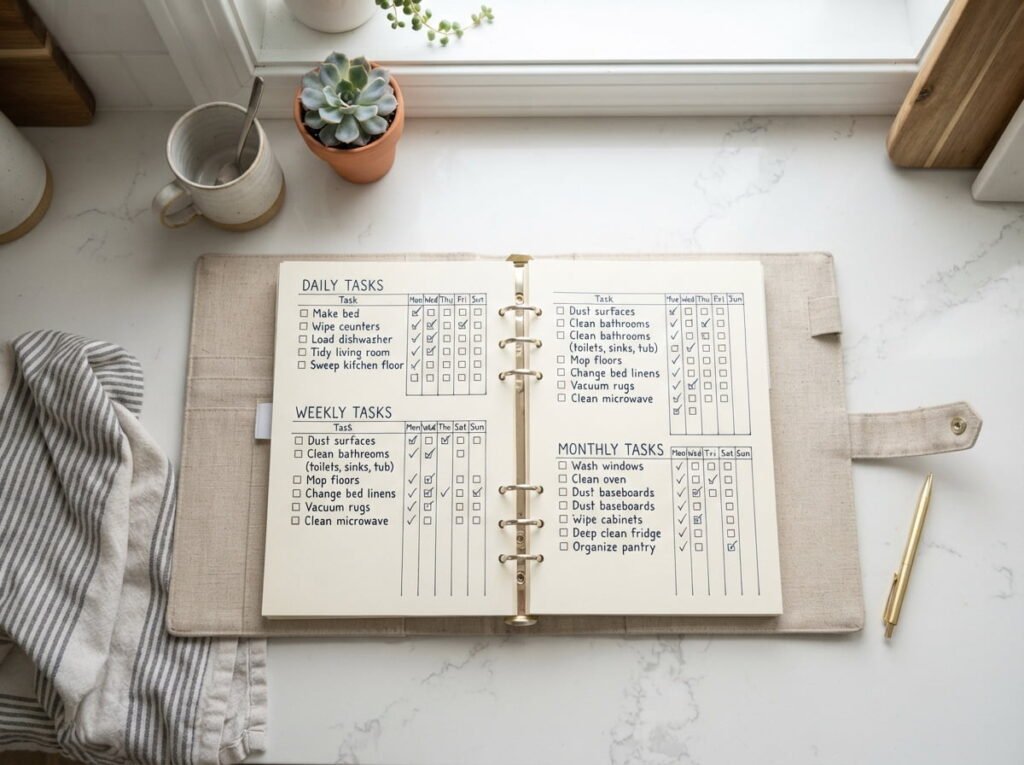
Start with the page that sets the tone for everything else. This is your bird’s eye view, the one page you’d flip to if someone asked what your week looks like.
Keep it simple. List the days across the top and your main tasks down the side, nothing more detailed than that yet.
💡 Quick Tip
Keep this page general. Room specific detail belongs in its own section later.
5. Break Your Schedule Into Daily, Weekly, and Monthly Tabs
One master page is a good start, but it gets crowded fast if you try to fit everything on it. Splitting tasks by frequency keeps each page focused and easy to scan at a glance.
6. Create a Room by Room Checklist Section
Give every major room its own page instead of cramming the whole house onto one list. A single page per room means you can grab just that page when you’re focused on one space, without hunting through unrelated tasks.
- List the room name at the top of a fresh page
- Break tasks into surfaces, floors, and detail work
- Leave a small blank line at the bottom for anything specific to that room
Label the room clearly at the top of its own page.
Group tasks by surfaces, floors, and small detail work.
Leave one blank line for anything unique to that room.
7. Add a Deep Cleaning Tracker Separate From Your Regular Tasks
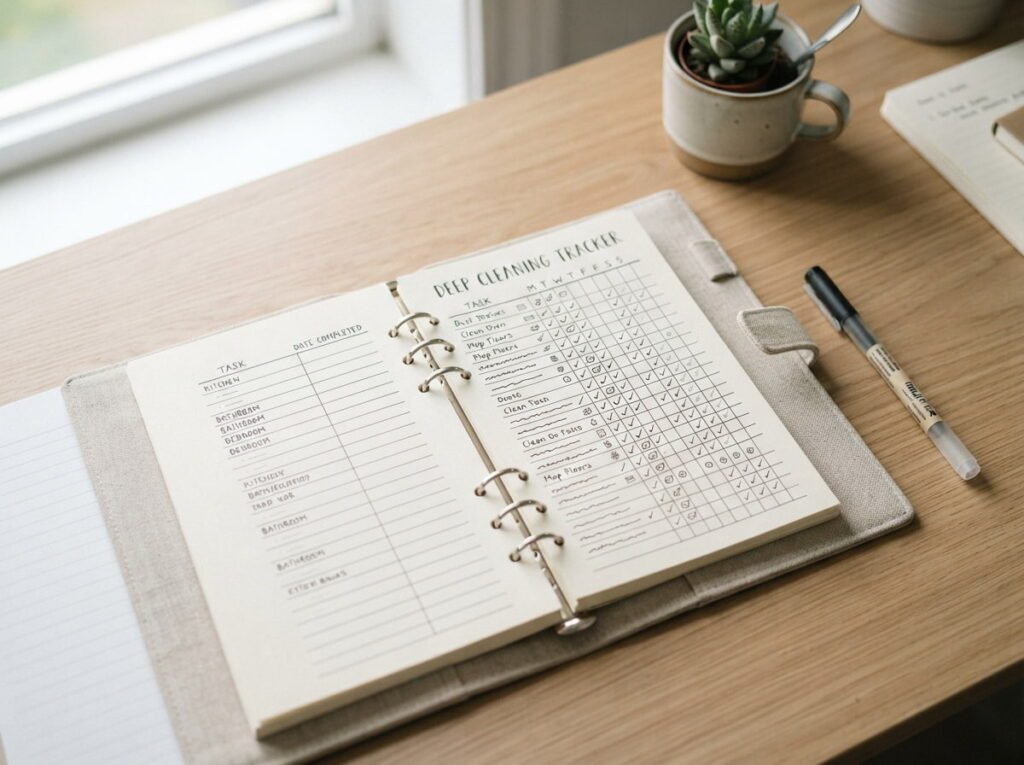
Mixing deep cleaning with your regular weekly list is a fast way to feel behind all the time. Those big tasks, like washing walls or flipping a mattress, don’t belong on the same page as daily dishes.
Give deep cleaning its own tracker with a date column instead of a checkbox, so you can see when something was actually last done.
Deep tasks buried in the weekly list, always pushed to next week.
A separate tracker with real dates showing what’s actually overdue.
8. Design a Seasonal Tasks Page
Some jobs only come around a few times a year, and they’re the easiest to forget because they’re not part of your regular rhythm. Gutters in fall, window screens in spring, that kind of thing.
| Season | Typical Task |
|---|---|
| Spring | Window screens and closet swap. |
| Fall | Gutters and weather stripping check. |
9. Include a Supply Inventory Sheet
A quick glance at this page before you shop saves you from buying a third bottle of the same spray while running low on something you actually need.
10. Make a Page for Cleaning Product Recipes
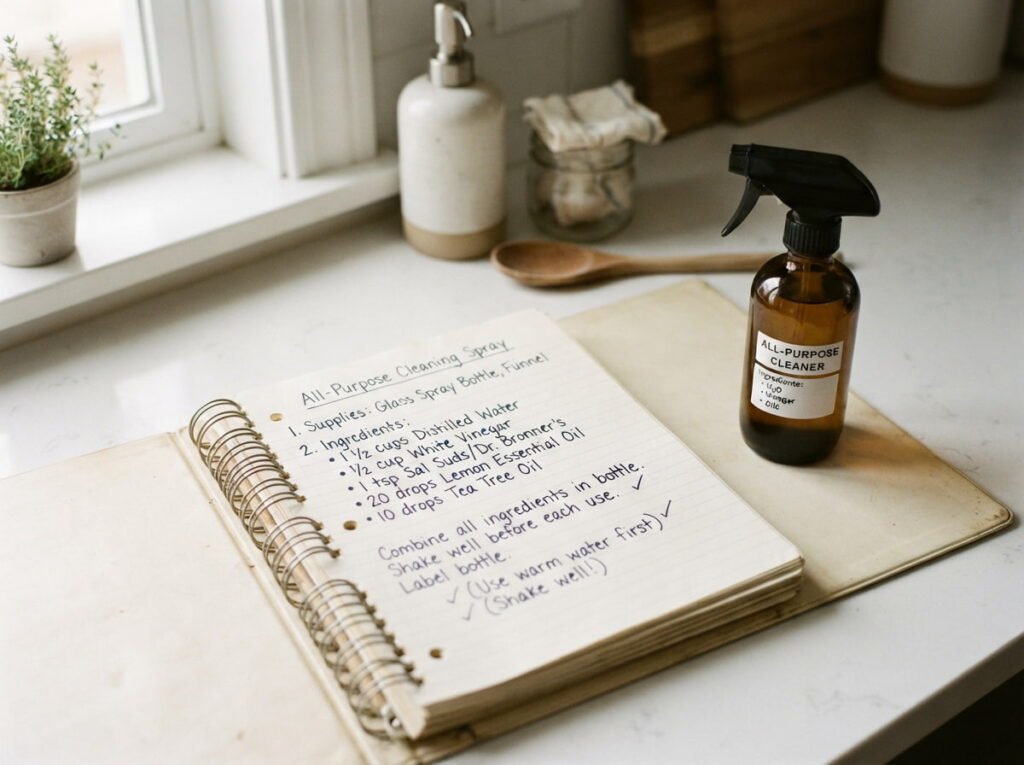
If you mix your own solutions, ratios matter more than memory gives them credit for. A vinegar mix that’s too strong can dull certain surfaces, and guessing every time wastes both product and patience.
📌 Good To Know
Write ratios in exact measurements, not “a splash” or “a bit,” so results stay consistent.
11. Add a Laundry Routine Page
Laundry runs on its own rhythm, separate from the rest of the house. Trying to fold it into your daily or weekly cleaning list usually means it gets skipped, since it doesn’t fit the same pattern as wiping counters or vacuuming.
Give it a dedicated page that tracks wash days by category instead of by room.
Laundry needs its own rhythm on its own page, not a spot squeezed into the regular schedule.
12. Build a Decluttering or Donation Log
Six months from now you won’t remember what left the house or when, and that gap makes it hard to notice patterns, like the same category of clutter creeping back every season.
Keep this log simple so you’ll actually fill it in:
What to log each time
13. Create a Maintenance and Repairs Section
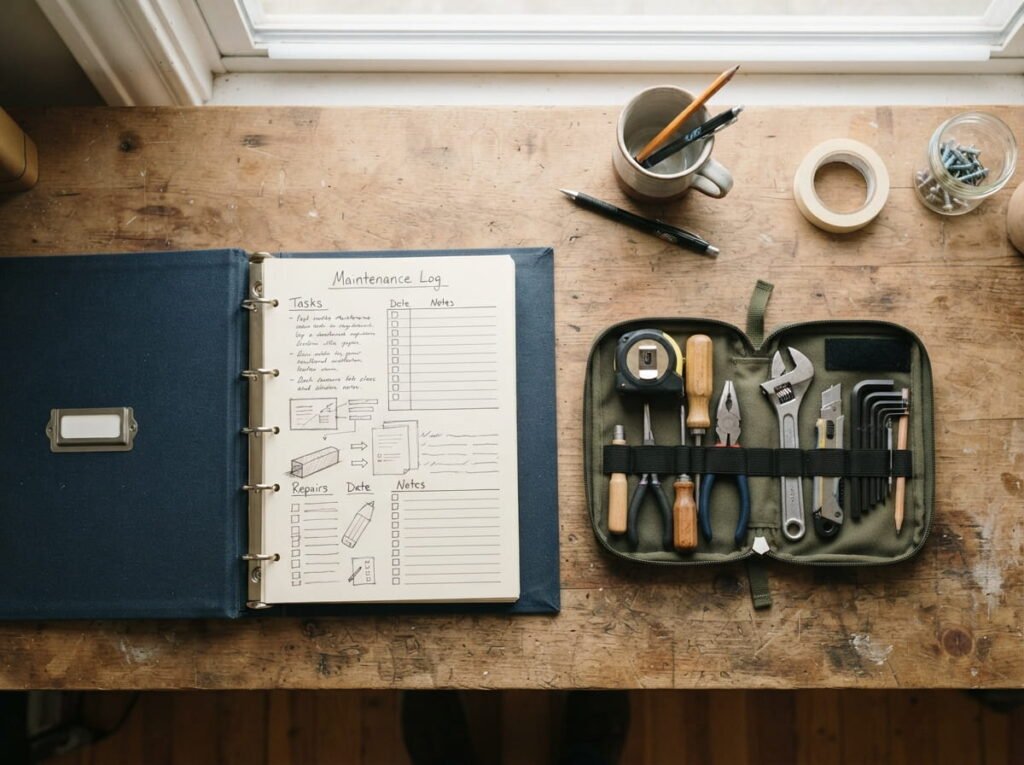
A dripping faucet or a sticking drawer isn’t cleaning, exactly, but it lives in the same mental space and gets forgotten for the same reasons. Give these small fixes a home so they stop floating around as vague mental notes.
Write down the fix the moment you notice it.
Note which room it’s in so you don’t forget later.
Relying on memory for small repairs.
Mixing repair notes into your cleaning checklist.
14. Add Pocket Dividers for Loose Receipts and Warranty Cards
This is the least exciting page in the whole binder, and also one of the most useful. Appliance receipts and warranty cards have a way of disappearing into random drawers right when you need them.
- Add a pocket divider near the back of the binder
- Drop in receipts for anything you’d need to return or claim under warranty
- Clear it out once a year so it doesn’t turn into a paper pile
Add a pocket divider near the back of the binder.
Drop in receipts you might need for returns or warranty claims.
Clear it out once a year so it doesn’t pile up.
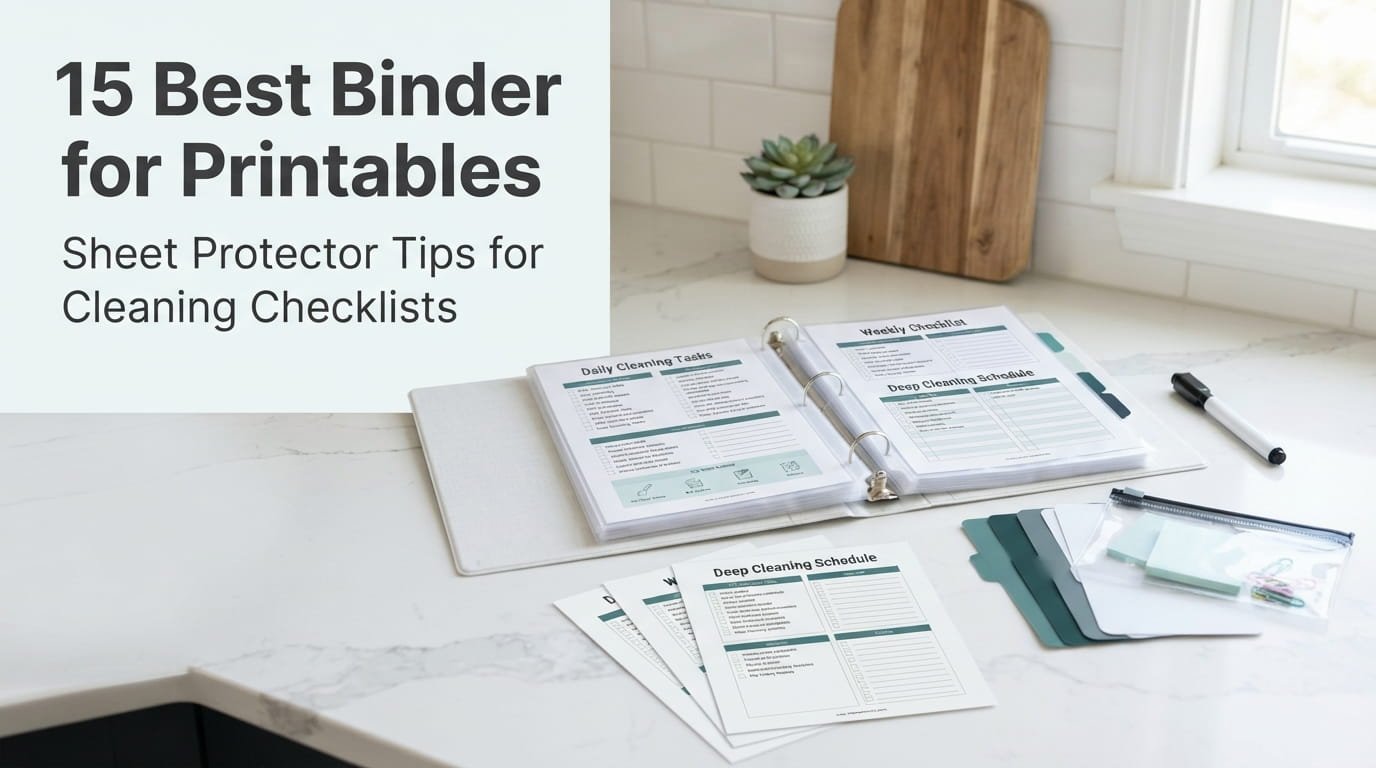
15. Choose Page Protectors Versus Printed Inserts
Page protectors let you reuse a checklist with a dry erase marker, wiping it clean each week instead of printing a fresh copy. Printed inserts feel more permanent but pile up fast if your routine shifts even slightly.
16. Set Up a Simple Habit Tracker Page
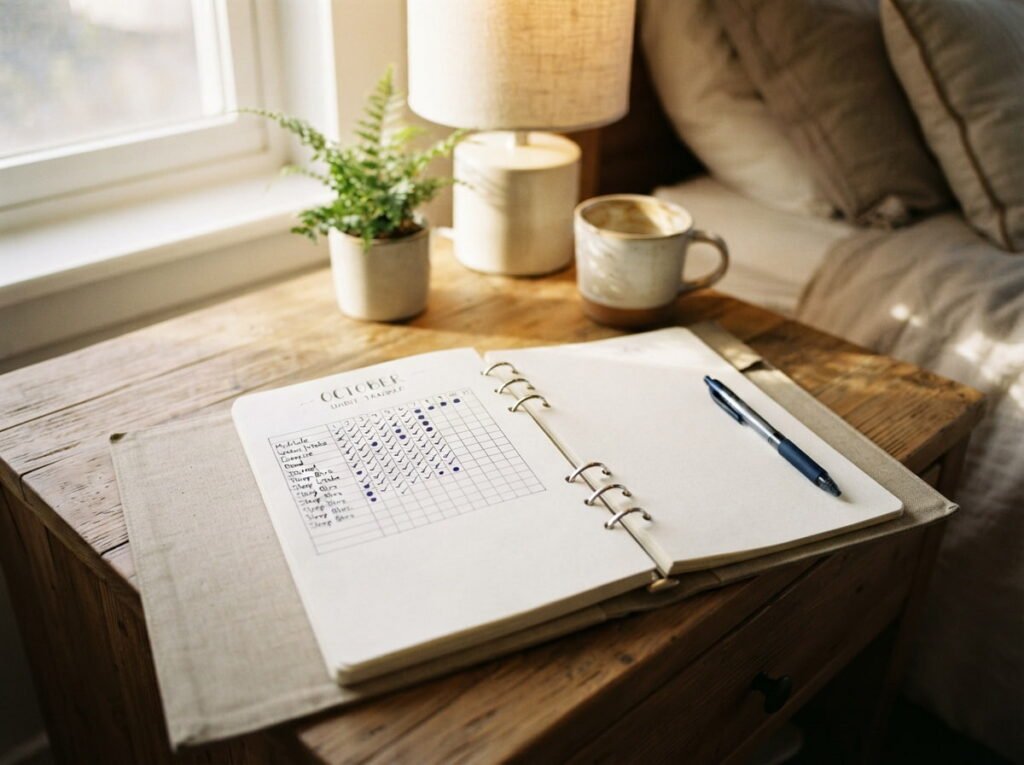
Your schedule tells you what to clean. A habit tracker tells you something different, whether you’re actually keeping up with it over time. Keep these two ideas separate so neither page gets cluttered trying to do both jobs.
A basic grid of dates works, with a mark for each day you stayed on track:
- ▸Track streaks, not individual tasks.
- ▸Use a simple dot or check, nothing elaborate.
- ▸Keep it visible so you actually glance at it daily.
17. Print or Hand Write, Decide Based on How Often You’ll Update It
Printed pages look polished, but every small change means reprinting the whole thing. Handwritten pages look a little rougher, though they let you adjust a task on the spot without touching a printer.
A printed page that no longer matches your actual routine.
A handwritten or dry erase page that flexes as your routine changes.
18. Set a Binder Review Date So It Doesn’t Go Stale
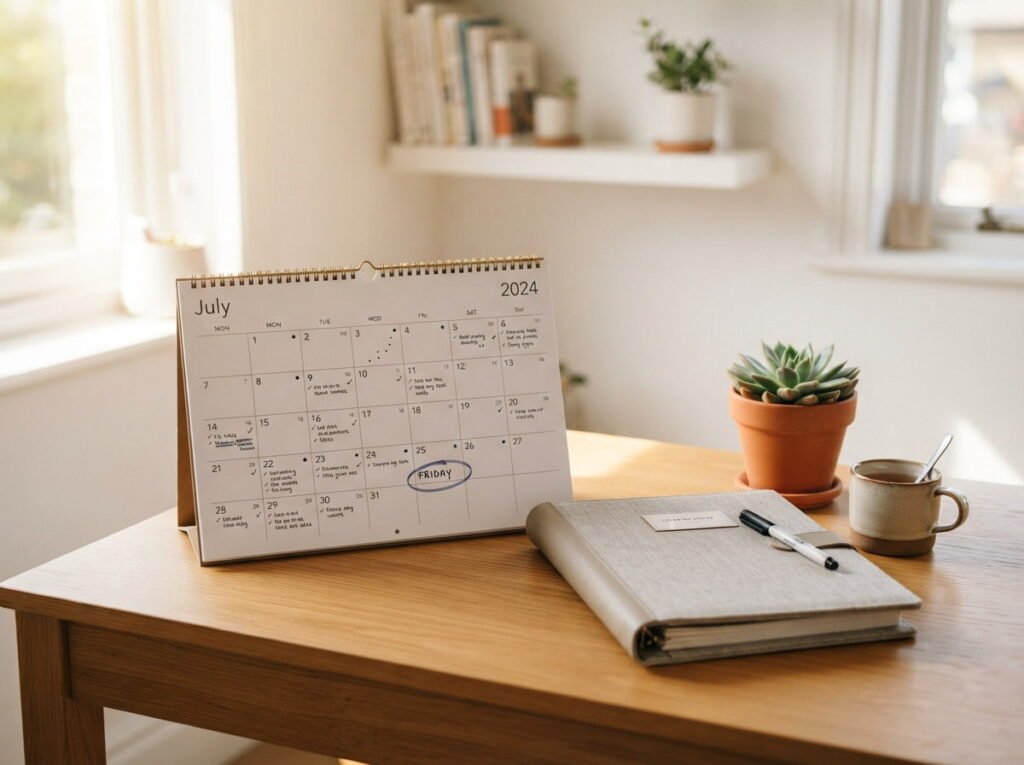
A cleaning binder built around your life six months ago might not match your life now. New pets, a schedule change, a room that gets used differently, all of it quietly makes certain pages irrelevant.
⚠️ Watch Out
Set a review date on your calendar every few months, or the binder quietly stops matching real life.
Conclusion
A cleaning binder works when it’s built around your actual house, not a template pulled from somewhere else. Once you’ve gone through each section, from the master schedule down to the review date, you end up with something you’ll actually open instead of a project that looked good for one week and then gathered dust on a shelf.
Learning how to make a cleaning binder really comes down to matching each page to a real habit you already have or want to build. The room checklists, the supply sheet, the laundry page, they all work together once they’re organized around your routine instead of someone else’s.
Save this list for the next time you’re ready to put one together, or to fix a binder that’s already started slipping.