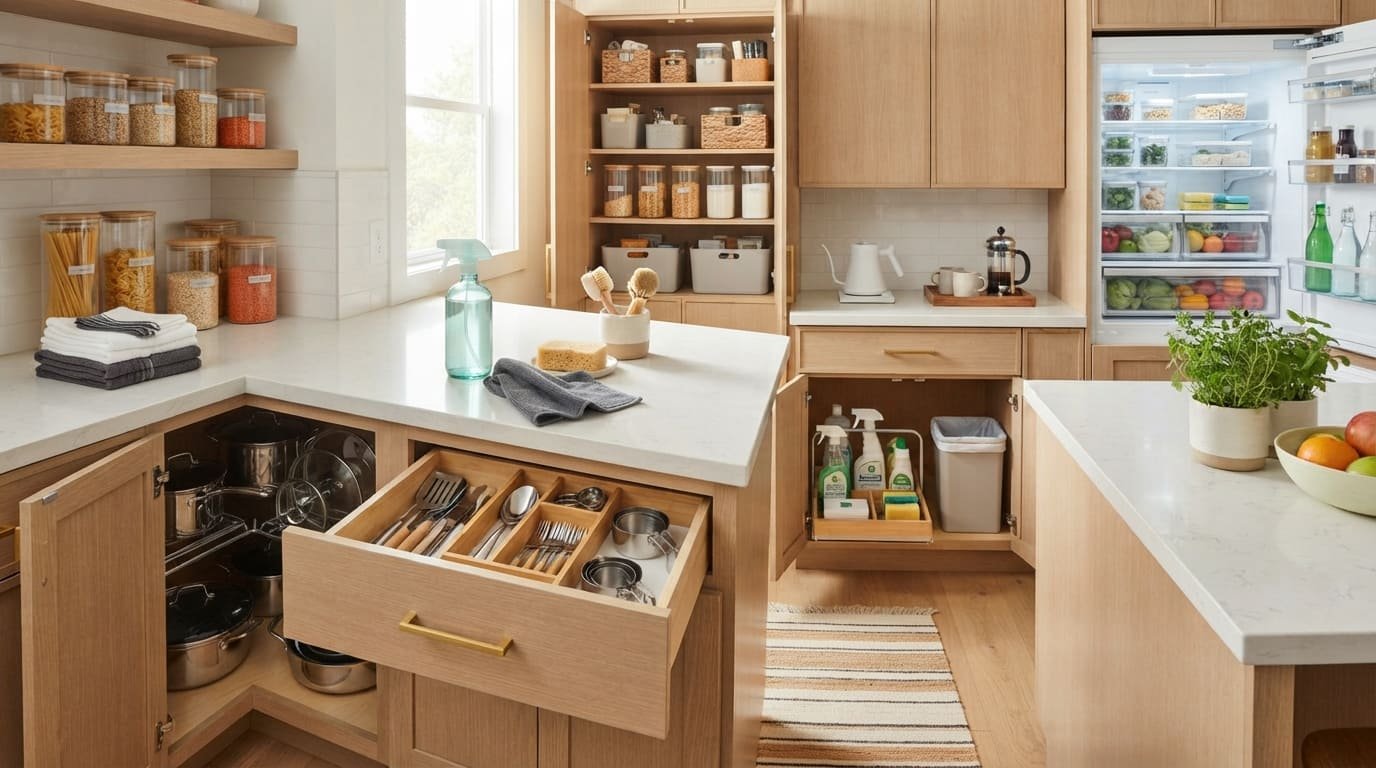
Cleaning and organizing the kitchen usually get treated as two separate projects, which means the same cabinet gets emptied out twice in the same month. That’s more work than it needs to be. Kitchen cleaning and organizing go together naturally, since the moment a shelf or drawer is empty for sorting is also the easiest moment to actually wipe it down.
This list is built around that overlap. Every idea here combines a cleaning task with an organizing decision, so you’re not choosing between a spotless kitchen and a functional one. Empty the cabinet, wipe the shelf, decide what goes back. Sort the drawer, wipe the interior, add a divider. One motion instead of two separate sessions weeks apart.
None of these require buying a full set of matching containers before you start. Most just need what you already have, a cloth, a degreaser, and the willingness to actually commit to what stays and what doesn’t while everything’s already out on the counter.
1. Clearing and Wiping Cabinets Before You Decide What Goes Back In
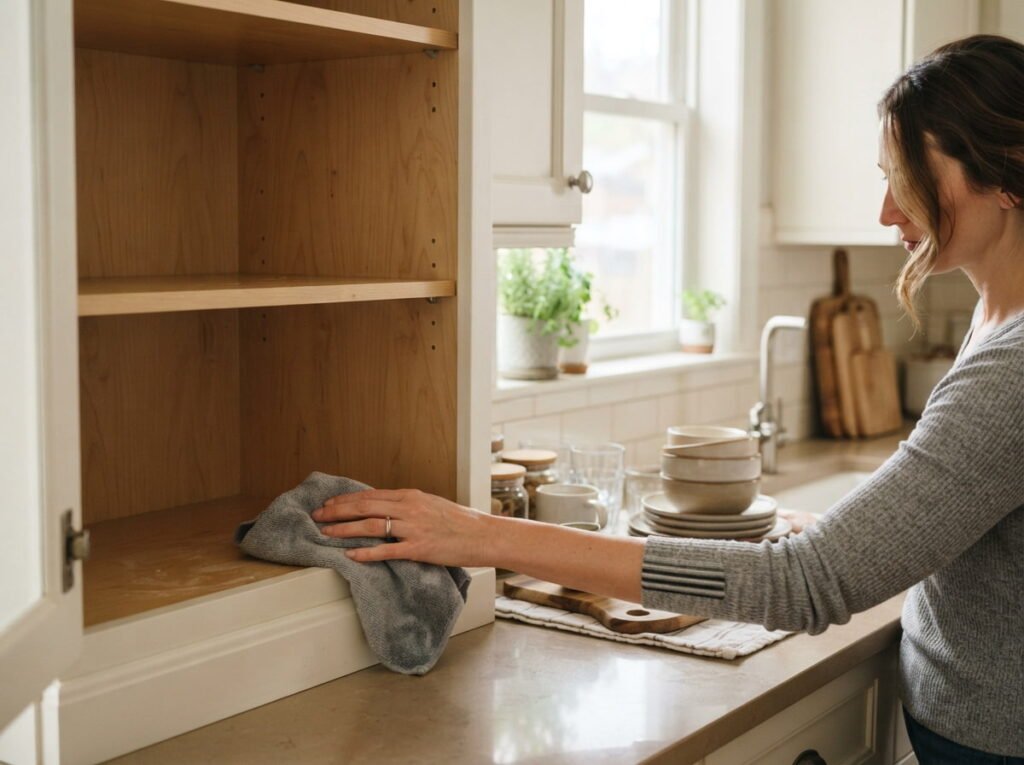
Emptying a cabinet completely is the natural first step for organizing, and it’s also the easiest moment to wipe every surface without working around anything. Take everything out, wipe the interior top to bottom, and only decide what goes back once the shelf is clean and dry.
- Empty the cabinet fully before touching a cloth
- Wipe corners and shelf edges, not just the flat surface
- Sort items into keep, relocate, and toss piles as you go
Doing both at once means the cabinet never has to be emptied twice.
2. Grouping Pantry Items by Category While Everything Is Already Out
A pantry reorganization already means pulling everything off the shelves, so wiping down each shelf while items are grouped into categories, grains, canned goods, snacks, takes almost no extra time. Check expiration dates during this same pass instead of scheduling a separate purge later.
💡 Quick Tip
Wipe each shelf right after it’s cleared, before you start placing the sorted categories back.
3. Washing the Fridge Shelves While You Sort What’s Worth Keeping
Pulling fridge shelves out to wash them in the sink is already most of the work for a fridge purge, so deciding what’s expired or forgotten while everything’s spread across the counter saves a second trip through the fridge later. Wipe the interior walls and door seals while the shelves dry.
Sticky shelves and condiments nobody remembers buying.
Clean shelves holding only what actually gets used.
4. Wiping Drawer Interiors as You Add Dividers for the First Time
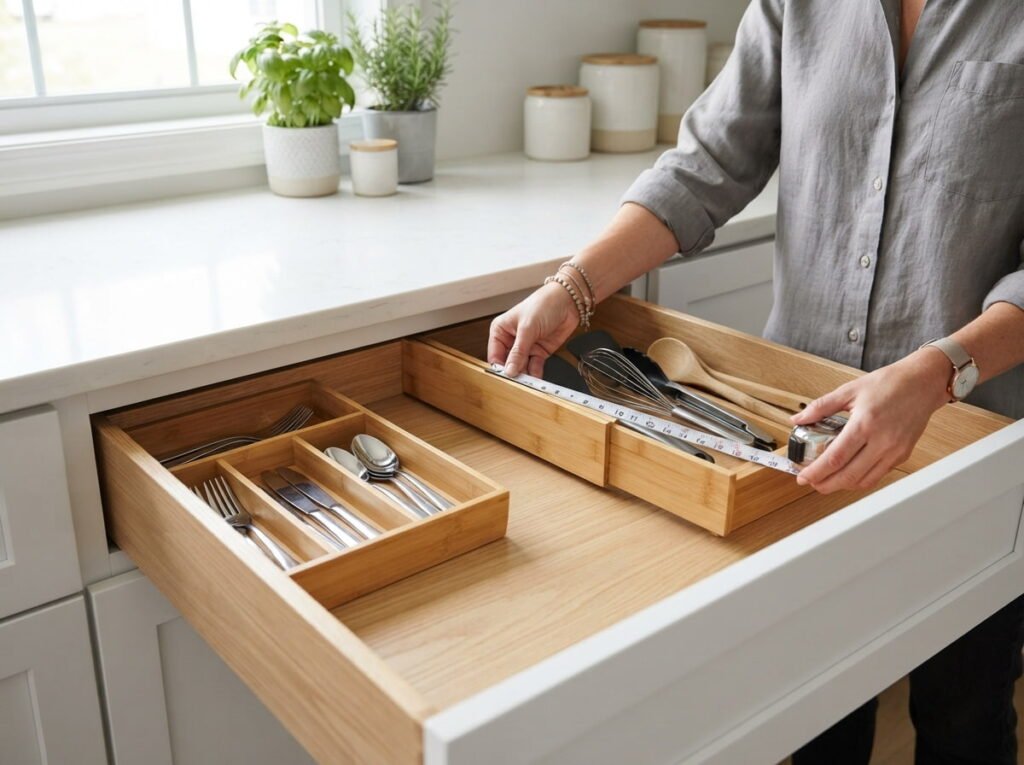
Installing dividers in a kitchen drawer for the first time means the drawer is already empty, which makes it the ideal time to wipe out crumbs and sticky residue that’s been sitting under the utensils for months. Measure for dividers after the interior is clean and fully dry.
Before adding dividers
5. Degreasing the Stovetop and Clearing the Counter Around It Together
The stovetop and the counter beside it tend to collect the same layer of grease over time, which makes it efficient to tackle both surfaces in one pass instead of two separate cleaning sessions. Clear the counter of anything that doesn’t belong there while you’re already degreasing.
6. Cleaning the Inside of the Junk Drawer as You Sort It Into Sections
- Dump the entire drawer out onto the counter
- Wipe the interior while it’s fully empty
- Sort items back in with small containers or dividers
A junk drawer only gets cleaned when it’s already being sorted, so doing both together means it might actually happen this year.
Dump the entire drawer out onto the counter.
Wipe the interior while it’s fully empty.
Sort items back in with small containers or dividers.
7. Lining Freshly Wiped Shelves Instead of Skipping the Step
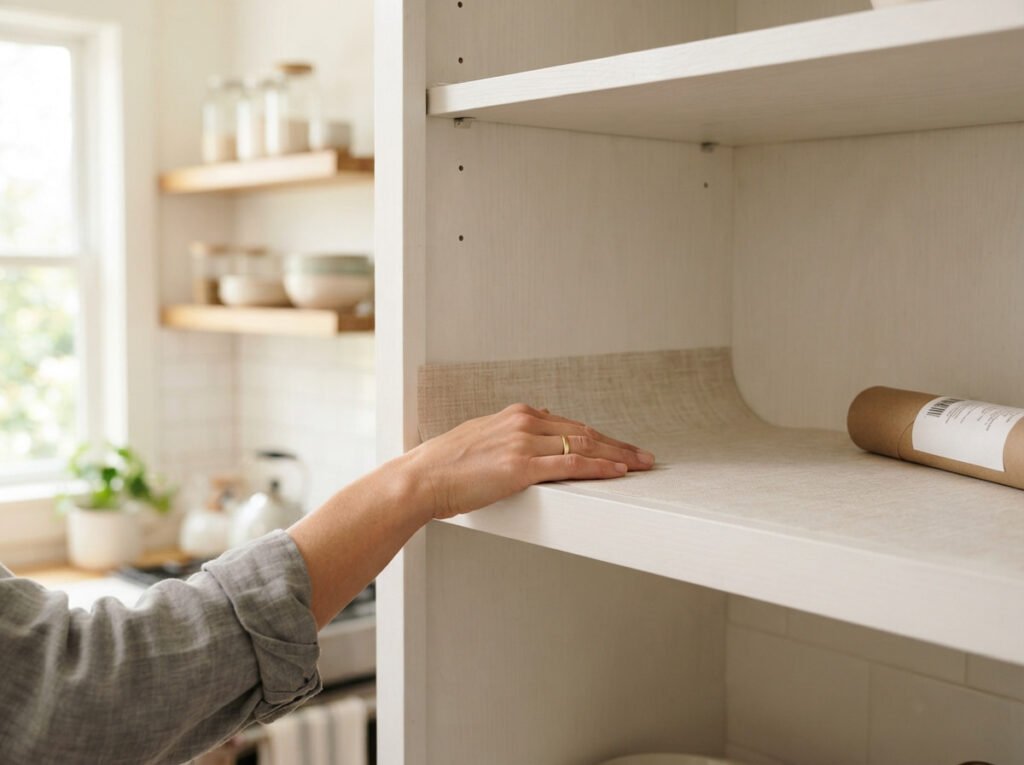
Skipping shelf liner because a cabinet looks clean enough is a mistake that shows up months later as sticky residue nobody wants to scrub off again. Adding liner right after wiping a shelf protects the fresh clean surface and gives future spills somewhere easy to wipe instead of soaking into the wood.
Add liner right after the shelf dries.
Choose a wipeable, not fabric, liner.
Lining a shelf that’s still damp.
Skipping liner because the shelf “looks fine.”
8. Sorting Tupperware While You Wipe Down the Cabinet That Holds It
The mismatched Tupperware cabinet is one of the most dreaded spots in any kitchen, and it’s also a cabinet that badly needs wiping down once everything’s finally pulled out. Match lids to containers, toss anything without a pair, and wipe the shelves clean before stacking what’s left back in an organized way.
| Keep | Toss |
|---|---|
| Containers with a matching lid | Any lid without its container |
| Sizes you actually reach for | Warped or stained pieces |
9. Cleaning Small Appliances Before You Decide Which Ones Stay on the Counter
Deciding which small appliances earn counter space is easier once they’re actually clean, since a grimy toaster is easy to want gone while a freshly wiped one might earn its spot back. Wipe down each appliance you’re considering, then decide based on how often you’d actually use it, not how it looks right now.
Clean an appliance before deciding if it stays. Grime makes the decision for you unfairly.
10. Wiping the Inside of the Trash Cabinet While You Set Up a Better System
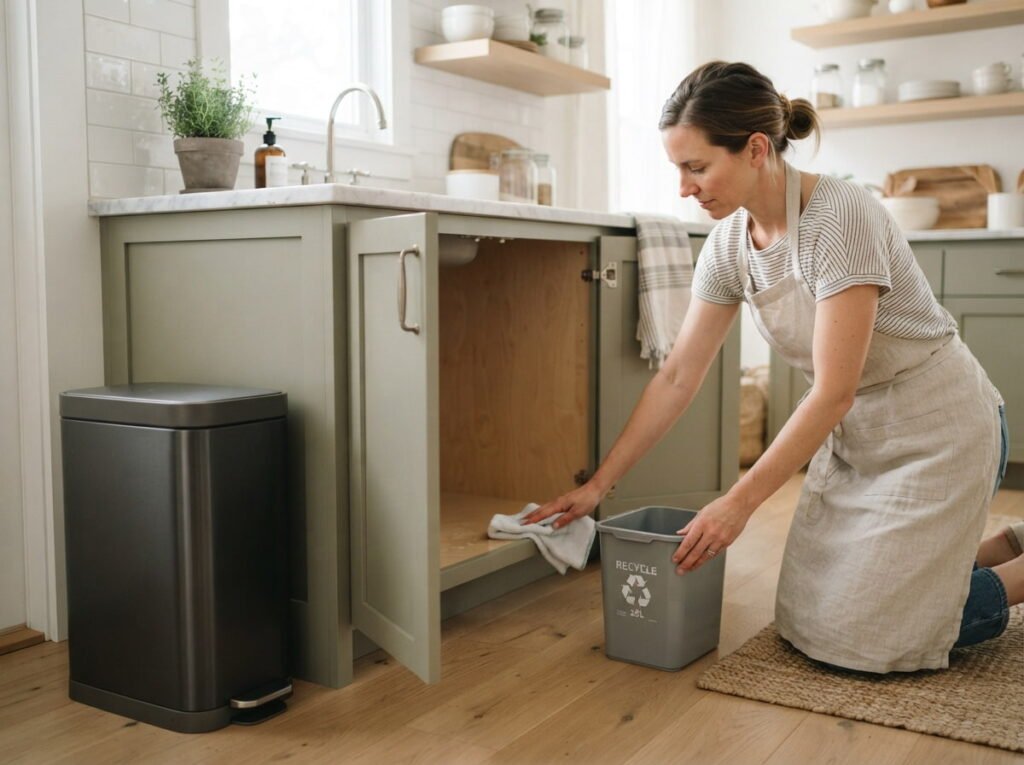
The cabinet holding the trash can often gets ignored because nobody wants to look too closely at what’s inside it. Pull the can out, wipe the cabinet floor and walls, and add a small bin for recycling or compost while everything’s already exposed.
- ▸Pull the trash can out fully before wiping.
- ▸Wipe the cabinet floor and side walls.
- ▸Add a recycling or compost bin while it’s empty.
11. Washing Reusable Bags and Containers Before Assigning Them a Spot
Reusable grocery bags and travel containers tend to get stashed wherever there’s room, dirty or not, simply because nobody’s given them an actual spot. Wash them all in one batch, let them dry completely, then assign a specific drawer or hook so they stop floating around the kitchen unassigned.
12. Cleaning Under the Sink While You Sort What Actually Belongs There
Under the sink tends to collect a tangle of cleaning bottles and stray sponges that nobody’s sorted through in a while, which makes it a natural pair for both a wipe down and a real organizing pass. Pull everything out, wipe the cabinet floor for any leaks, and group what’s left into a shallow bin or caddy.
💡 Quick Tip
Check for any dampness or water stains on the cabinet floor before you put anything back, since that could point to a slow leak.
13. Wiping Spice Jars and Racks While You Alphabetize or Group Them
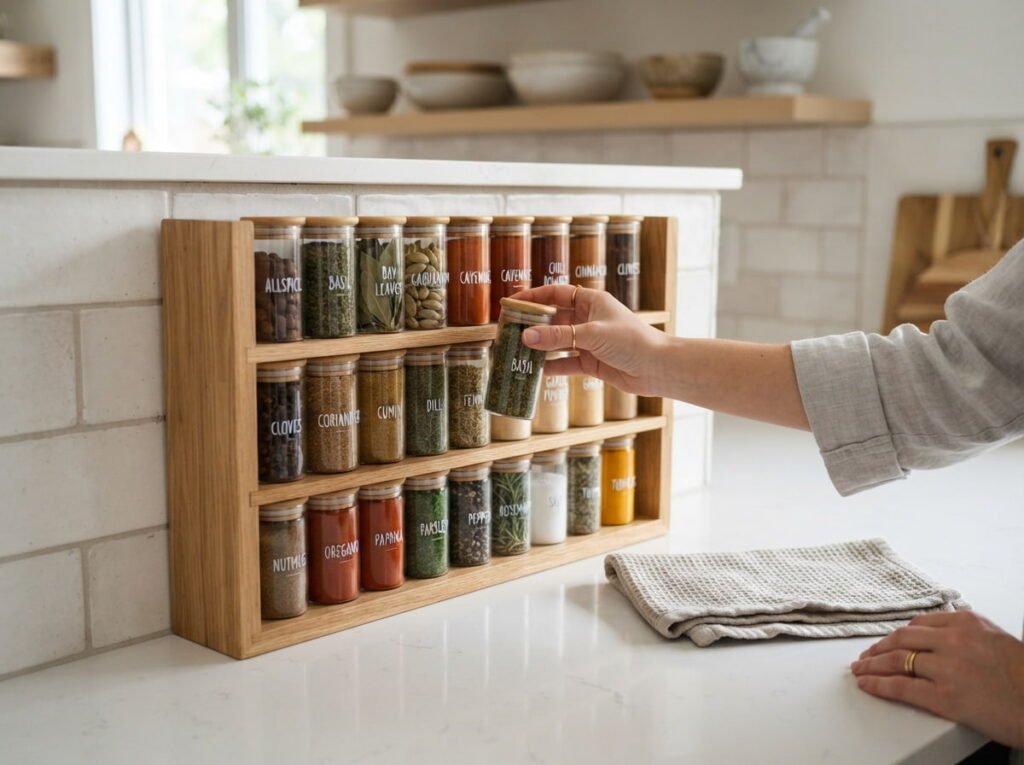
Spice jars pick up a thin layer of dust and stickiness sitting near the stove, and reorganizing them alphabetically or by cuisine only takes a few extra seconds once each jar is already out and in your hand. Wipe the rack itself before placing the freshly cleaned jars back in their new order.
Sticky jars in random order, some unlabeled or nearly empty.
Clean jars grouped in an order that’s easy to find at a glance.
14. Organizing and Wiping the Coffee Station in the Same Pass
The coffee station collects grounds, sugar spills, and a jumble of mugs faster than almost any other spot in the kitchen. Wipe the surface and any nearby shelving while you group mugs, filters, and syrups into their own defined zones, so cleanup and setup happen in the same few minutes.
Group into zones
15. Finishing With a Counter Reset That Ties the Cleaning and Organizing Together
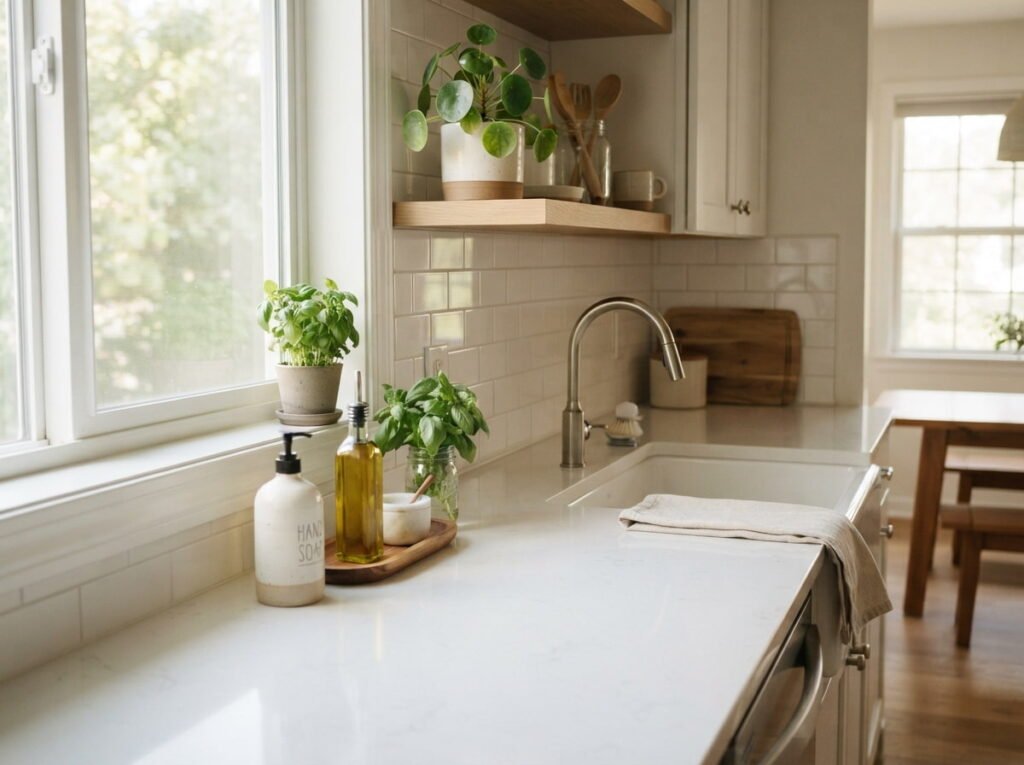
After working through cabinets, drawers, and appliances, the counters usually end up covered in everything you sorted along the way. A final reset, wiping every surface clean and putting only the essentials back out, is what makes the whole kitchen actually look and feel finished.
Conclusion
Kitchen cleaning and organizing work better as one project than two separate ones. Every cabinet you empty, every drawer you sort, and every shelf you wipe down is a chance to handle both at once instead of circling back to the same spot twice in the same month.
None of these ideas need a full weekend blocked off. Pick one or two, work through them the next time you’re already in the kitchen, and let the rest happen gradually as you move through the space.
Save this list so you’ve got the full set ready the next time a cabinet or drawer needs both a wipe down and a real sort.